
The Second FG-1A Corsair, Part Four
By Rodney Williams
FINAL CONSTRUCTION
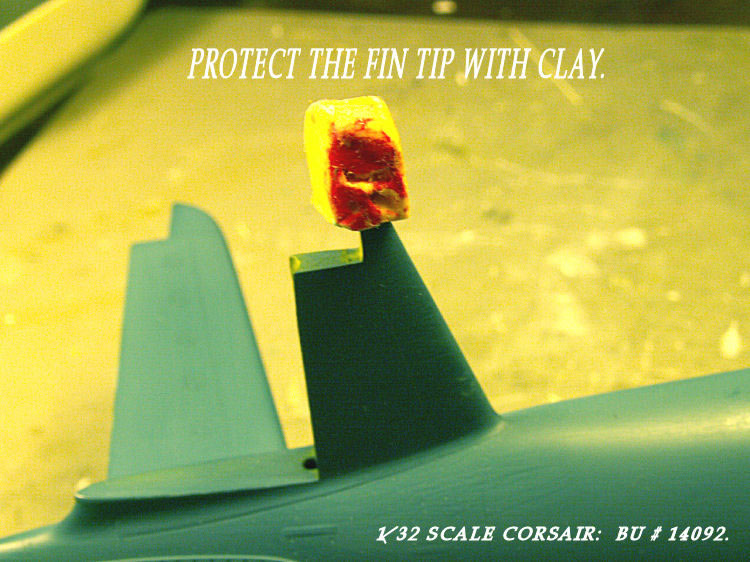
During the construction process of previous models I tend to break off parts thus I applied some artist soft modeling clay to the fin tip on this Corsair.
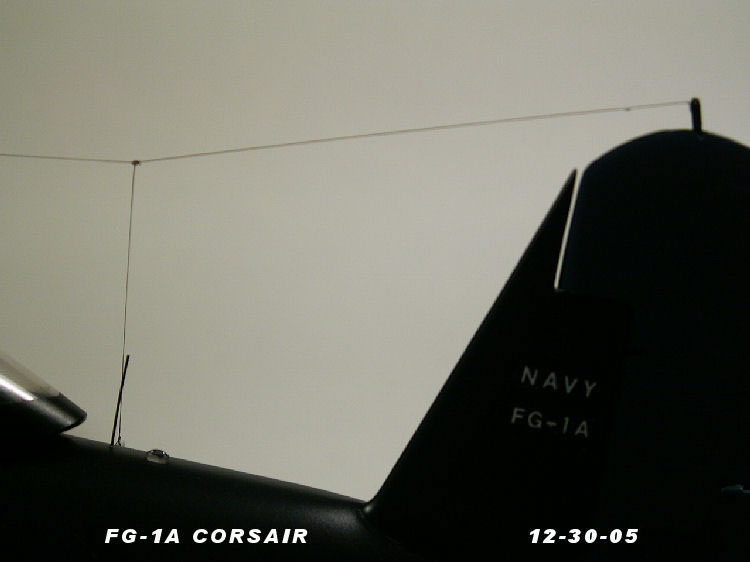
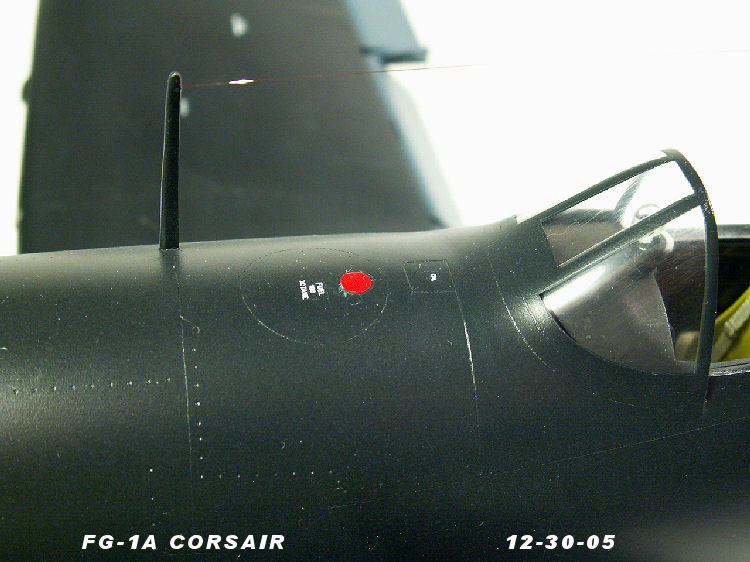
One of the last things that I make and attach to my models is the kit and/or my hand crafted antenna post. Most of the time I make these items using some of my .030” thick flat aluminum stock that I bought at the hobby shop. The aluminum is semi-hard and you can cut and sand it with no problem, including drilling in the small .013” diameter hole.
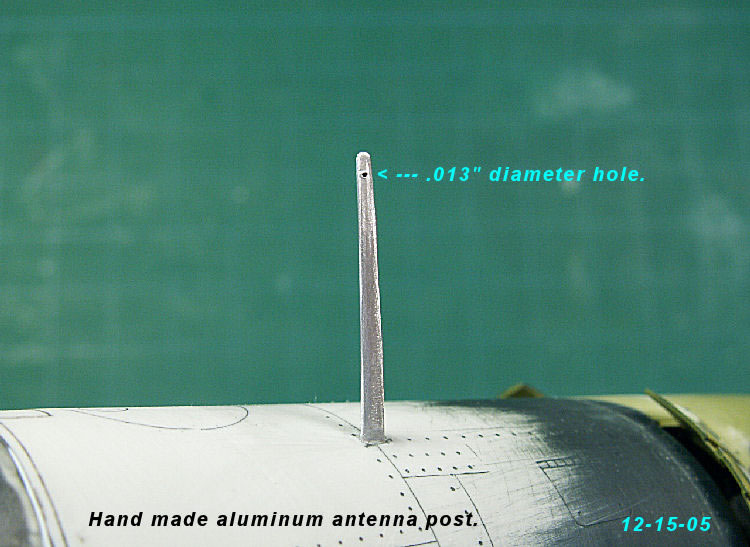
I have drills as small as .006” diameter that I bought a few decades ago from a company called SMALL PARTS INC. I’m sure that you can find them on the web!
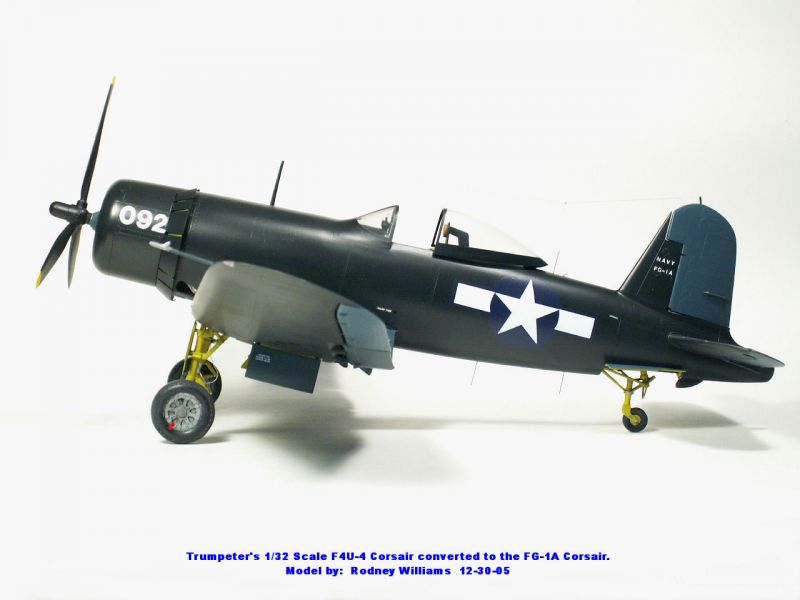
The model passes my inspection so I paint it with Tamiya XF-17 Flat Sea Blue using one of two Badger 200 internal mix airbrushes of mine. I usually set my PSI at around 15-20 pounds. One airbrush is equipped with the medium needle while the other one has the fine needle in it. I have the heavy-duty needle and it’s head bracket if I need to spray wide patterns.
On the advice of the late great “master” modeler Mr George Lee I have thinned all of my Tamiya paint with at least 4 parts of Denatured Alcohol (DA) to one part paint. Yes indeed, my paint is thin but it goes on the model excellent, bar none. On a scale of 1 to 10 my paint applications are at least a 9.7.
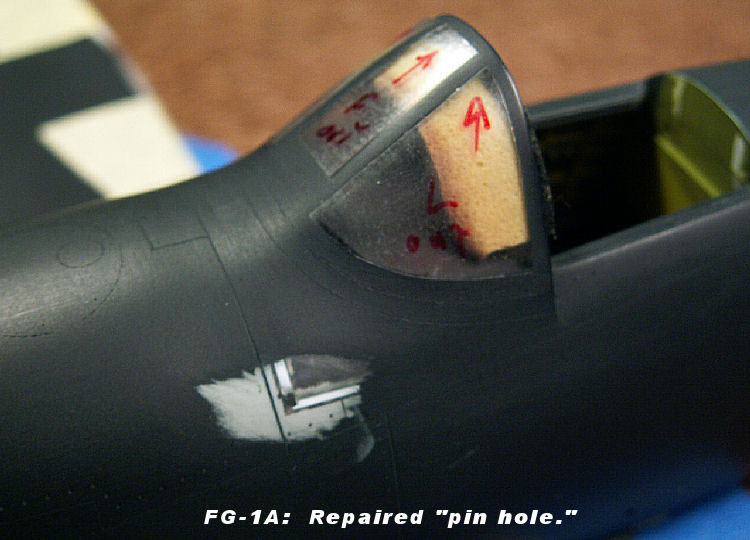
The dried paint is rubbed down with a few clean cotton balls and during that process I find a nice super-glue pinhole that’s just under the left front bottom of the windscreen. I lightly sanded the area down to the bare plastic and drilled in a .062” diameter hole and glued in a .062” diameter styrene rod and sand it flush and repaint the area.
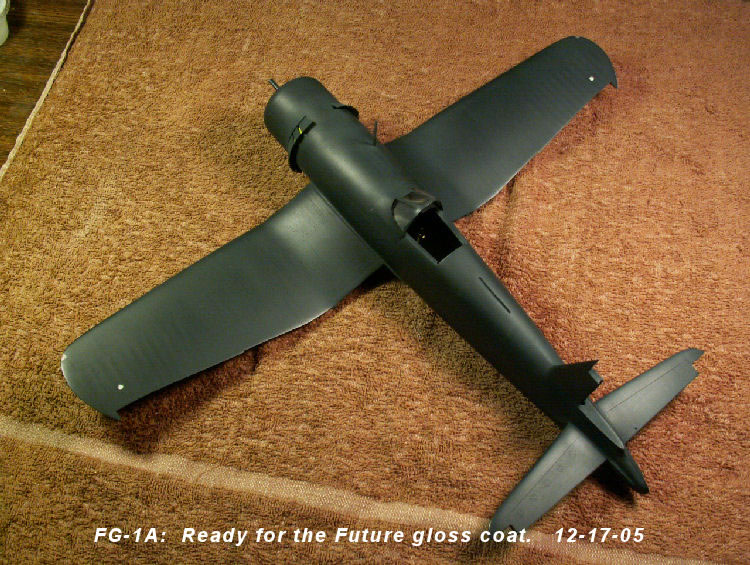
With this problem solved it’s gloss-coat time with some Future. Most times I add at least 2 parts of DA to the Future, which thins it somewhat and helps dry it before it runs all over the model.
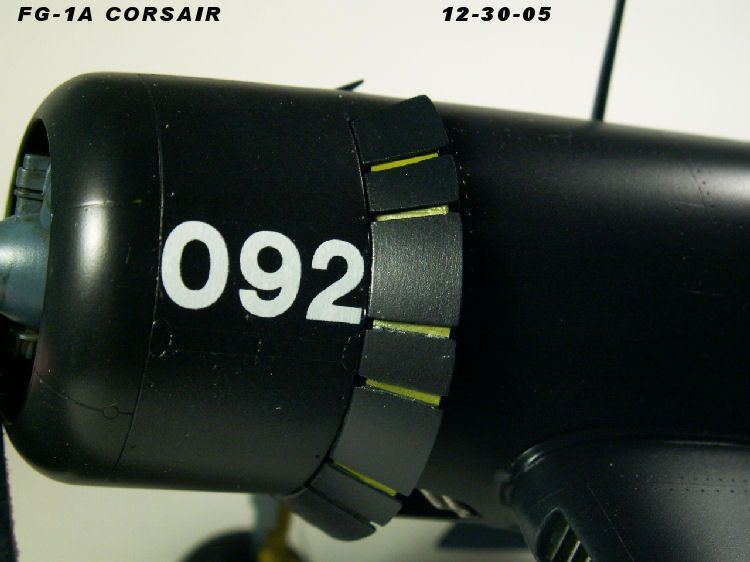
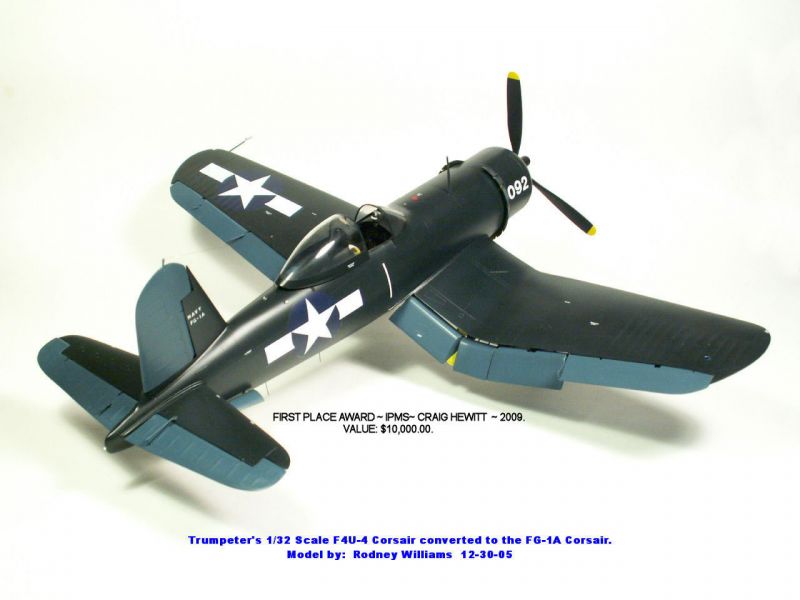
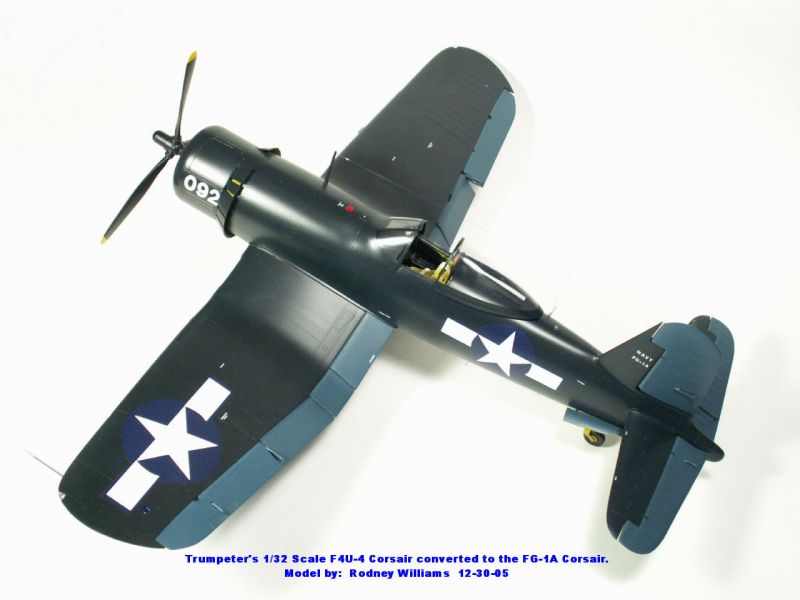
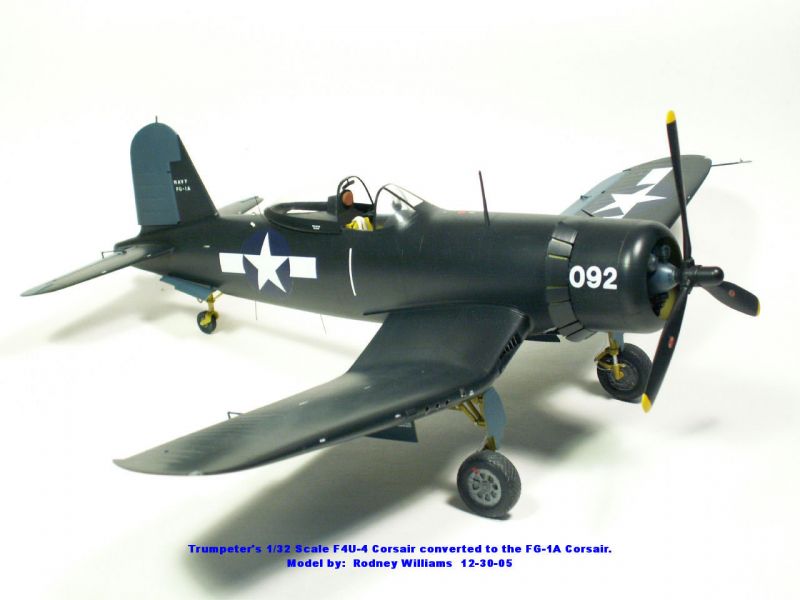
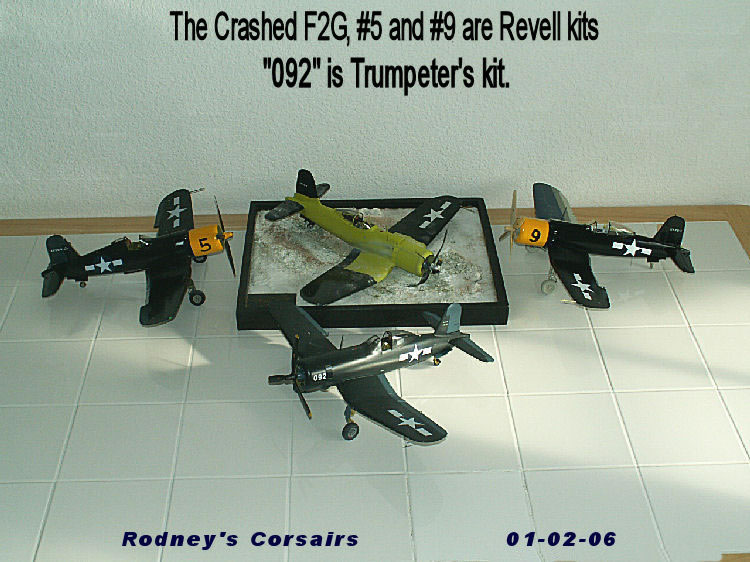
I used some of SuperScale’s insignias and find some of their white numbers and letters for 092 - NAVY-FG-1A and “NO-STEP” words.
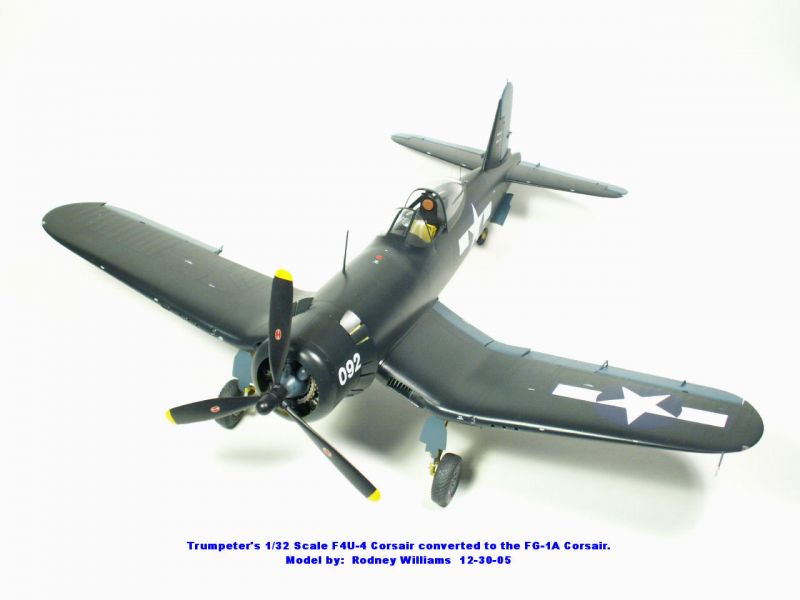
I have no idea why I painted all the flying surfaces with a different color of paint (XF-18 Medium Blue).
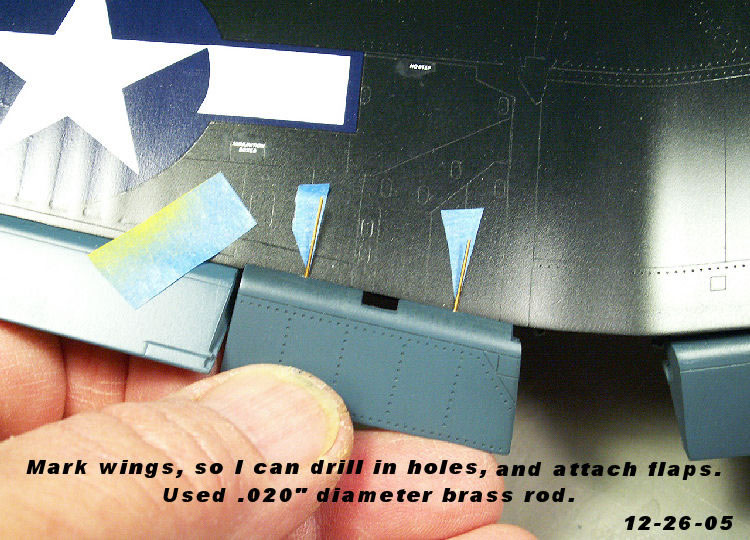
And I have no idea WHY I attached the 3 left flaps in their flight position then dropped the 3 flaps on the right wing. (Don’t make sense today.) As I recall Trumpeter gave the modeler the option to install ALL the flaps up and/or down.
However the model won a first place award down in Arizona a few years ago but I think I should either put the left one’s down and/or the right one’s up before the IPMS/USA 50th Anniversary contest this coming August. (Email me @ fox7077@gmail.com with your comment.)
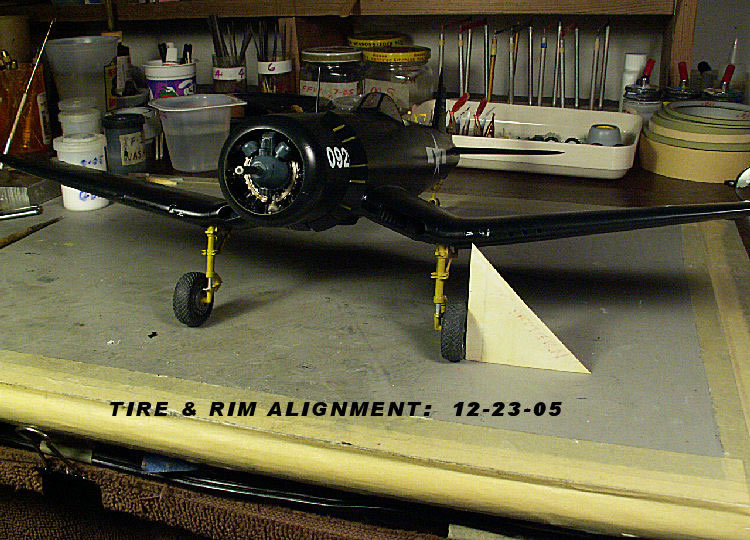
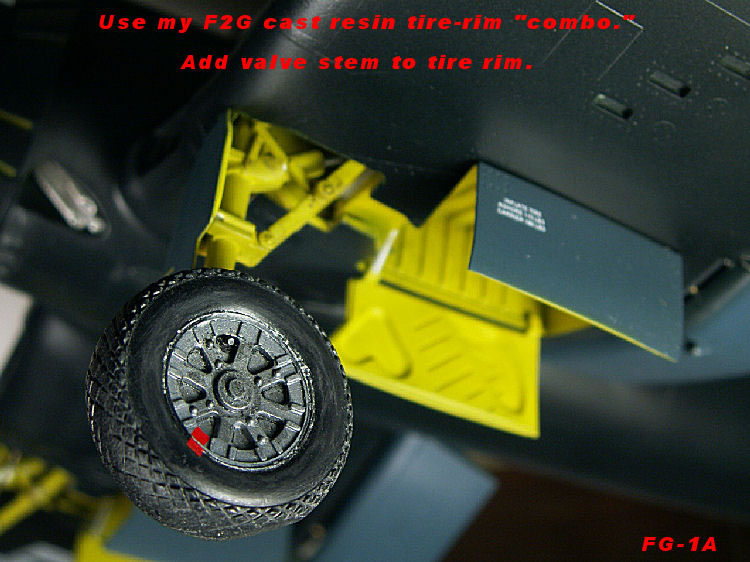
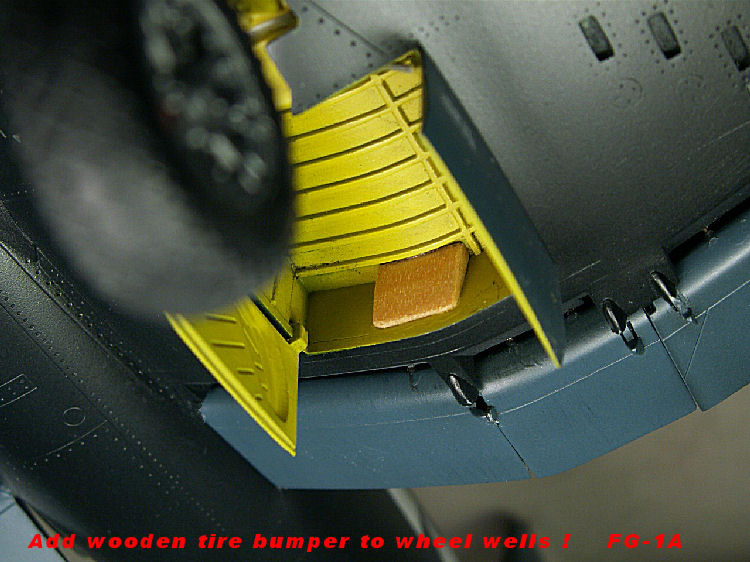
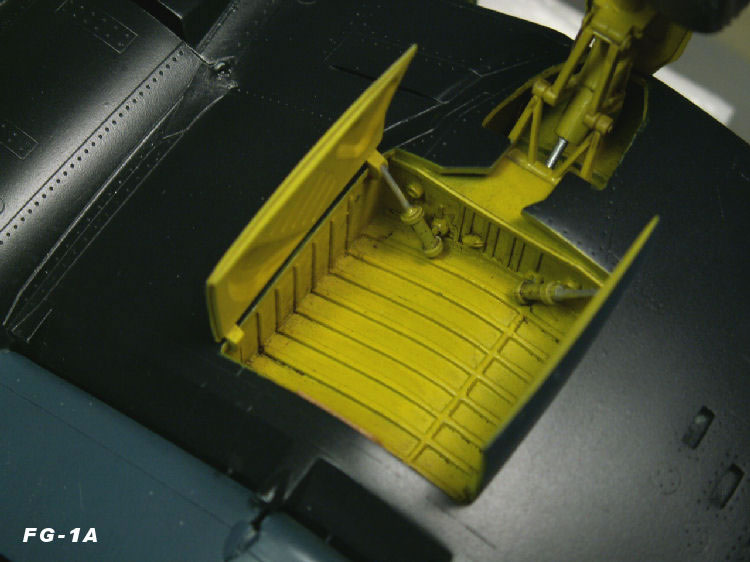
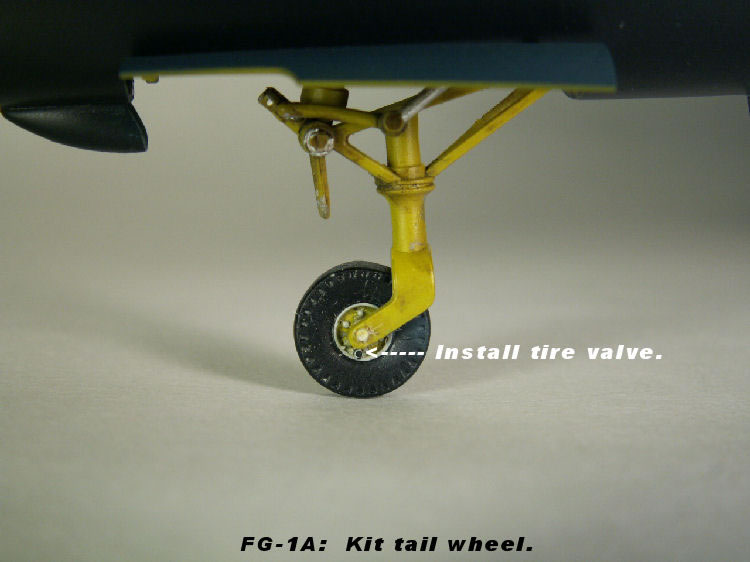
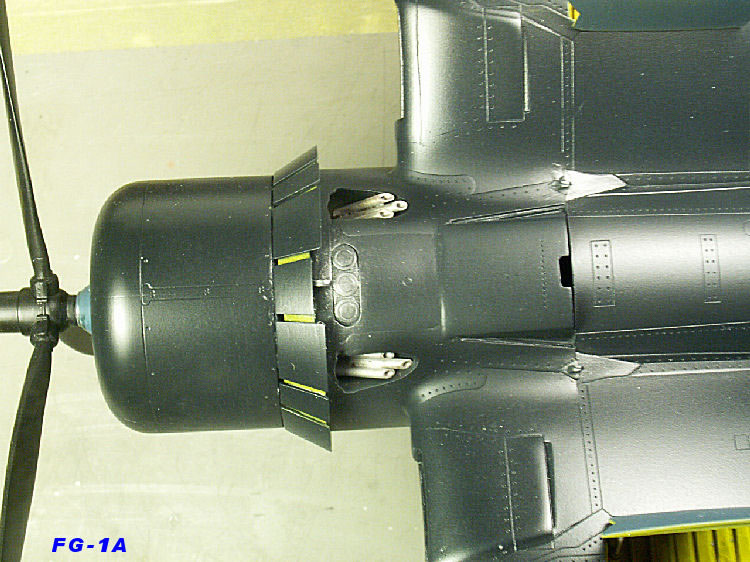
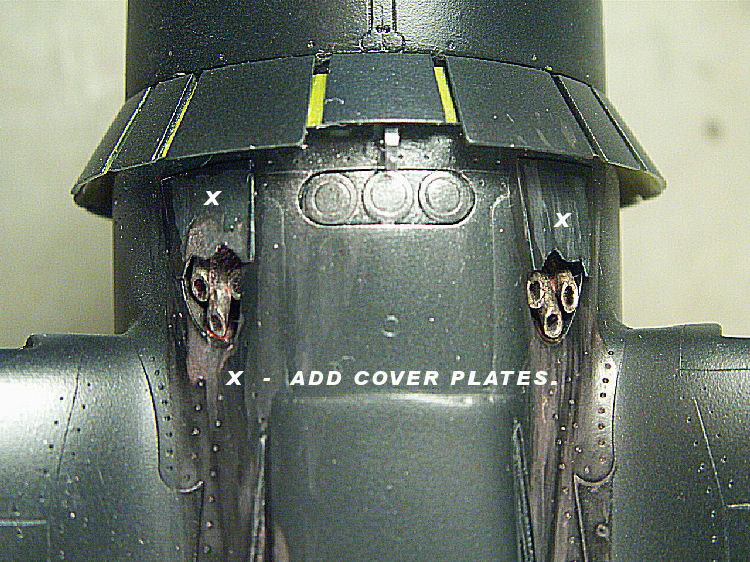
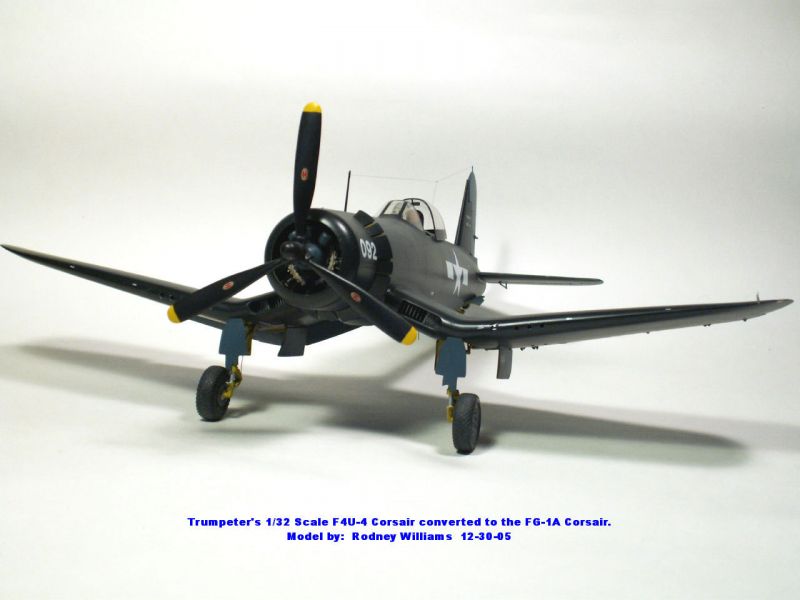
My next operation is attaching the main landing gears and doors, including the tail wheel doors and the tail wheel. There were what I call “wooden-bumpers” attached to the back wheel well wings spar. I make these bumpers out of flat half inch wide by 1/16” wooden sticks. My Corsair data states that when the tire hits this wooden plate it compresses the oleo strut a bit and holds the unit firmly in the wheel well.
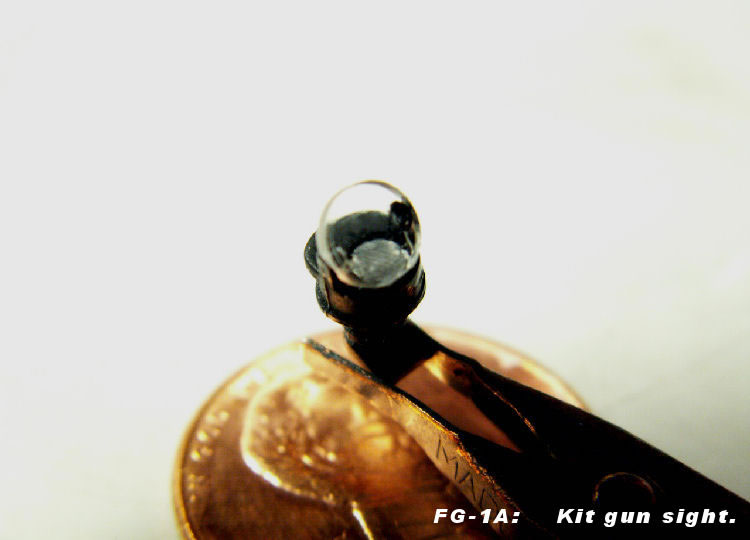
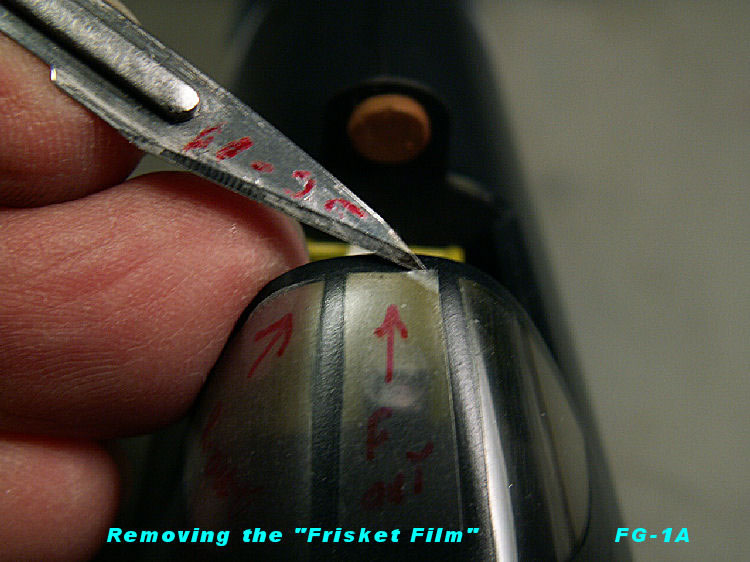
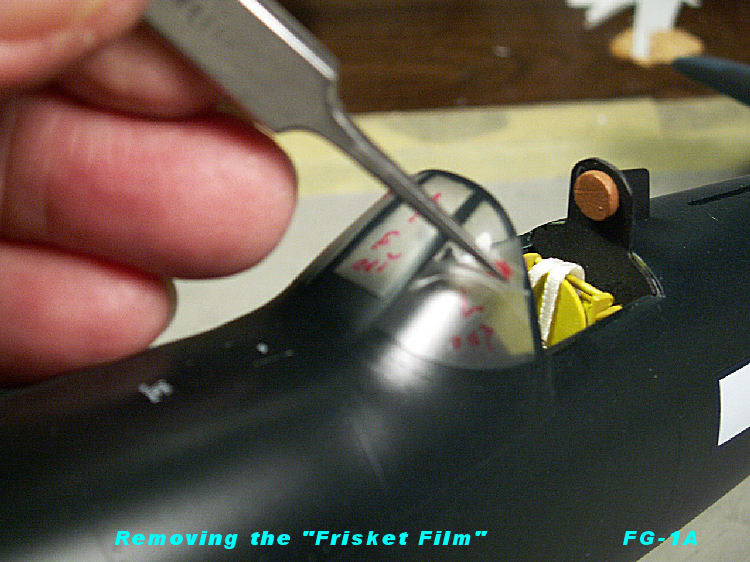
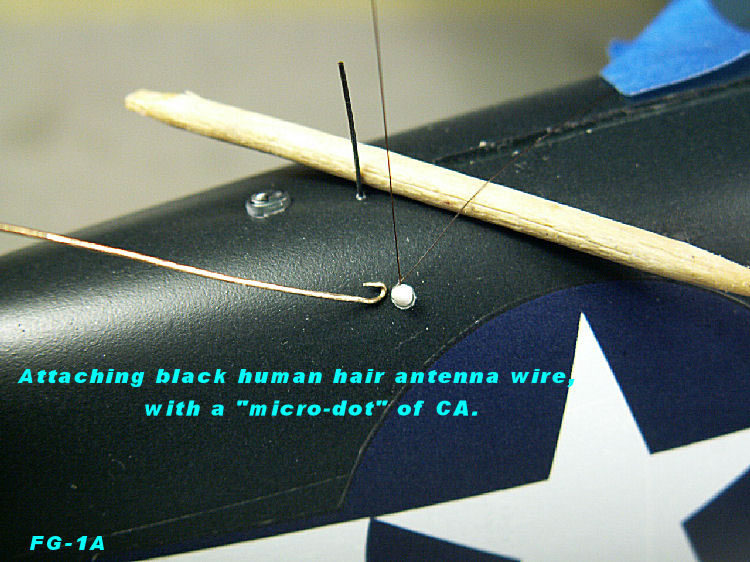
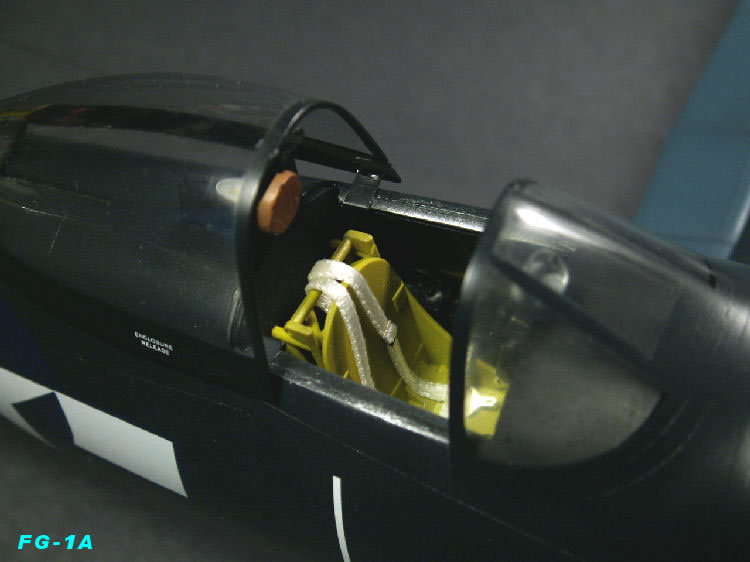
I wait until the model is about 95% finished before I remove the Frisket-Film and install the gun sight. My last installment is attaching the ladies black hair to my model’s antenna posts. Of course the prop is put on last with a bit of white glue.
The end has come for this model and I hope you have gained some data on building your FG-1A Corsair.


Happy modeling from the old Corsair man!
Rodney
© June 15, 2013
This article was published on Saturday, June 22 2013; Last modified on Saturday, June 22 2013