
HobbyBoss 1/32 P-61A-1 Black Widow
By Steve Sobieralski
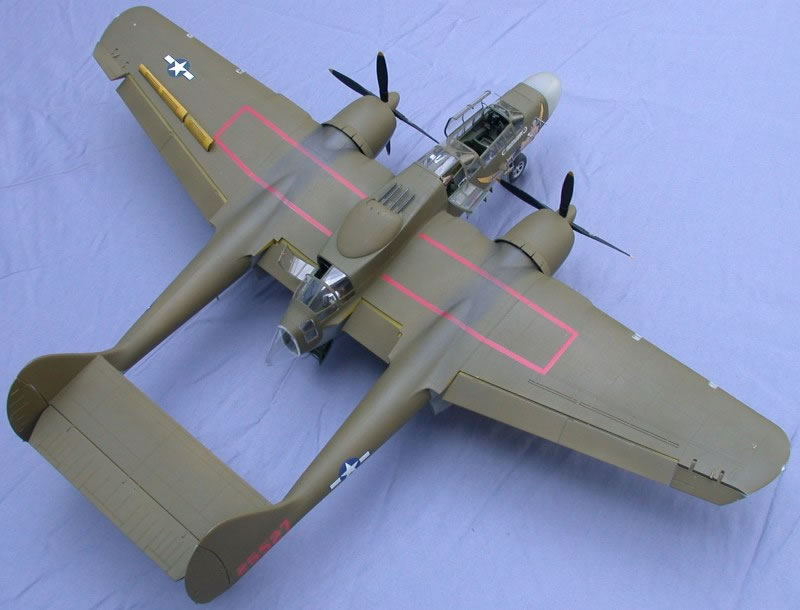
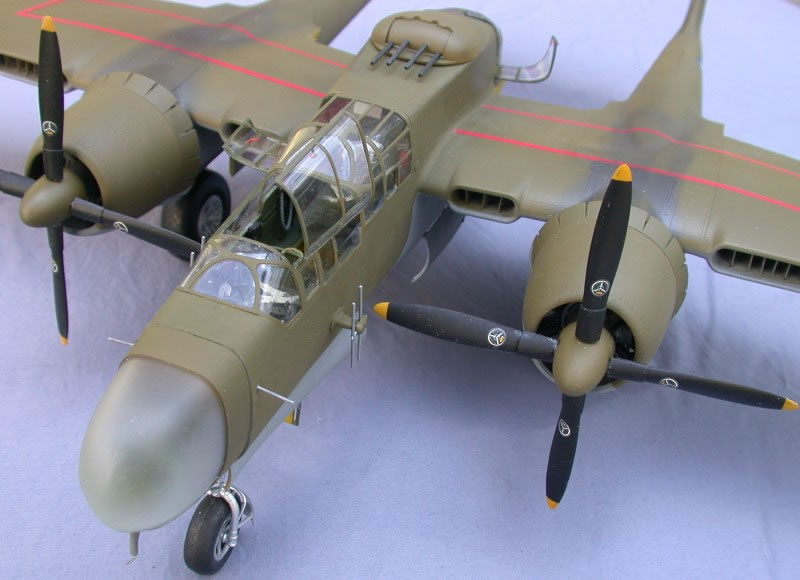
This is my recently completed HobbyBoss 1/32 P-61B kit built as a P-61A-1.
The P-61 was the only WWII airplane designed from its inception as a nightfighter, and due to the size and weight of the early airborne intercept radars it emerged as a very large two-engined aircraft roughly the size of a medium bomber. Despite its bulk, the aircraft turned out to be very maneuverable, mainly due to its large flap area and unique spoiler/ailerons, and to have excellent single-engine handling characteristics. In many ways it was a very advanced aircraft and very heavily armed, but with its gunner and power operated turret, it was in some respects a throwback to the concept of the Bristol Brisfit and Boulton-Paul Defiant.
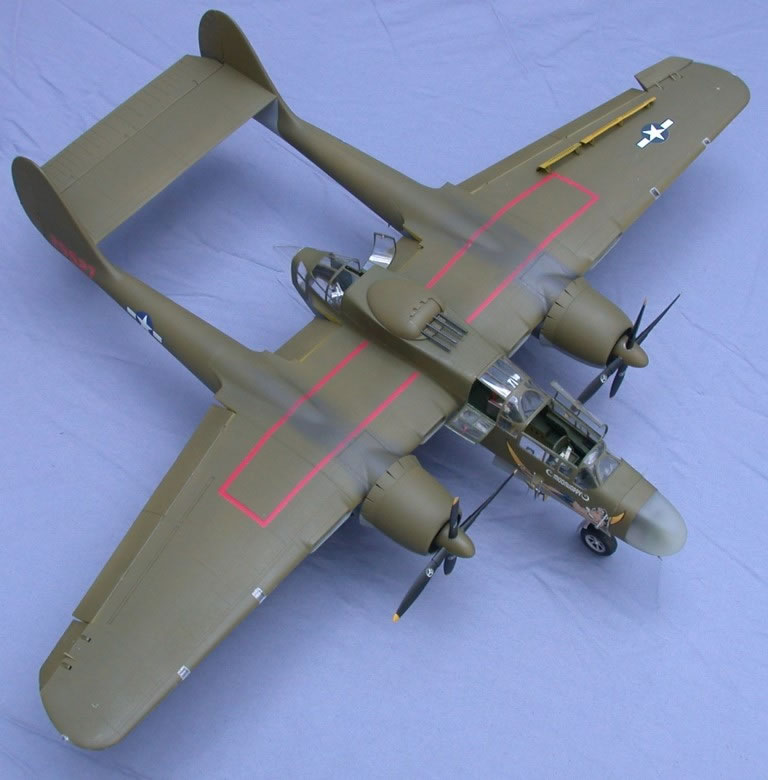
The Black Widow has been one of my favorite WWII aircraft for many years and until recently I never dreamed that I would see a 1/32 kit in my lifetime. There has been a lot written about the kit being a mixture of A and B features and this is essentially true, but I have to say I think the kit tends to be more B than A. The main A features are the one-piece main landing gear doors, nose cone shape and aileron trim tabs, while the longer fuselage, cockpit layout and other minor details are clearly B. Whether on purpose or not, HobbyBoss has actually done the modeler a great service by producing a kit that, with some minor work, can be built either as an A or B directly from the box.
I intend to build both an A and a B, one for each of the color schemes, OD/gray and overall black, that the plane wore in combat, and since I feel a turretless P-61 really lacks something, that means a very early A and a later model B. I decided to build the A-1 first, and the kit was built OOB with these exceptions:
- Six oxygen tanks and tubing were added in the tail booms behind each main wheel well.
- Exhaust stubs were fabricated and glued to the (bogus) exhaust/engine mount. (These are just barely visible behind the partially open engine cooling flaps.)
- Brake lines were added to the main landing gear.
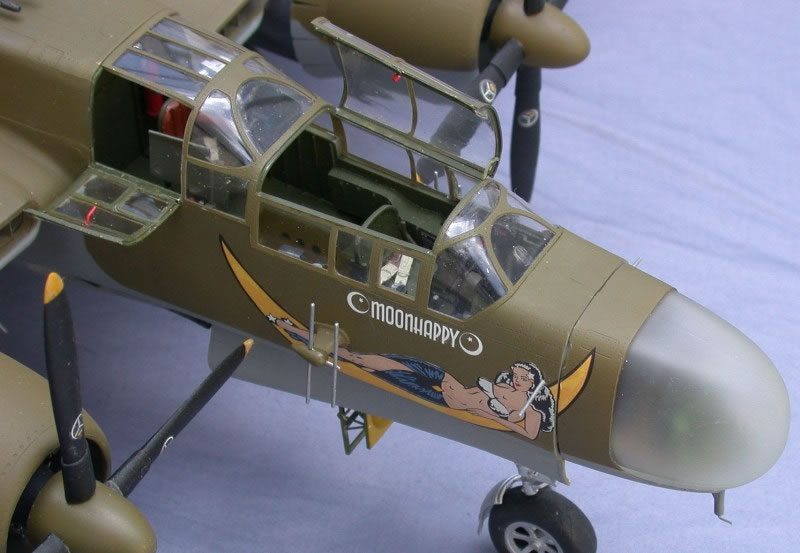
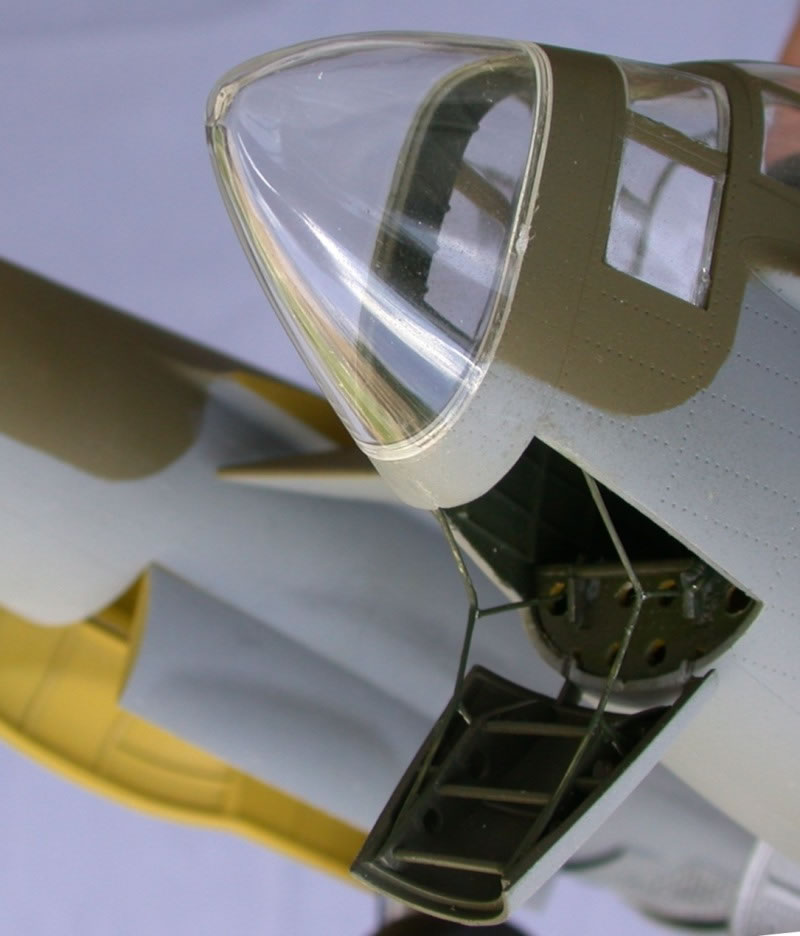
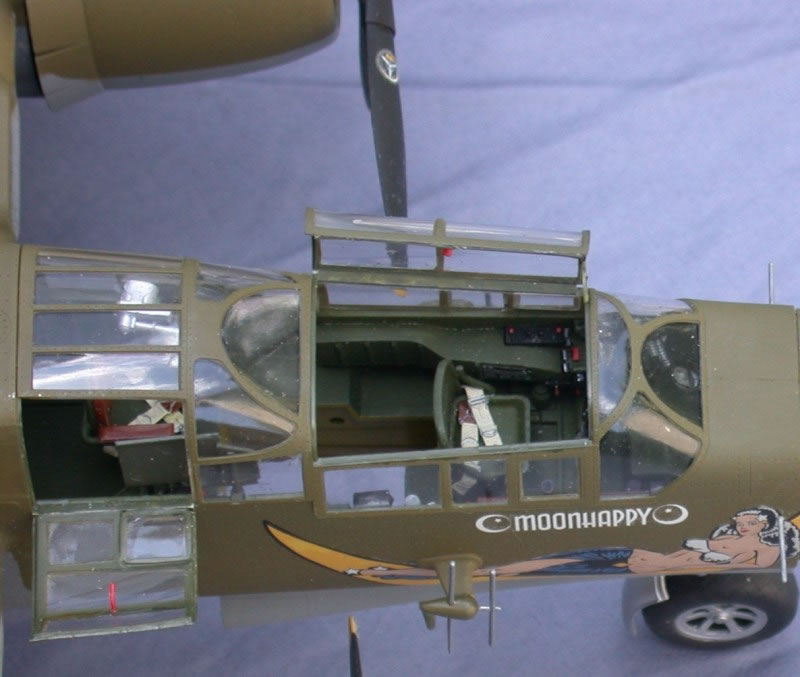
- Various missing minor cockpit details such as throttle and mixture control levers were added and bracing struts were added to the cockpit and radar compartment access hatches.
- In addition, I also followed the list of modifications for the P- 61A-1 that I compiled and posted in the following thread in the LSP forums: What needs to be fixed to make the HobbyBoss P-61 a true B. The major operation was to shorten the fuselage behind the nose. (The nose has not yet been permanently attached, which is why there is a bit of a gap.)
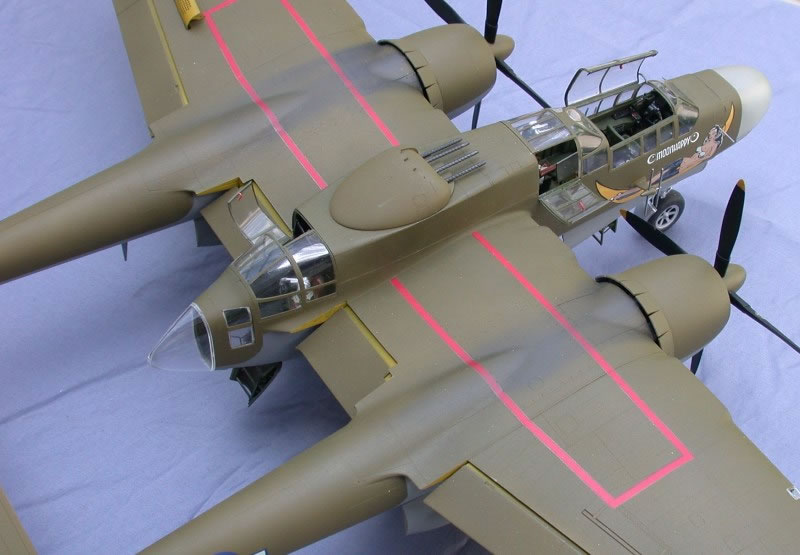
One of the interesting aspects of the aircraft that I wanted to display are the wing spoilers, but the kit instructions show them deployed together like airbrakes, which is incorrect. I posed the aircraft in a left banking configuration with the left aileron in the up position and the left spoiler deployed, and the right aileron in the down position with the right spoiler retracted. I also posed the control yoke in the cockpit turned to the left. The plane would probably never be seen on the ground like this, except perhaps for a maintenance situation, but it is the only way to correctly display a deployed spoiler.
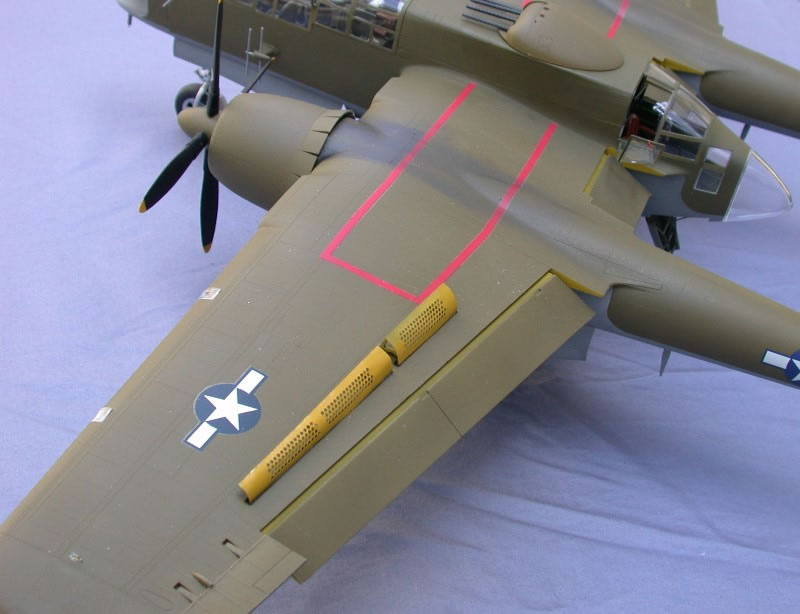
Kit assembly is straight forward and fit is generally good with a few exceptions. One "iffy" area is the front cannon panels (H4, H5, H8 and H9). It is almost impossible to get them to fit well after the fuselage is assembled. I would recommend gluing them into the fuselage halves before you glue the fuselage together. (To do this, you will also have to cut the cannon barrels off and glue them in later, but this will make painting both the fuselage and the cannon barrels much easier.) Another recommendation I have is that you consider gluing the two pieces of the top of each wing (A2+M4 and C2+M10) together first, mating them as closely as possible, tightly clamping them and then allowing the glue to dry thoroughly. Then glue the wing top and bottom halves together. This will make the joint at the top of the wing much tighter and easier to deal with, mine did not require any filler at all. The fit of the tail booms to the wings is pretty good and should require a minimum of filler. I also did not attach the fuselage top (part S82) until after the wings were attached, which allowed access to the inside of the fuselage/wing joint for a liberal application of super glue for strength.
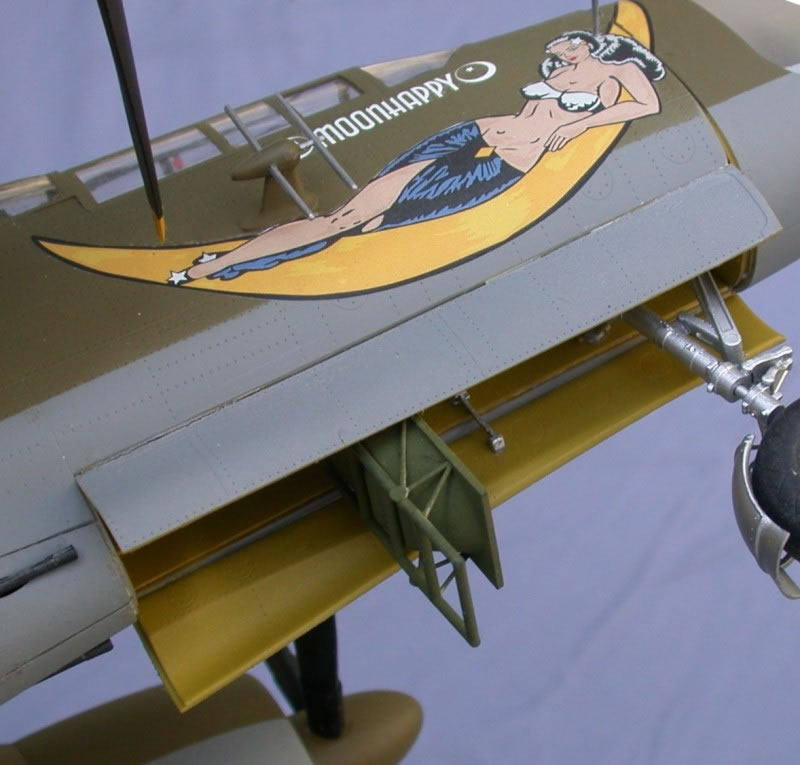
The “Moonhappy” nose art and serial number decals are from Kits World and went on very well. Paints used were all Model Master enamels. The plane should probably appear more weathered, but I am not very accomplished at that so I left it "clean". I did add some exhaust stains using brushed-on powdered mechanical drafting pencil lead collected from an old-fashioned XXth century lead pointer.
I left the wing leading edge light covers clear, but I believe they should be painted over, as I have yet to see a photo of an A with the clear covers.
© Steve Sobieralski 2013
This article was published on Wednesday, September 25 2013; Last modified on Tuesday, March 15 2016