
Combat Models 1/32 B-24J
By Larry Hawkins
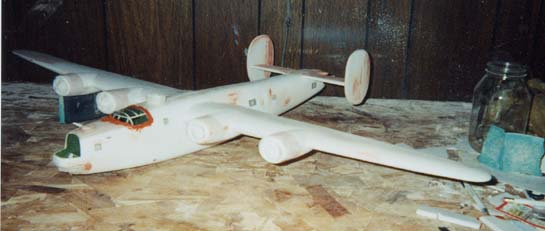
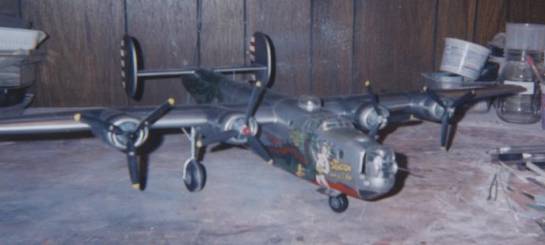
This pic shows the 24 at an angle to show of the size of this A/C.
Engines were added during construction due to the way they set in the nacelle's. I cut the nacelles off from the back firewall and scratched the nacelle after I added the engines to each one. These were glued into place and then I added the cowl rings to them. Of course the other items such as the fuselage, you add the balsa strips to the edging and sand them to the right shape. I added the cockpit as a one piece slip type as I have done on other vac kits.
Wings were built and sanded to their correct shape and added supports to the insides of each before they were attached to the fuselage. After this was done, I went on to the tail section after the wings were in place, but will tell you about this in an upcoming step.
The red stuff that you see on different areas is spot putty from an auto body supply shop and the tan coloring is bondo. These were put on areas that were out of contour and needed to be filled. The bondo was used first and the red spot was used as a filler for the fine holes, the other (bondo) doesn't do well in small areas and when sanded can be over done and that's not good.
Special note here and for those who may build this kit. It has some very nasty low areas, especially under the bottom parts of the fuselage, this is where the bondo comes in to fill up those areas and the wings as well.
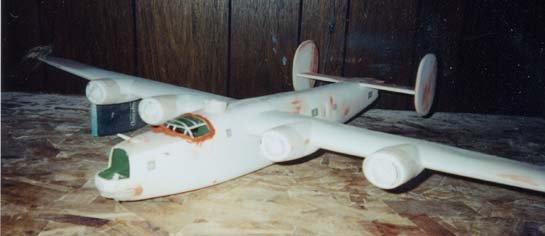
This view is a closer look that shows the areas that are lighter where I added pieces of clear to areas that had clear in them. These were placed from the plans as per measuring to get the right locations. These were glued into place and sanded down to the shape and contour of the fuselage. I then cut out pieces of masking tape to the shape of the glass for individual locations on the fuselage. These will be removed after all the primering and painting is done. There are 8 of these that are on the plane.
This left hand view shows the canopy that I scratched and since the kit canopy was way to small I went ahead and made a frame as was in the real A/C out of flat strip Evergreen. I used a piece of clear that I got off a package cover and the thickness was right for what I needed. It was cut to shape and the pieces were added to the frame work. There were 5 pieces that were cut, shaped and glued into place. Superglue and hardener came in real handy here since these had to be laid down one at a time. When all pieces were in place I then added red spot putty to them and let them set and sanded the spot off and sanded to the canopy to shape. This will be buffed out and I will use clear here to give that shiny look to the clear.

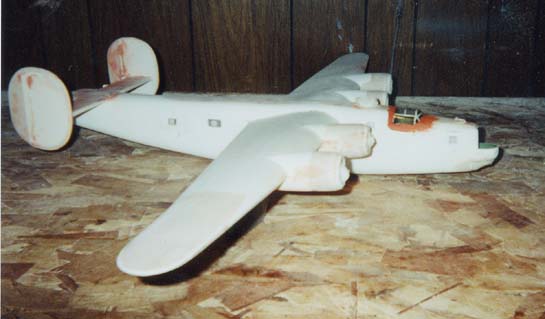
This view shows the tail section that was scratchbuilt, the kit parts were not good and this way is a lot better. Same for the twin rudders, they were scratched also. I did something that I did before, covering balsa wood with thin sheets of plastic, or better known as laminating. I took the plans and marked off the tail plane and cut it out of 1/4th inch sheet balsa, but added a small piece to make one size as to the plans. These were covered with .010 sheet of Evergreen again using super glue here. I wrapped around the sheet and cut out the excess and it turned out OK. I then cut off the to humps that show up on the top of the tail. These were glued into place then bondo was added to these pieces, then sanded to shape. These were to be done again without over doing the sanding, one doesn't sand vac much without causing a hole or tearing the surface. When this was done I went ahead and made hinges for the elevators which were done separately and covered as the tail piece.
After the sanding and gluing was done here I went to the rudders and cut them out of sheet balsa and covered them as well, except for the rudder control surfaces. These were also balsa but covering them was not to be, these were cut out one at a time and here I had to add some square 1/4 inch stock plastic rod to get them to stick out from the rear of the rudders, as to the plans. Then when this was done they were put into place as to the plans. When they were in place the red spot was used to fill in the areas that needed it.
The elevators were scratched as the rudders and tail piece with .010 sheet and detailed to show the fabric covering. But this won't be seen until it's given a black water base wash, but that's after the painting and etc.
To those who feel this is a bit much I understand, but all in all this kit can be made into one nice kit. But as the old saying goes, "Can't make a silk purse out of a hog's ear". The only thing that is worthwhile in this kit is the fuselage and the wings, and that's it.
One thing here, I must give John (owner of Combat) some credit for doing this kit. It can be a very long time before Delvac gets their 24 out, and for all others it's up to you if you want to do this kit, but that's what modeling is all about. To be different and to do the unexpected.
Here she is! All done and ready for a contest in Topeka, KS. on the 27th of October.
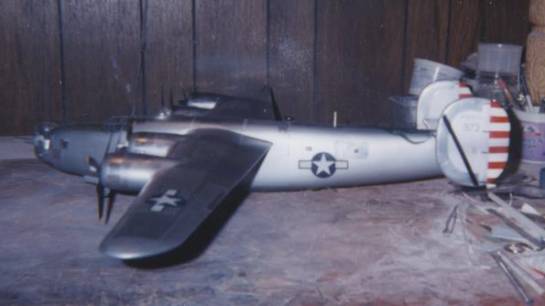
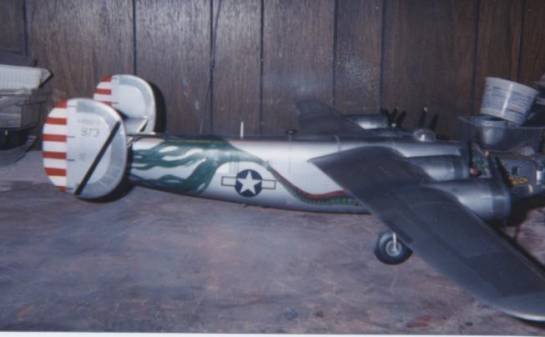
The Dragon's tail from a right angle shot
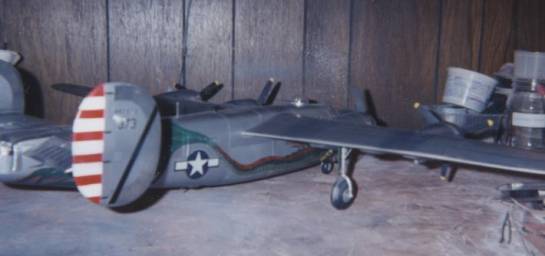
Port side view
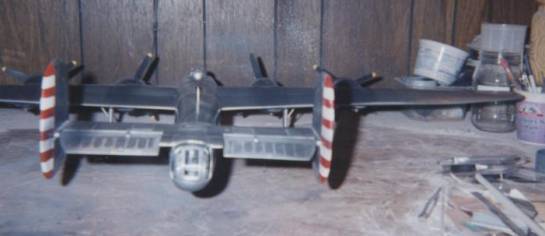
Tail gun position, or the business end of a B-24J
Right rear side view with the tail of the Dragon in full view. This was a mother to hand paint.
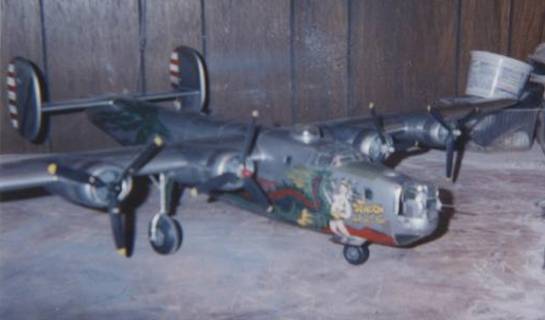
Here she is at a little better angle shot. The Dragon has 4 different shades of green and the scales were dry brushed.
© Larry Hawkins
This article was published on Friday, September 27 2013; Last modified on Saturday, May 14 2016