
Revell AG/Hasegawa 1/32 F-5E
By Jeffrey Brundt
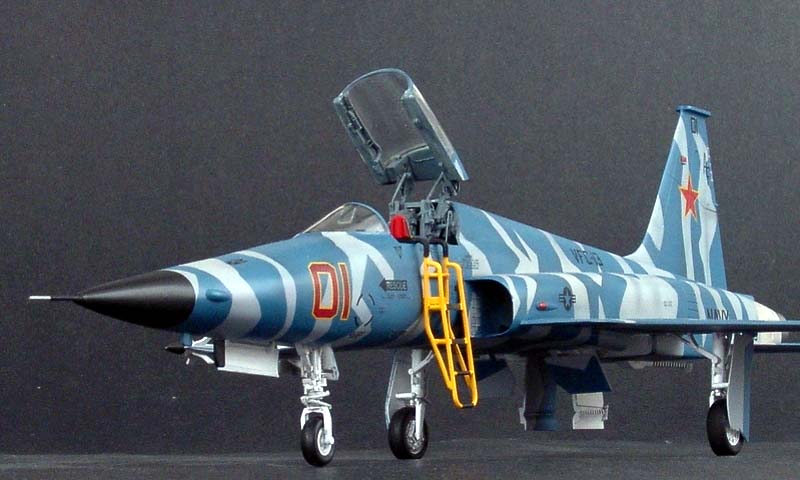
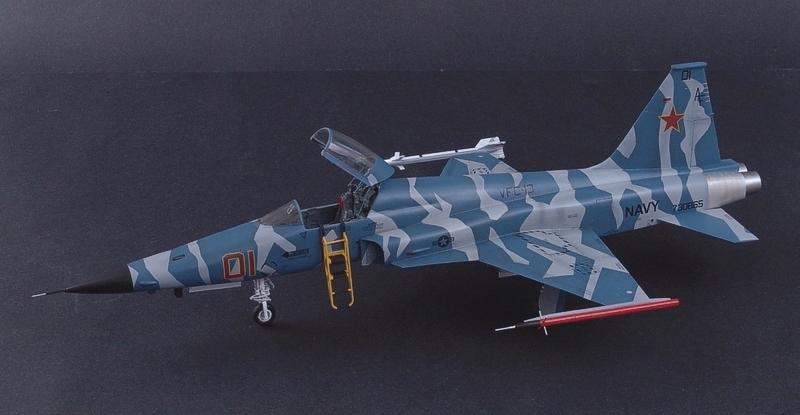
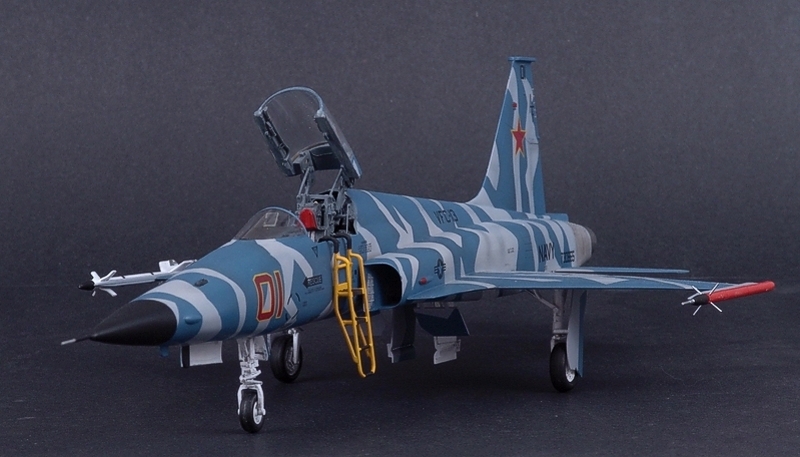
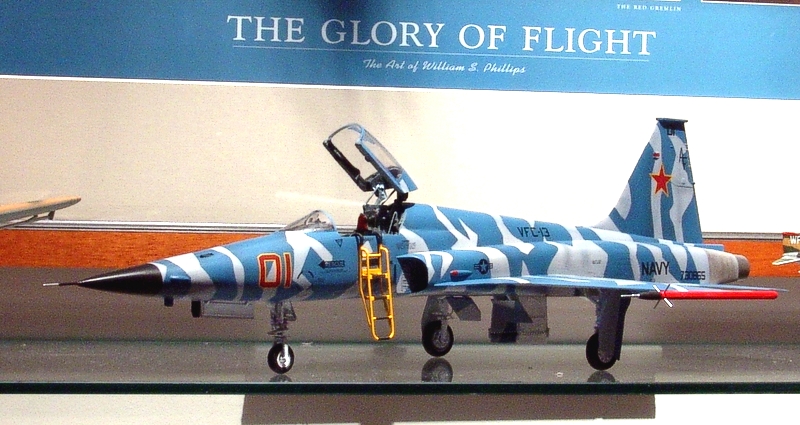
This is my Revell AG/Hasegawa F-5E “Shark nose” done up in VFC-13 colours. This kit was a battle from start to finish. Since I wanted to close up the gun bay on the nose I first had to fit the doors. I don’t think it was ever Hasegawa’s intent for you to close these up. The fit is terrible and gaps and mismatches abound. Copious amounts of bondo, styrene, CA, Mr Surfacer, Mr Dissolved Putty along with repeated applications of each and lots of wet sanding were required to bring the mold line into shape.
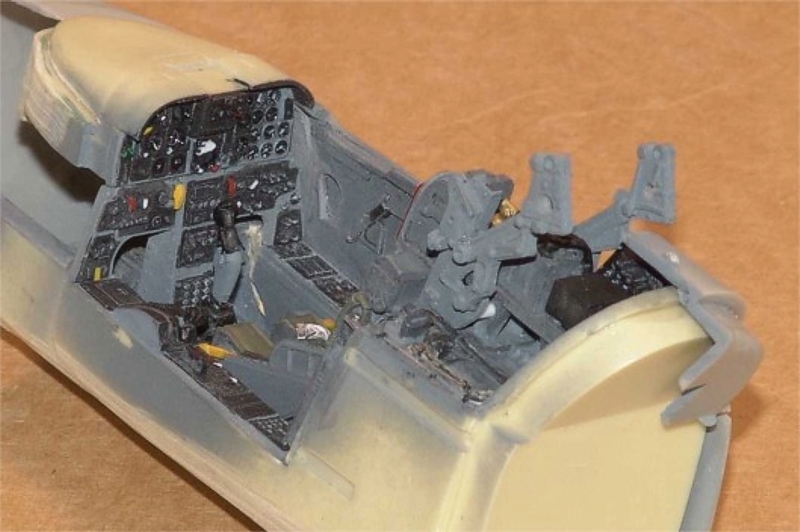
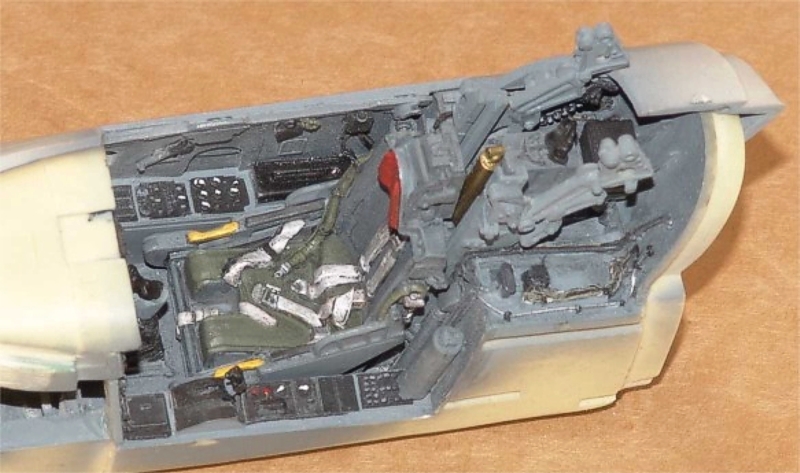
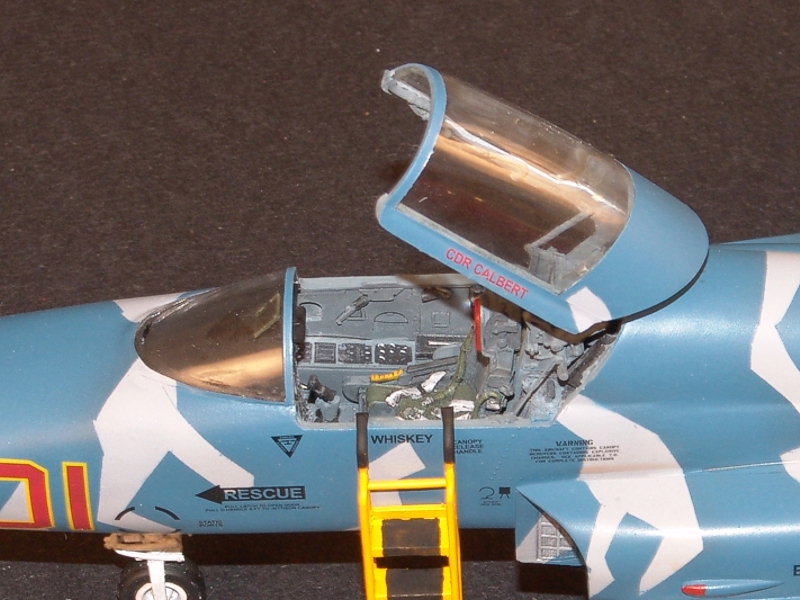
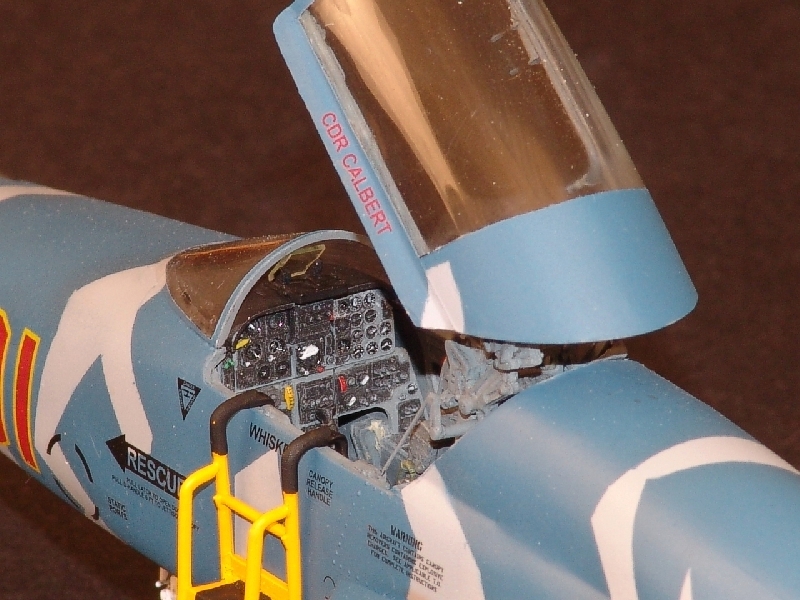
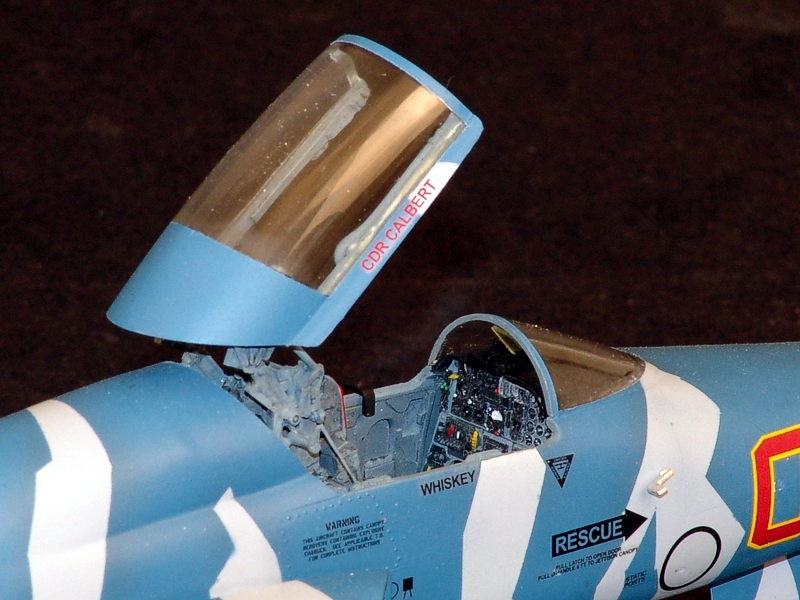
I used the BB resin cockpit. The BB pit is not a “drop-in” affair, however. Grinding and shaping of the resin tub is required to get it to fit properly inside the forward fuselage and allow the forward fuselage halves to join together without a gap. The BB pit though does add quite a bit to the model and is an improvement over the kits offering. The glare shield requires some cutting of the kit and a few dry fits to make sure it installs properly. The cockpit was painted with Tamiya acrylics then given an enamel wash to ‘pop’ the details. The various knobs and switches were done with a fine brush, steady hand and keen eye.
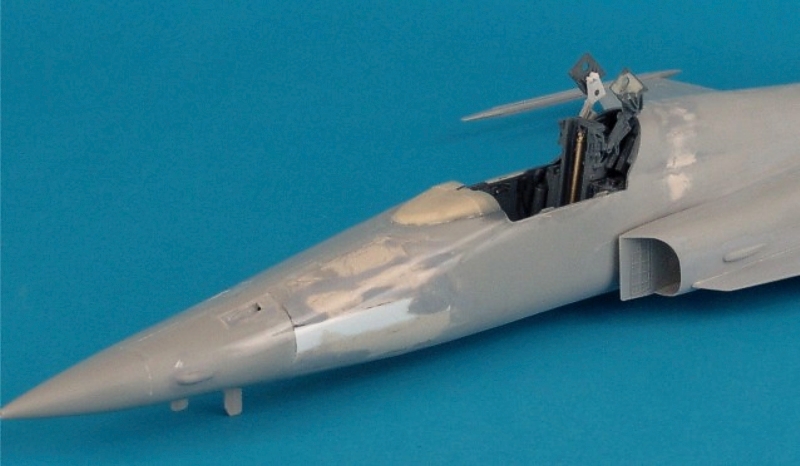
Fitting the forward fuse to the aft fuse requires a bit of putty, Mr Surfacer and sanding getting things to spline correctly. You want to do this before you install the intakes though so you have good access to areas that will be limited when they are in place. The intakes too require putty and sanding to get them to fair in smoothly with the fuselage. I think by now I’ve used almost a whole tube of Squadron white putty on this beast.

The wings were assembled and also needed some putty to conceal the join lines on the bottom side. I thought about dropping the flaps but I figured at this point I already had spent way more effort than I anticipated. With the wings done they were glued to the fuselage and more putty was needed to clean up the joints. (Are you starting to see a pattern here?) Even the vertical fin needed putty to hide seam lines.
More putty, Mr Surfacer and sanding sessions followed until the model was deemed ready for paint. It should be noted here that all during the sanding process the canopy retraction and extension mechanism that’s part of the BB cockpit was carefully accounted for so as to prevent damage to it. Unfortunately the best laid plans and intentions of modellers are often for naught. During one wet sanding session one of the mechanism arms was knocked off and sent spinning down the drain. I think the screams could have been heard 250 miles away by Larry Hawkins. At this point with all I had been through I was seriously considering putting the model through a wall. However, patience and calm persevered and I managed to scratch build a replacement from kit parts and some scrap styrene. Another disaster averted.
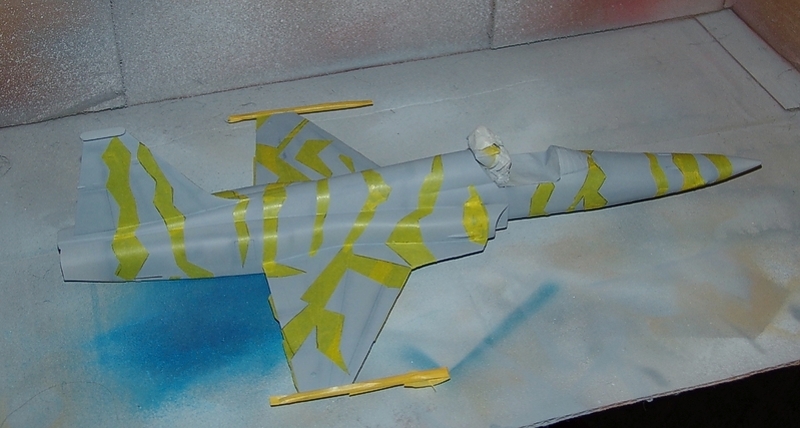
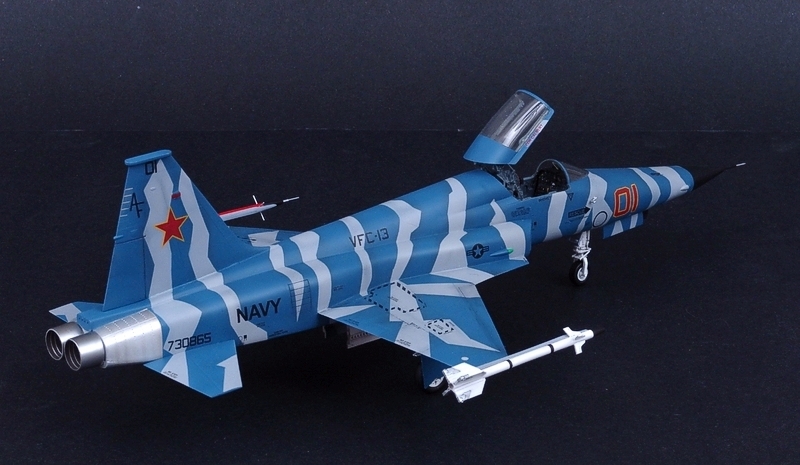
I replace the kit pitot tube with some small diameter brass tubing and music wire. It runs the full length of the radome to the cockpit so there’s no chance of it breaking off. The model was first primed with Mr Surfacer 1000 followed by panel line shading with Floquil grimy black. Next an over all coat of Poly-Scale dark ghost grey was applied to the entire model. This is where the fun started. Using paper templates scaled up from the three views provided with the Two Bobs decal sheet I applied the masking for the Camo scheme. A few nights and several rolls of Tamiya tape later the masking was finished and it was time to apply the Polly Scale Blue USQM 3-1. I’m not exactly sure what this colour is and where it’s used in real life but it was the closest match I could find to the Two Bob’s colour sheet. This was allowed to dry then the model was masked again for the radome and wheel wells. The radome was sprayed Tamiya flat black and the wheel wells were sprayed with Tamiya gloss white. After the paint dried overnight all the masking was removed. The results were quite spectacular. The aft, stainless steel area of the hot section were painted with various shades of Alclad II along with the exhaust nozzles.
Now came all the fun parts like gear doors, landing gear struts, tires, etc. These were cleaned up, ejector pin holes filled, sanded, seams removed and such then painted, weathered and made ready for assembly. The kit canopy is bare bones basic and doesn’t even have panel lines on it. It’s just a smooth piece of plastic. After polishing and dipping the canopy in future I installed the Black Box resin details (pre-painted with Tamiya dark grey and weathered) then applied BMF to the exterior for the aft doghouse portion, side frames and canopy arch. The clear portion was then masked off in prep for final paint.
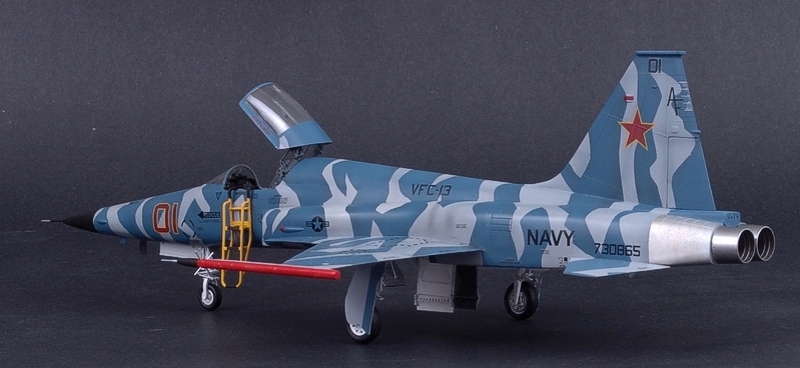
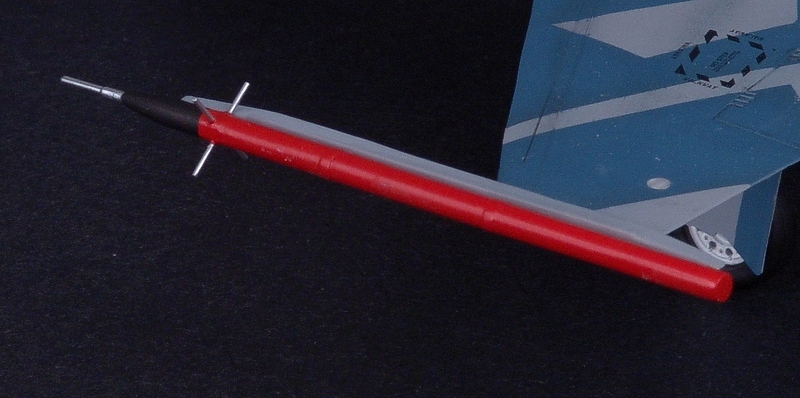
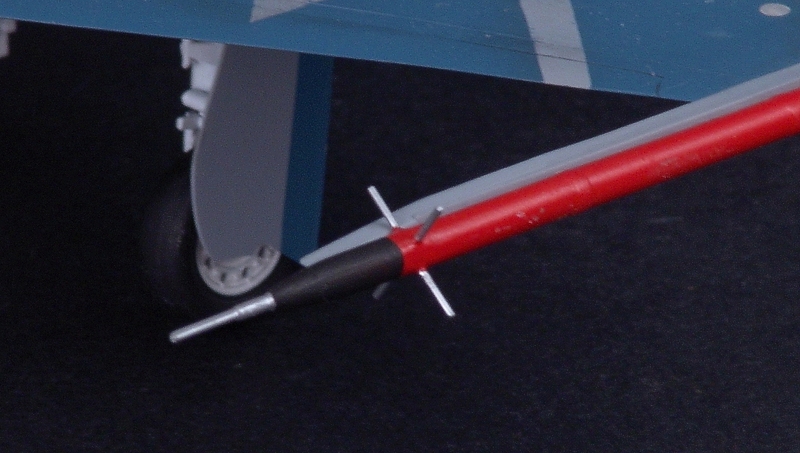
The airframe was now given a satin clear coat with Poly-Scale clear and final assembly commenced. I scratch built the ACMI pod with the unused-used Sidewinder, the kit pitot probe and some music wire. It was painted international orange, black and silver and glued in place on the left wing tip launch rail. The wheel wells, landing gear, air brake bays and gear doors were given a black enamel wash to bring out the highlights. I assembled the kit’s boarding ladder and after a Mr Surfacer white primer application is was painted yellow. The black, anti-skid areas on the rungs were hand painted.
And there you have it...a 1/32 version of a Top Gun adversary aircraft. This model was a challenge from start to finish but in the end the effort was worth it. The BB cockpit is simply stunning and the colour scheme really grabs your attention.
© Jeff Brundt
This article was published on Wednesday, July 20 2011; Last modified on Thursday, June 14 2018