
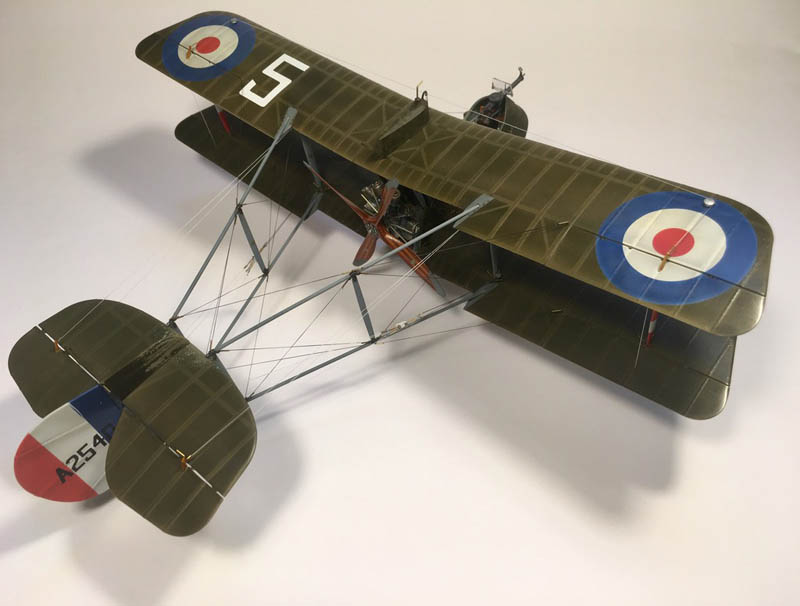
Wingnut Wings 1/32 AMC D.H.2
By Karim Bibi
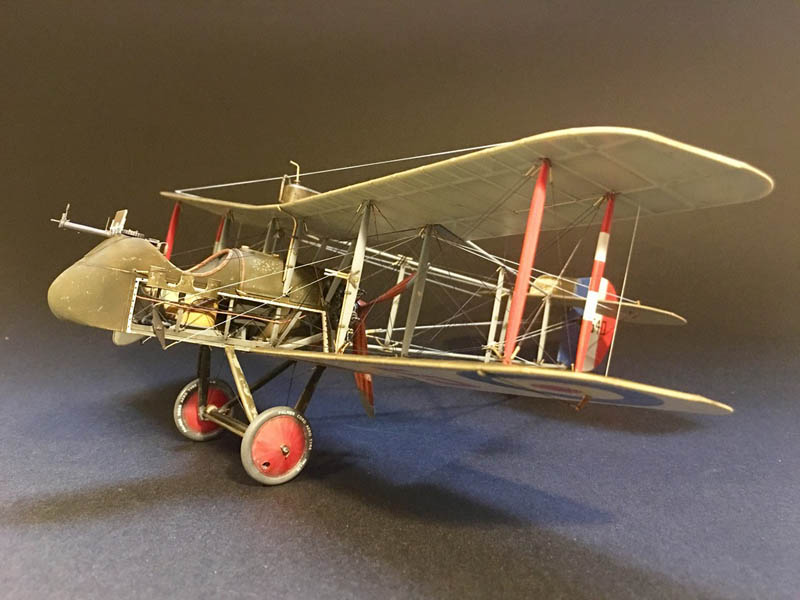
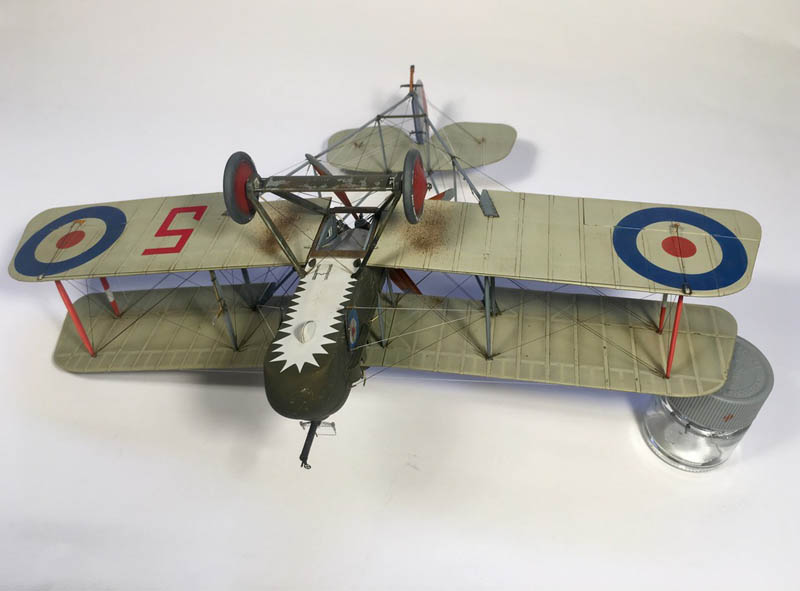
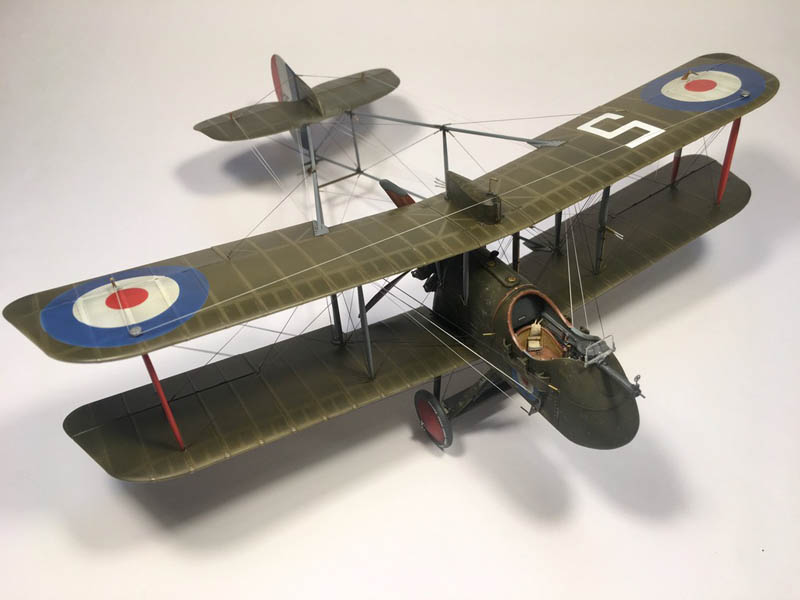
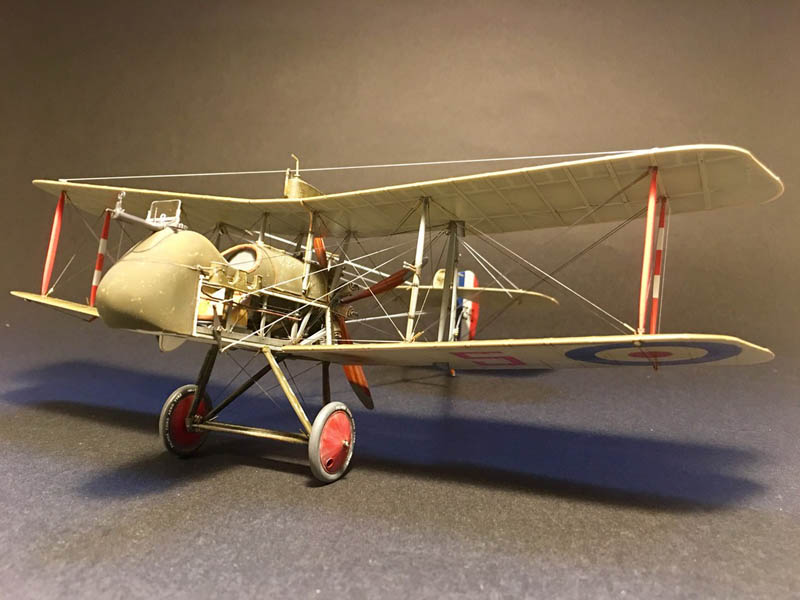
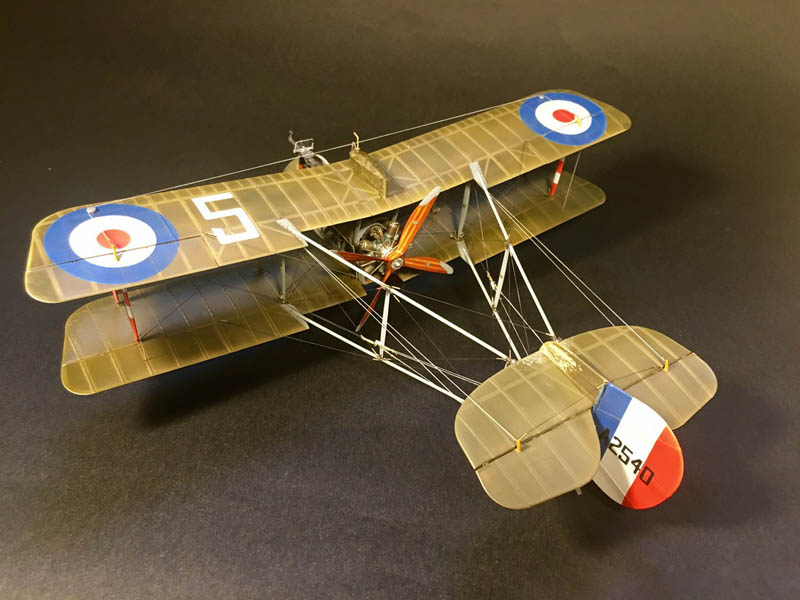
Now this build was really interesting. The size of the D.H.2 is relatively really small compared to the other 1/32nd WWI aircraft I have built before. The cockpit nacelle is exactly the size of a pack of cigarettes from nose to prop!
Model factoids:
- Wingnut Wings AMC DH.2
- HGW superset
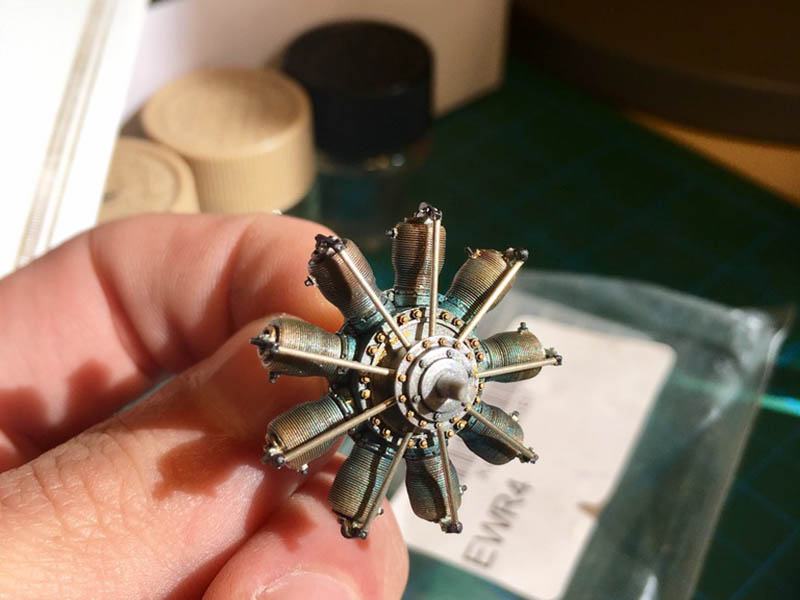
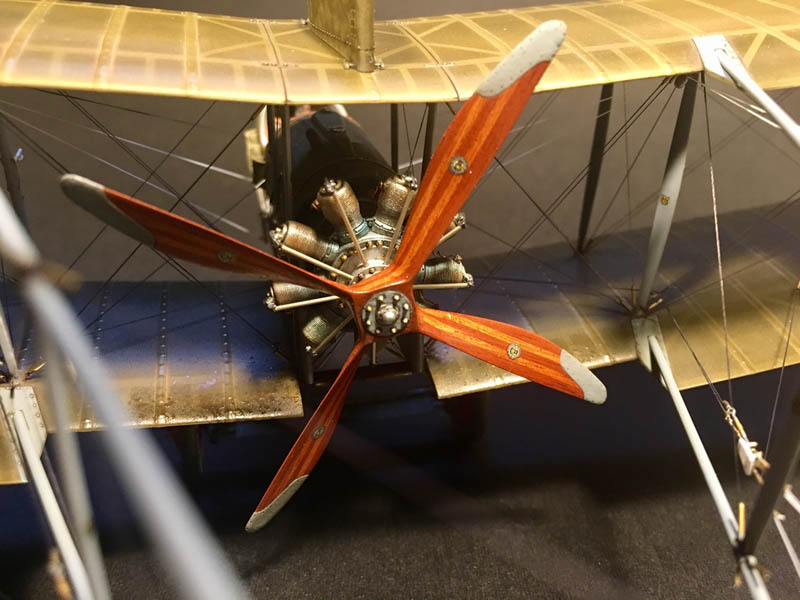
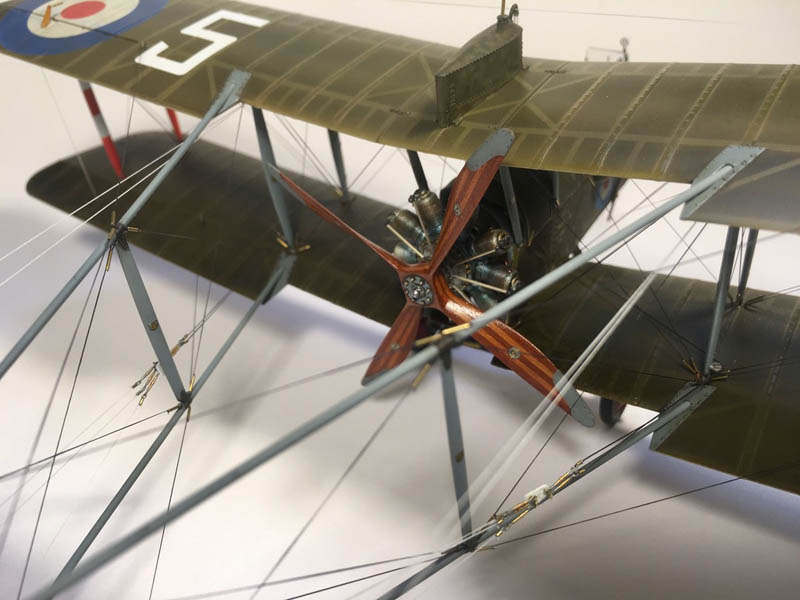
- Vector resin gnome monosoupape engine
- Aviattic linen (very limited use in the cockpit)
- Bob's buckles and eyelets throughout
- Silhouette plotter for all the masks
- Tamiya paints
- W&N oil paints
- AK Interactive for the weathering
- Flory Models clay washes
- UVDR blitzdry for the oil paints
- Gaspatch two ended turnbuckles
- various sundries
- Windsock datafile #48
- DH2 rigging guide on Bob's website
The kit in itself is a jewel. Every part clicks in place and stays there even when dry fitting!
I never stop to be amazed by how wonderful Wingnut Wings' kits are.
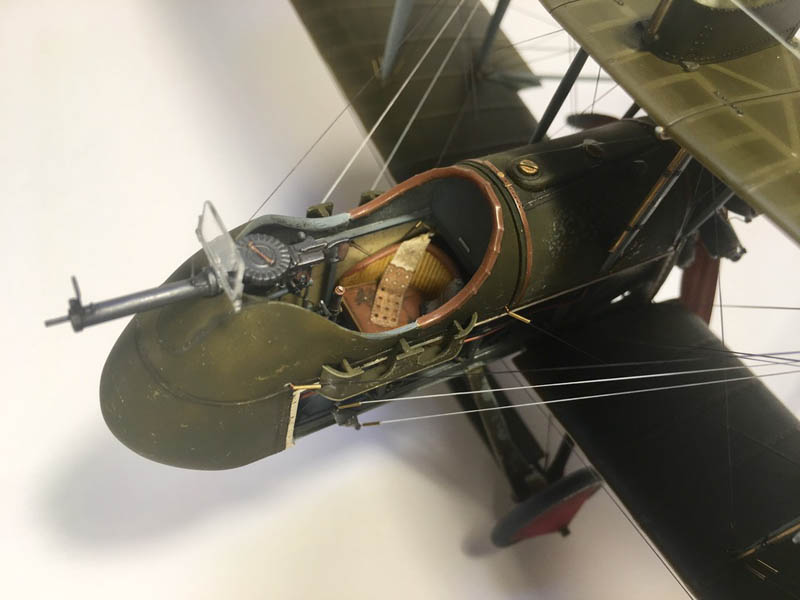
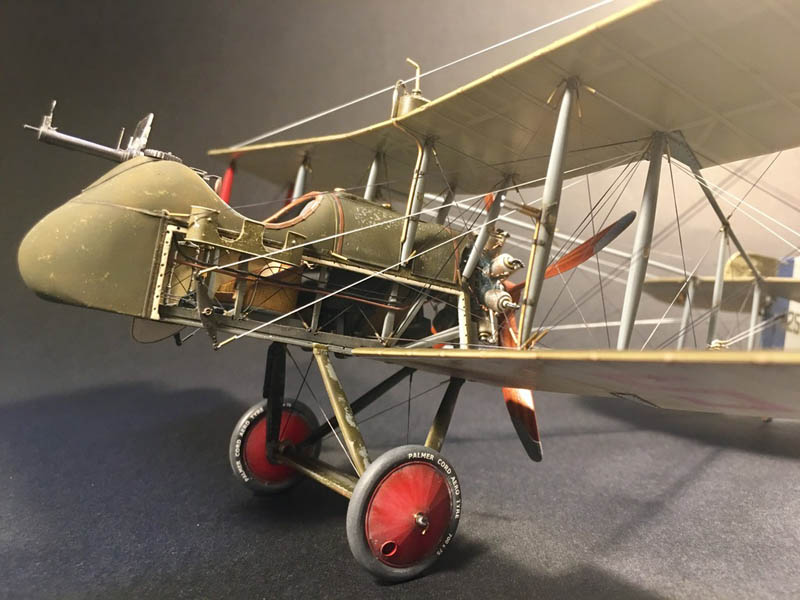
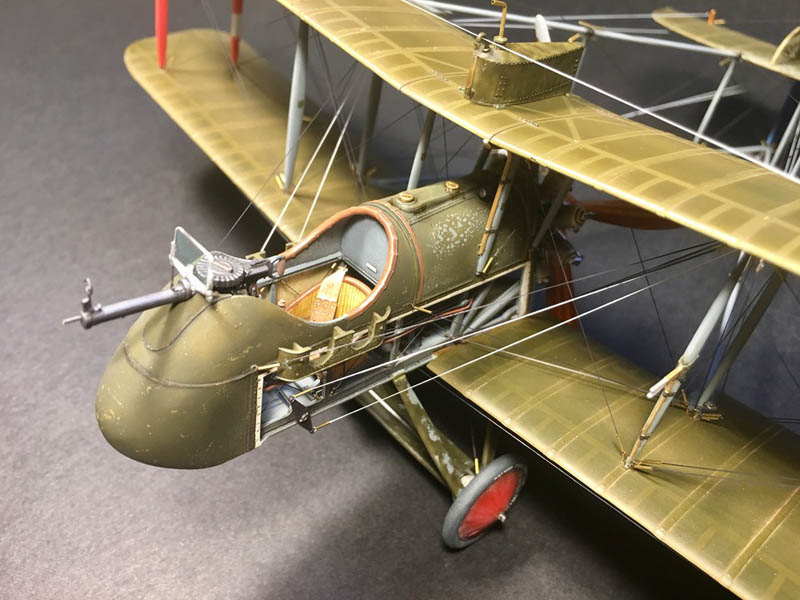
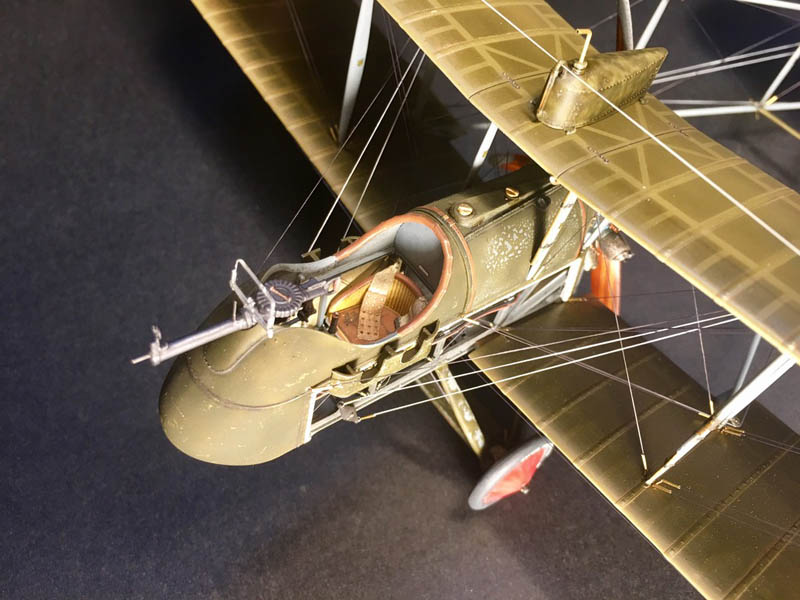
While going through the Windsock Datafile I have found a couple of pictures that show the linen side of the D.H.2 with the linen removed exposing the fuselage structure and the interior...I decided then and there to embark on this adventure.
The fuselage skeleton doesn't need a lot of modification to get the correct framing that you see in the reference photos, one area that needs modification is the aft end of the framing where you need to remove material in order to have the correct two 'triangles' that wingnut wings have molded as one piece for engineering and construction purposes. I also had to scratch an "imaginary" pulley in order to route the rudder wires out of the bare fuselage framing on the left side just to get them to align correctly same as the right side.
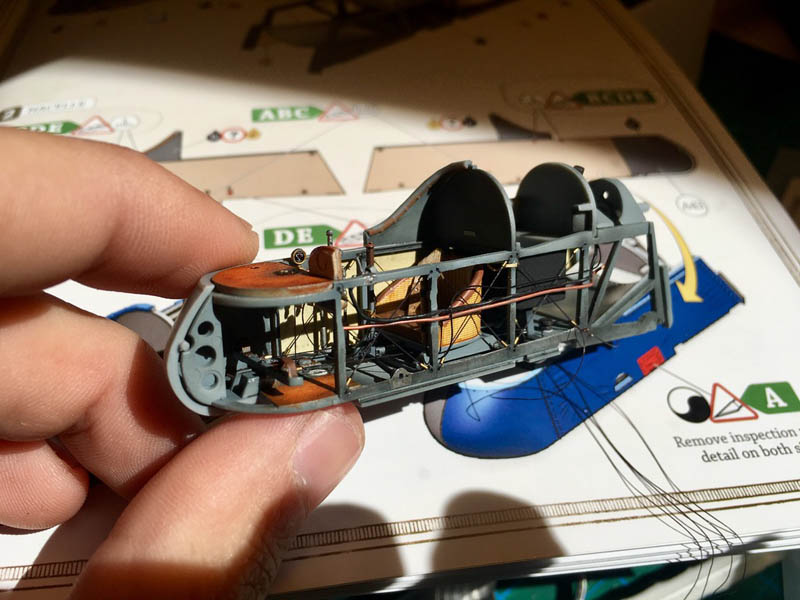
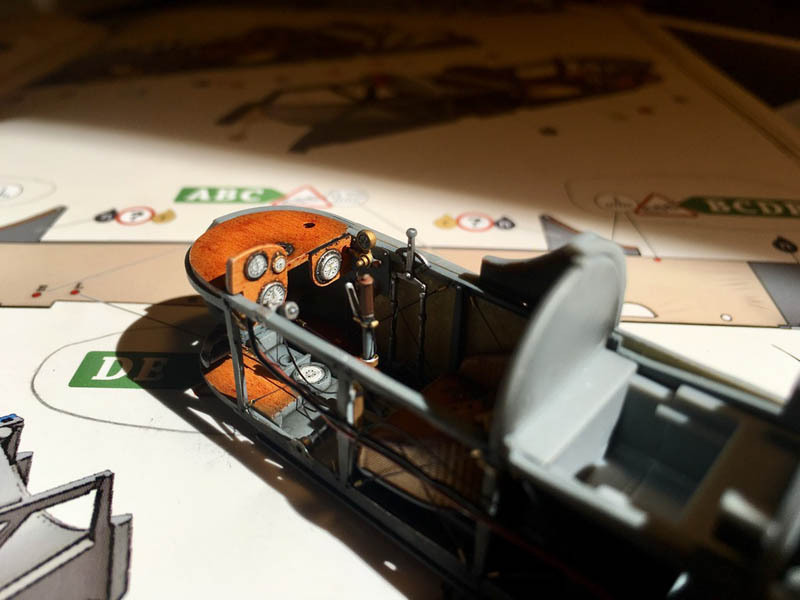

I have used on the inside right side of the fuselage Aviattic linen although it doesn't really show as this area is quite cramped. The wicker seat has been completely painted with various oil colours. A first for me.
I also added wiring that was visible on the Windsock Datafile references.
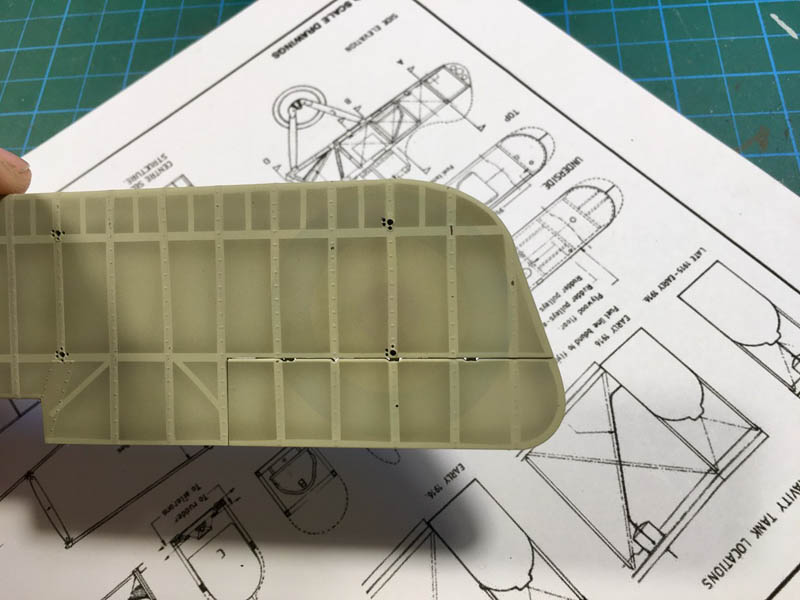
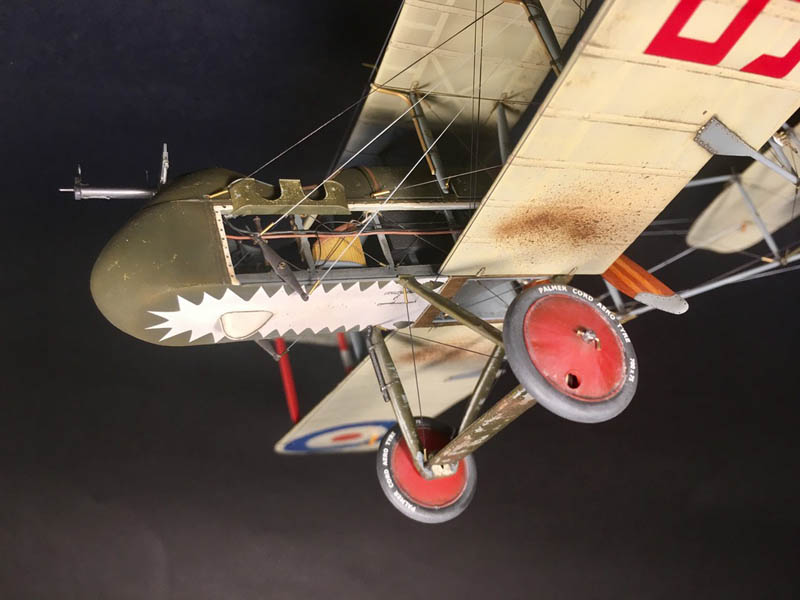
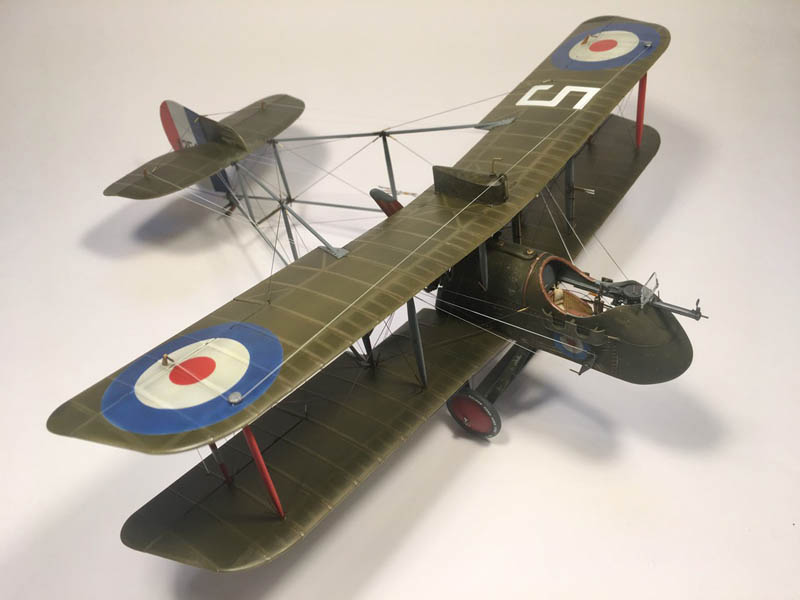
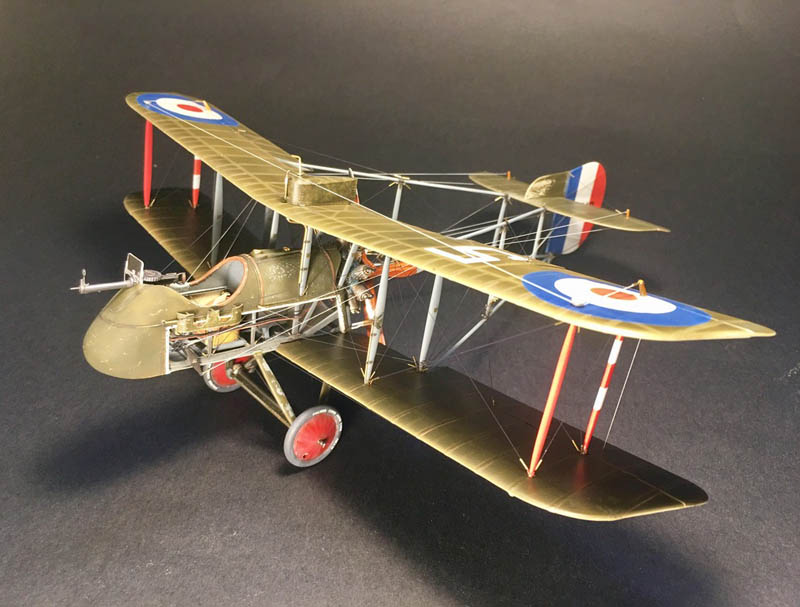
I wanted a really beat up little D.H.2 so I went to town on the kit with the weathering. The chipping was done with AK's Worn Effects and heavy chipping. Multiple oil filters were used on the fuselage and wings. I used my Silhouette plotter to cut 1mm and 1.5mm strips in Oramask810 vinyl in order to mask the ribs of the wings and I have used the Windsock Datafile as a template for the positioning of the vinyl on the wings. that took quite a long while but still enjoyable!
The engine from Vector is nice too (a step up from the kit one), but lacks much more detail than the Taurus one (which I am leaving for my second D.H.2 build). I received the engine with some of the rocker arms damaged so I had to scratchbuild those too. The Vector kit comes with very vague instructions but its not very hard to figure out the build sequence, I built the kit engine in parallel to get a sense of where everything went...
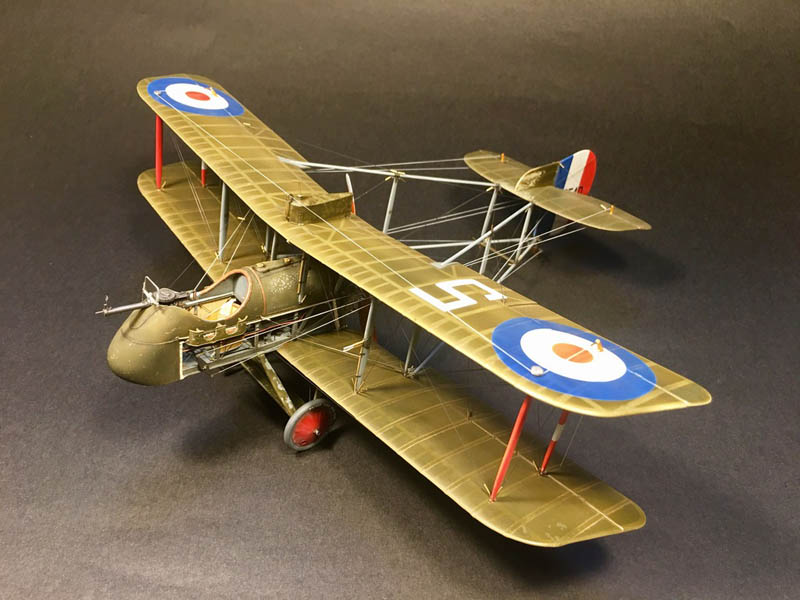
I was planning on using the Gaspatch armament but decided against it at the end and left it for another build. I also modified the gear and added two small L-shaped retaining wires made from brass that I saw in a couple of reference photos and I think it adds a nice little touch. I first rigged the wings then the box tail separately then brought those together, then did the control rigging.
I had to wiggle between the Wingnut Wings rigging diagram (that got me cross-eyed at the end), Bob's Buckles' rigging guide and reference photos. The rigging was tedious but nothing someone can't achieve with patience and perseverance. I finished the rigging over a couple of days, walking away from the kit every time I felt I was getting tired and fed up...let me tell you, it keeps calling you back and there is a great amount of satisfaction every time you see more and more rigging take shape!
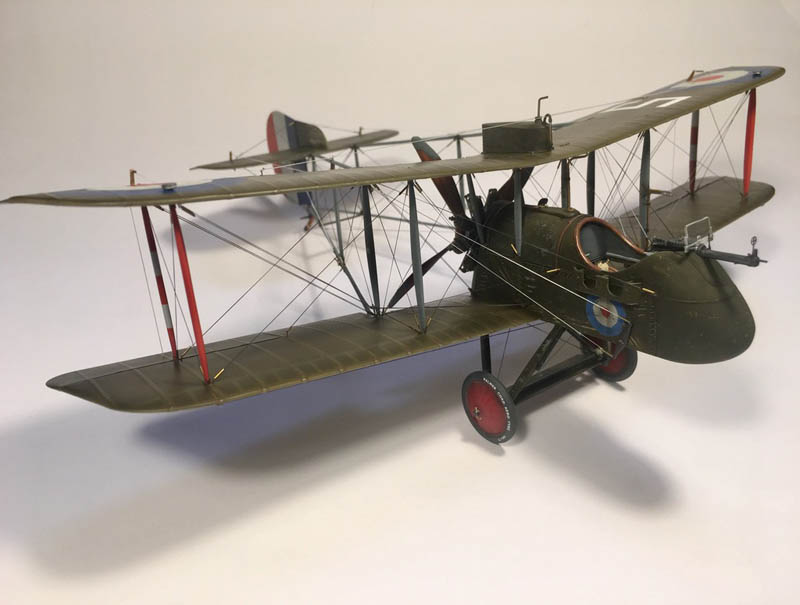
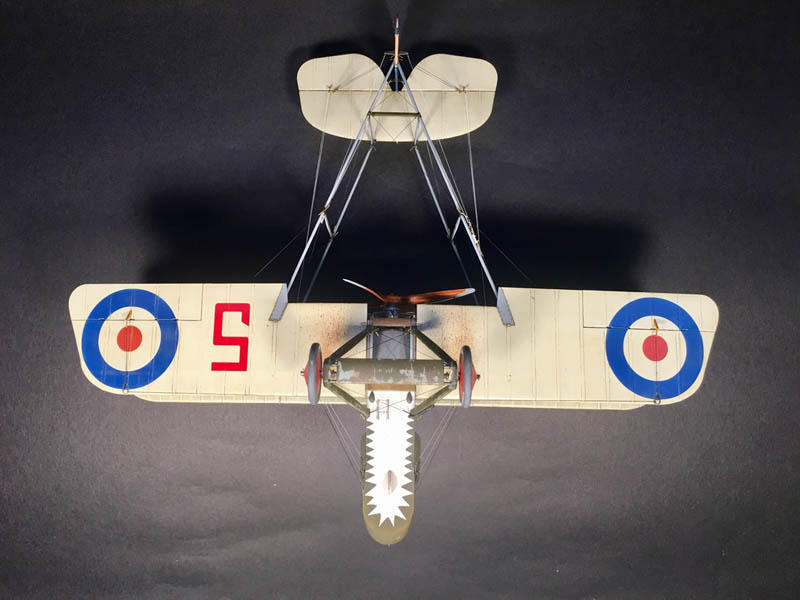
One thing I have done was to modify the photoetch '5' buckle connection for the rudder. I scratchbuilt a similar shape from sheet styrene and then drilled 5 holes big enough to fit 5 small cut pieces of Albion Alloys brass tubing. I slid 5 two-ended Gaspatch turnbuckles on top of those rods and then crumpled them flat with a flat nosed pliers and cut off the excess. This way you end up with a 3-dimensional unit where the actual turnbuckles rotate and move so you can keep all the control rigging taught without getting one to slack out. same for the other side. looks much better. I hope I explained it right, you can see it in some of the photos and hopefully that will clarify the process. All the markings have been painted on except for the numbers which were the kit's markings. They were extremely thin and conformed beautifully!


A thoroughly enjoyable build!
PS: I forgot to mention the breather tube on the auxiliary fuel tank on the top of the wing is brass tubing bent to shape!
© Karim Bibi 2017
This article was published on Tuesday, April 11 2017; Last modified on Tuesday, April 11 2017