
Hasegawa 1/32 Scale Focke Wulf Fw 190A-8
By Alan Price
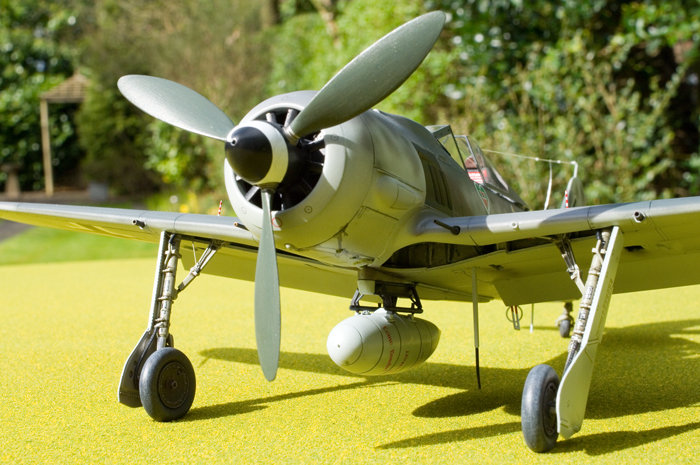
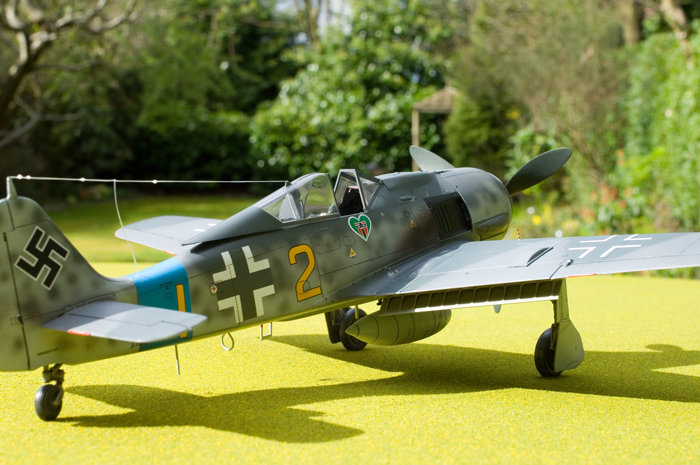
This is my Hasegawa Fw 190A-8 in 1:32nd scale. It’s the first one of these I’ve built and I was very impressed with the kit, it lived up to its excellent reputation. I had read that the engine cowling had caused problems to some modellers and when I got round to this I realised there was a simple way to avoid problems with it. It’s best to build it in two stages, start by gluing the supercharger bulges to the lower cowl. Place (don’t glue) the top section over this to allow you to align the supercharger bulges but don’t put the engine in at this time. You may need to gently tape the parts together while the glue sets. The engine is a tight fit and it forces the parts apart which cause the trouble with so many sections in the cowling. Once fully set, you now have two halves of a cowling not four parts. This can now be simply glued round the engine and you should find it all lines up fine.
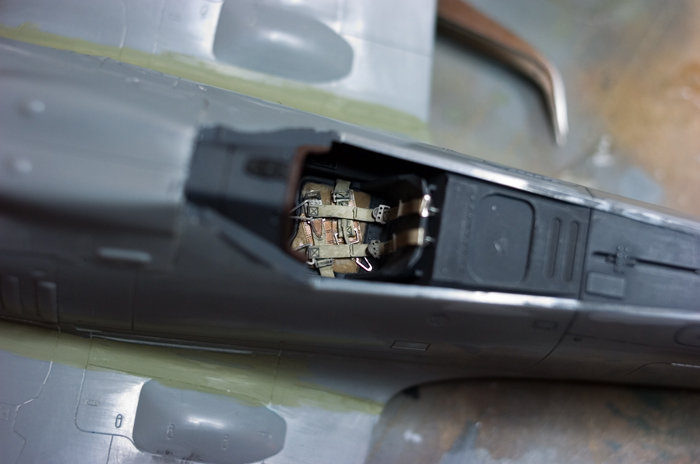
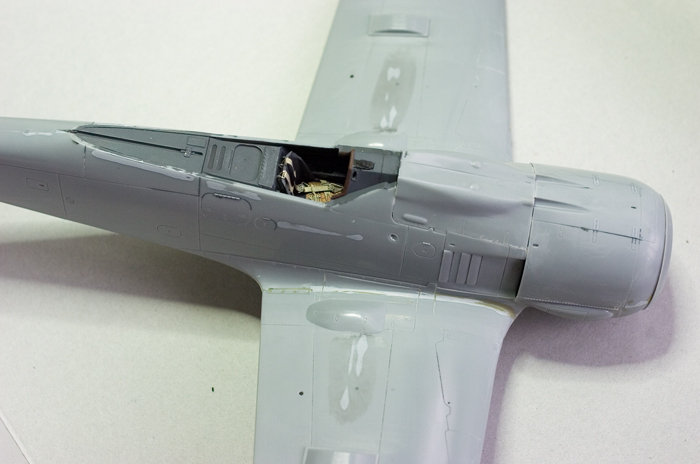
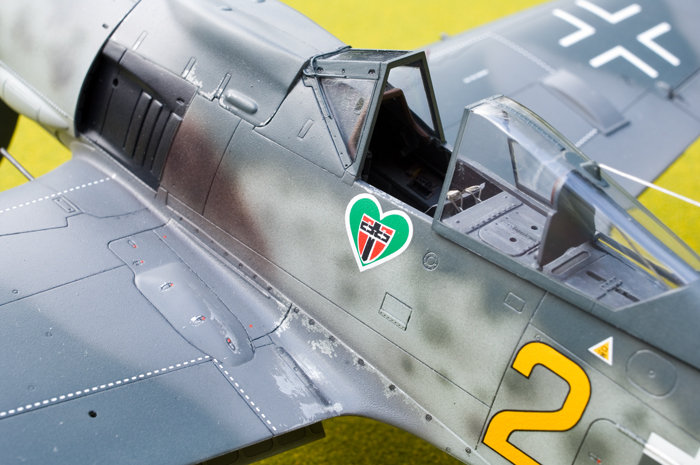
I added a set of Eduard seat belts to the cockpit and painted the instruments since the detail on the instrument panel was nice and clear. I replaced all the wing cannons with brass tubing. I had decided to build Yellow 2 of 9./JG 54 from Eagle Cals EC#78. This aircraft had the 30mm cannon in the outer position but I was unsure about the under wing fairing. In the illustration with the decals, it appeared to be the same as the 20mm fairing but with the ejection ports blanked off. Lacking any other references for this particular aircraft I elected to go with this having found examples which seemed to show this did happen. I opened up the hatch next to this which served as the ejection port for the 30mm shell cases and fashioned a curved chute to go inside from lead foil.
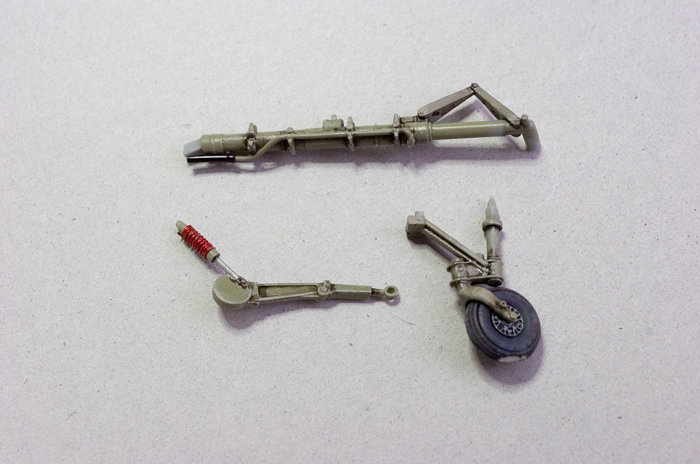
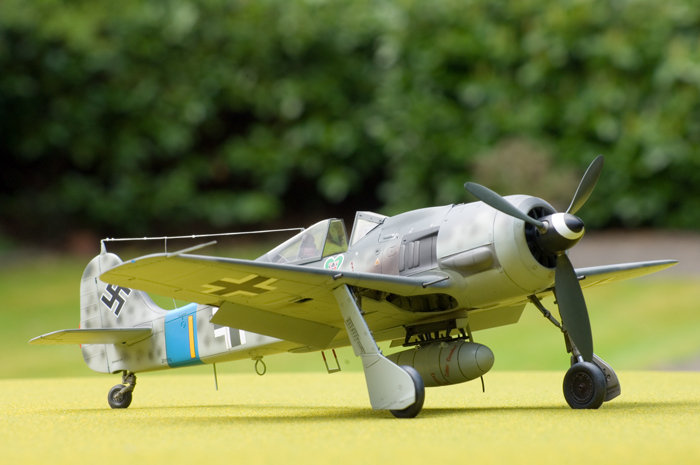
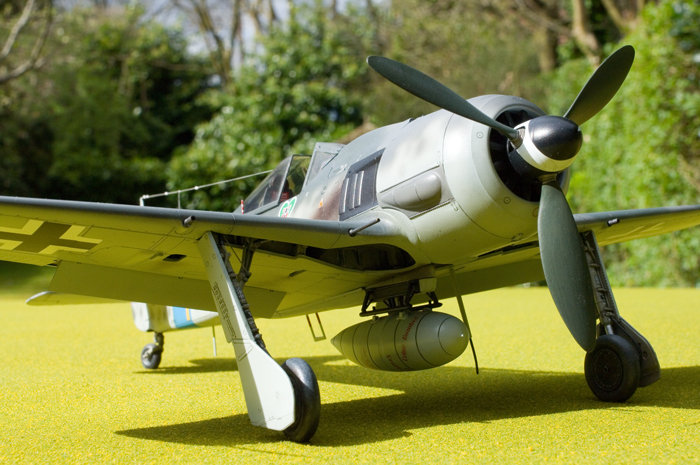
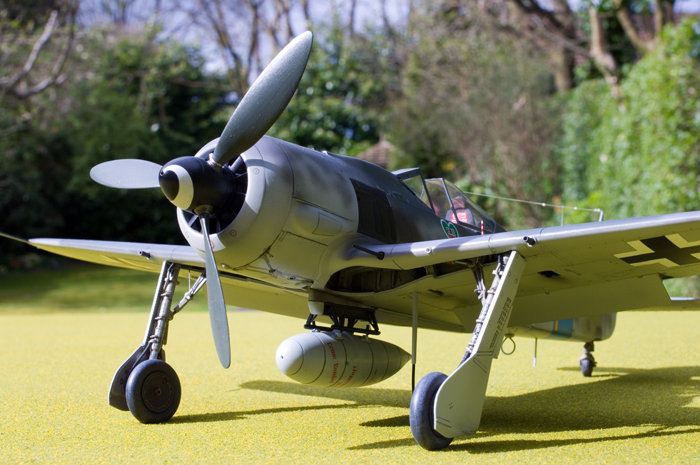
For the undercarriage, MDC wheels were used and brake lines were added as well as wiring. I repositioned the flaps to correct the know issue with these. The drop tank and bomb rack were detailed but I had to guess at the position of the fuel pipes as I couldn’t find a clear enough picture. Having searched through every book I could think off for a decent photograph I discovered a superb diagram 2 days after completing the work on the tank…..Fortunately my guess was reasonably accurate so I left things as they were.
One last job was to detail the front of the canopy with fine wire to represent the washer pipes. These are moulded on but look better replaced.
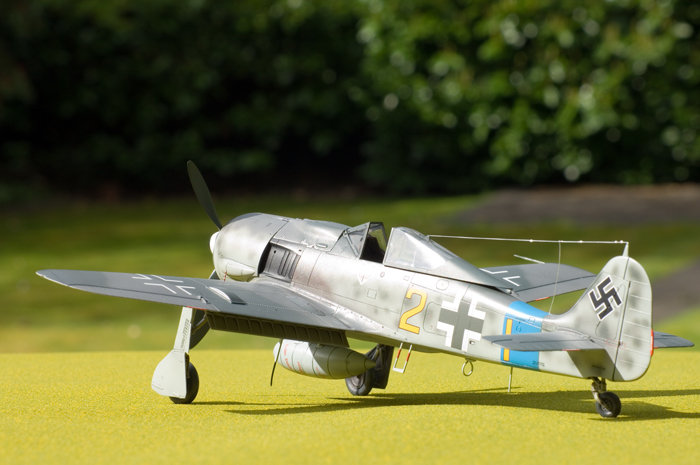
On to painting and after priming with Mr Surfacer 1200 and a pre-shade with Tamiya black, I sprayed some Alclad round the wig roots for wear effects later.
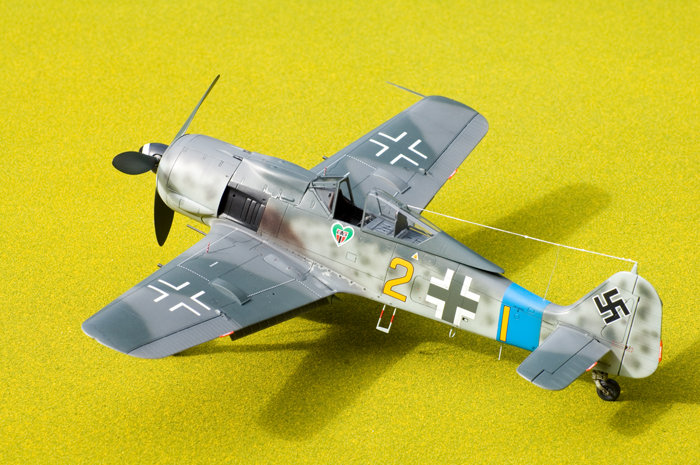
I used Lifecolor for the camouflage. Starting with the underside I airbrushed RLM 76 then some thin RLM 75 randomly in patches to break the surface up a little. RLM 74 and 75 on the upper surfaces were all painted freehand with an Iwata HP-B airbrush. I sealed all this with some Microscale gloss – I find the Lifecolor is very easily damaged so seal it up as soon as I can. A wash with Humbrol paints, grey on light areas and black in the darker areas and another coat of gloss followed.
Some paint was sanded away and scratched away over the Alclad areas then a fine brush and dots of Aluminium paint were used for further chipping effects. More gloss and it was decal time. I had some problems here – the under wing crossed seemed unaffected by Microscale products – strange as they are made by Microscale. The side crossed were better but still took a lot of persuasion to go down. I had to be careful here too as I’d found in the past that the setting solutions will mark the light Lifecolor paints, leaving darker patches even through the varnish coats. Strangely the darker colours seem unaffected. After this it was a wash down to get and decal glue and solvent residue off and time for more gloss and a touch up of the wash colours over the decals. The finish of Microscale Flat was then applied. After putting on all the aerials and guns and numerous other small jobs it was finally finished.
After about 100 hours working on this, I’m pleased with the end result – it even bears a passing resemblance to the superb artworks on the Eagle Cals Info sheet!

© Alan Price 2009
This article was published on Wednesday, July 20 2011; Last modified on Saturday, May 14 2016