
Revell 1/32 P-47 The Reluctant Jug Part 2
By Jaime Carreon
The fun continues...
When we left the Jug a few weeks ago, it was getting close to being ready for paint. Or so I thought……
I decided to glue the right side engine cover into place, because of the two, it was the worst fit. The left one dropped right into place, but the right one might as well have been from another kit! It turns out the engine is cocked just a slight bit to the right, and the forward edge of the cover was hitting the cylinder heads, keeping it from fitting flush. A touch with the file took care of the engine, but the panel still did not fit. I trimmed it as best I could, then glued it in place. It took a LOT of putty to fair it in. I decided to sand all the rivets off the cowl and rescribe it, since most of the detail was destroyed while sanding down the access panel. The left cowl panel will still be removable to view the engine. Not scale maybe, but I like it…..
Father’s Day fell while all this was going on, and with it came a hand written certificate from my son, David, to be redeemed for model airplane stuff!! Off went my order to Rutman for a set of wheels, and a trip to the LHS got me some paint and other supplies. Thanks, Big Guy!!
Having sanded off all the detail on the cowl, it was now time to rescribe the cowl flaps. This will be easy, right? After all, I have visited all the model sites, I’m an A&P mechanic, I can DO this...
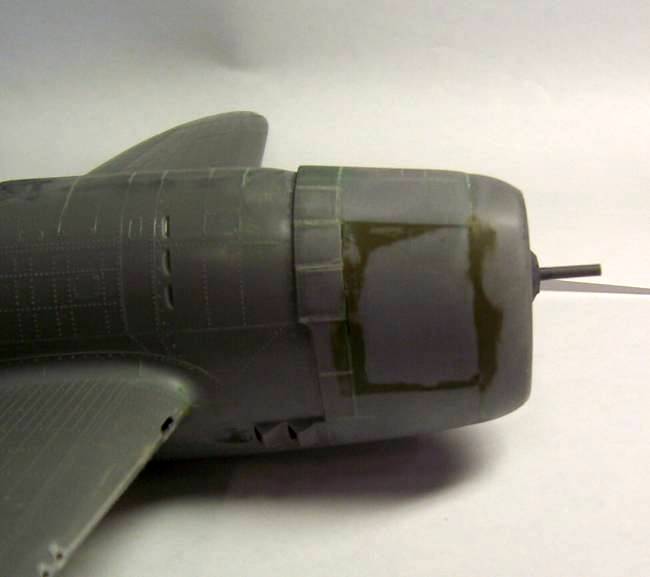
The Dymo tape I was going to use to guide my home made scriber was quietly taken away by my son when he went back to college a few weeks ago. No problem, a double layer of masking tape worked just fine as a guide, and I lightly scribed the lines back in. Life is good! Then------
I slipped and ended up with a line or two where there shouldn’t have been any. Twice. Now I have the only P-47 on the planet with 13 ¾ cowl flaps. Then the needle I was using as a scribe broke. I couldn’t find a new one, so put a new blade in my trusty X-Acto, and proceeded to add a few more new panel lines to the cowl. OK, so I’ll say it was an in the field modification. Documentation? Uhhhhh……
A little sanding and some putty took care of my field mod, during which time I spilled an entire bottle of nail polish remover all over my work bench. The air filled with colorful four letter metaphors, and then I thought, “This is just like working on the big ones except I can’t see any of the parts!!”
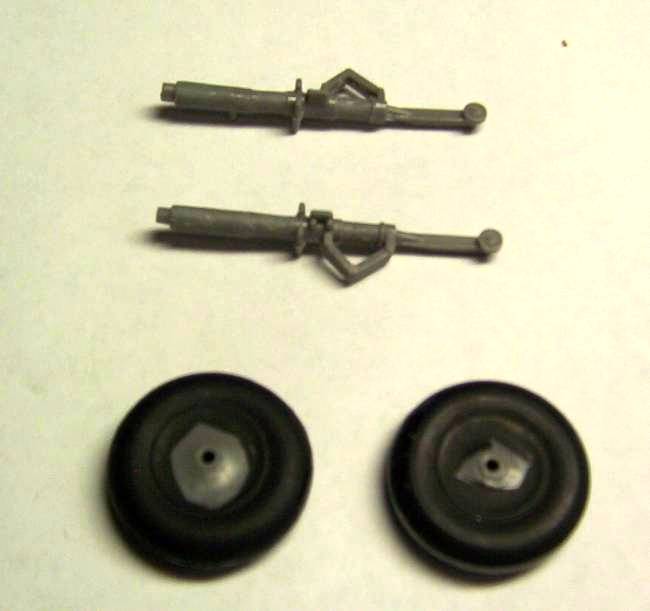
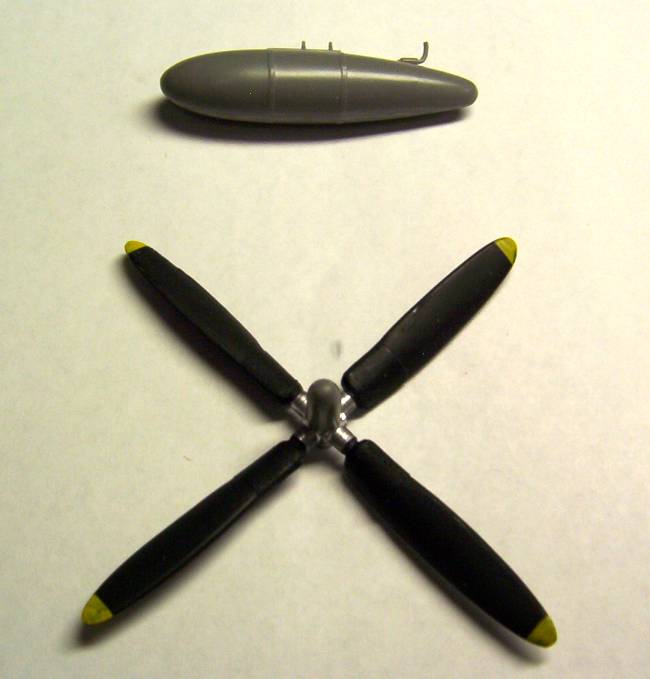
The wheel wells were painted with yellow zinc chromate, darkened with a little olive drab. Surgery was completed on the landing gear struts, and the upper strut cover was also cut down to fit. They will look pretty good when the new wheels arrive and are installed. The drop tank has been assembled, prop was painted, and the whole model got a very careful bath to remove the rest of the dust and whatever else has accumulated in the last “few” years. The tailwheel assembly is pretty bad, but I think it will look OK once it’s painted and installed.
At one point in my life, I owned an airbrush. A really nice Badger, given to me by my mentor, Colonel Balliet, for my fifteenth birthday. Somewhere in all the moves, it disappeared. During one of my feeble attempts to get back into the hobby after we came to Houston, my wife, bless her, decided it would be a good idea to replace it.
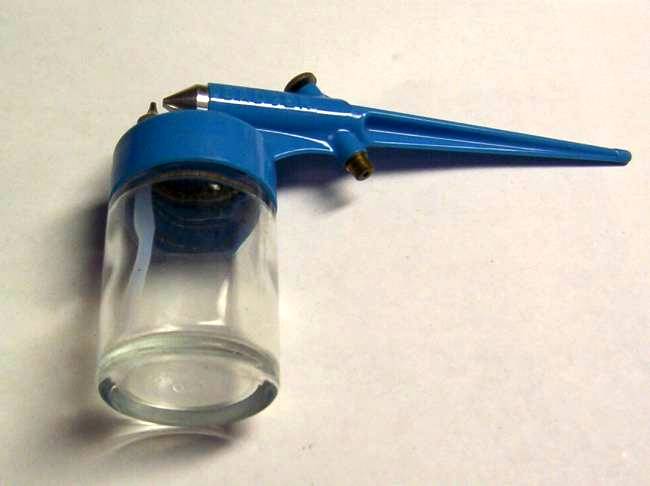
She’s been putting up with my aviation addictions for more than 30 years, and if she hadn't thought of me then, I'd probably wouldn't be doing this now. I won’t be doing any Luftwaffe squigglemottles, so this should be just fine for this project. The next step will be some familiarization with the brush, and then I can begin my new career as a graffiti artist…er..scale modeler.……Stick around and see how it turns out!
Part 1 | Part 2 | Part 3 | Part 4
© Jaime Carreon 2006
This article was published on Wednesday, July 20 2011; Last modified on Saturday, May 14 2016