
Revell Me 262 V-Tail
By Larry Hawkins
This is the Revell Me 262 that I built over 10 years ago and it was gathering dust real bad. The intel comes from the Luft '46 site and had helped me a few times and this goes for the guy who runs the page Dan Johnson, he has the input for those who need intel.
I first tore apart the whole planes and gutted it as well. The intel that Dan sent me was scaled up to the dimensions for the V-Tail Swallow, I have a bad habit building German A/C that are different and will never be a kit.
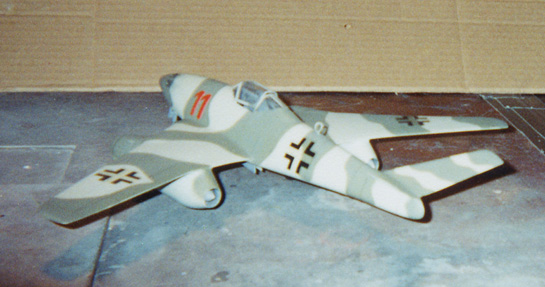
The wings are at a more sweep back appearance than the kit wings, about 30 degrees. This was more than what I have seen from pictures of the Me 262. The wings were scratched and were made out of sheet plastic. I traced the line drawings for the wings and transferred this to the sheet, cut them out and glued them together. After this was done I the kit wheel tub and again traced these to the bottom of the wing, cut them out and boxed them in as the kit. When the wings were done, I then added the kit engines to the wings and grafted them into place with bondo. After this was done, this was set aside and the next thing was to cut the tail off as to the drawings. When the tail was chopped off I added bondo to the cavity with putty and shaped the tail before the putty set up. I set it aside to let the putty cure.
While this was being done I went and traced the tail sections of the V-tail, cut them out of the same sheet as the wings and glued them into place, while this was being done I checked for the right angle as to the drawings. Then I went to the wings and got them ready to add them to the fuselage. But the cockpit had to be redone and detailed, the only draw back here was that there is no resin seat for the Me 262 so I had to use the kit seat and added a seat harness. I then glued the seat into place and added the cockpit tub back up into the fuselage.
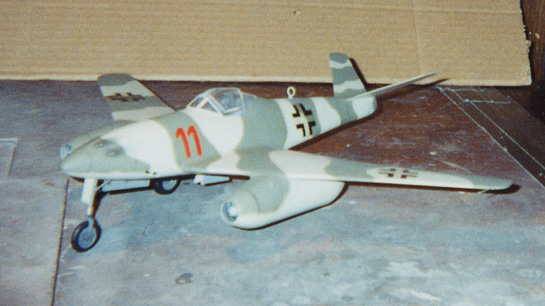
After this was done I added gun barrel housing for the 20mm cannons, and these were sanded down to the shape of the nose. These will be gone over after the plane has been primered and spotted. Now the wing is glued into place and after it was dry the whole plane was sanded down and spotted and left to set up overnight. When sanding this again I went back over the areas where the spot was and if anything else was need to sand then it was gone over and done again and primered again as well.
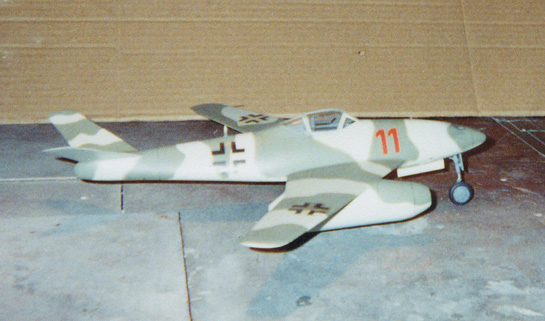
When one primers and sands it cuts down the primer and the surface so going easy here was the deal for making the surface perfect and smooth. When everything looked A-OK I went ahead and laid out the paint scheme as to the picture I saw on the page. It was a very light gray for the whole plane and a medium green for the camo pattern. The decals came from the spares box. Everything that was from the page, markings wise I had.
One thing here and it was wild, I measured the diameter of the wheels and tires and I had some resin true details Ju 88 resin wheels and tires laying around and thought that might work. They measured out the same and these were added to the V-tail, except for the nose wheel, I had to use the kit one. After all this was done I sprayed the whole plane with a coat of flat to seal the decals and it was done. It looks wild sitting along side the regular Me 262 single seater.
© Larry Hawkins
This article was published on Wednesday, July 20 2011; Last modified on Saturday, May 14 2016