
Hasegawa 1/32 scale Fw 190A-8
By Rick Cotton

The Hasegawa FW 190 A kit has been around for many years, in various boxings, with a plethora of decals, and has even recently been re-released under the Revell-Monogram label as an FW190 F ground attack machine. It's a popular subject, a good seller, a necessity in any good 1/32 scale collection of prop jobs. That's the good news.
The bad news is that this kit is '70s technology in a recessed-panel-line-overpriced-resin-photoetch-till-you-go-blind modeler's world. It's an antique, and builds like one. Fit ranges from fair to "get in there you $#%^*&@!!!!!!", panel lines are raised and inaccurate, and then there are those hideous kidney bean-shaped cannon breech covers on the wing root. Replace those with Cutting Edge's neat little replacement covers. News that Hasegawa is releasing an all-new-tool Fw 190D is very welcome, I just hope a new A or an F comes as well. For now, there are lots of aftermarket parts available from Eduard, Cutting Edge, Jerry Rutman, and others, to change this Grandpa into something resembling a real FW190. After getting all the stuff you need, it'll cost nearly as much as a real Fw 190, too. But, who looks at the financial aspect of our hobby? We'd all be crying in our thinner if we did.
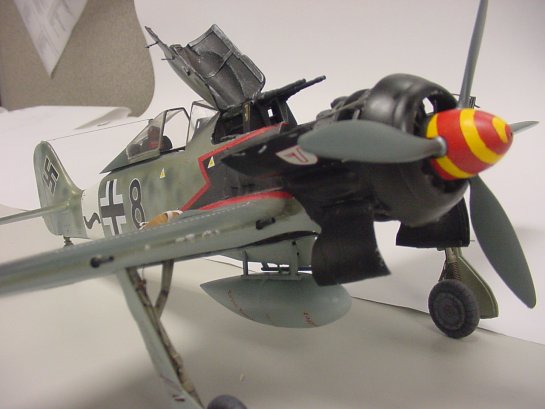
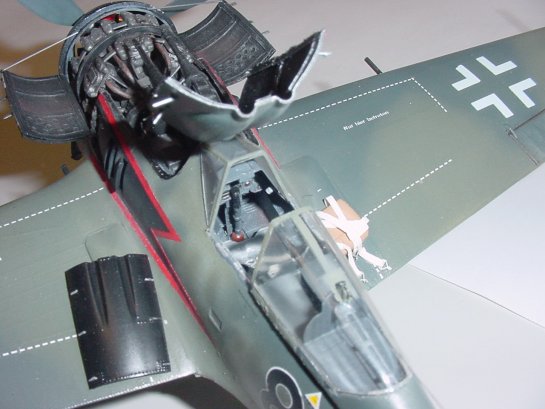
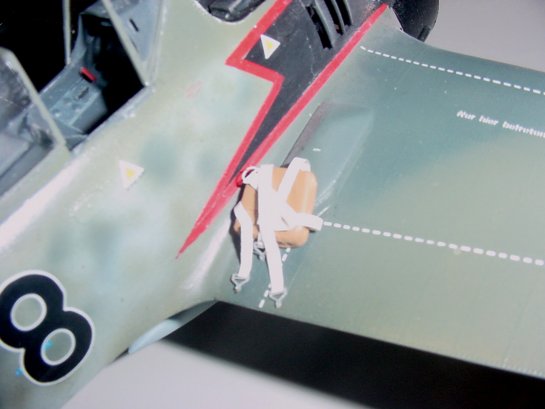
On to the surgical work. Most of the kit cockpit goes in the parts bin. Eduard's extensive interior detail set (itself a bit long in the tooth) replaced the office parts and canopy interior. A coat of RLM 66, a wash, some drybrushing, and away we go!
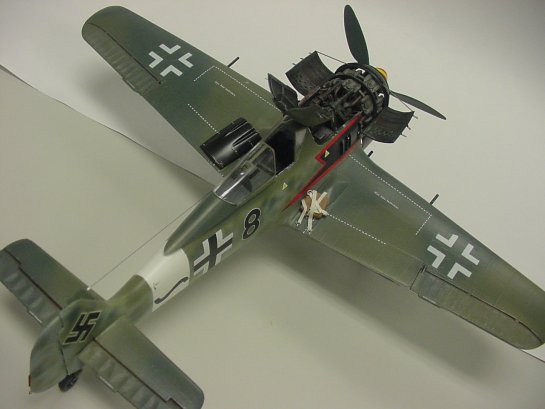
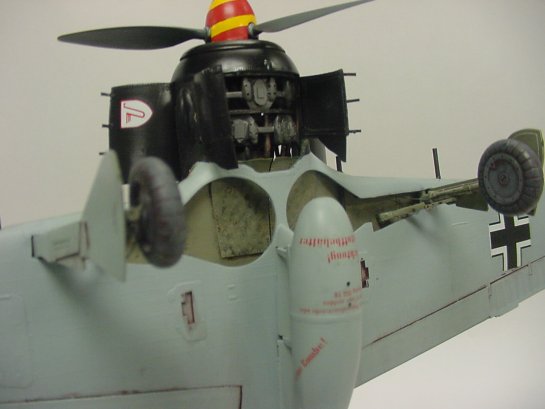
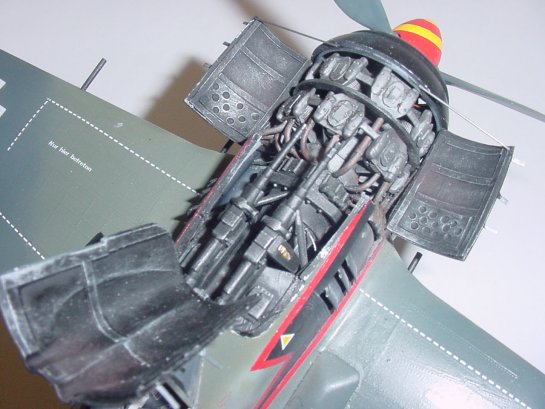
There is a complete engine in the kit. Just what engine it's supposed to be I don't know, because it doesn't resemble a BMW radial very much. Oversized molded-on pushrods, inaccurate cylinder heads and crankcase cover ...ok, you get the picture. I added some wiring and plastic bits here and there to try and spruce it up a bit. At least the exhaust ring fit pretty well. I hacked open the front end of the fuselage with a razor saw to show all this stuff, sprayed the interior with flat black, and heavily drybrushed it with Model Master Titanium. If you choose to leave the front end closed up, you need only wire the front cylinders, as the cooling fan behind the propeller will hide most of the engine.
Eduard's parts replaced the so-called wheel wells in the wings (and the Eduard set is VERY fiddly to get right). The wells got a coat of RLM02 grau, a heavy dirt-brown wash, and a shot of Testors Acrylic SemiGloss Coat.
I hate the landing gear that come with the kit. They look too long and spindly, but then again...so did the real Wurger. The heck with 'em, paint 'em RLM02, and in they go, with wheels shot with Gunship Gray, a heavy brown wash and a drybrushing with slightly lighter grays. Eduard supplied the new hubs.
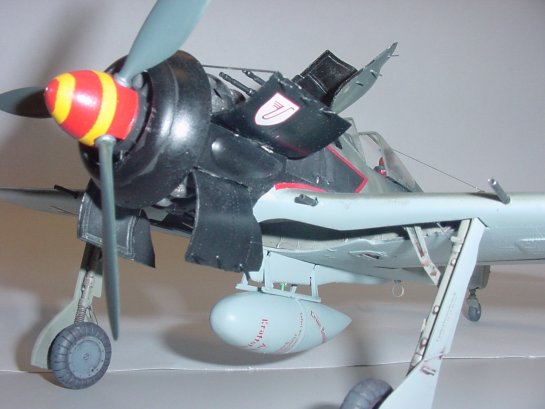
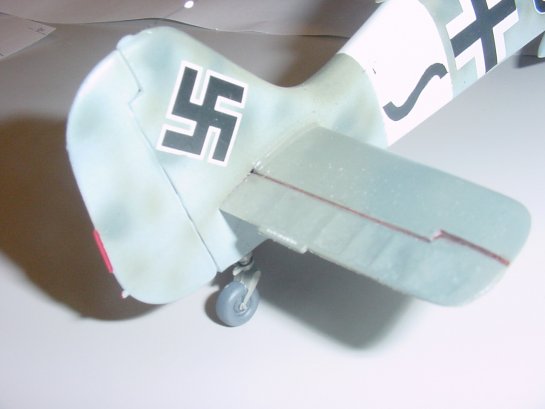
My kit was a very old issue. I think it came out when girls were still screaming at Leif Garrett and David Cassidy. I preferred Farrah Fawcett myself, but…what was I getting to? The decals! Mine were the color of parchment and just about as dry, so thanks to good guys Tim Valdez, Chris Novak, and Larry Hawkins , I was able to get the exact markings I needed for a JG 3 ("Udet") bird. I shot the nose semi-gloss black, masked it and shot on the Pollyscale Acrylic Schwarzgrun/Dunkelgrun/Lichtblau scheme over a few nights, glosscoated, added decals, a wash, a little chipping, a few pastel chalk stains, Testors Acrylic SemiGloss, and finished with some brass tube gun barrels to replace the wing cannons in the kit. Not necessarily in that order.
Conclusions? Inaccurate as it is, it's STILL the only 1/32 Fw 190A available. Hopefully that will soon change, and this kit can join the Revell Bf 109 in everybody's parts box.
© Rick Cotton
This article was published on Wednesday, July 20 2011; Last modified on Saturday, May 14 2016