
Trumpeter's 1/32 F4F-4 Wildcat Part 7: "The Fuselage"
By Rodney Williams
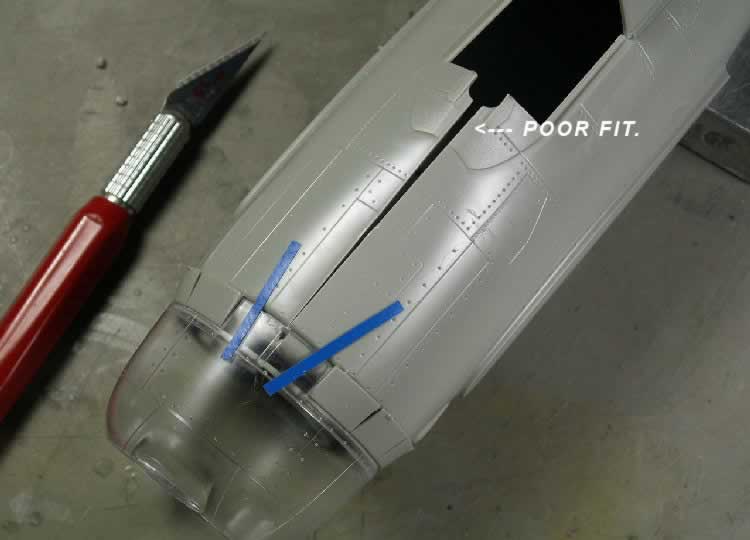
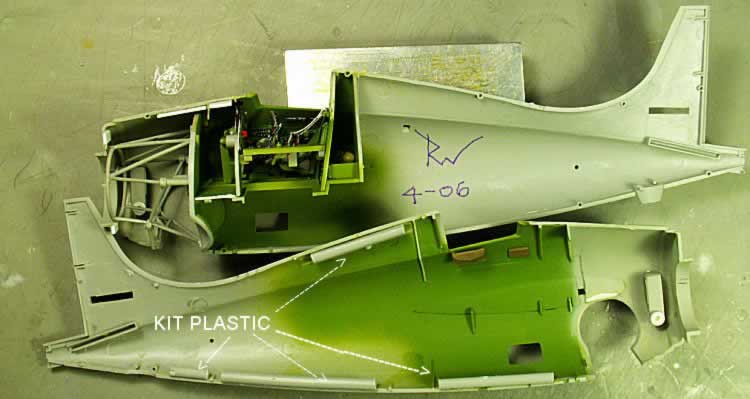
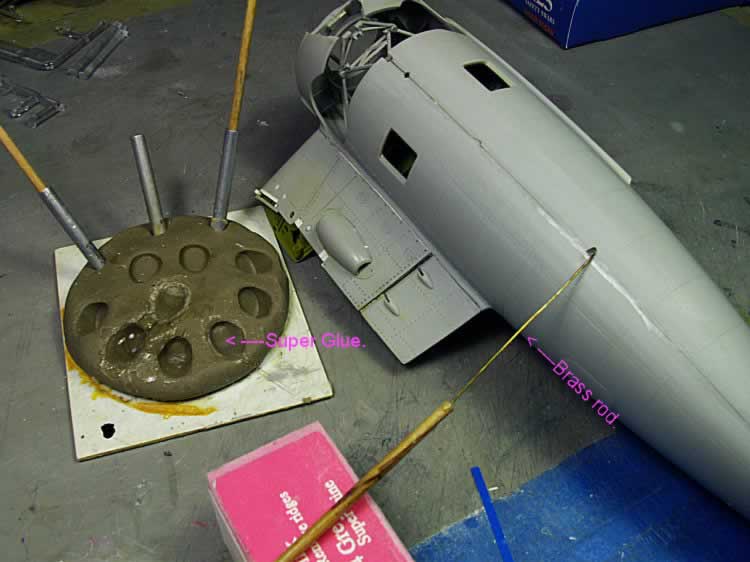
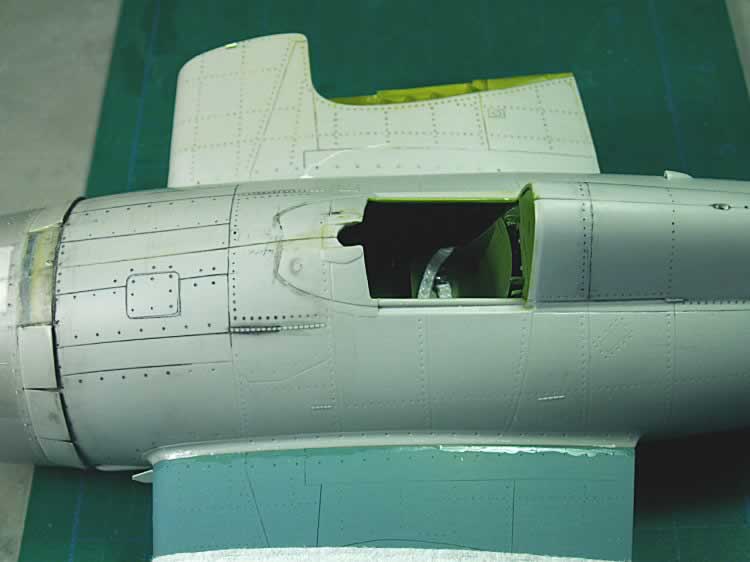
I read a review on the web concerning the poor fit on the top front section of the fuselage. The modeler was right, as I had the same problem. Another photos will show that I use kit sprue plastic, which helps keep the model halves together, once you add the "CA" to the seams. I have different sizes of gluing rods to apply my glue.


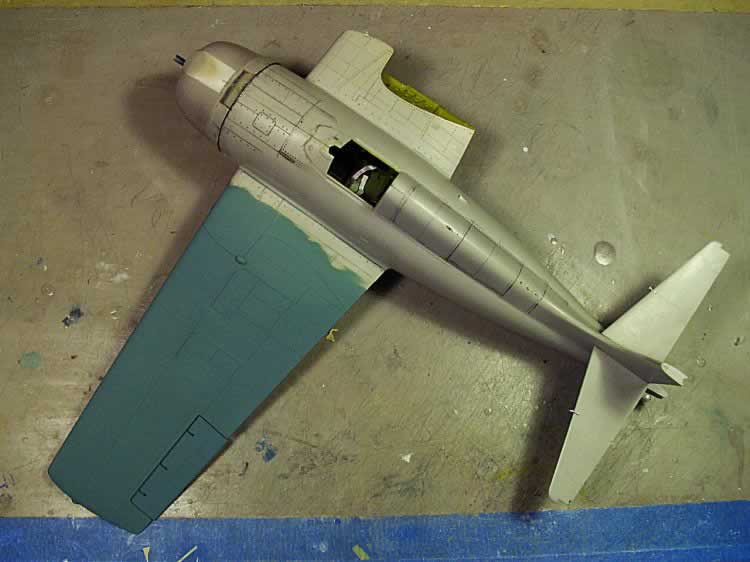
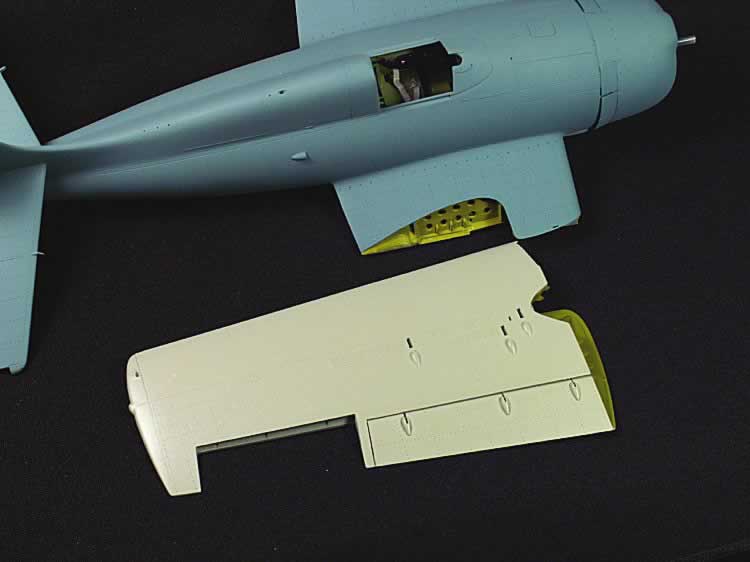
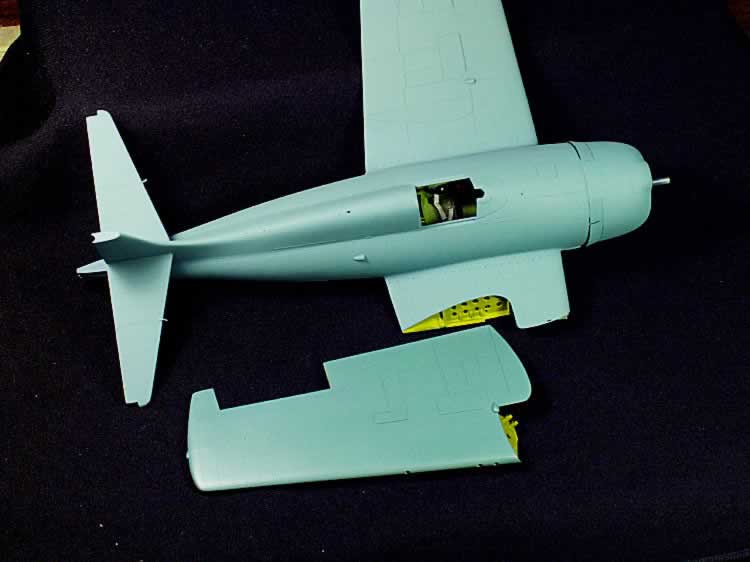
The wings went on the fuselage A-OK, with minor adjustments, including the addition of some .010" shim stock.
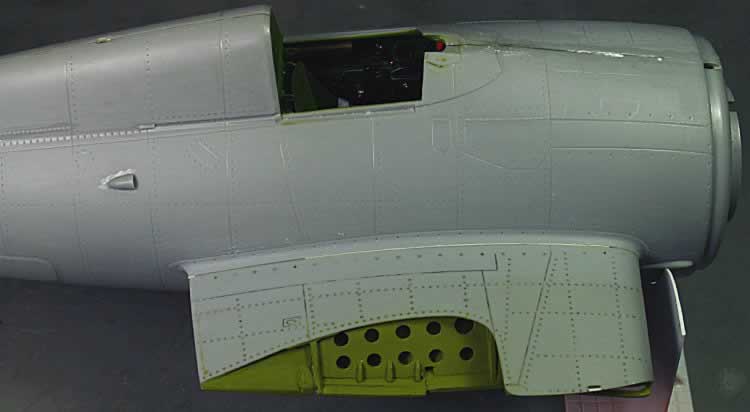
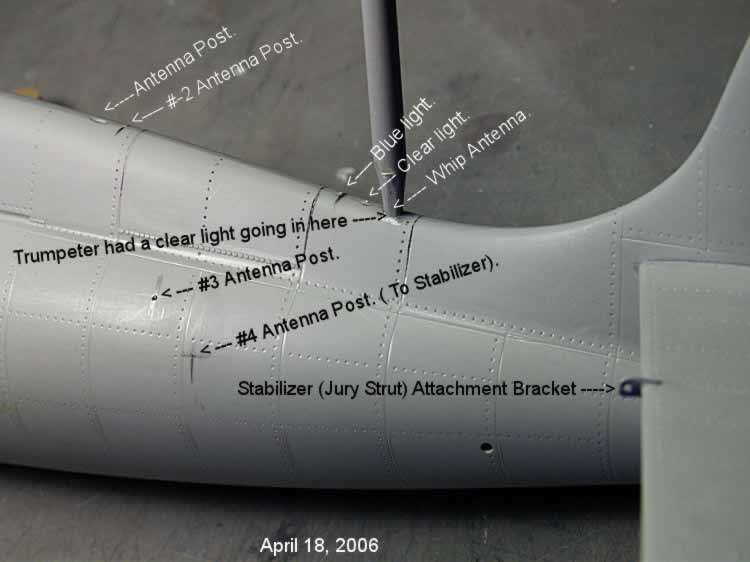
This photo shows that I had to re-arrange the lights on top of the fuselage, just forward of the leading edge of the fin.
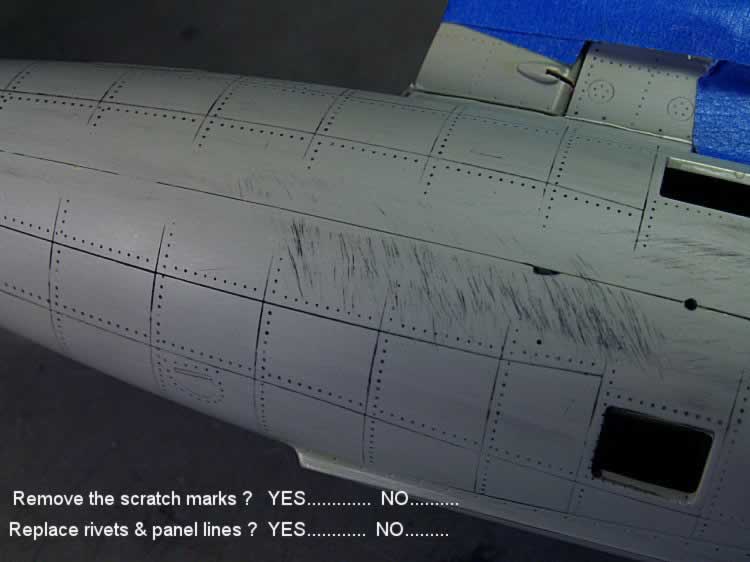
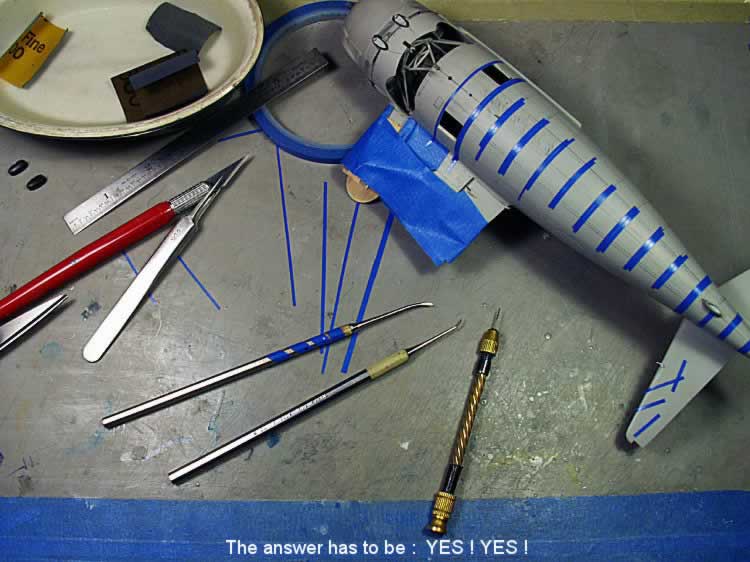
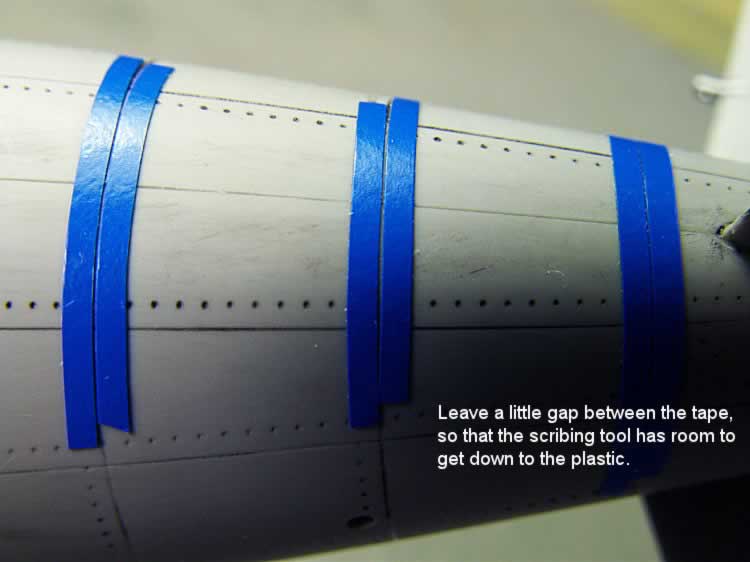
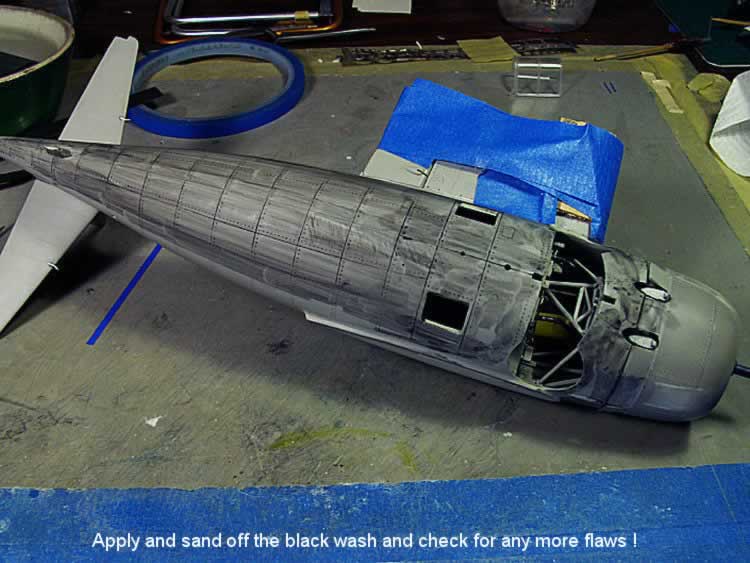
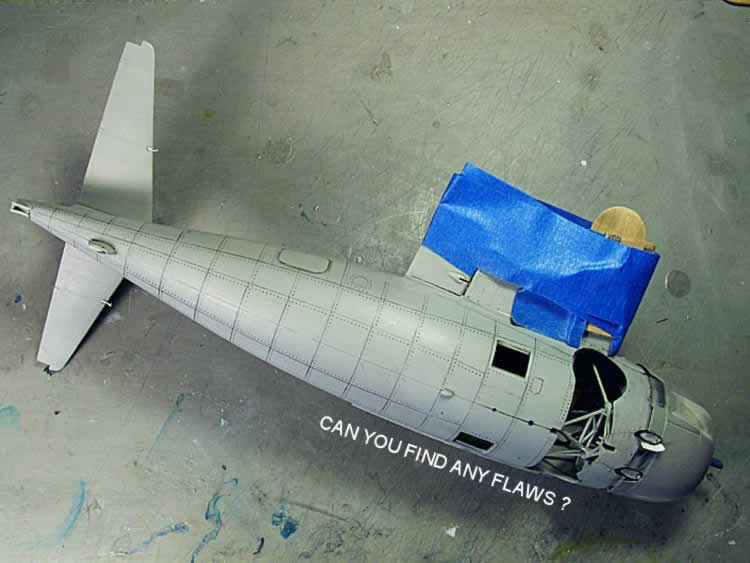
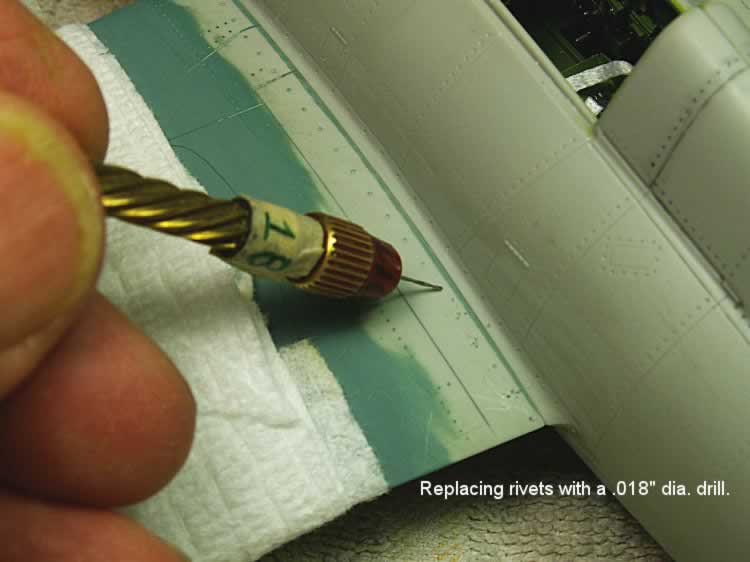
As all of you know, you should replace the rivets and panel lines, even on the bottom of the model. These photos show how I do it. I just apply the black Tamiya paint wash, sand it off, then add what is missing. After sanding off the second wash, it let's you know: "If you missed anything brudder".
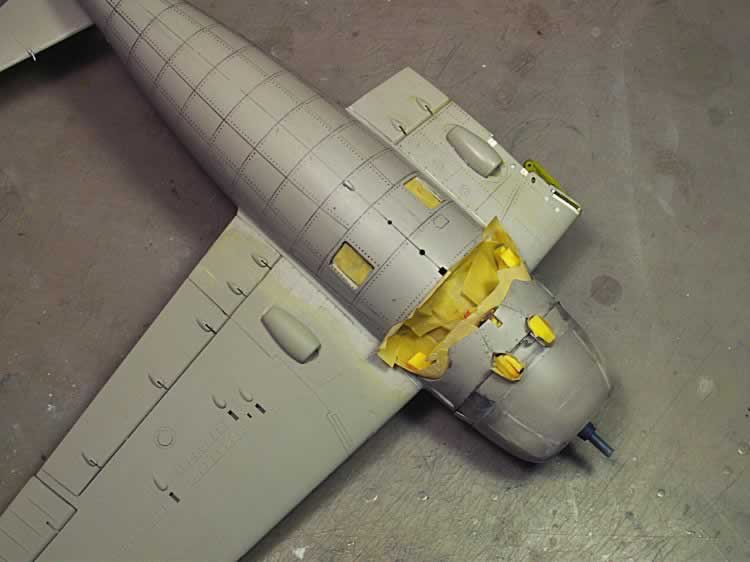
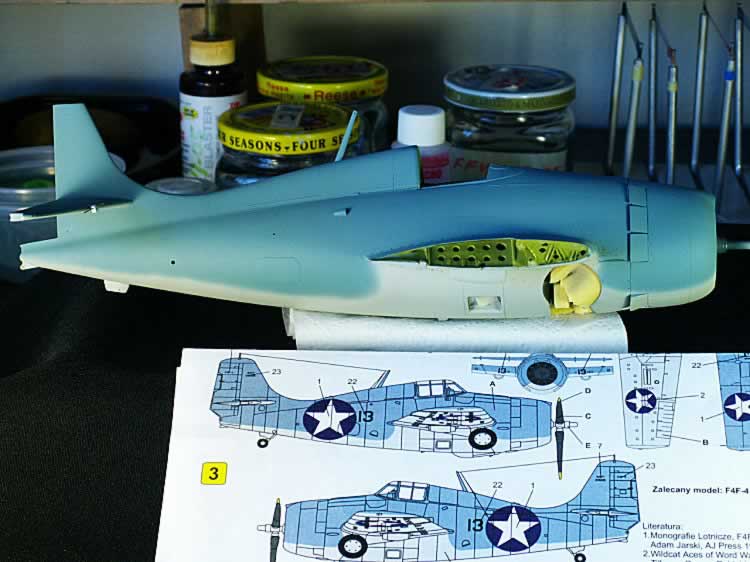
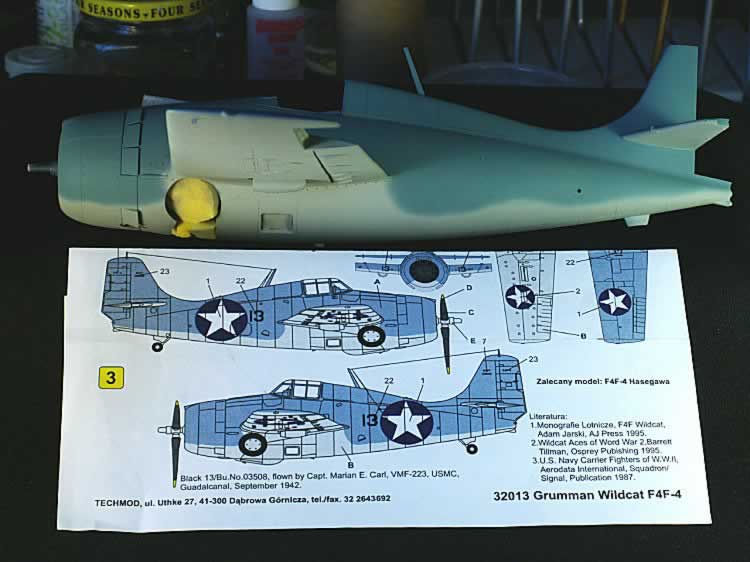
It's time to paint the outside of the model, so I mask off the cockpit, the engine area and the wheel wells. I use Floquil's "blue gray" for the top and a gray color for the bottom, (sorry, but the paint name on the bottle is gone). I used a special Tamiya mix of mine for the right wing fold area.
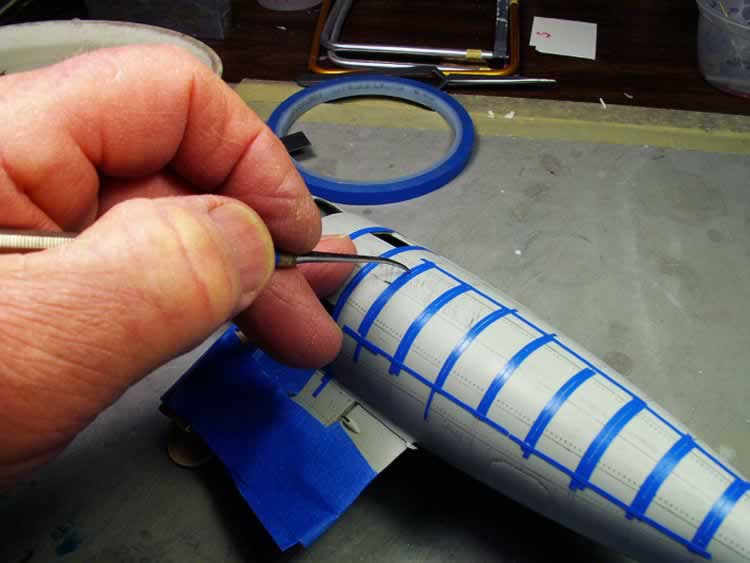
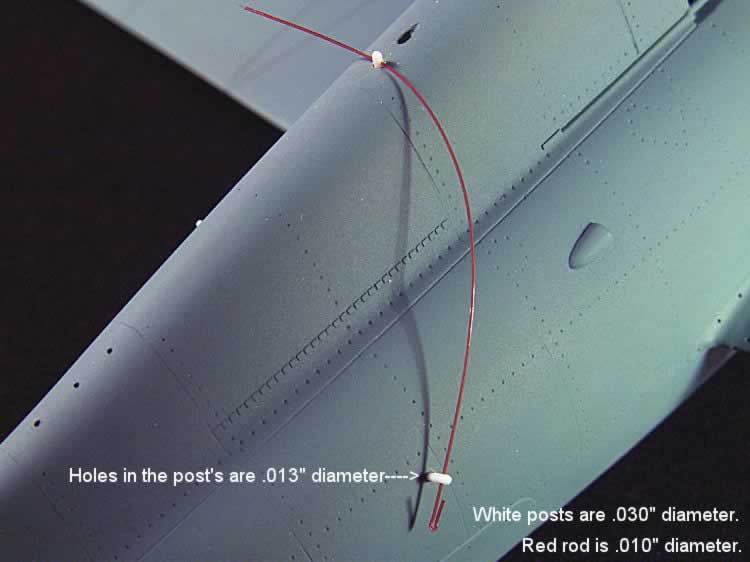
See the little white antenna posts with the red rod in them ? Long ago I learned to insert the red rod and/or some brass wire. (WHY?) As you push in the white antenna posts, into the fuselage, the rod's keep it from going all the way inside the fuselage. Of course, without the rod, the posts usually get lost inside your model. That's OK, 'cause you get to make new ones. The second important reason for the rods is: The openings in the white post should not be flush with the fuselage, but raised up slightly. This allows you to insert your antenna wire.
Just let the photos show you what I did.

In my final story entitled: "It's Finished", you will view the rest of the story.
Part 1: The Left Wing | Part 2: The Tail | Part 3: The Right Wing | Part 4: The Cockpit | Part 5: The Wheel Wells | Part 6: The Engine | Part 7: The Fuselage | Part 8: Finish
© Rodney Williams 2006
This article was published on Wednesday, July 20 2011; Last modified on Saturday, May 14 2016