
Elite Forces 1/18 F6F Hellcat Part 5 - Wing Tip Lights
By Rodney Williams
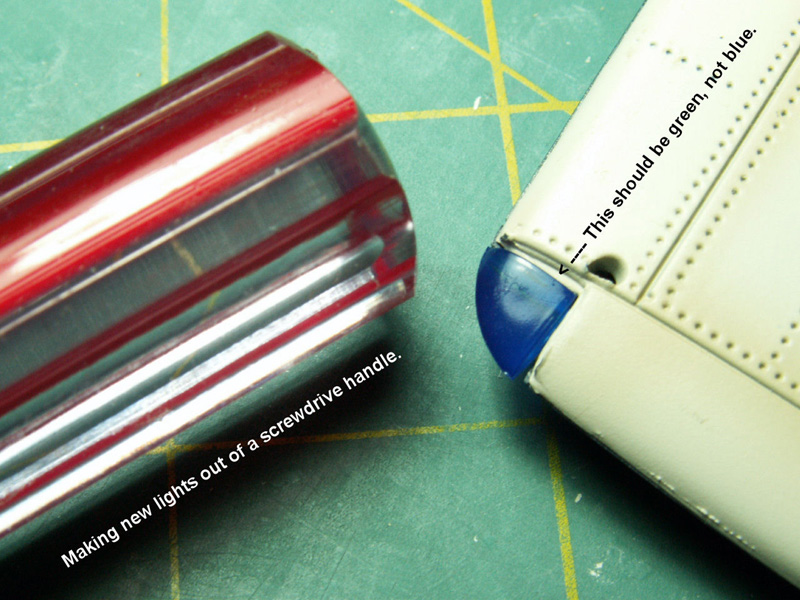
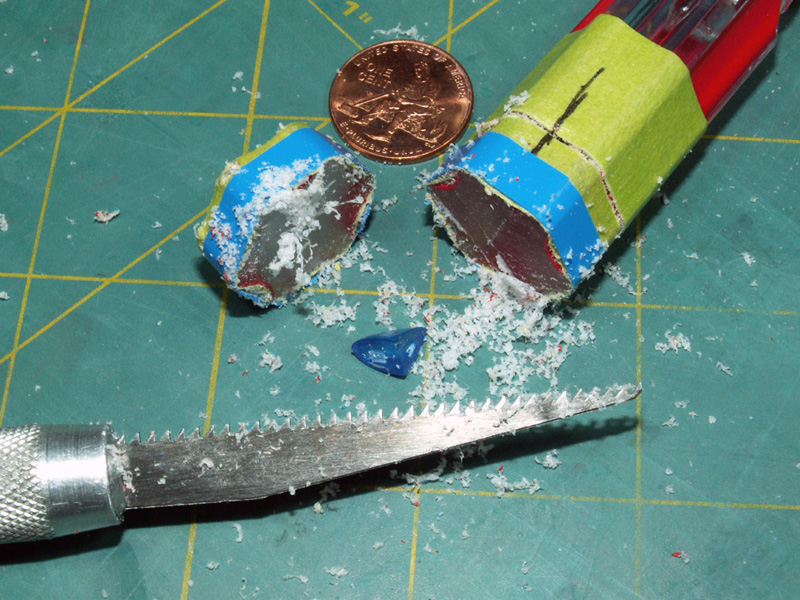
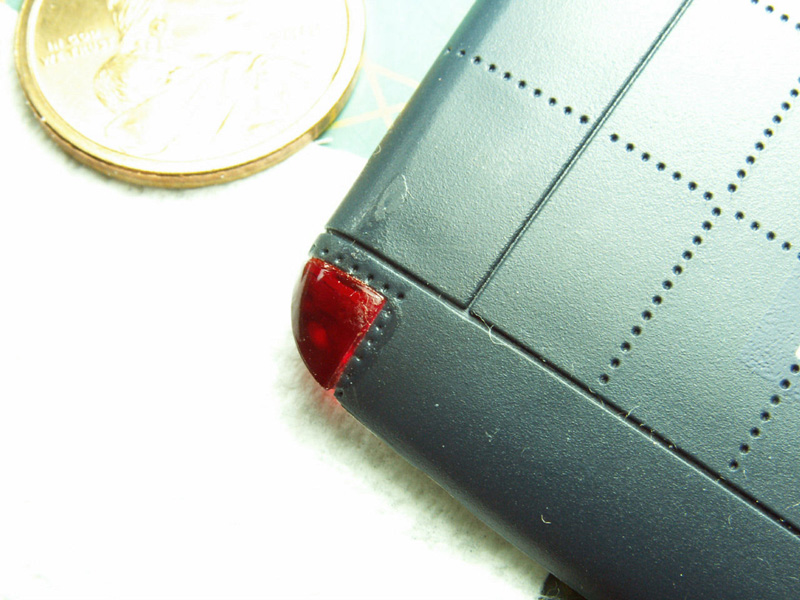
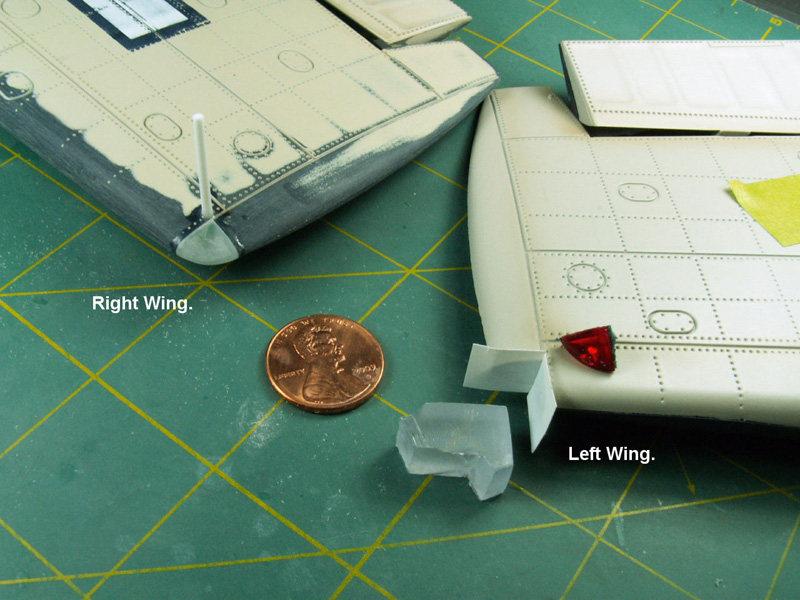
The kit comes with solid color red and blue plastic wing tip lights. My Hellcat books shows that the real F6F aircraft had a clear cover and not a colored cover. It also say´s that the light bulbs were red for the left wing and green for the right wing.
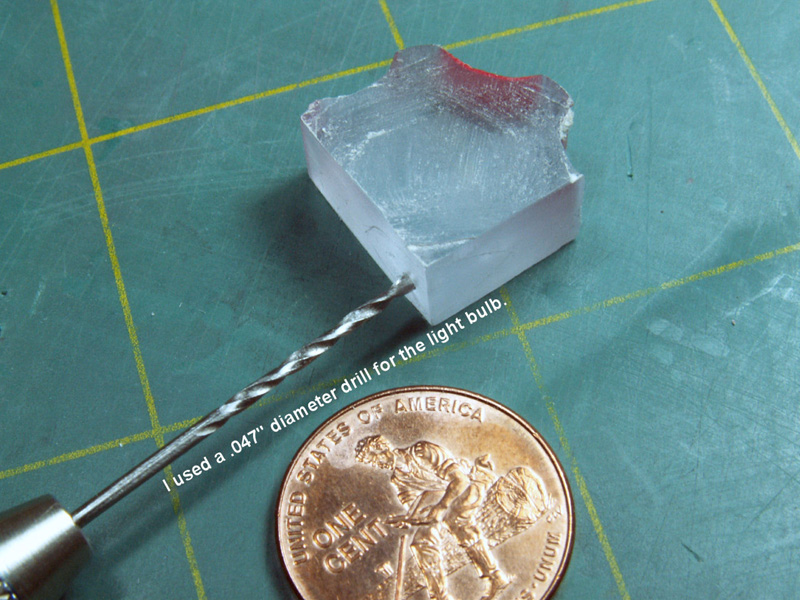
I now had to hand craft new accurate lights so I searched my box of clear plastic for the right size but found none. The nearest hobby shop is about 400 miles from my home and that was a "no-go" for me which included searching the model web sites.
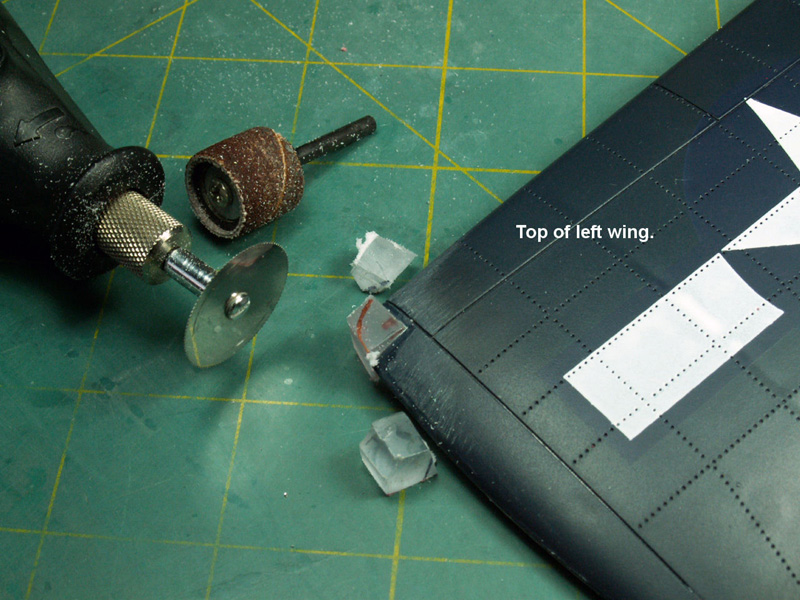
Alas, I got the bright idea to buy a new clear plastic handle screwdriver. I found one over at my local Safeway super market and paid a whopping two bucks for it.
The plastic is rather soft compared to some of my sheet plastic so it was easy to cut with my variety of modeling saws.
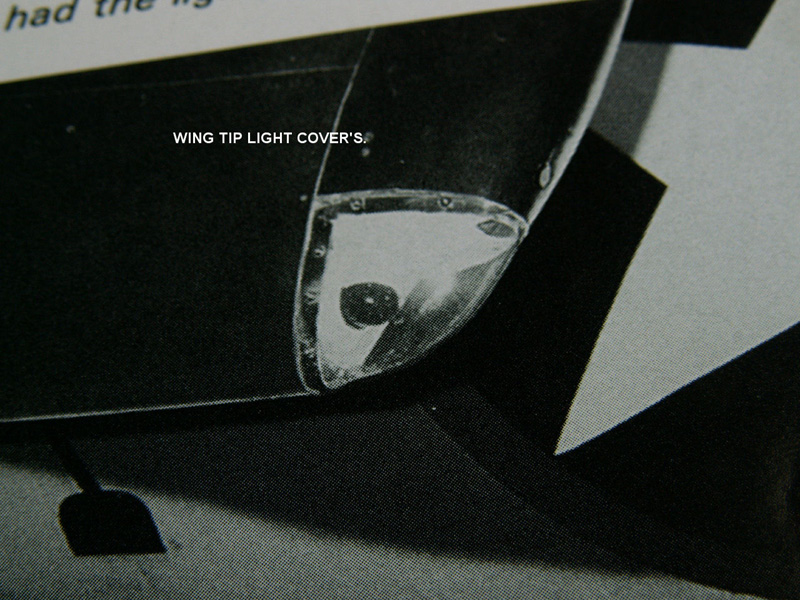
My first image is from my Hellcat book and is in black and white which shows the left wing tip light on a F6F-3 Hellcat. As usual, I wrote a few words on some of the photos.
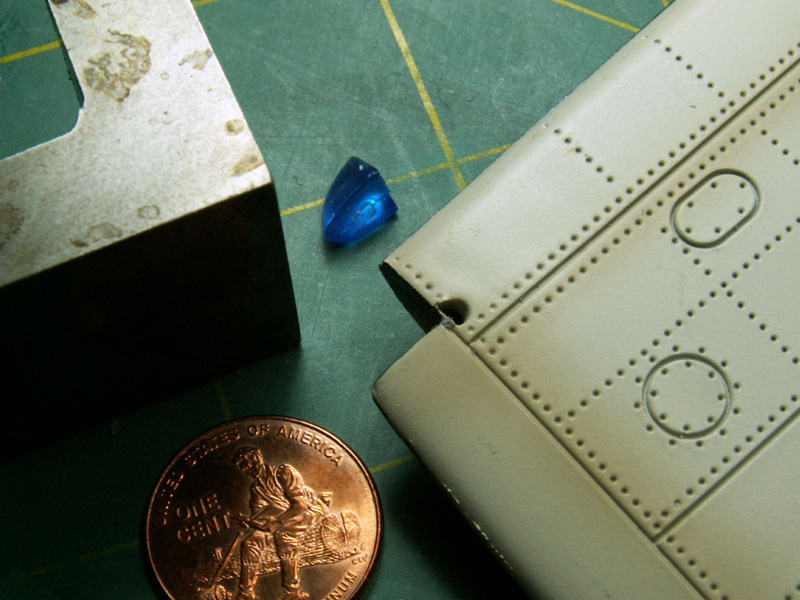
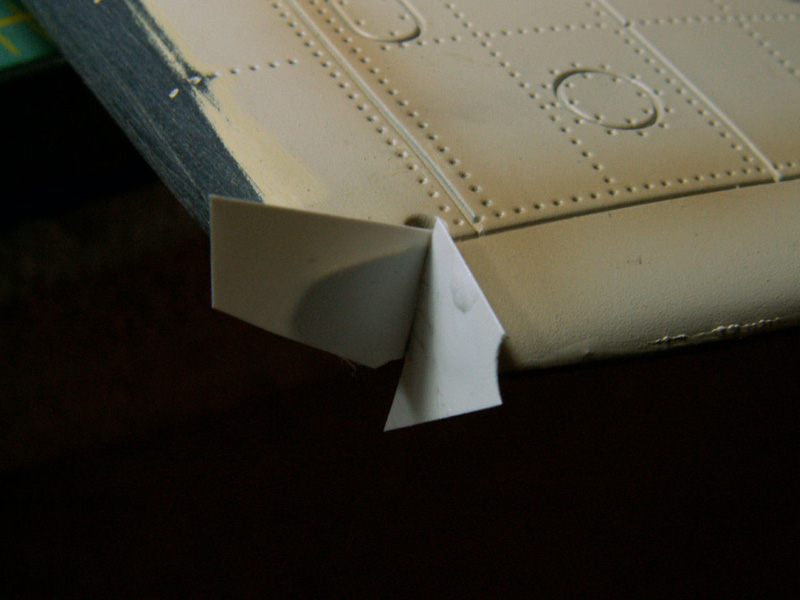
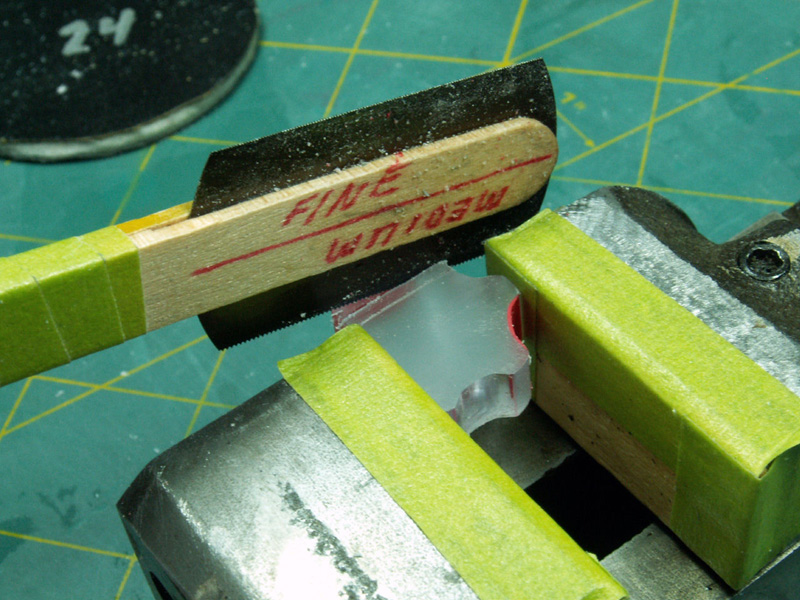
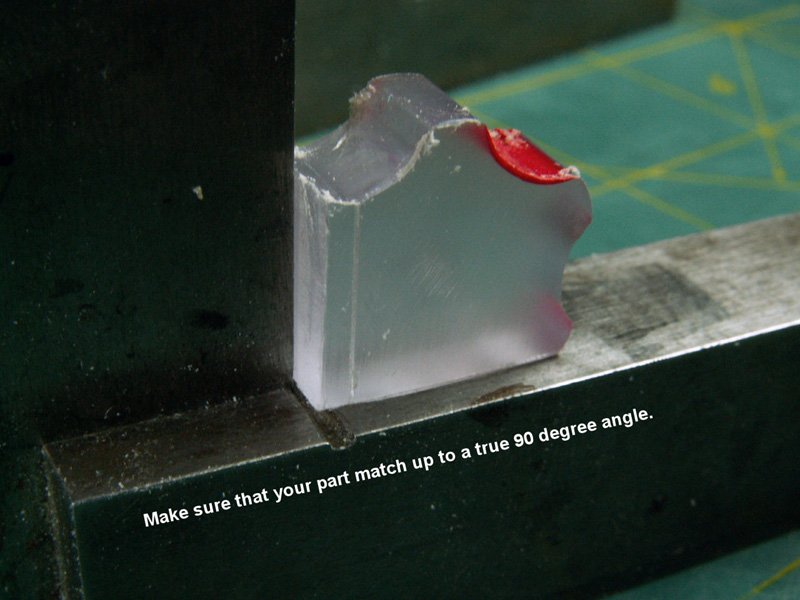
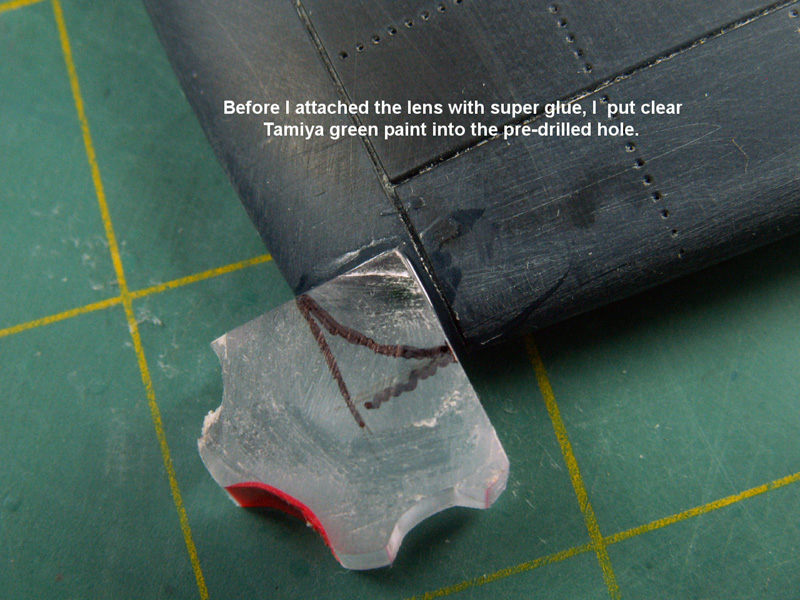
My screwdriver handle had a funny shape and had some red paint on it, but I worked around this minor situation. I removed the solid blue light and squared up the opening on the wing tip. It had to have a true 90 degree angle. I then glued on some .005" thick Evergreen sheet stock.
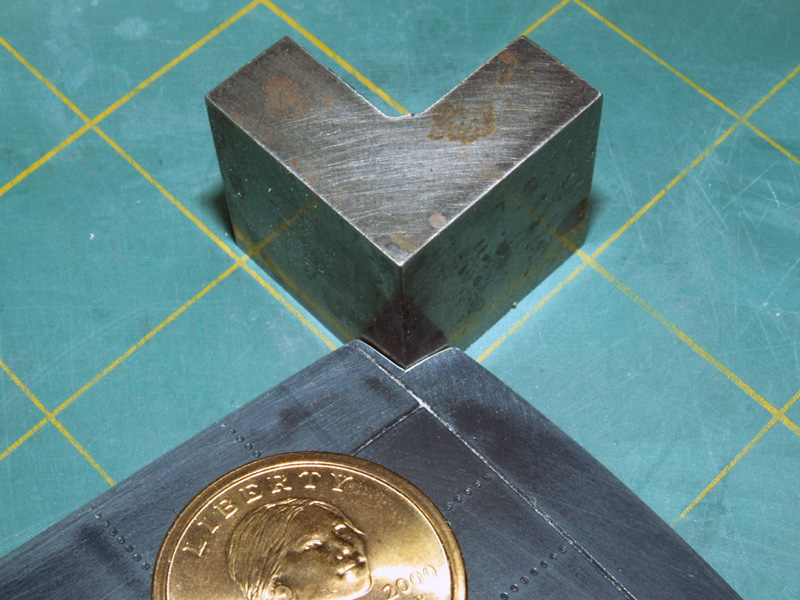
I cut off a big chunk from the end of the screwdriver handle and began to revise it into a landing light. Long ago I bought a couple of small machinist tools which helps me make things square and gives my parts a true 90 degree angle.
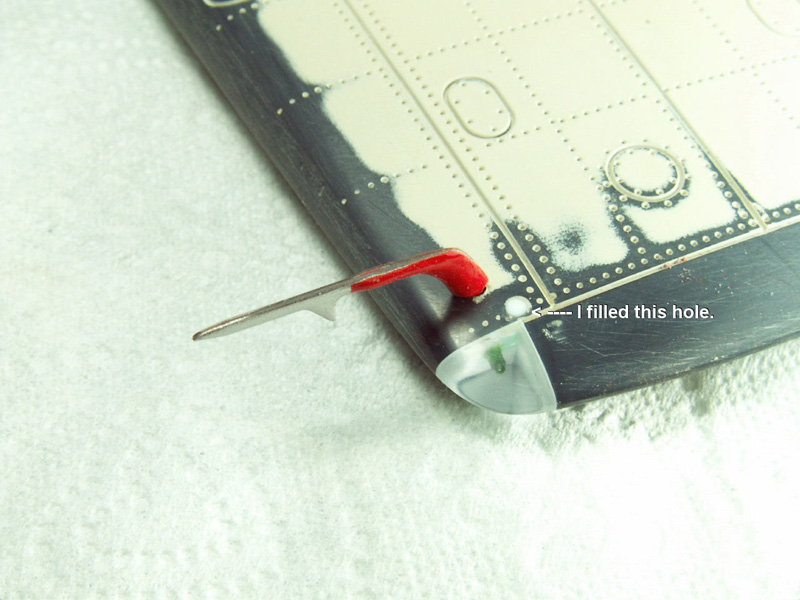
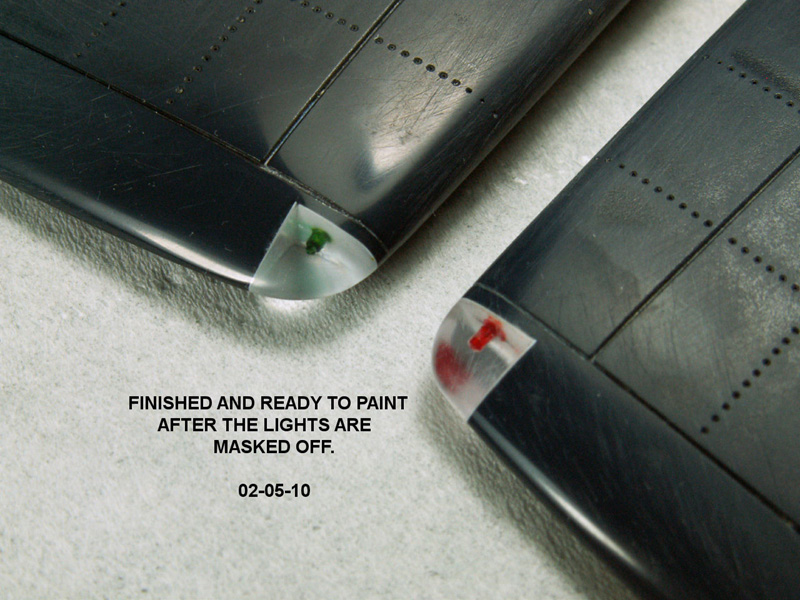
After satisfaction is achieved I drill in some holes and fill them with my Tamiya clear red and green paints and let them dry. Next, I glue the new clear lens to the wing tips.
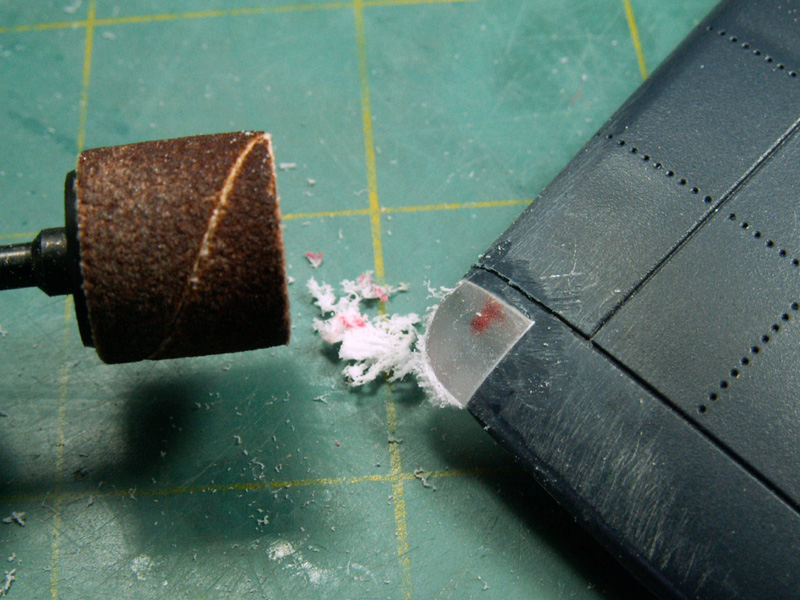
This plastic was very soft so it was easy to cut and grind down with my "Dremel Mini Mite" motor tool. I hand sanded the lens using 320, 400, 600, 800, 1000, 1200, 1500 and 2000 grit 3M Wet/Dry sandpaper. I polished the lens with my old favorite "Blue Magic" metal polishing cream.
The end result looks real and is fantastic.
Enjoy the photos.
Rodney
Part 1 | Part 2 | Part 3 | Part 4 | Part 5 | Part 6 | Part 7 | Part 8 | Part 9 | Part 10 | Part 11 | Part 12 | Part 13 | Part 14 | Part 15 | Part 16 | Part 17 | Part 18 | Part 19 | Part 20 | Part 21
© Rodney Williams 2009
This article was published on Wednesday, July 20 2011; Last modified on Saturday, May 14 2016