
Airfix 1/24 P-51D to P-51B Conversion "Sleepytime Gal" Part 3
By Rodney Williams
"Sleepytime Gal"
Converting a 1/24th P-51D Mustang to a P-51B: part 3
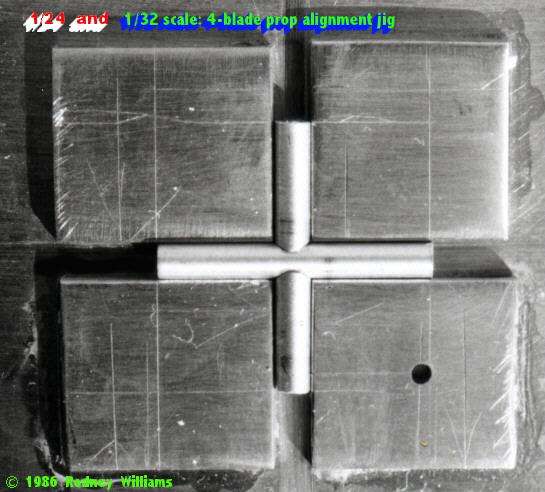
I found this black and white photo of my 4 blade prop jig, o I though I would show it to you. It was made out of brass, and just super glued together. I coat the jig with " 3 - 1" oil, as it prevents the super glue, (s.g.) from sticking to it. I insert the pre cut and half mooned
sections of the aluminum tubing, and just tack then with s.g. I carefully remove the cross bar and clean off the oil, then apply more "s.g." to it.
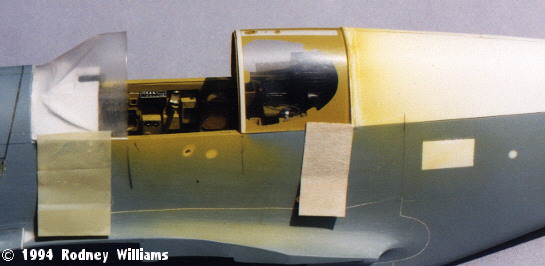
The cockpit parts have been painted, along with several other items. Look close at the cuffed blade base!! You can see that little plate I was talking about. For realistic weathering, I painted the prop spinner with "SnJ" aluminum, then over coated it with Tamiya. I just pick off the Tamiya paint within one hour, then I added a little oil stain.


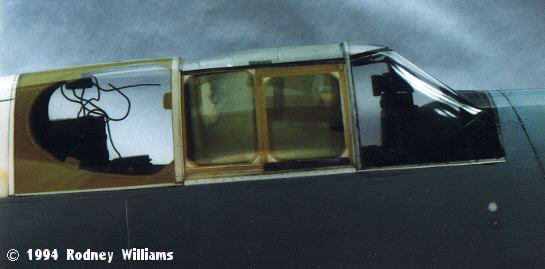
These photos gives you a few close up views of the tires, seat, instrument panel and the like.
As I look back on this model, all I can say is: WOW! A great deal of work making all these parts.


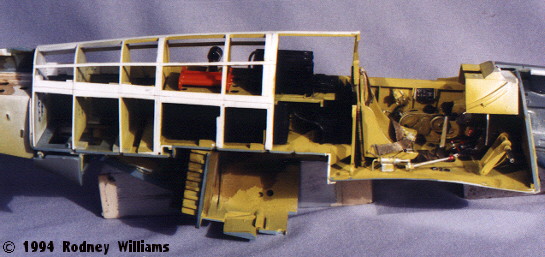
This view shows the fuselage glued together. Using these alignments rods grantees that when all the work is complete, and the parts are painted and put into the model.........."IT FITS." Nothing like not be able to glue the model together when a part or two is too big.

I made wooden molds for the windscreen. canopy, and aft windows. However the windscreen vac-u-form section did not work, so I had to revise my thinking, and you see the "revised" windscreen master, and a plaster mold. This worked out OK.


After the rear side windows were installed, I covered up the rest of the aft top section of the fuselage. I sprayed on "SnJ" then scribed in the panel lines, and sanded off the paint to check for any flaws.


These photos show the completed wing section, including the finished paint job. I airbrushed on the insignias as well. Note the black "outline" stripe on the white invasions stripes. Go back to part one and look at the real aircraft, as it had them on it.


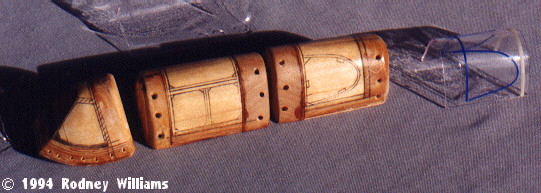
Here's the drop tanks, and some photos of the aft tail plane section.


Part 4 will show a few more items, and the finished model. Part 5 will have all 18 drawings.
Part 1 | Part 2 | Part 3 | Part 4 | Part 5
© Rodney Williams 2002
This article was published on Wednesday, July 20 2011; Last modified on Saturday, May 14 2016