
Screaming Serpent Stuka (Revell Ju-87B)
By Suresh Nathan
Introduction
The Stuka is one of my all time favorites. It was ineffective, ugly and over-hyped by the Nazi propaganda machine. Yet 2 things always made me want to build one. One was the Pink Floyd Off the Wall video where a Stuka crashed into a bunker (yes the whole Stuka) and the other was an in-progress shot of the Airfix 1/24 offering in a seventies catalog (I still have that today). Over the years I collected the Eduard upgrade and a “Tally Ho” decal set. Recently the 21st Century Toys Stuka became available (and to make matters worse they offered the Serpent theme decal) and I thought long and hard about chucking the idea. Then someone said the 21st Century Toys offering was vastly superior to the Revell – that was a month ago…
Research
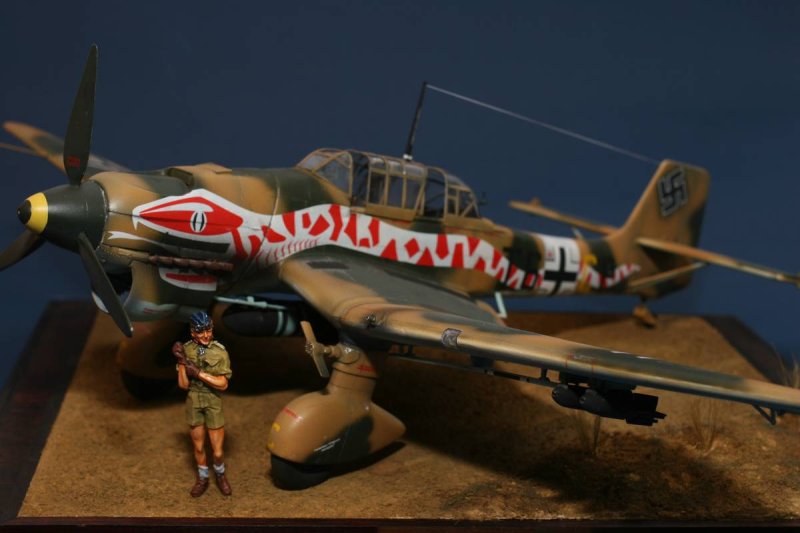
Details came from “Ju 87 Stuka in action” from Squadron, Cockpit from Airlife and Classic World War II Cutaways from Osprey. “Tally Ho” provided a good painting guide for the plane belonging to Lt Hubert Polz stationed in Tmimi-Libya 1941 of 6./StG 2. Not sure if this had wind-powered sirens but I took the liberty of adding them from scratch (can’t write a screaming serpent article without screaming sirens).
Model
The Stuka from Revell is no picnic. Raised coarse panel lines and rivets are almost like sand paper. Cockpit details are inadequate. Details are heavy. Yada, yada, yada. Still, the panel lines are where they should be and a quick check with Squadrons “Stuka in Action” showed minimal variation. I sanded off all surface details and rescribed the panel lines as per the lines on the model. Riveting was not necessary as all my references showed very smooth finishes. At one point I felt the air top air intake was badly moulded but I realized that the original was actually built with a slight skew - odd.
I made a new pilot seat from scratch using K&S brass sheet. Multiple trial fits got the thing to fit just right.
The cockpit was rebuilt with the Eduard parts. This was challenging as there were numerous tiny boxes and panels. It was a kit within itself but well worth the effort.


Additional scratchbuilt additions included oxygen cylinders made on a lathe and a machine gun housing (the Eduard solution was inaccurate).
On the balance the Eduard set definitely gave the cockpit much needed improvement. The Revell cockpit was surprisingly adaptable.


I replaced the kit lower fuselage viewing window with clear card and cut out a space to accommodate a lens for the search light. The lens was from a Gundam upgrade set. The top hood was from brass sheet. The exhaust stacks were all drilled out. I scratchbuilt a wind siren on the undercarriage and faired it in with Milliput. The bombs had whistles made from brass tubing and new machine guns were made from brass tubing and Milliput. The rear undercarriage was rebuilt.
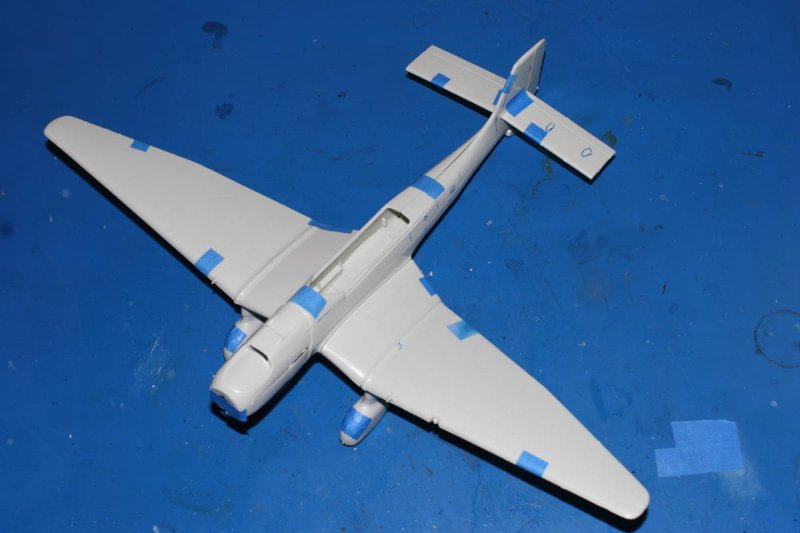
The rest of the model came together afterwards but the seams needed repeated filling and priming to get it to fit seamlessly.


One of the best parts of the Stuka is the Greenhouse canopy, which is a masking bad dream (not nightmare status yet).
The model was painted with Gunze white primer.


Painting
These older kits are heavily dependent on a decent paint job to look reasonable. I pre-shaded the model, did the underside in light blue and upper surfaces in sand. The white tail band was carefully matched for color with the serpent logo. The olive green camouflage was sprayed on freehand using the graphic provided by “Tally Ho”. A couple of coats of Future set the stage for decaling.
The decals were the worse part of the kit. Don’t get me wrong I like decals but the sheer complexity of the decals made this very difficult. The decals were extremely thin and prone to breakage. Some of the crosses were off-register. Nonetheless at completion and with decal setting fluid they turned out great. The serpent needed to be cut to accommodate the panel lines and air scoop and touch up paint was used. Another coat of Future sealed the model though there was still minimal silvering.
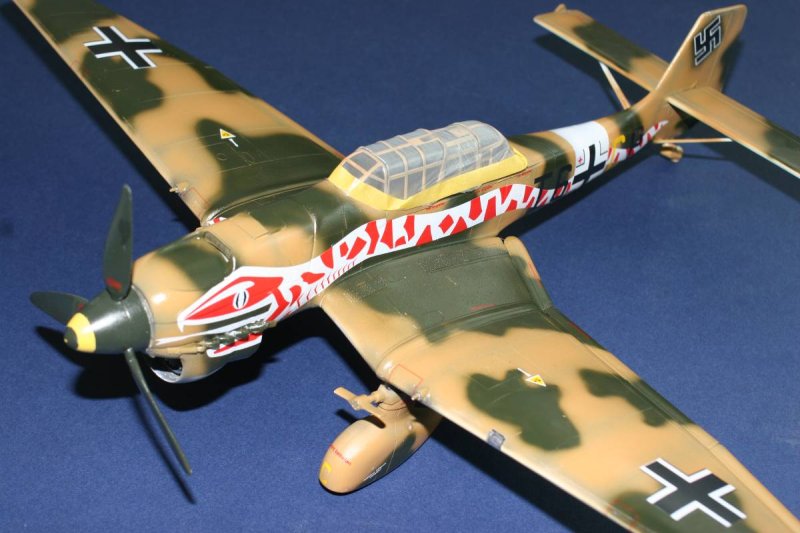
Weathering was minimal with panel washes of gloss black, burned umber streaks and exhaust and machine gun streaks. A silver pencil provided chipping.
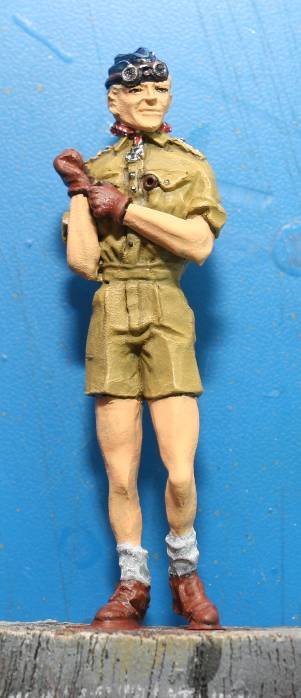
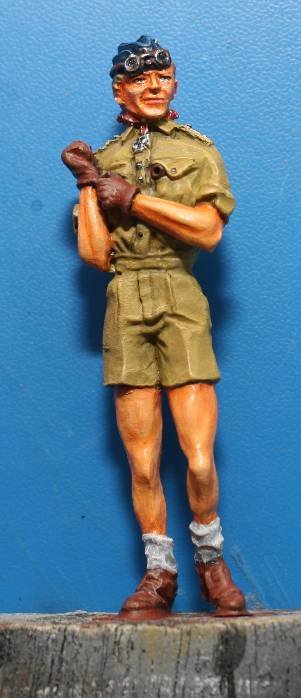
Figure
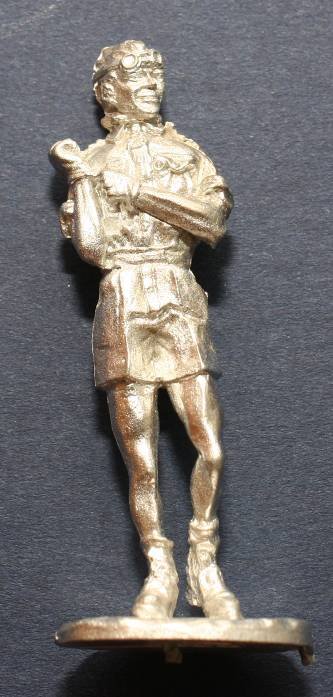
The North African Pilot depicts Oblt. Hans Joachim Marseille the famous pilot ace of Yellow 14 (an Me 109) and comes from Valiant. I figured he could be shown with a Stuka on a field visit. This was painted with acrylics and oils.
Conclusions
The project was lots of fun and represented a culmination of a number of goals for me. Ultimately as these old kits become supplanted by newer kits there’ll be less and less reason to build them. Even so, with a few basic techniques and a decent paint job they can be made into striking models.
Additional images


© Suresh Nathan 2007
This article was published on Wednesday, July 20 2011; Last modified on Saturday, May 14 2016