
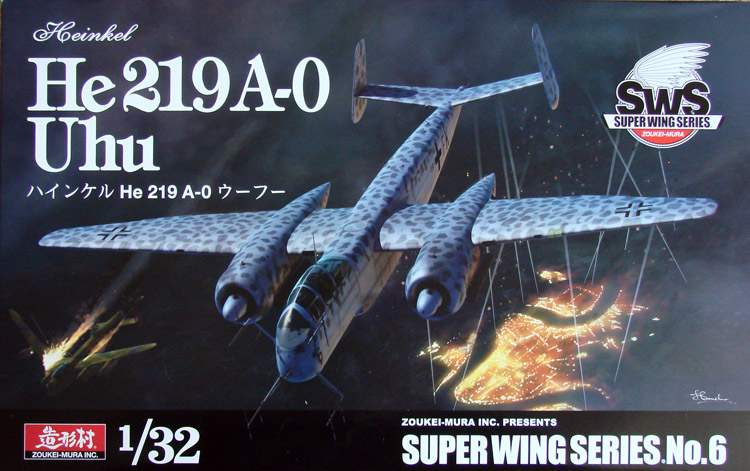
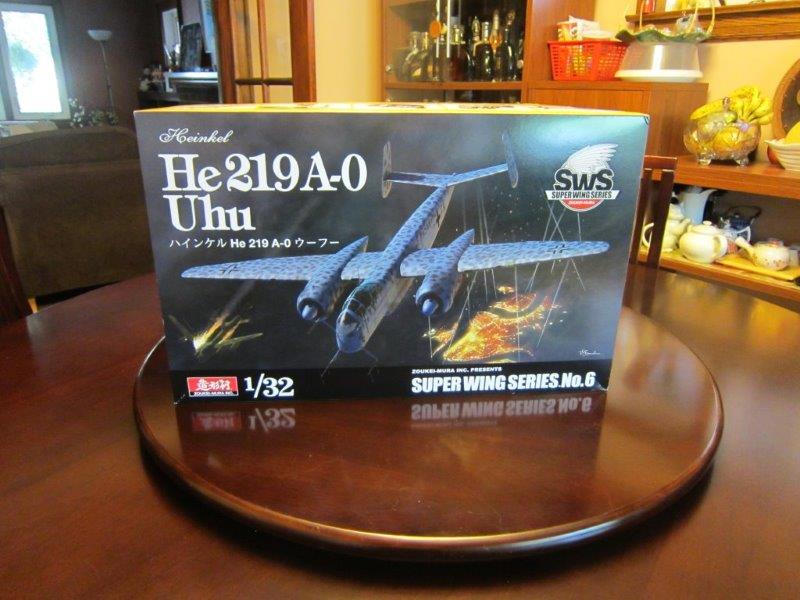
Zoukei-Mura | 1/32 He 219A-0
Reviewed by Carl Kung
Here is an in-box review of the new Zoukei-Mura He 219 kit. As I do not have enough reference materials to check the accuracy of the kit, I have not done so. I will leave that to others with more intimate knowledge of any specific details or possible faults.
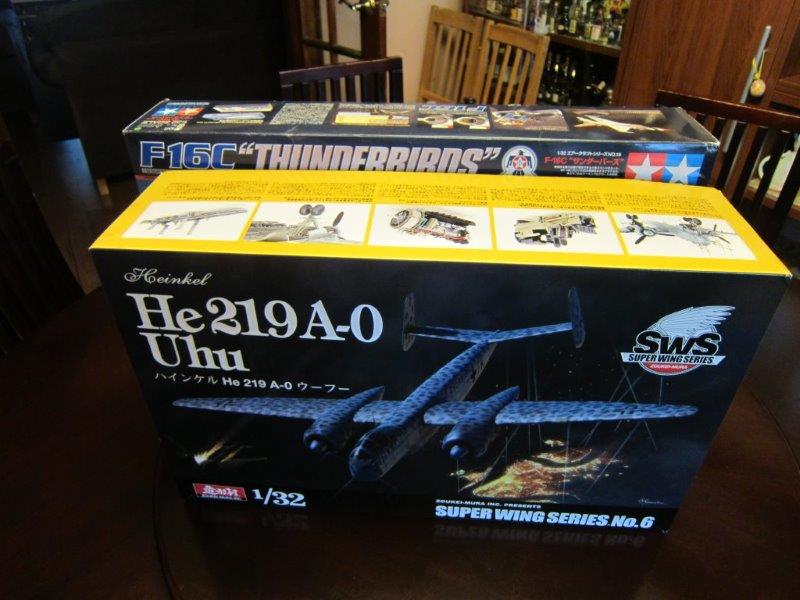
The kit comes in a fairly large box, much bigger than I would have expected. I have placed it in front of a Tamiya 1/32 F-16 box for comparison.
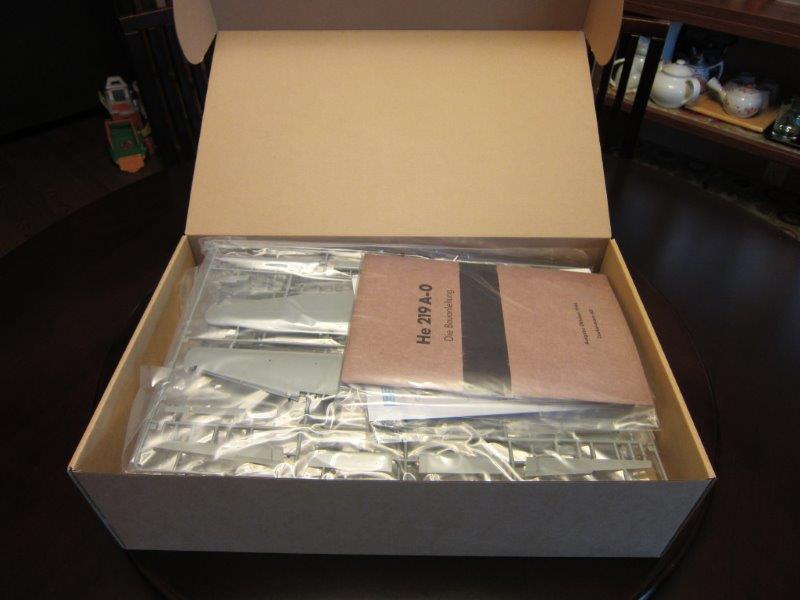
The box has an inner lid to it which helps protect the very full interior from possible damage. There is little free space inside once you open the inner lid. I will go through the contents as they were packed, mostly to make sure it will all fit back in after.
The kit is moulded in medium grey plastic and clear. There are a total of 15 grey sprues and 2 in clear. ZM has decided to forego the multi-coloured plastic seen in their previous releases. This will make some happy and others, not so much. There are a set of paint masks for the canopy and a large decal sheet printed by Cartograf. I overlooked taking a pic of the decal sheet so apologies to everyone.
The instructions are laid out like a technical or shop manual on the aircraft. It is broken down into separate sub-assemblies for the cockpit, wings, fuselage etc. There is a brief history of the aircraft and an overview highlighting some specific areas of the aircraft. Colour call outs list Vallejo paints throughout the instructions along with RLM numbers where appropriate. There is an addendum that has been posted on ZM’s website for installing the landing gear so please check there for details.
The first things out of the box are the “pre-order” bonus items packed in a single bag: pilot and radar operator crew figures and three lights in coloured resin. The detail moulded onto the figures is very nicely done. Although these bits were supposed to be included in only the kits pre-ordered directly from Volks, it seems that they decided to put them in the entire initial shipment since my kit came from HLJ and people that received theirs from Sprue Brothers have received these as well.
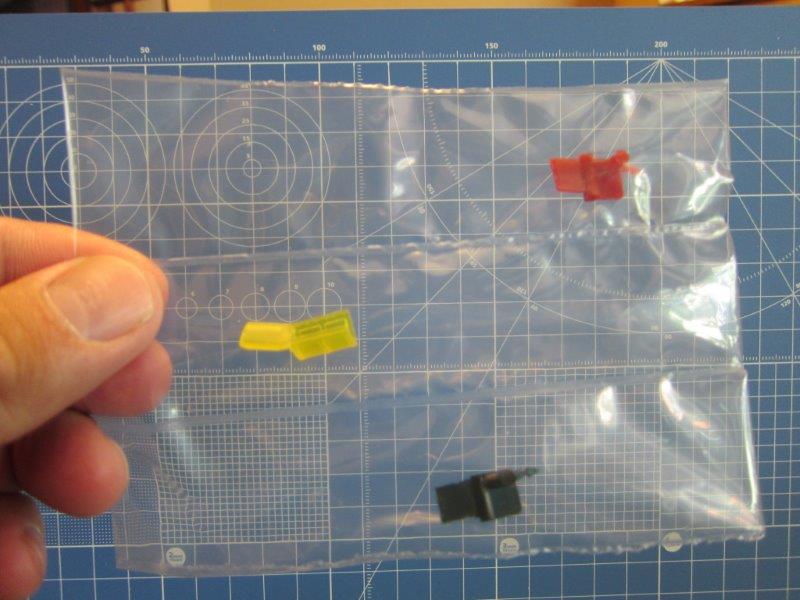
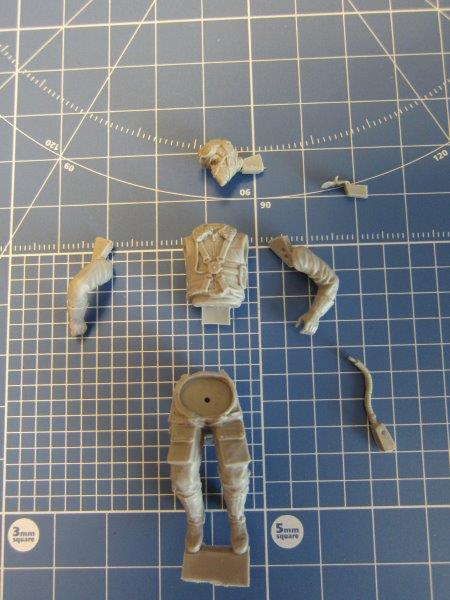
There is a supplemental sheet included that shows the assembly of the figures as well as the placement of the coloured lenses.
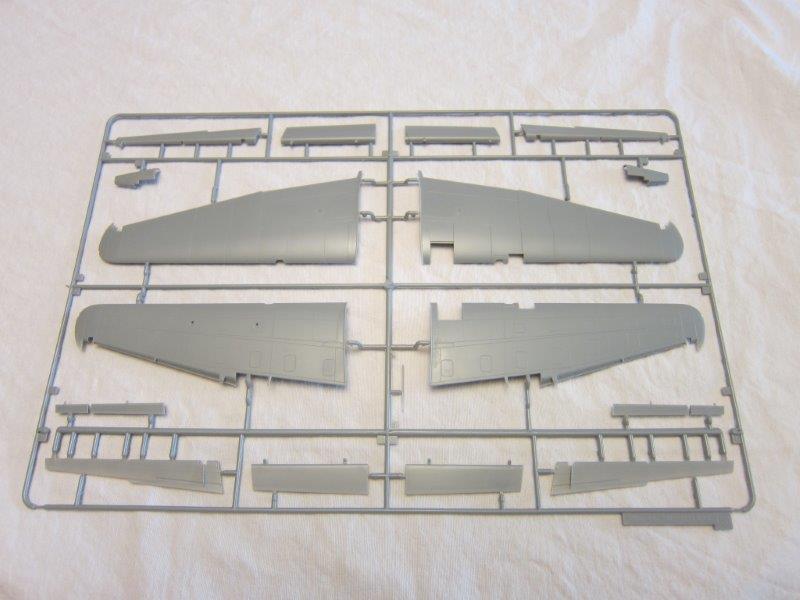
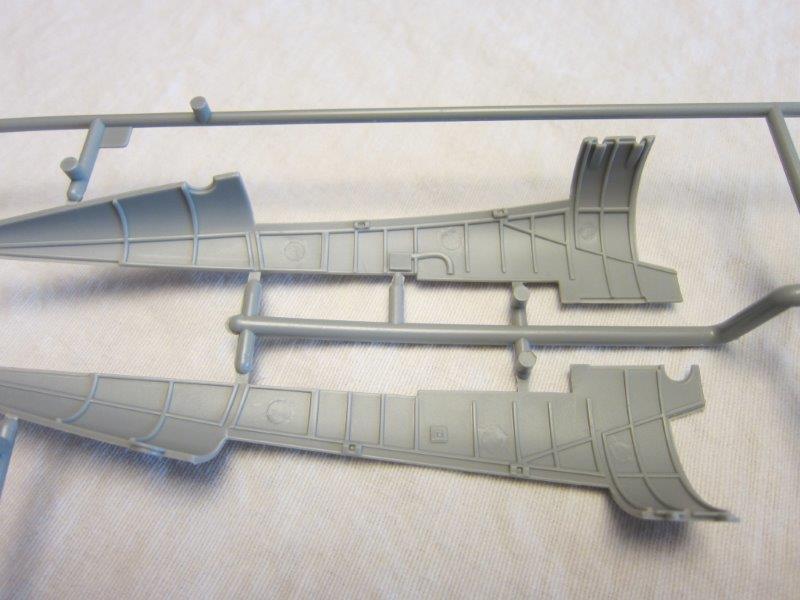
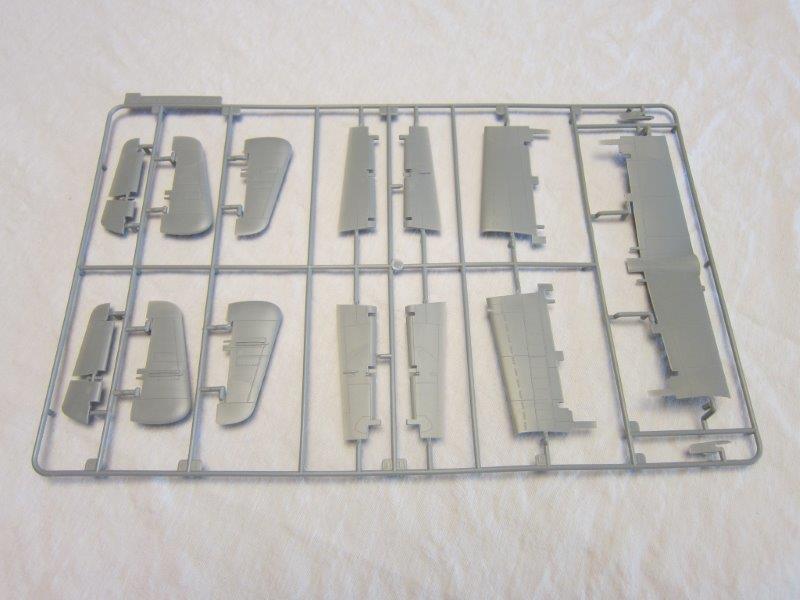
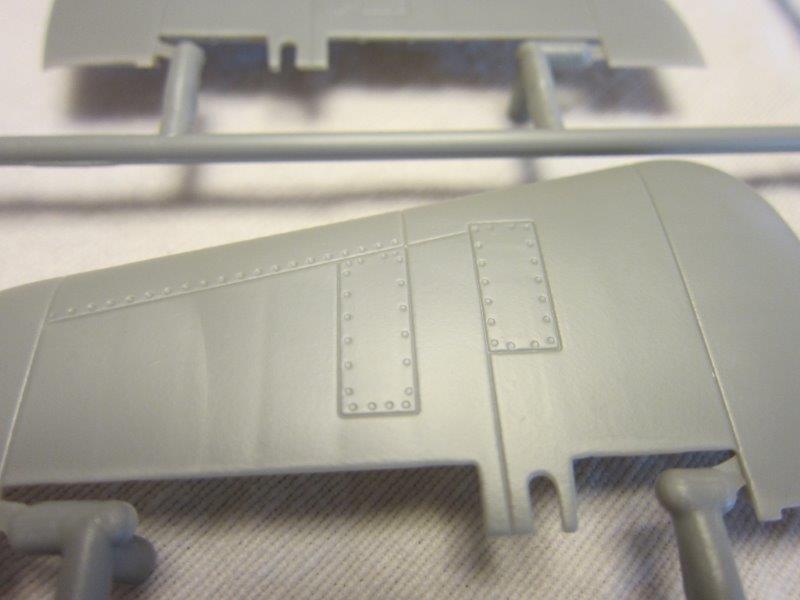
The first sprue holds the main outer wing skins and flaps. The moulding is very clean and the detail is nicely refined, similar to what one finds in a Tamiya or Hasegawa kit. All panel lines are recessed and there are no rivets moulded into the wing surfaces. The flaps can be positioned either up or lowered and there are optional parts to use depending on your choice.
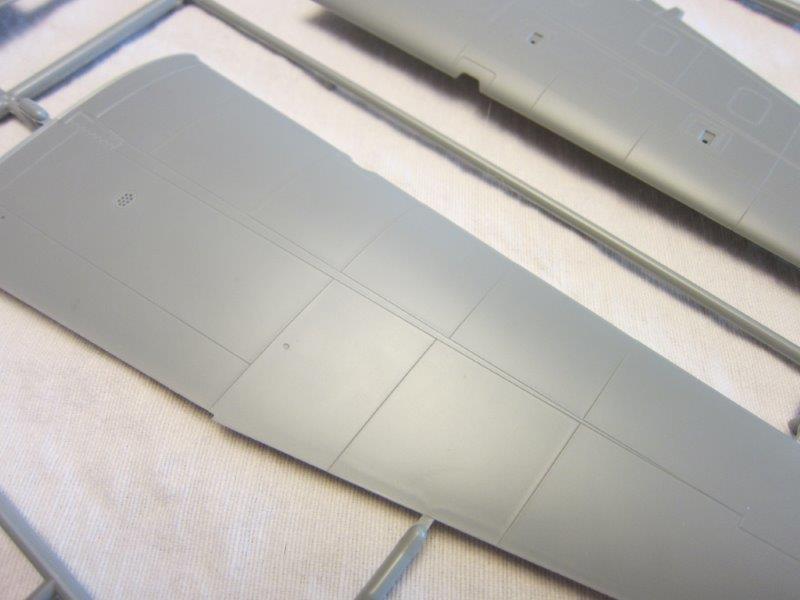
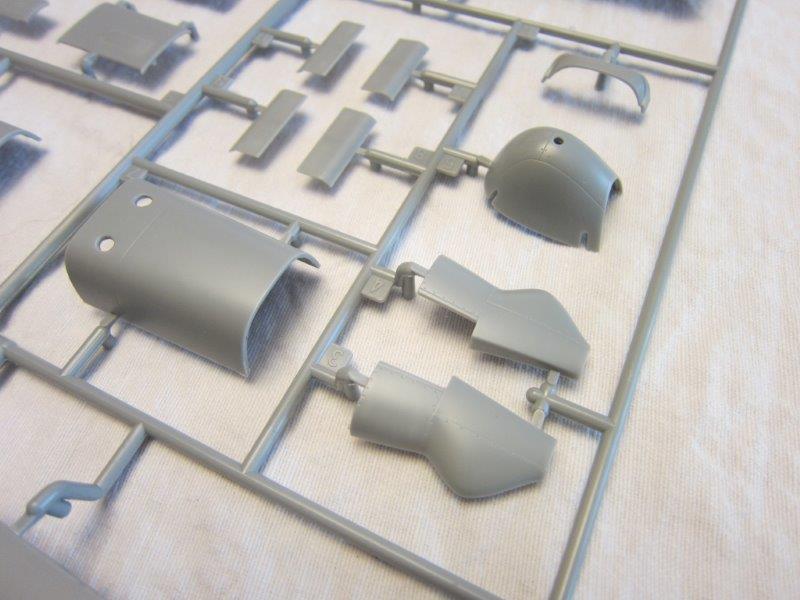
Next are the upper engine cowlings and inboard wing skins. Again, there are nicely engraved panel lines. The nacelles feature internal rib detail through their entire length. ZM has moulded the wing/fuselage fillet as a separate, thin piece. It is a thin bit so I imagine some care will be needed when fitting it.
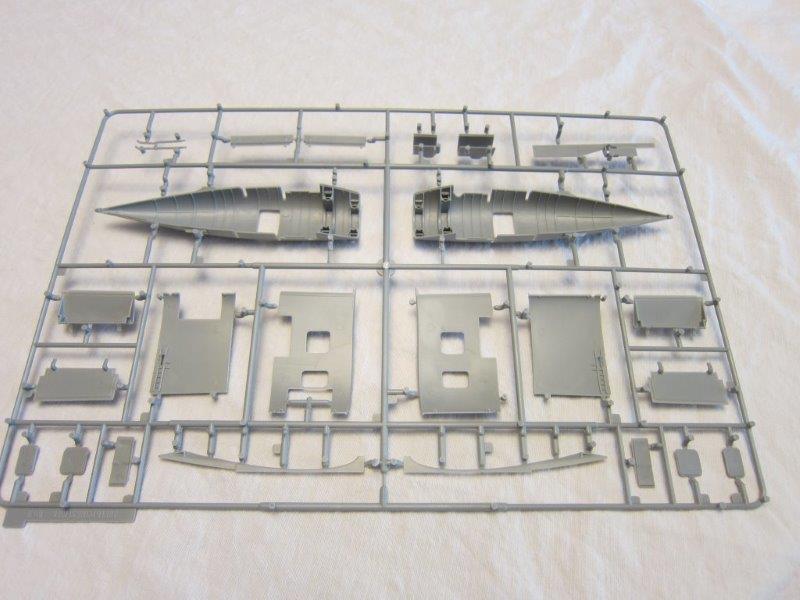

We have the first of three duplicate sprues and these ones contain the remaining exterior engine cowl parts. Again, there is internal rib detail throughout. There are a few ejector pin marks to remove, with a couple being a bit tricky due to their location between ribs.
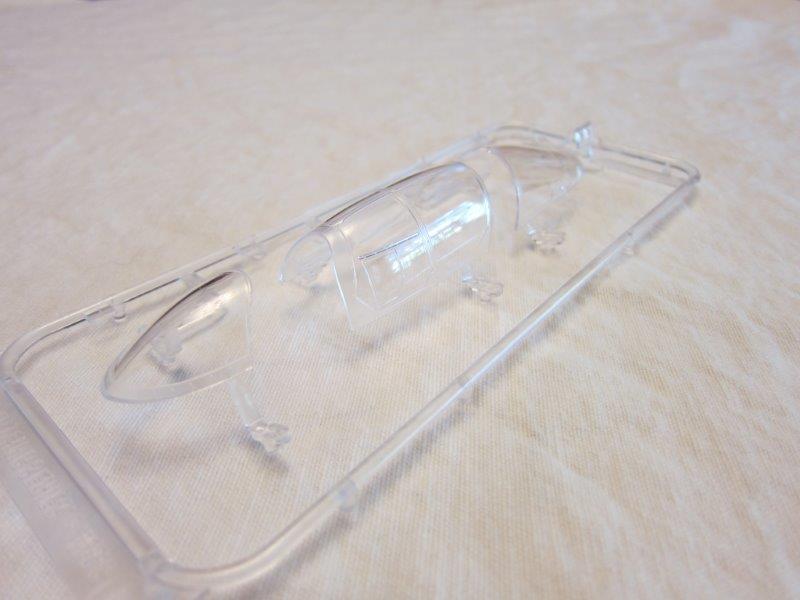
The clear parts come wrapped in a thin foam sheet. The first one I opened was for the one-piece canopy sections. This is your typical kit canopy, with the frame being painted on the glass after you mask the clear sections. The glass is very thin and transparent.
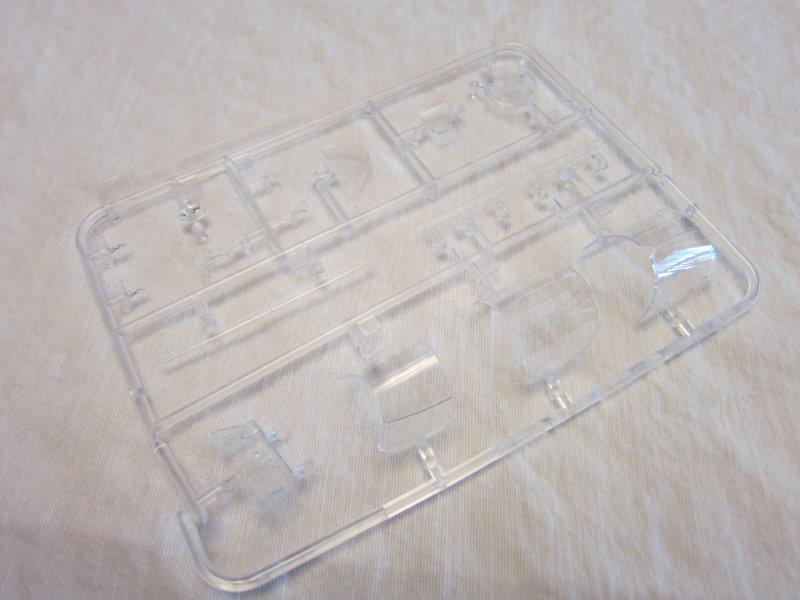
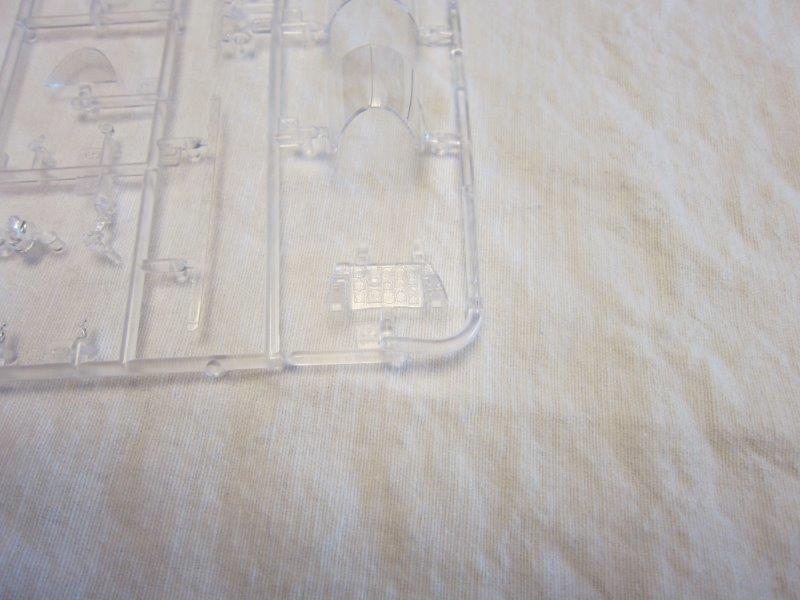
Separately bagged and also wrapped in foam is the sprue for the multi section canopy. The canopy sections on this sprue represent the glass sections only. This sprue also includes the pilot’s instrument panel and some other parts for the cockpit.
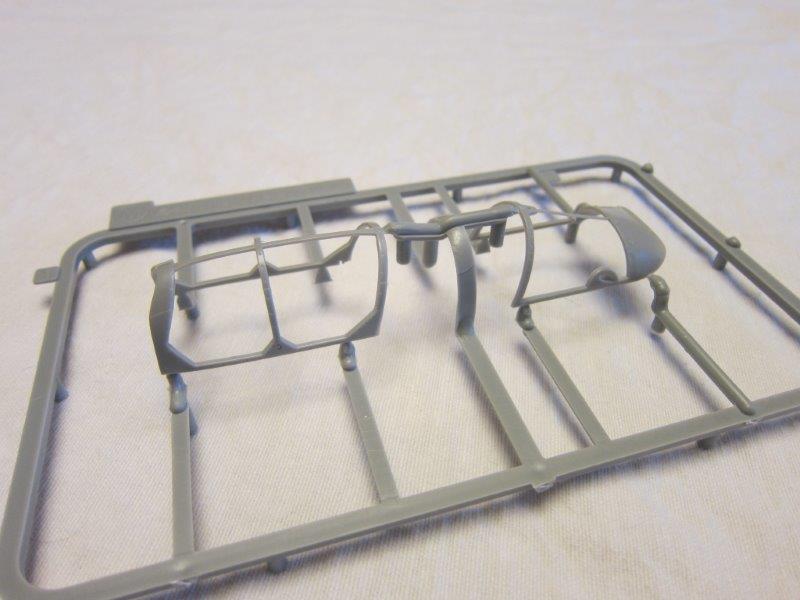
The last sprue that is foam wrapped is the separate canopy framing. Although I wasn’t able to get a decent pic of it, there are some marks on the inner side of the frames that will need cleaning up. I think these are left over from the mould cutting.
So, ZM have given us the choice. They have given the modeller the option of:
- Modeling an abandoned/derelict aircraft as commonly seen in photos at the end of the war;
- Not having to mask the canopy when you paint it;
- Getting cement all over the clear sections when you glue the clear bits and frame together;
- spare when you muck up your first choice.
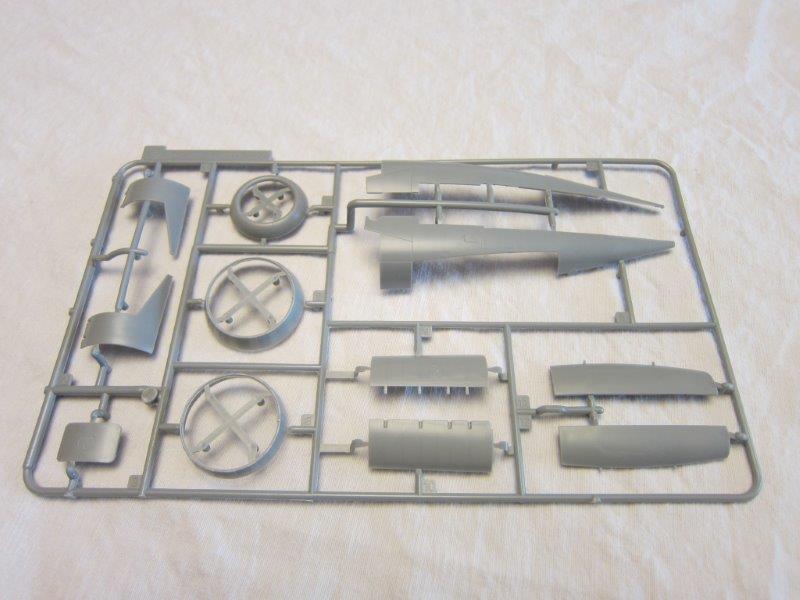
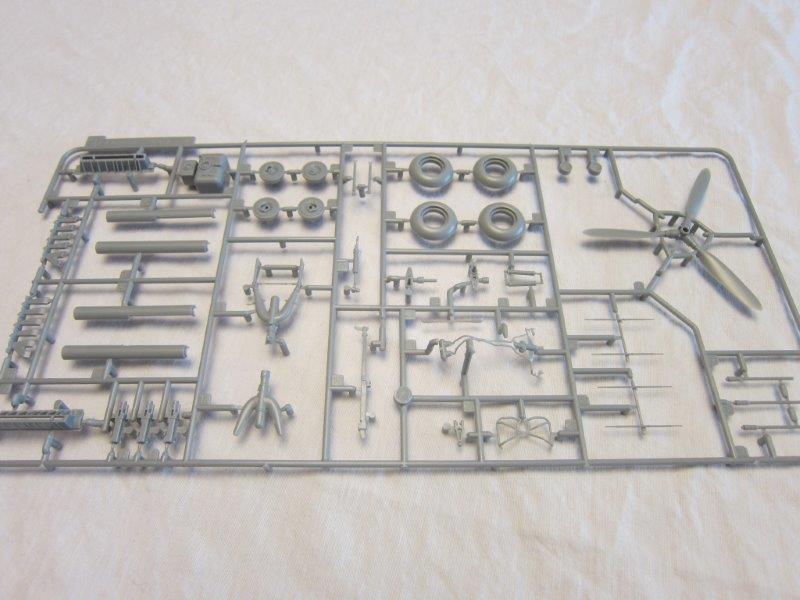
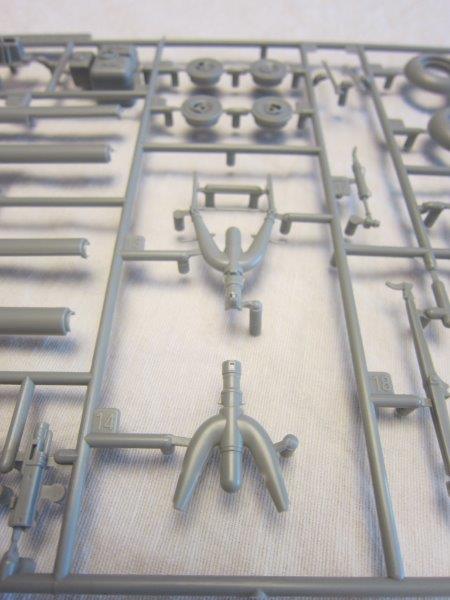
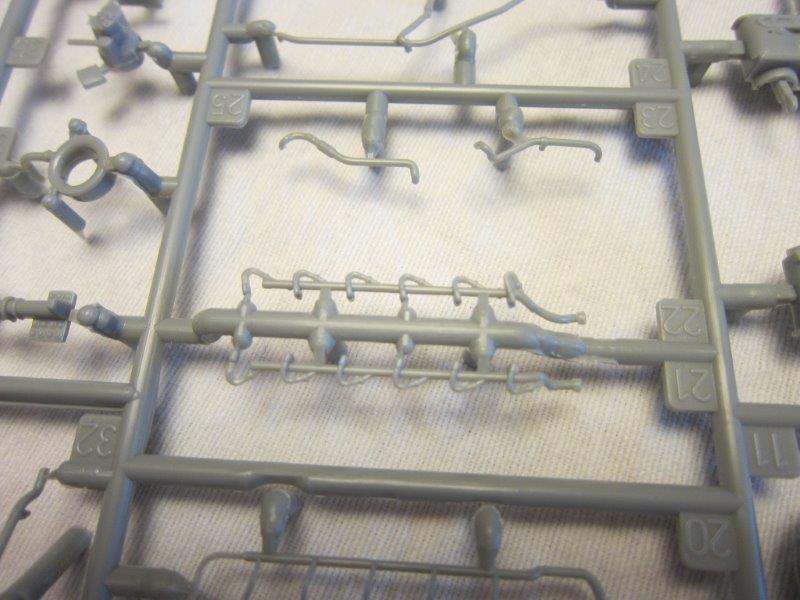
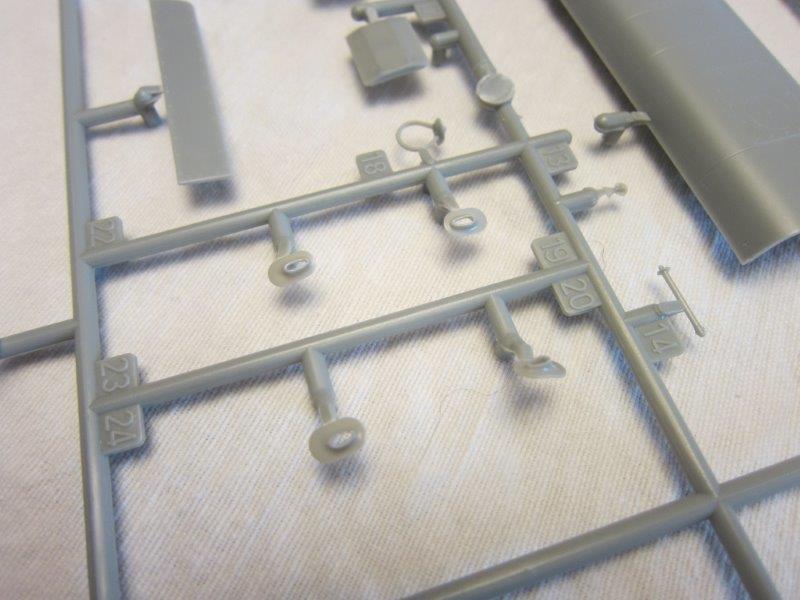
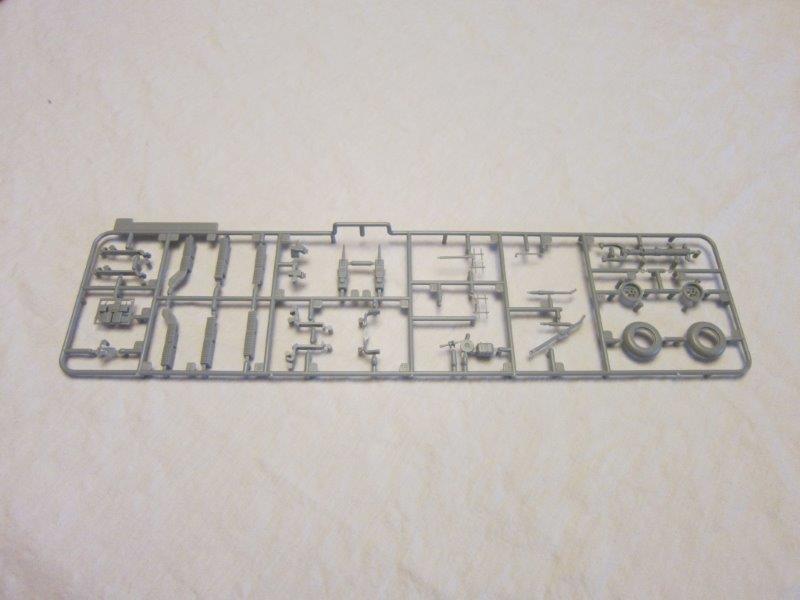
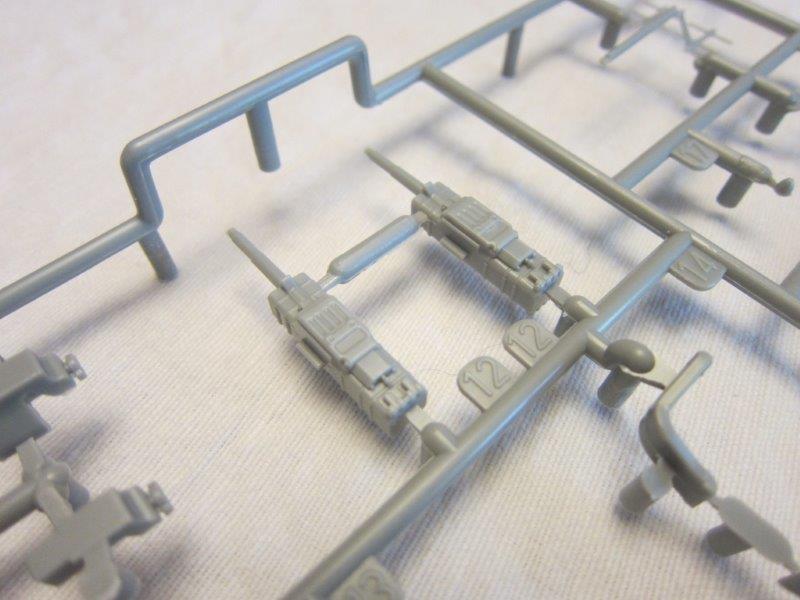
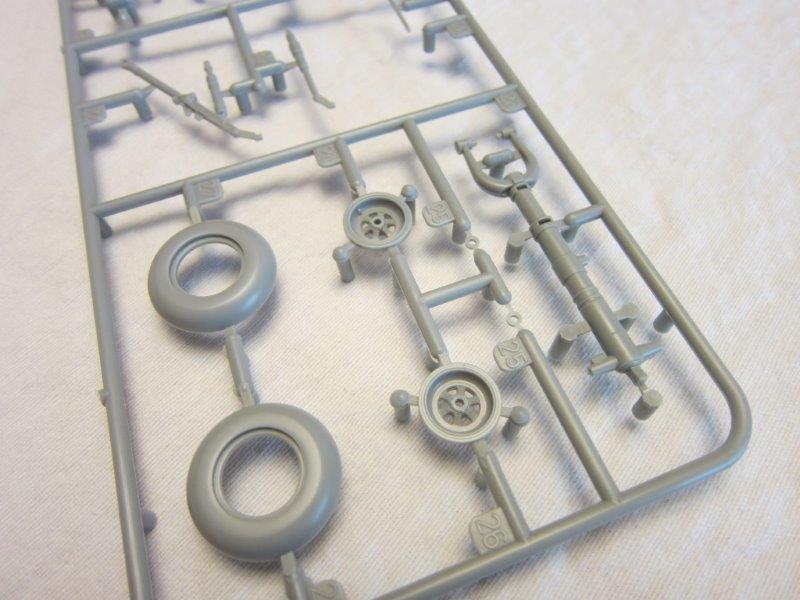
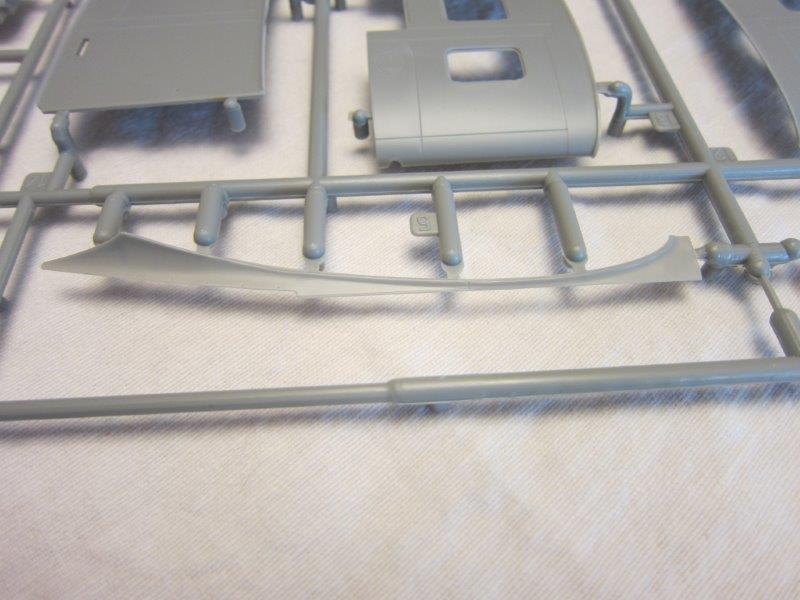
The second set of duplicate sprues covers the main landing gear, radar antennae, props and various sundry details. The main gear tires are smooth with no hint of tread or sidewall detail. ZM has moulded the brake lines as well. There are optional metal gear legs in the box for added strength and ZM has another set of legs coming out as an AM replacement which will be made by G-Factor. It will be interesting to see the difference between the three sets. ZM is also coming out with a brass radar antennae set (made by Master Model) which includes replacement spring assemblies for the main gear. Lastly, the props are moulded as one piece assemblies.

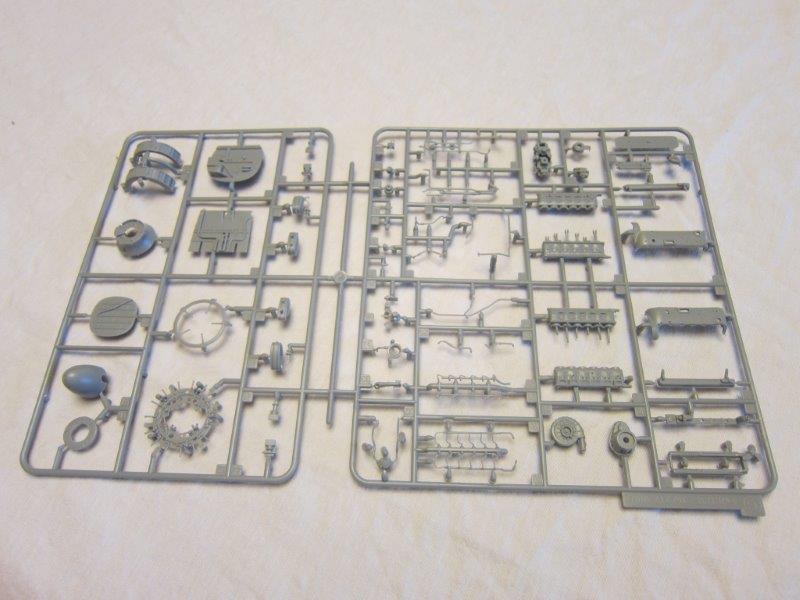
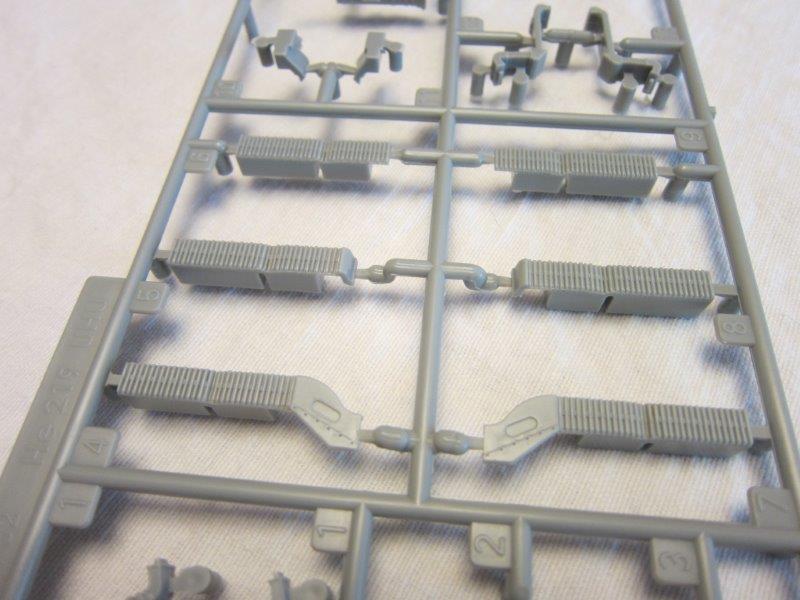
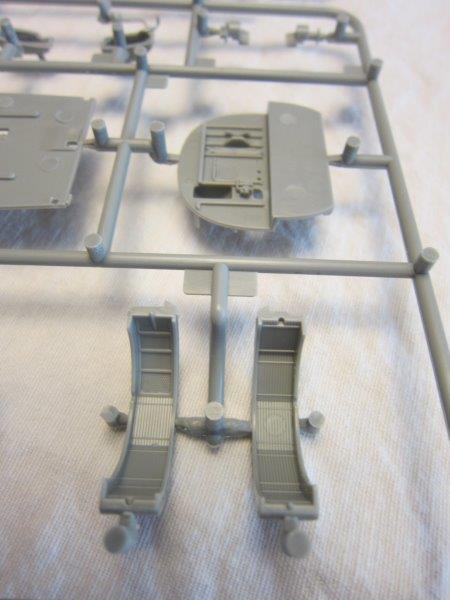
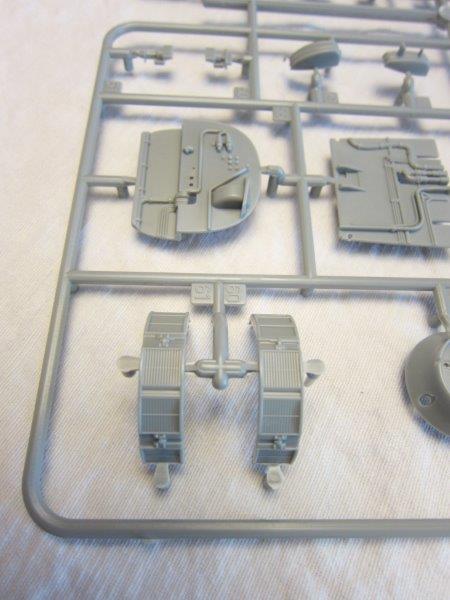
The last duplicate sprue set has the engines and bulkheads on it. The engine block is complete down to the pistons and con-rods inside. The instructions tell you that the con-rods should meet when you have the cylinder heads assembled at the correct angle. ZM has also moulded the ignition harness in styrene. It’s certainly better than I could scratch build one from bits of wire, but for those of us who make a full engine wiring job look easy, it gives them a nice template to improve upon. The annular radiators have detail moulded on both the outer and inner surfaces.
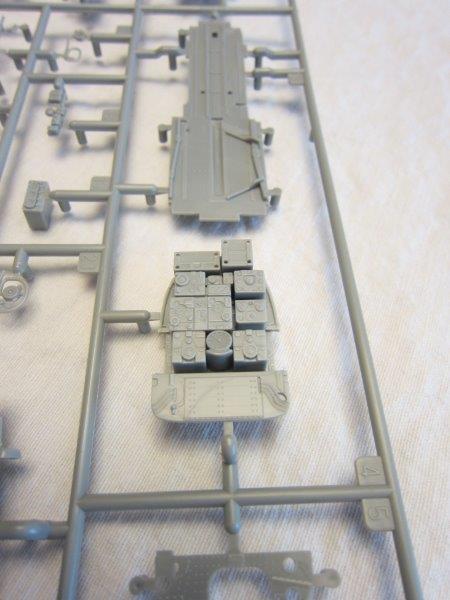
Up next are the fuselage fuel tanks and the ventral gun tray. To make sure that the finished model does not end up being a tail sitter, ZM has included a weight that goes inside the fuel tank. This is a great way to hide it and also takes out the guess work as to how much ballast is needed.
There is a bit of flash on a couple parts on this sprue which is a bit surprising seeing that these are brand new moulds but are not a real impediment to the build.

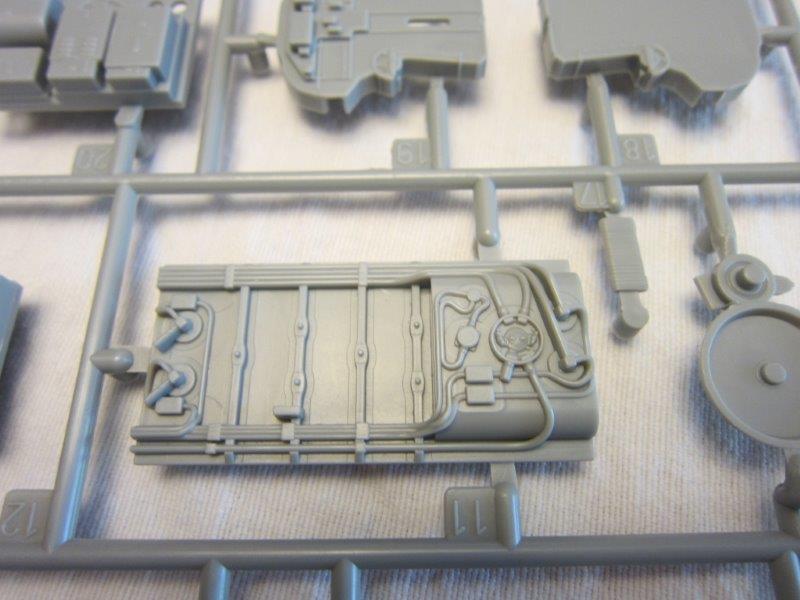
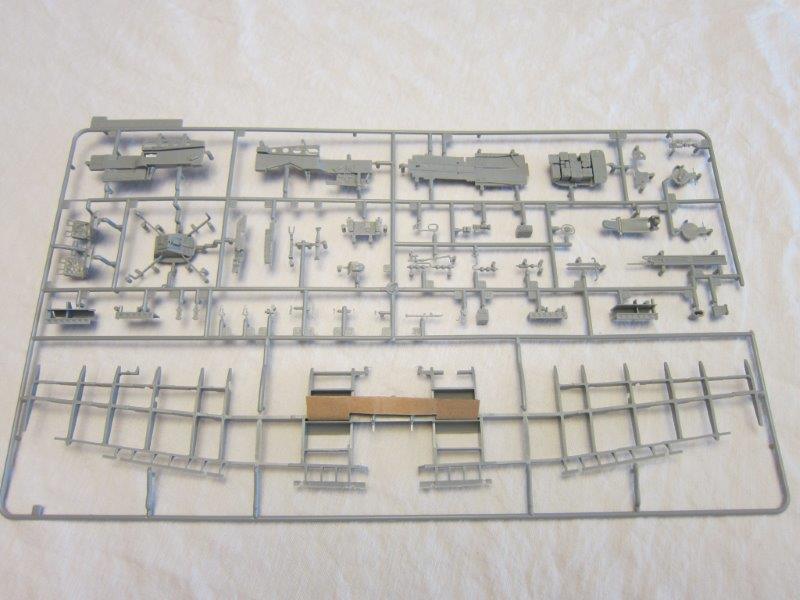
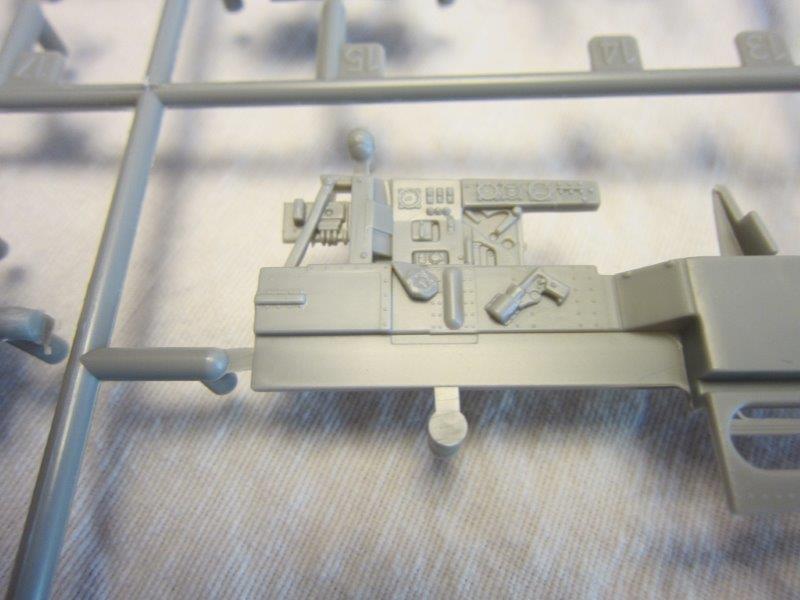
One of the largest sprues is next and it has the main wing spar along with the cockpit sidewalls and floor on it. ZM has attached a small piece of cardboard to protect the centre section of the wing spar. It really shows how much thought went into the packaging. The radar and radio (?) faces are nicely detailed. There is a pre-printed Eduard PE set coming from ZM that will certainly enhance the details further. The nose armour plate and radar antennae arms are one piece which will help with alignment. Again, there are wire and cable runs moulded in place.
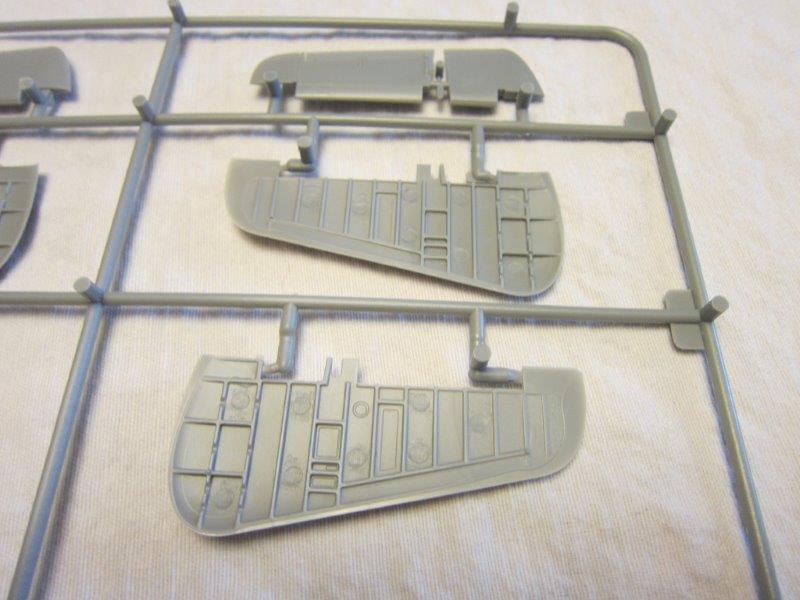
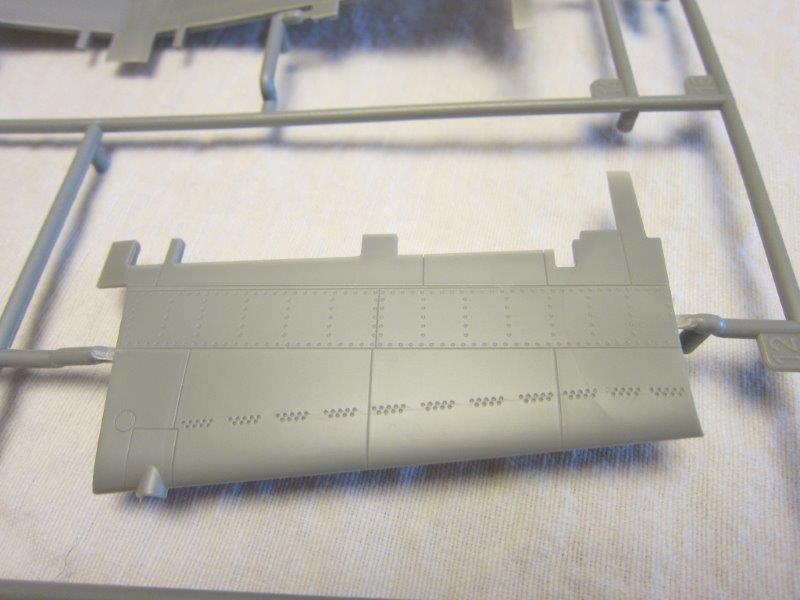
The rudders and tail planes are all on one sprue. Here, you will find a bit of rivet detail moulded in but to my eye it’s nicely done. They are small open circles rather than dots so seem to better represent the real thing. The rudders have ribs moulded into the inner sides and by shining a light through them, the ribs line up with the surface detail.
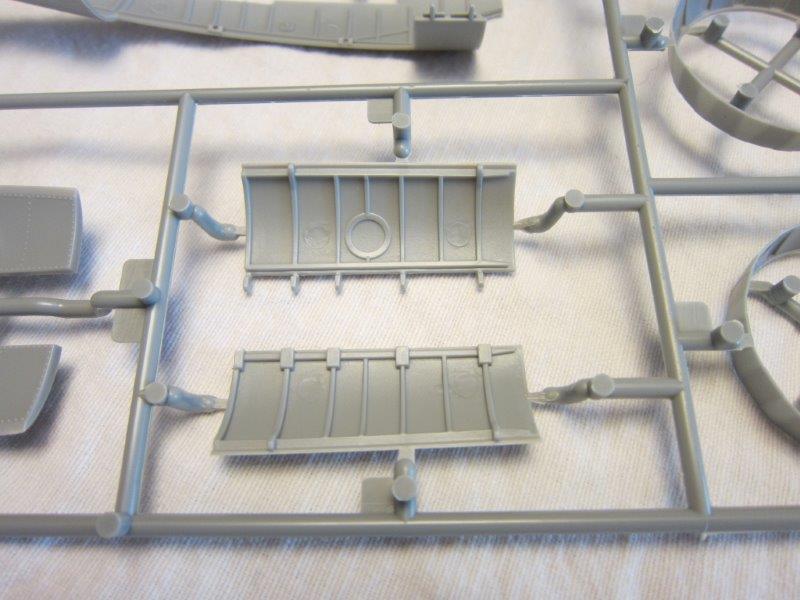
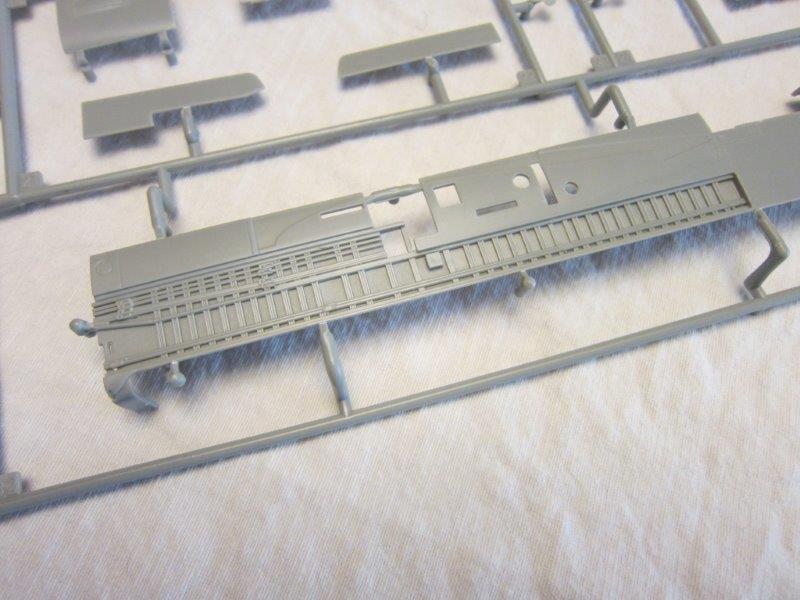
The next sprue has just two parts on it: the gun tray and the upper rear fuselage skin. There are several access panels moulded open on both that will allow a view of the inner detail if left uncovered. I am not certain how well they would stay in place if one did not glue them in place but that would certainly be another option.

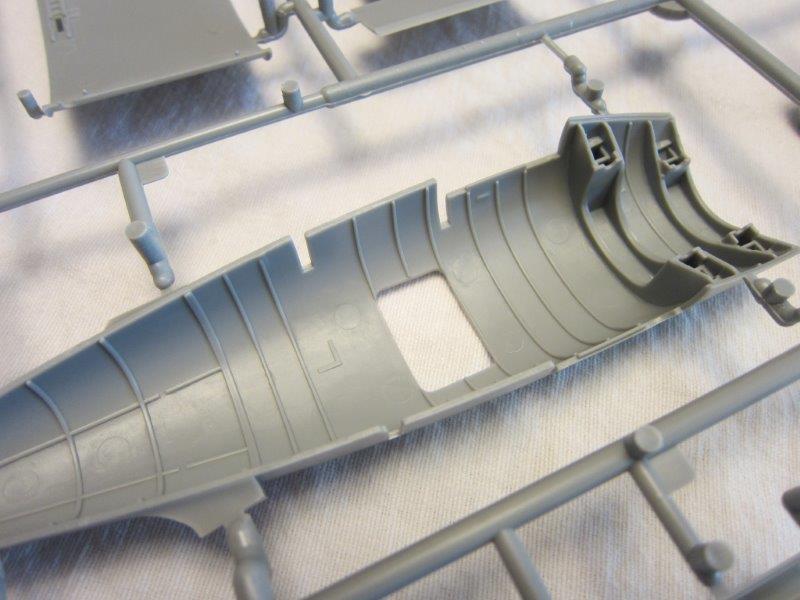
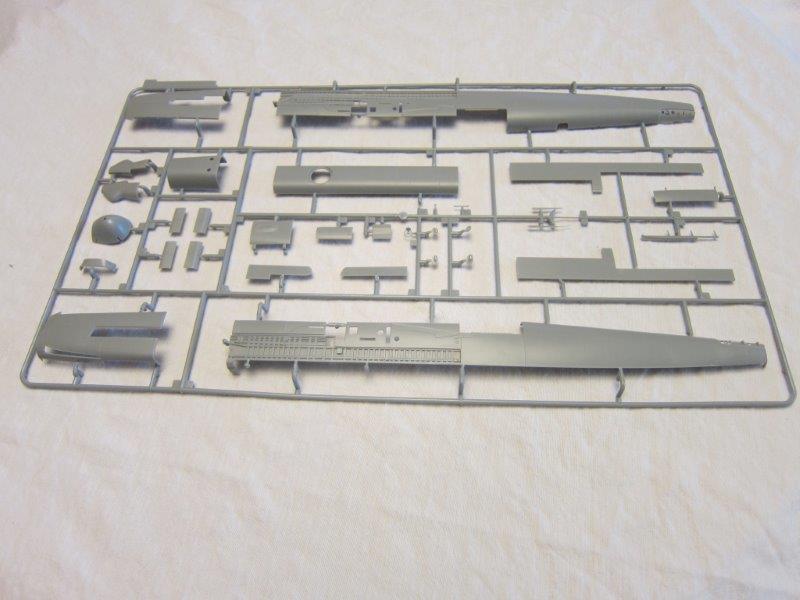
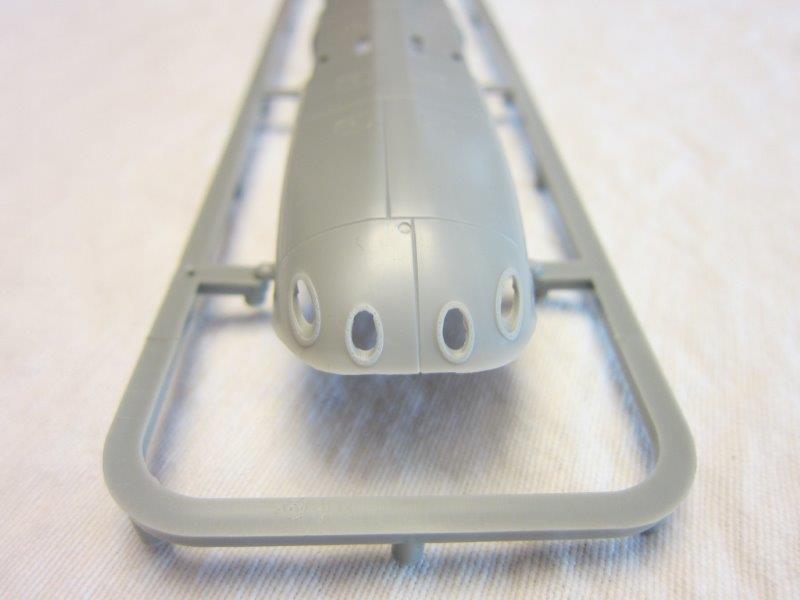
Finally, we get to the fuselage itself. This is made from an assembly of front and rear halves where the rear sections have large panels open to show the control linkages. The Schrage Musik cover is on this sprue as well which will allow you to see the vertically mounted cannon upon completion. ZM has provided some optional fairings for the nose mounted antennae as I presume, not all aircraft had them. They are some notes with regards to their fit in the instructions so some modeling skills may be required in their installation. They have also included optional tail sections as well.
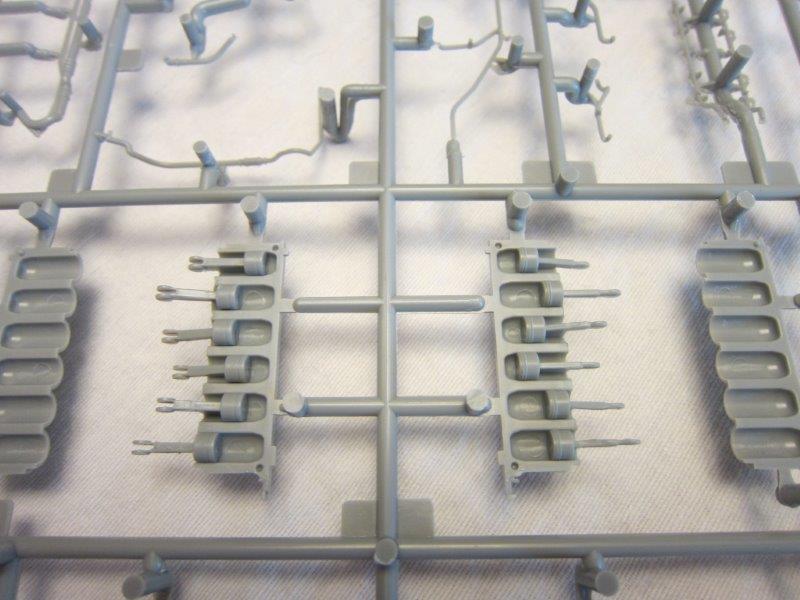
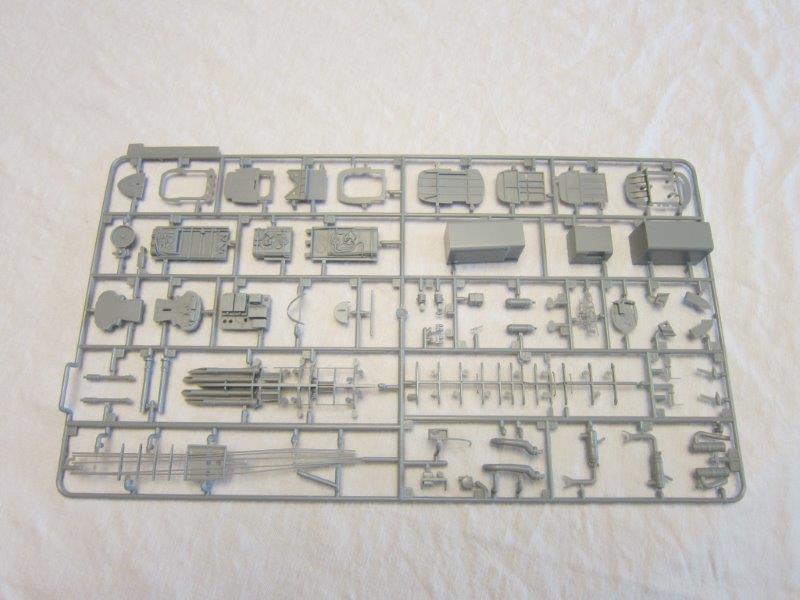
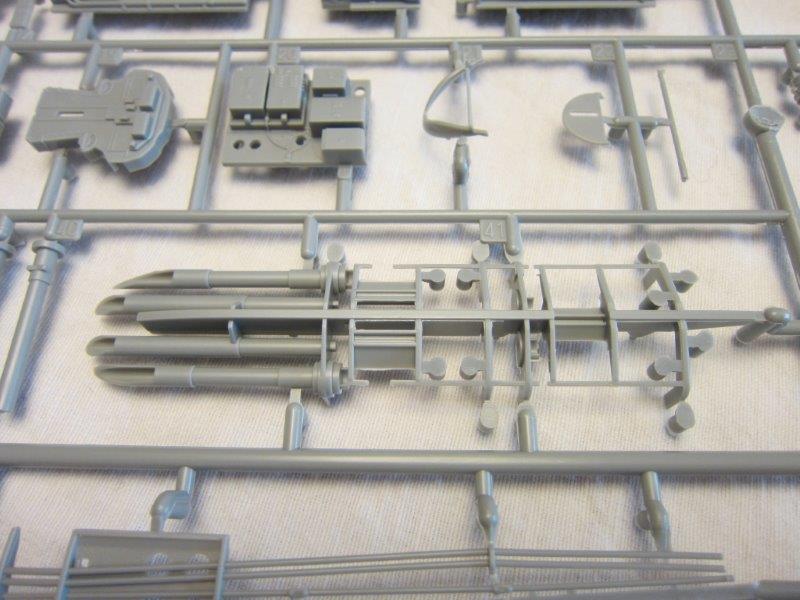
The final sprue covers the armament, ammunition and nose landing gear for the He 219. The ammunition feeds seem nicely detailed and should stand out after painting with a wash or two. The Mk 108 cannon for the Schrage Musik also look quite decent. There are replacement cannon coming from ZM (this time from MDC) for the entire armament if one chooses. These will include brass barrels. The nose wheel has separately moulded hub and tire. Again, the tire is smooth and does not have any tread detail.
Out of the box, this is a very nice and complete kit. I have touched on a few of the AM bits that will be offered by ZM themselves but there are several other sets that have been announced. Some are figure sets that will help those looking to do a diorama or add some life to a display base. I certainly will be looking forward to getting this onto my work bench.
Carl Kung
July 2013
© Carl Kung 2013
This review was published on Monday, July 22 2013; Last modified on Saturday, March 05 2016