
FRROM | FR8001: 1/32 IAR-81C
Reviewed by Kevin Futter
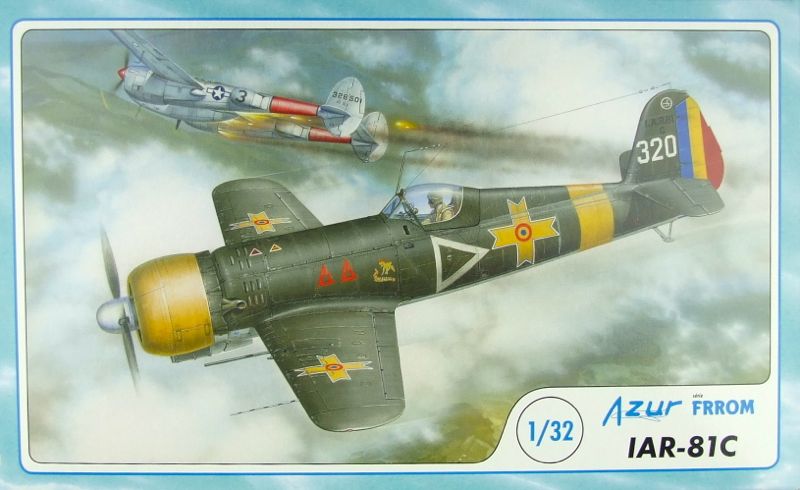
French firm FRROM has made its first entry into the LSP market with a new 1/32 kit of the IAR-81C. It's fair to say that this oddly attractive little Romanian fighter has been a long-awaited subject in 1/32 scale, with only the Combat Models vacuform kit as an antecedent. It's also fair to say that this new FRROM kit makes the Combat kit completely and utterly redundant.
The IAR-80 first flew in 1939, but production problems delayed its entry into service until 1941, where it remained in front-line use until 1944. The aircraft evolved through several versions, with the IAR-81C represented by this kit being one of the last and most numerous. Around 450 aircraft of all versions were ultimately produced.
The Kit
FRROM's kit is a short-run, injection-moulded multimedia affair housed in a sturdy box:
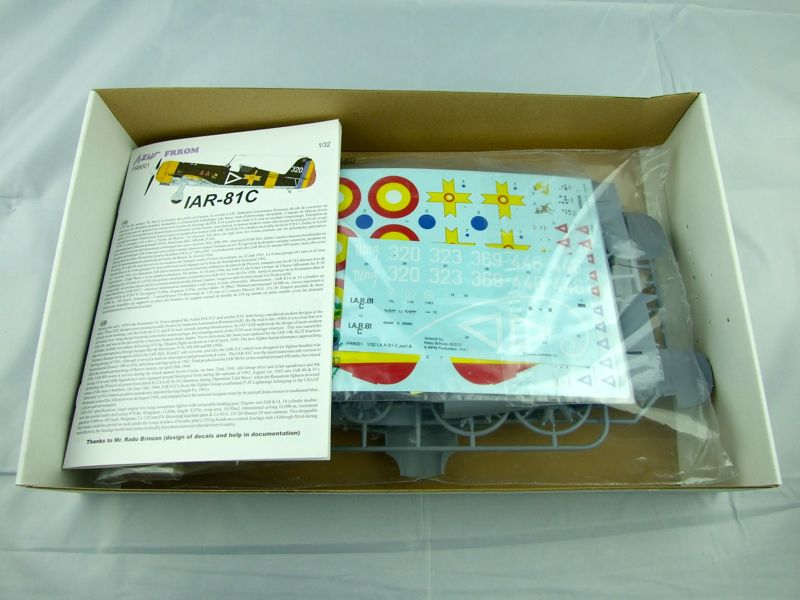
Inside, we find the following components:
- 5 grey plastic sprues
- 1 clear plastic sprue
- 1 photo-etched fret
- 5 resealable bag of resin parts
- 2 decal sheets
- 1 instruction booklet
The Plastic Sprues
The plastic sprues are all housed together in a single large plastic bag, which is not ideal, but not unusual for this type of kit. Being of a limited-run nature, there are no locating pins on any of the major components, and the surface texture of the plastic is slightly rough. This kit will require some care during assembly - particularly with regard to parts alignment, and a little extra work with surface preparation prior to painting.
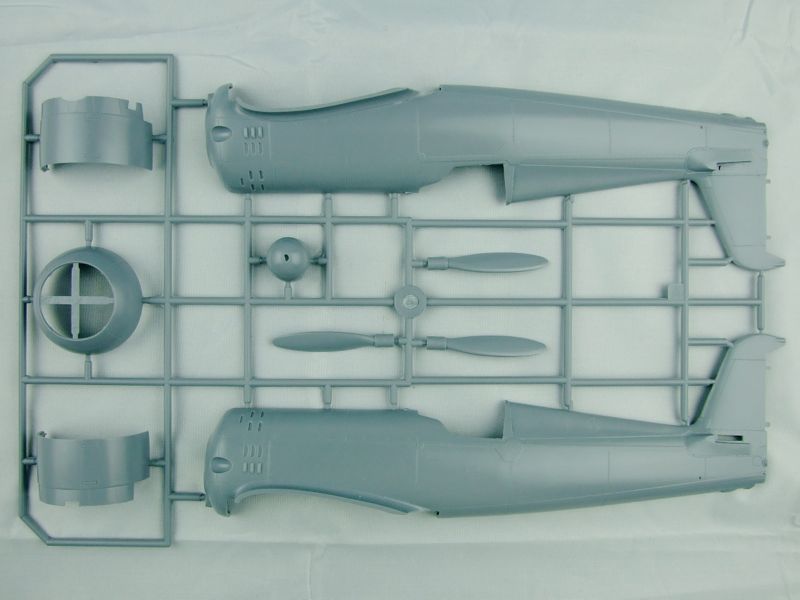
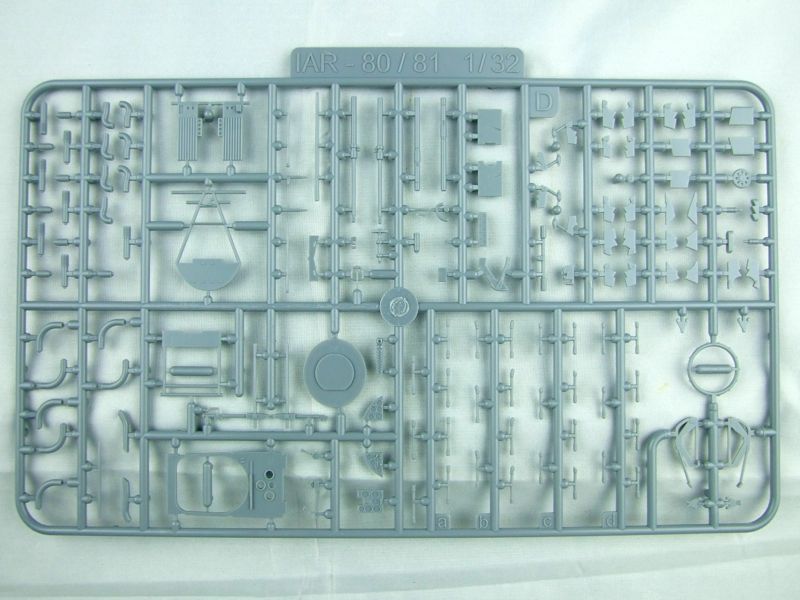
The detail is neat and crisp, and really rather impressive given the kit's limited run nature:

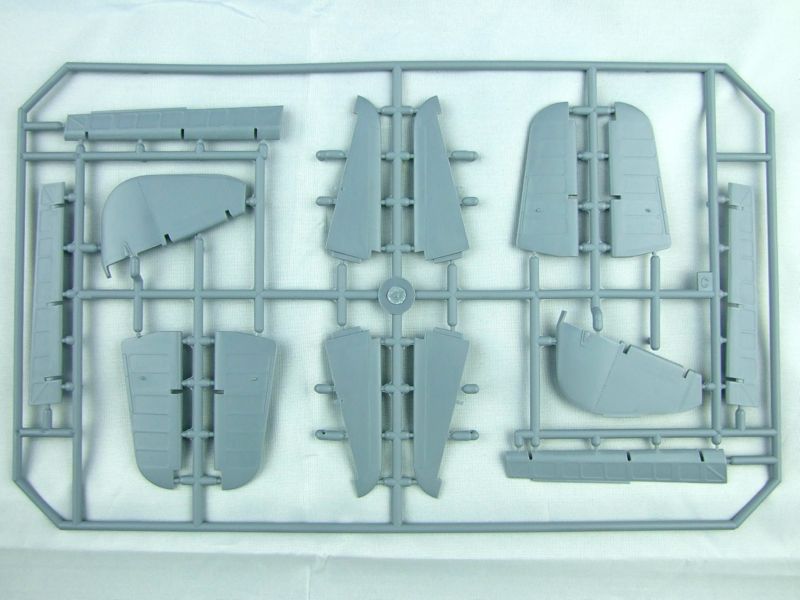
Surface detail is restrained, though a little inconsistent here and there:
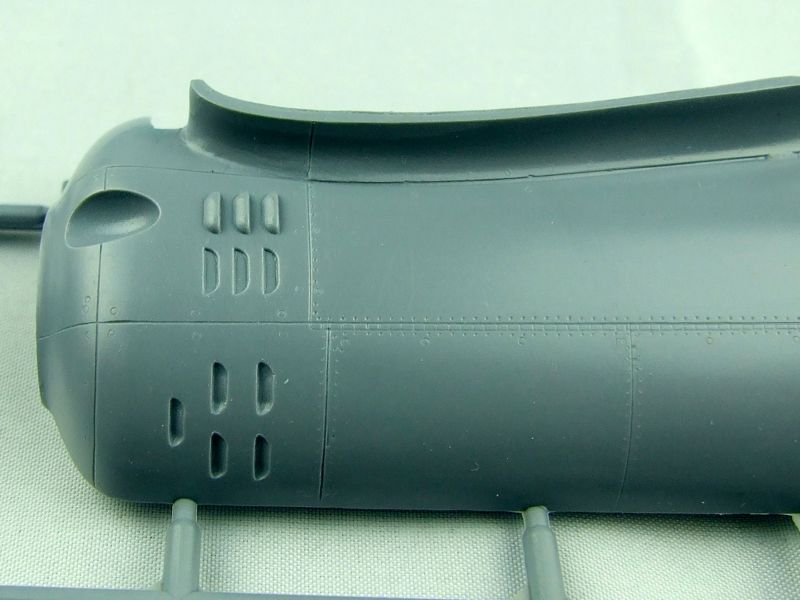
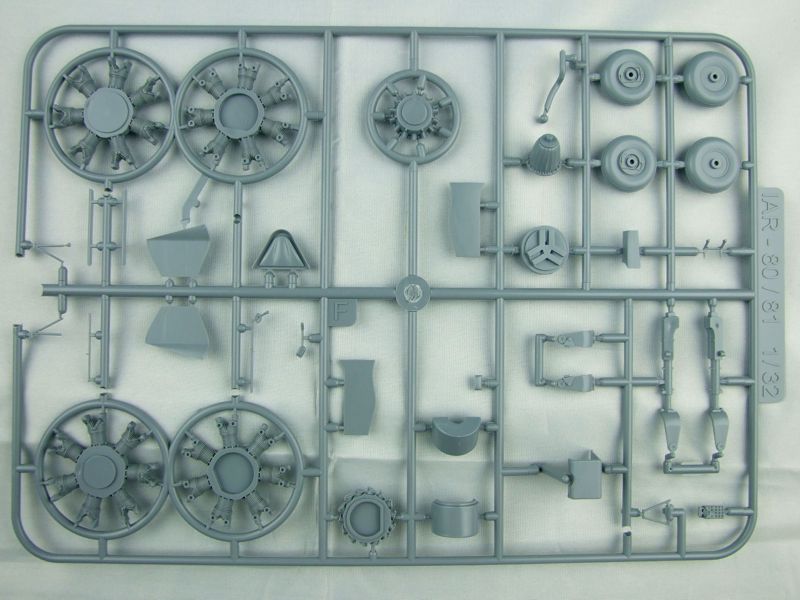
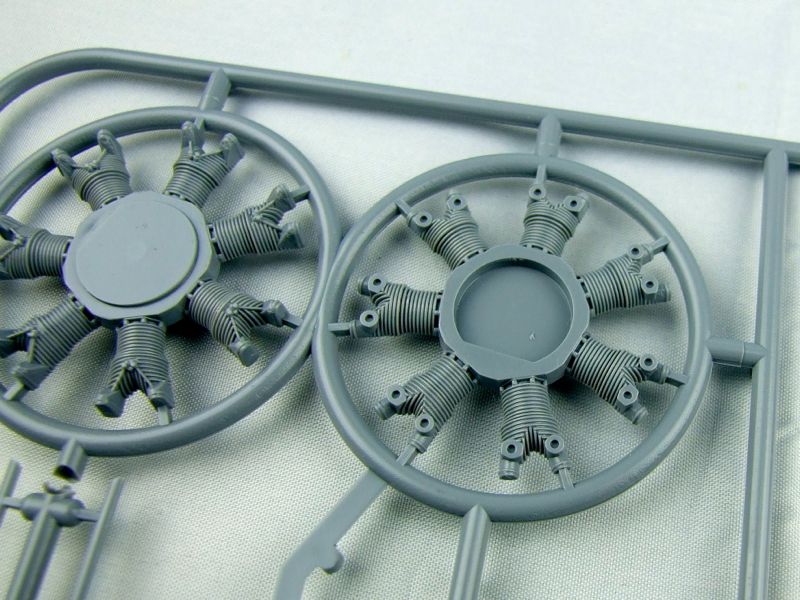
The engine detail is particularly nice:
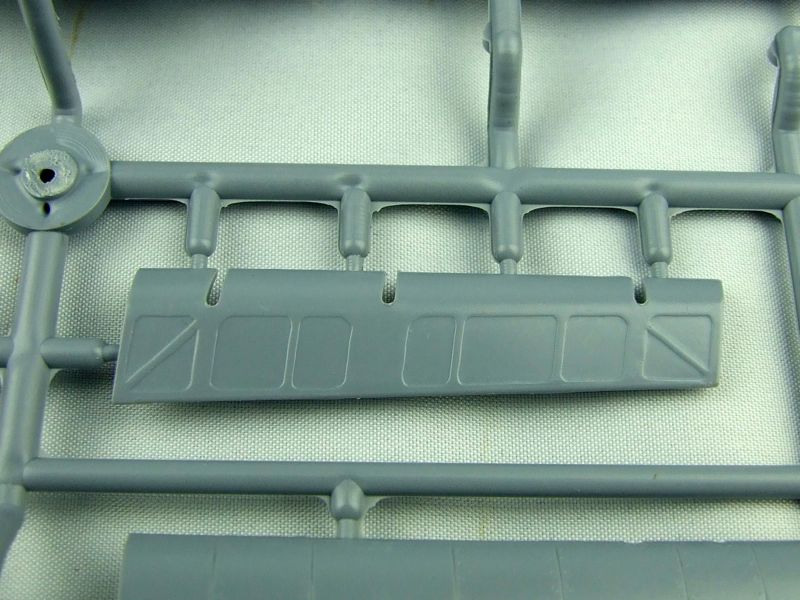
The fabric-covered rib effects on the control surfaces is a little heavy, but should be serviceable under some primer or paint, or alternatively you could refine it further with some judicious sanding:
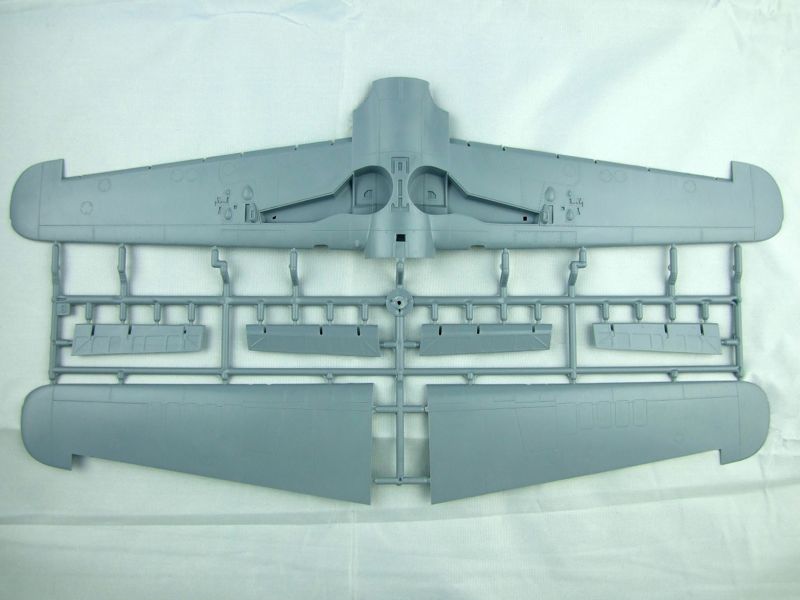
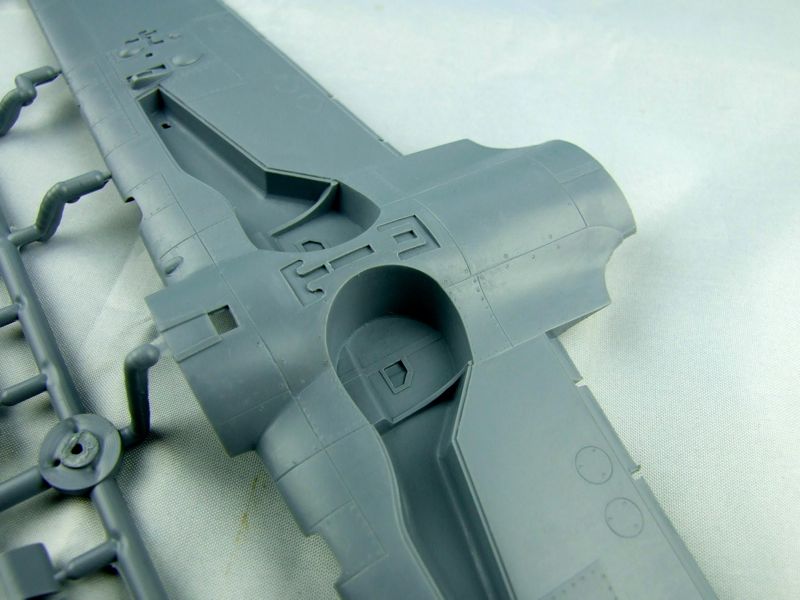
The one-piece lower wing will not only guarantee a suitable dihedral, but also features some convincingly deep wheel wells:
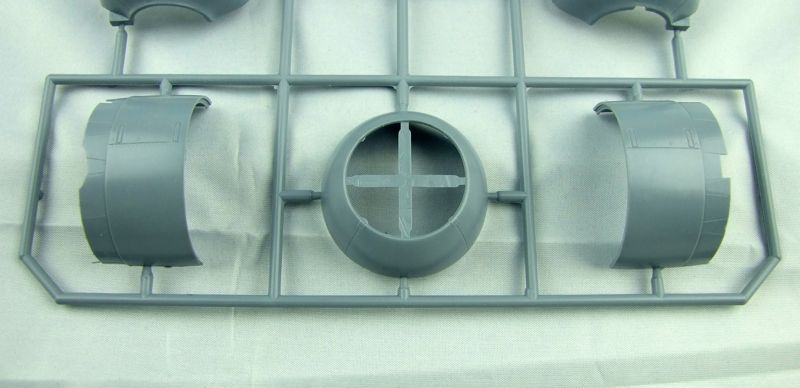
The engine cowling is supplied in three parts: left and right main sections plus a separate forward cowl ring.
Some simple detailing adorns the cockpit side walls:
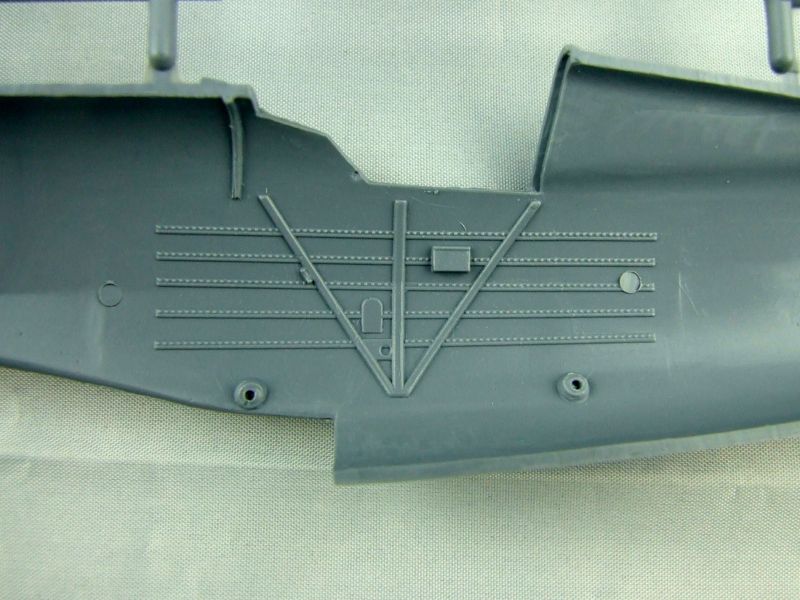
Just be mindful of the prominent ejector pin stubs on the undersides of some parts:

These will need to be removed completely to ensure they don't interfere with parts fit and alignment.
One element of the kit I found a little frustrating was that, due to what appears to be a short-shot mould on one of the sprues, two of the more delicate parts in the kit have broken:
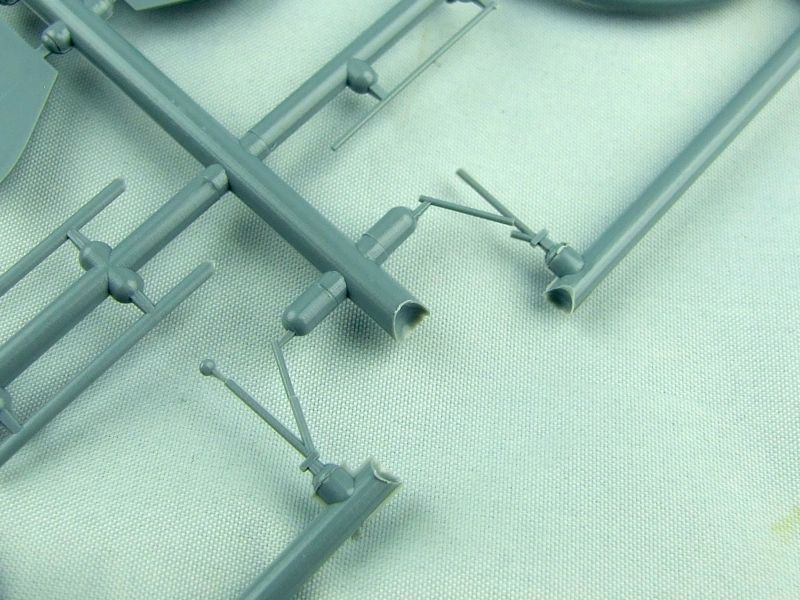
Without the strength and stability provided by the missing 'T' section of the sprue, the two end pieces have been able to flex up and down in relation to the centre sprue, causing the delicate v-shaped parts to break. How feasible it will be repair or replace these remains to be seen.
The Clear Sprue
The kit comes with six clear parts housed on a single sprue, which itself is contained within a clear plastic bag:
The clear parts themselves are nicely clear, though there is a little bit of distortion evident in the curvature:
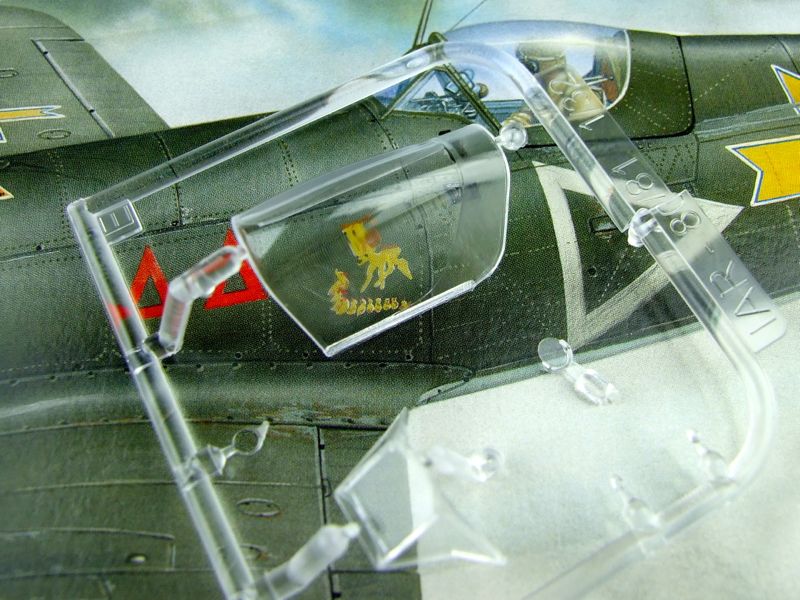
A dip in some floor polish should really make these parts sparkle.
The Photo-etched Fret
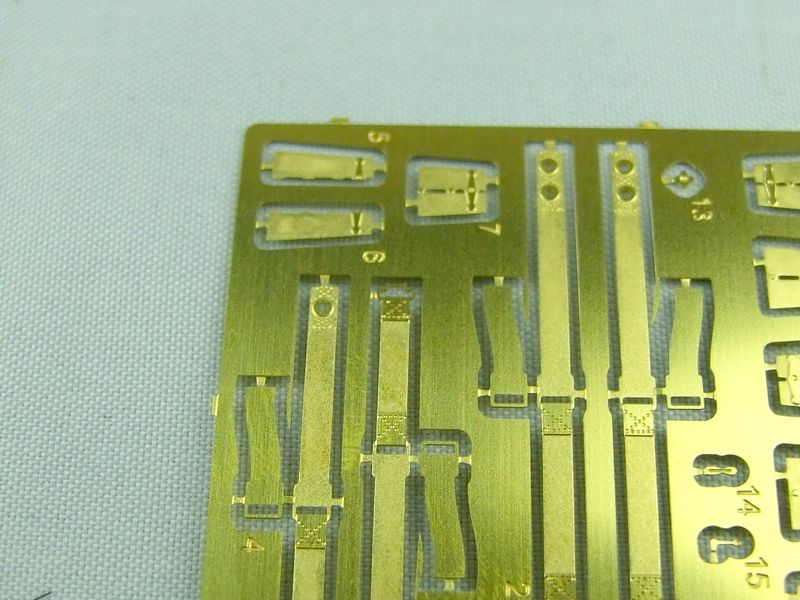
The kit supplies a single photo-etched fret containing seat belts and other detail parts:
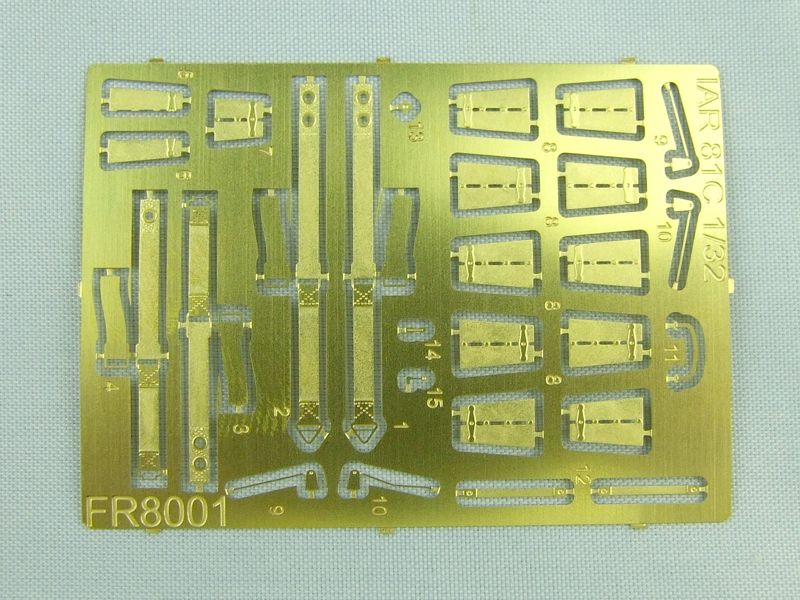
The level of detail etched into these components is impressive, and even includes the stitching on the seat belt straps:
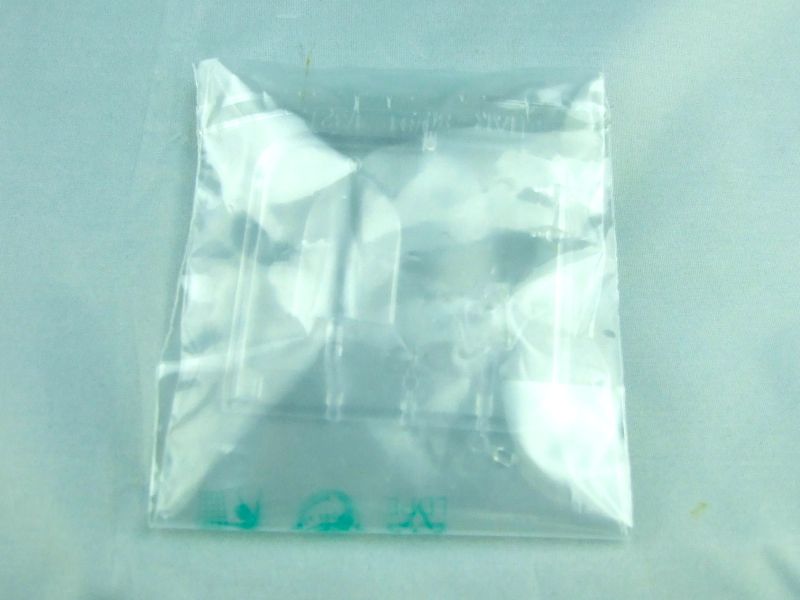
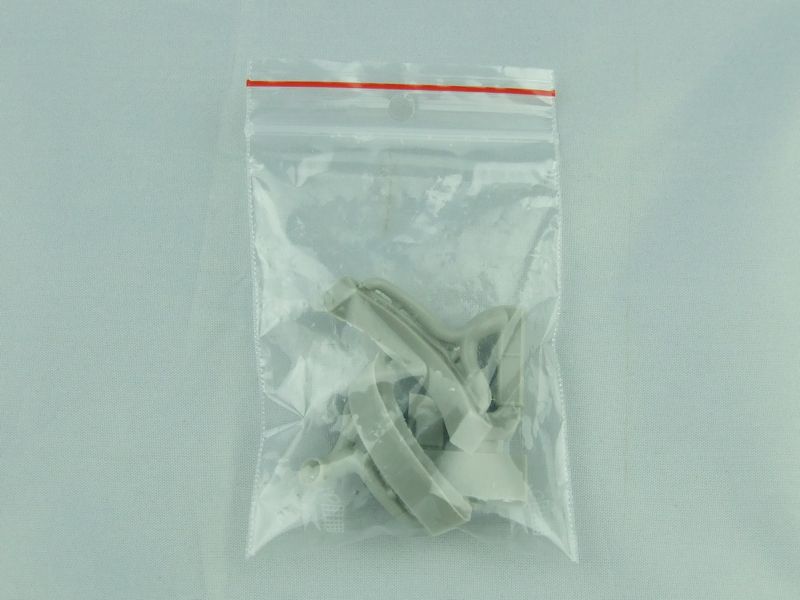
The Resin Parts
The kit includes a small resealable bag of resin detail parts. These consist of two exhaust pieces, two types of air intake and the main body of the gun sight.
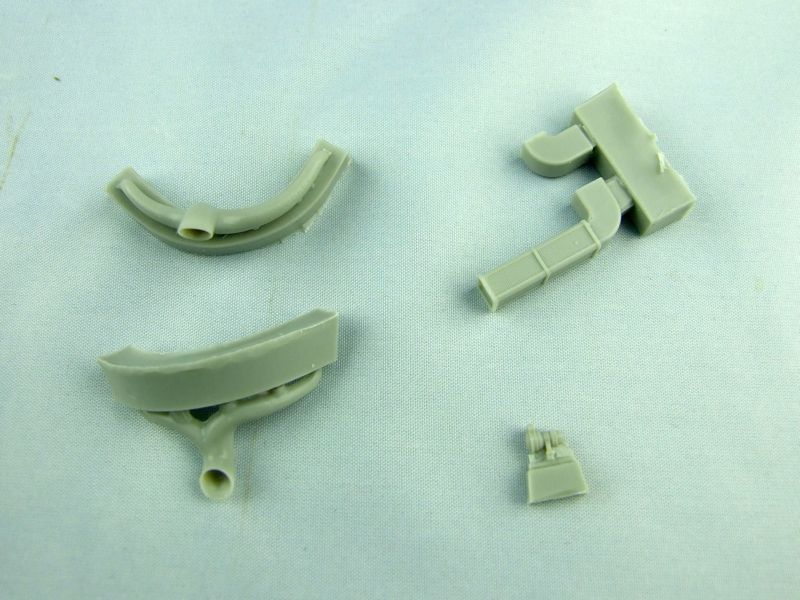
They are very finely cast, with crisp detailing and no discernible moulding imperfections. The exhaust openings are hollowed out, but the exhausts themselves are not hollow. The result creates a 'dished' effect at the opening rather than the sense of a hollow pipe, so it remains to be seen how effective this approach is. In any case I suspect that the limitations of the medium would have made a fully hollow set of pipes impossible to produce.
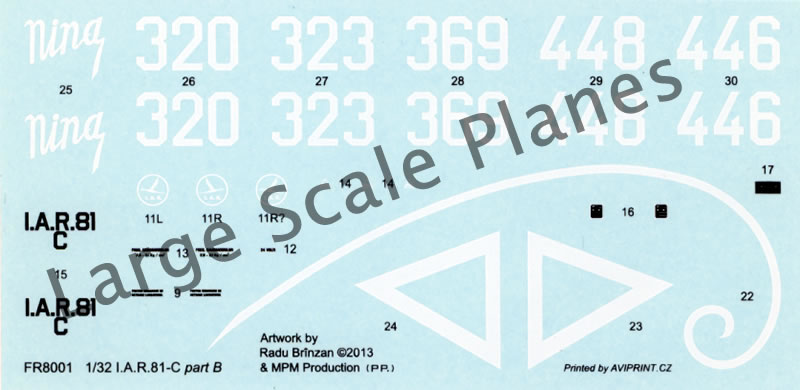
The Decal Sheets
Decals for five aircraft are included on the two decal sheets. The larger one contains the national markings and some of the stencilling, while the smaller sheet contains the individual aircraft markings as well as the remaining airframe stencils.
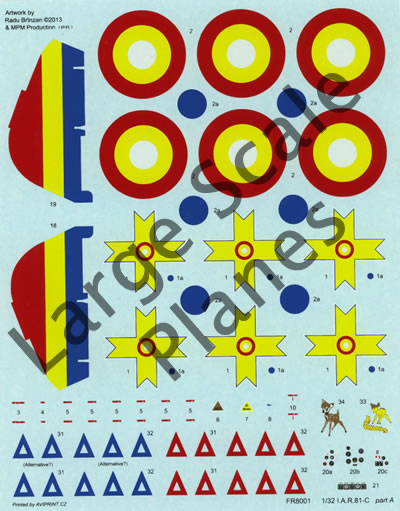
The eagle-eyed among you will note that the artwork has been designed by our own Radu Brinzan, whose book on the subject will be invaluable while building this (or any other IAR-80/81) kit.
The markings provided are for the following aircraft:
- I.A.R.81-C No.320, Escadrila 61 Vânătoare, Grupul 6 Vânătoare, Popeşti-Leordeni, June 1944
- I.A.R.81-C No.323, Escadrila 61 Vânătoare, Grupul 6 Vânătoare, Popeşti-Leordeni, January 1944
- I.A.R.81-C No.329, Escadrila 62 Vânătoare, Grupul 6 Vânătoare, Popeşti-Leordeni, June 1944
- I.A.R.81-C No.448, Escadrila 67 Vânătoare, Grupul 2 Vânătoare, Miskolc, April 1945
- I.A.R.81-C No.446, Escadrilla 67 Vânătoare, Grupul 2 Vânătoare, Gherăeşti-Bacău, July 1944
The decals themselves are crisply printed by AVIPRINT in the Czech Republic, and in perfect register, though it has been suggested that the yellow is a little too light. Alternative decals using a darker yellow are available from RB Productions, with at least one more sheet planned.
The Instruction Booklet
I must say that I'm quite impressed with the instruction booklet supplied with this kit. It's in saddle-stitched A5 booklet format, printed in colour on glossy paper. The production values alone are top notch.
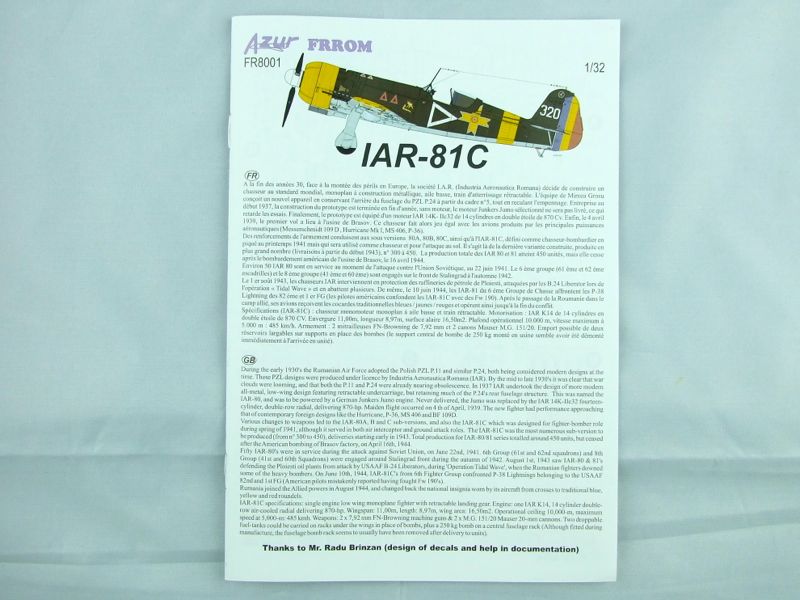
There's a handy parts map at the front of the booklet, as well as a legend of symbols and another for paint colour call-outs. The assembly instructions themselves follow the traditional exploded diagram approach, with a splash of spot colour here and there to liven things up. Printing quality is first class.
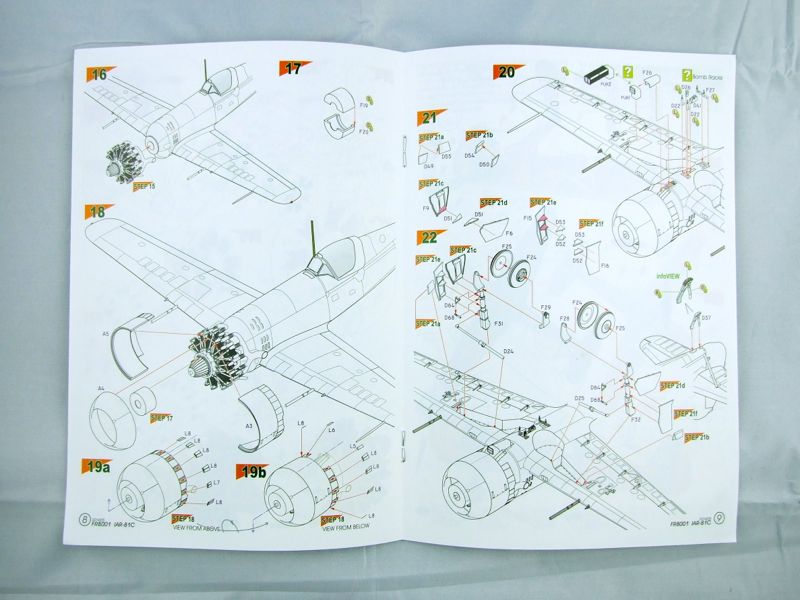
As I was working on this review, Gilles Fontaine of FRROM notified me of the following error in the instructions:
And ... we forgot to add this sentence in the building notice (Step 18, page 18): "Dry fit the parts A3 and A5 around the engine and only then glue them together with part A4. Assembled cowling sits tightly around the engine and cannot be removed."
The paint call-outs are for Gunze Aqueous colours, both during construction and for the 5-page, full-colour painting guide at the end of the booklet.

Outside of Wingnut Wings and Tamiya, this is one of the most nicely-produced instruction booklets I've seen.
Conclusion
A mainstream kit of the IAR-80/81 series in 1/32 scale has been a long time coming, but the wait has definitely been worth it. Taking into account its limited-run nature, this is a very fine kit, and while it remains to be seen how well it goes together in practice, all the elements are here to produce a terrific model. I'll be starting a review build in the forums in due course, and really look forward to putting this one together.
Highly recommended!
Thanks to FRROM for the review sample.
© Kevin Futter 2014
This review was published on Monday, June 23 2014; Last modified on Sunday, January 27 2019