
1/16 scale Model Airways Nieuport 28
By Jim Smith
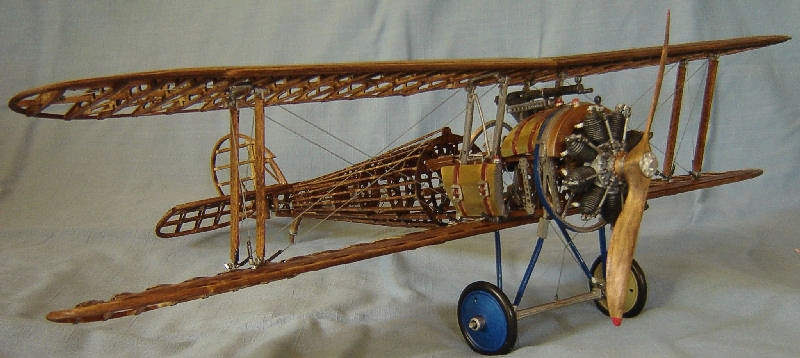
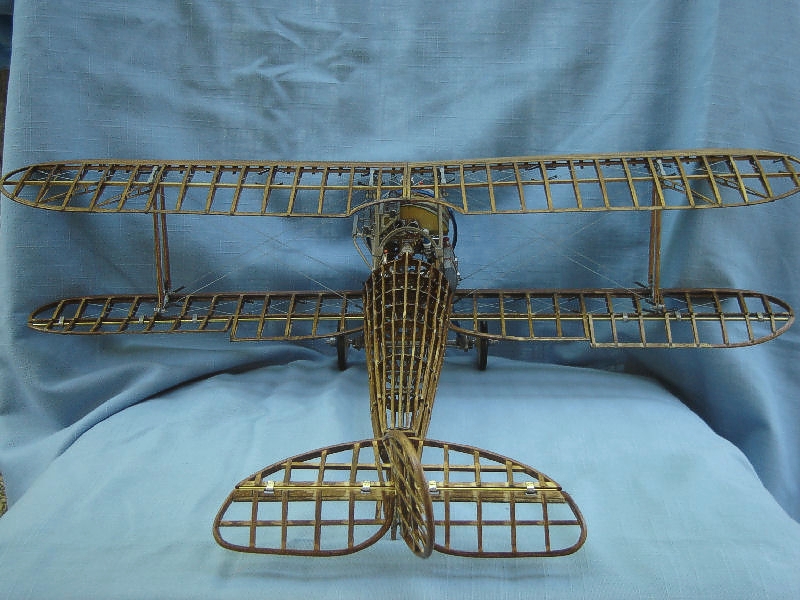
This kit is the 1/16 scale Model Airways Nieuport 28 kit. This is a multimedia kit consisting of wood, cast metal, and rubber, with the wood-both strip and laser cur ribs and stringers being the major contents of the kit. The overall quality of both the metal and wood parts is very good.I did match the parts on the provided parts list with the contents and found I had two missing parts. A quick e-mail, and a week later I had the replacements.They do bundle the wood parts by size, and the metal parts come in a dozen or so plastic bins with parts lists for each bin that can be tapped on the top of each one to make parts location easier.You also get three pages of plans, and an instruction book. The instructions are decent, but they do leave out the installation of some parts, looking at the plans is necessary.
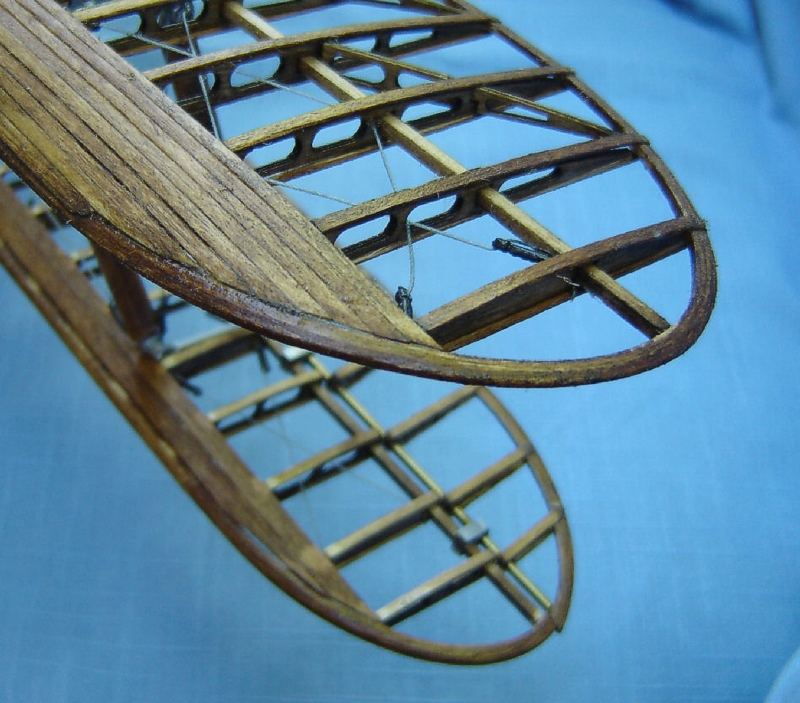
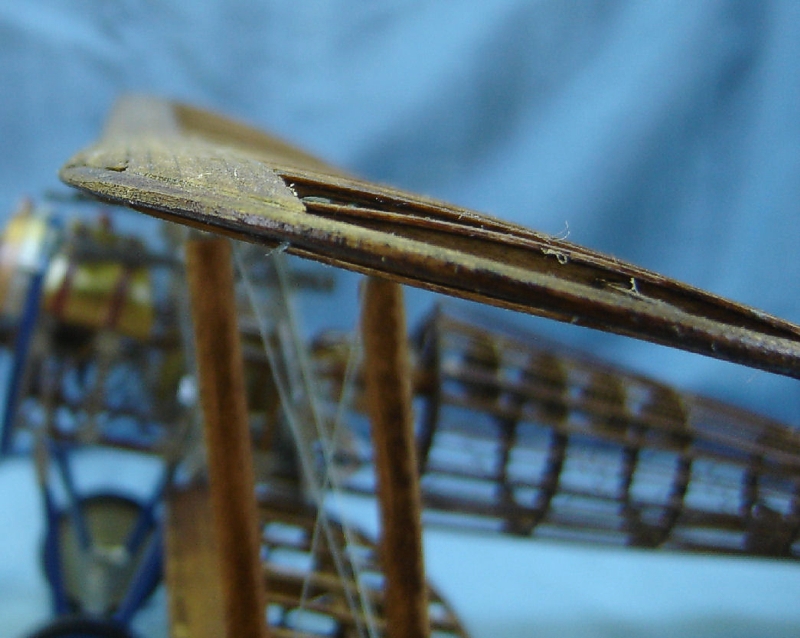
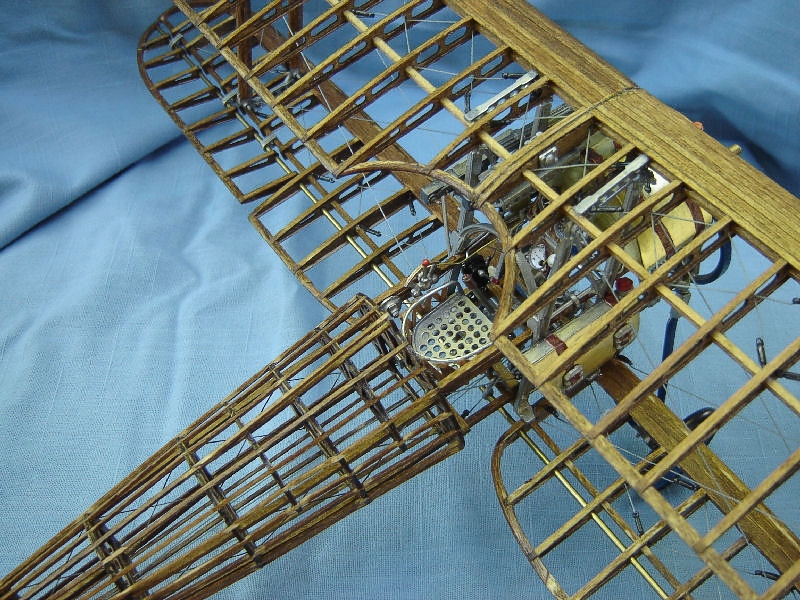
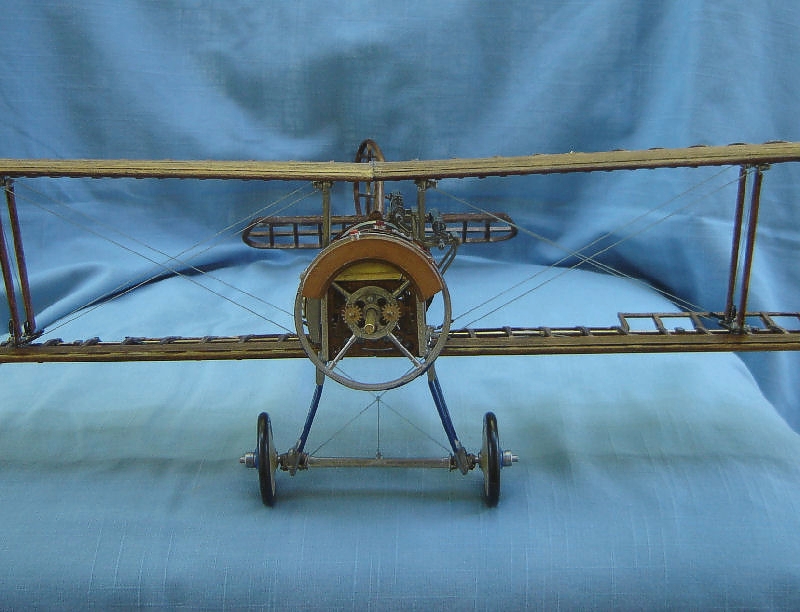
In building this kit I learnt several new skills that you don't get in building plastic kits. The first is bentwood lamination. MA provides several forms for this, so getting the shape right isn't hard, but you must make sure to wet each piece of wood first, then apply glue, then pin each to the form tightly. If you don't wet the wood first, it will crack and break when bending it around the forms. You must also learn to shape wood when building most parts for this kit - i.e. leading and trailing edges of the wings, rudder, and elevators. I purchased a small plane for this which worked well. You also must shape the propeller from a laminate of three pieces of wood. In doing this I shaped the cross section first then shaped the blades a little at a time with a motor tool. This was probably the hardest part of the whole build for me and definitely the most rewarding.
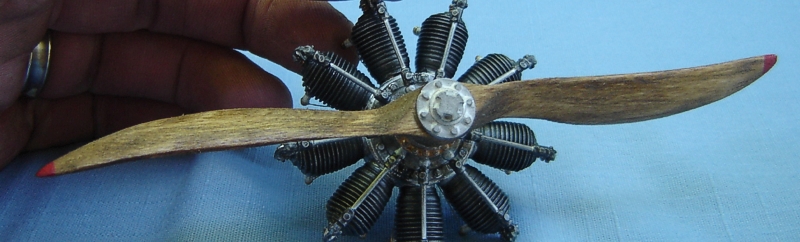
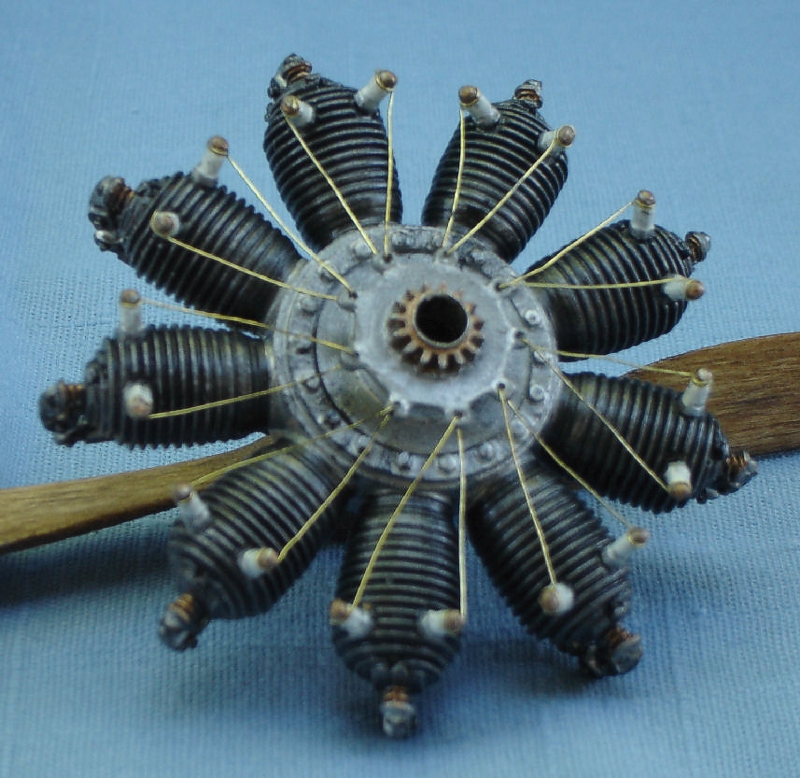
All of the engine and most of the fittings are cast metal, so don't fit very well OOB. It took allot of grinding, filing, and test fitting to get them right. In working with the metal it was more changing tools to grinding wheels, and heavier files to work it than different skills. The one thing I did change was the brass on the fuel tanks, they suggested aluminium, but I thought the brass looked better. I also scratch-built a seat back as the kit metal one looked bad.


This kit cost $169.00 USD from Model Expo, and for the price you get a lot of wood, metal, and little bits to assemble. They include decent instructions, three big plan sheets, and all the forms for the laminations, and fuse assembly jig. The parts are very well cast, and look good out of the box with a little cleanup. I learnt new things building this kit, and found the new medium interesting to work with. This definitely isn't a weekend kit, it took me four months to build it, and was a good value for the price. Now to build the "Jenny"...
© Jim Smith
This article was published on Wednesday, July 20 2011; Last modified on Saturday, May 14 2016