
Filling and Removing Seams on Plastic Models
By Esteban Murador
Filling and removing seams on your scaled model aircraft is essential to produce a realistic aerial object. At least half of the times, when assembling your models together, you will find many several or many seams that must be filled and removed. How do you achieve this?
To begin, you will need sanding paper (600ALO, 400ALO, 320SIL and 150SIL), a sharp hobby knife and putty if necessary. There are plastic model manufacturers that really don’t need putty because of its perfect fitting (for example Tamiya) but still require minimal sanding.
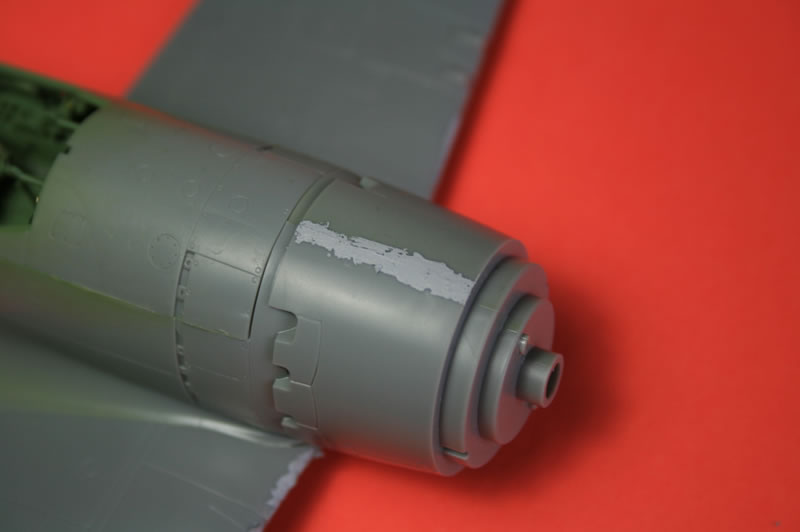
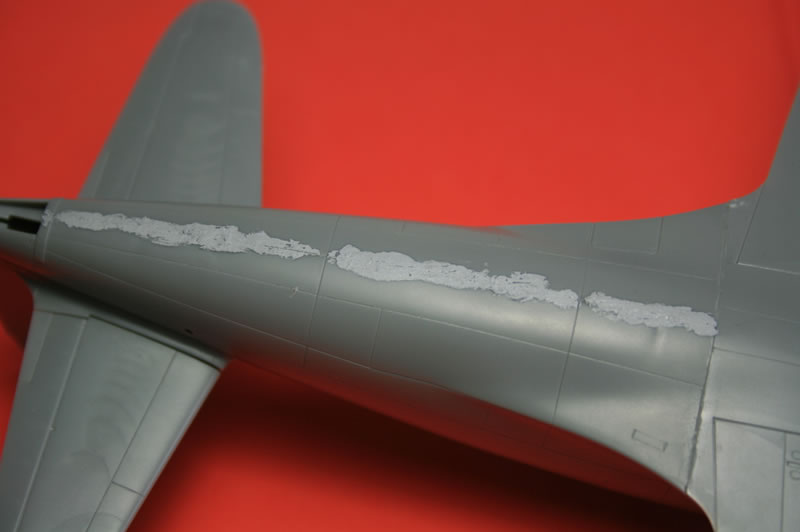
We will experiment with the two fuselage halves. Once you have glued these two plastic parts together, you will find a seam right down the middle of the fuselage. If excess glues appear, use your hobby knife to remove any excess. If you think it requires putty, go ahead and apply some.
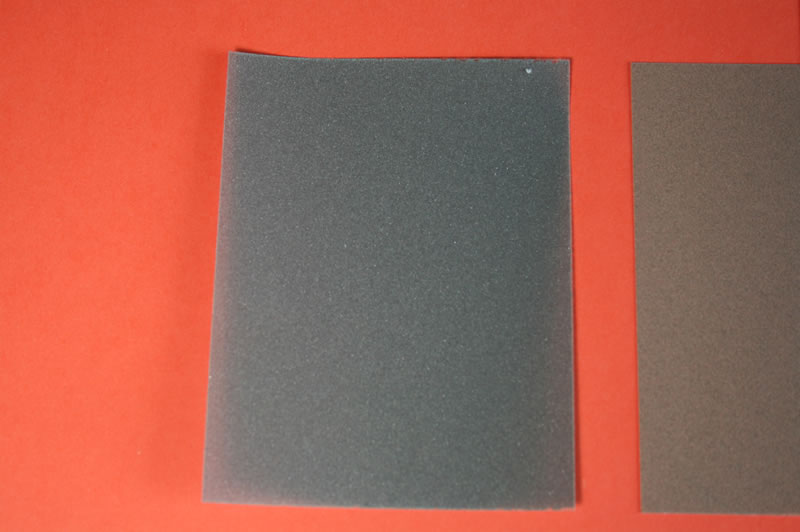
Once applied, you must wait at least 30 minutes to dry. Once dry, use the roughest (600 or 400 ALO) paper and sand over the seam and other areas you think is necessary. You should feel a rough surface on the plastic. Next step is to use the 320SIL paper and repeat the step, sanding over the same areas.
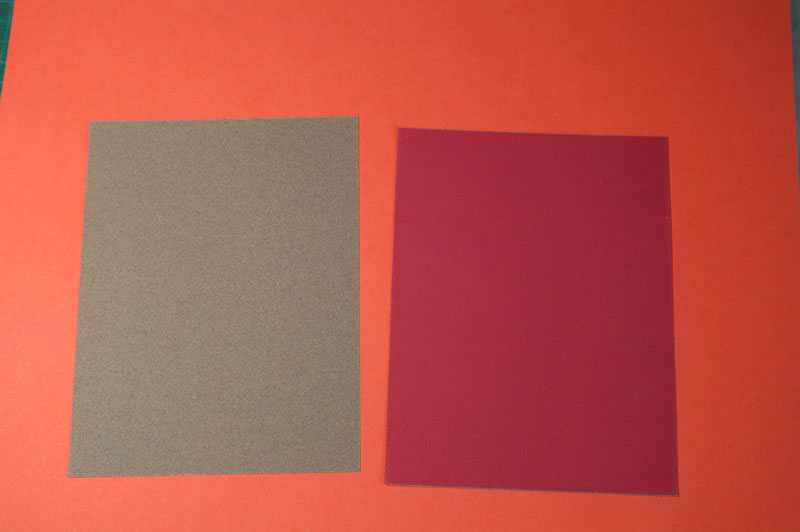
Plastic surface should feel less rough. Once done, finish off by using the finest paper (150SIL) over the same areas. Now the surface should feel smooth and fine. If you have lost details while sanding, such as panel lines and/or rivets, you can use a scribing tool and a pin vise to recover any lost details.
You can now apply a primer to your model and have it ready for the color scheme.
© Esteban Murador, Red Leader Models, 2014
This article was published on Saturday, February 22 2014; Last modified on Saturday, February 22 2014