
Revell 1/32 McDD F-4B Phantom - Converted Revell F-4J
By George Piter
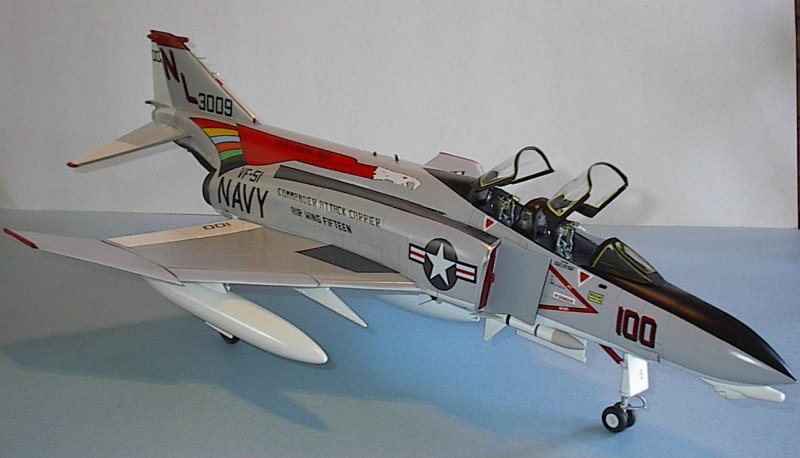
This is an F-4B conversion I did from the old Revell 1974 issue F-4J kit. I still have several of these oldies in my stash and I thought it would be a fun challenge to do the conversion with this kit rather than cut up one of my expensive Tamiya Phantoms.
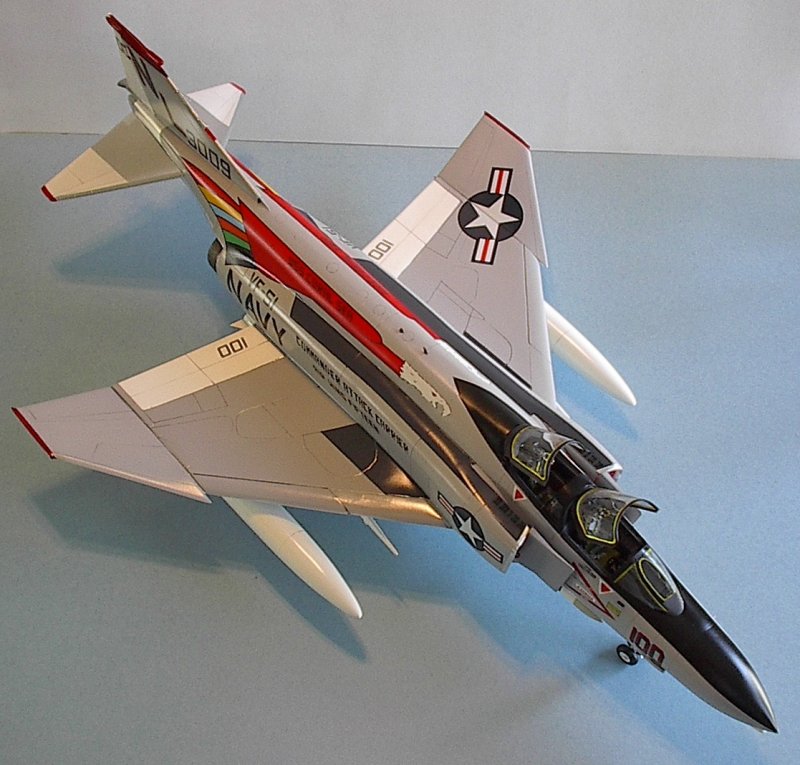
First off, the upper and lower wing panels with the landing gear bulges were removed and replaced with .040 Evergreen sheet styrene. The mail wheel wells were cut out and boxed in with .020 sheet and detailed with hydraulic lines and braces. The tires were thinned to the proper thickness and landing gear doors were made from .020 sheet. The entire model was sanded smooth after the basic fuselage and wing assemblies were put together and the panel lines and access doors were scribed on using the newer Revell kit as a guide. The entire model was primed with Tamiya primer-surfacer. The nose wheel well was scratchbuilt and detailed, again using the new Revell kit as a guide.
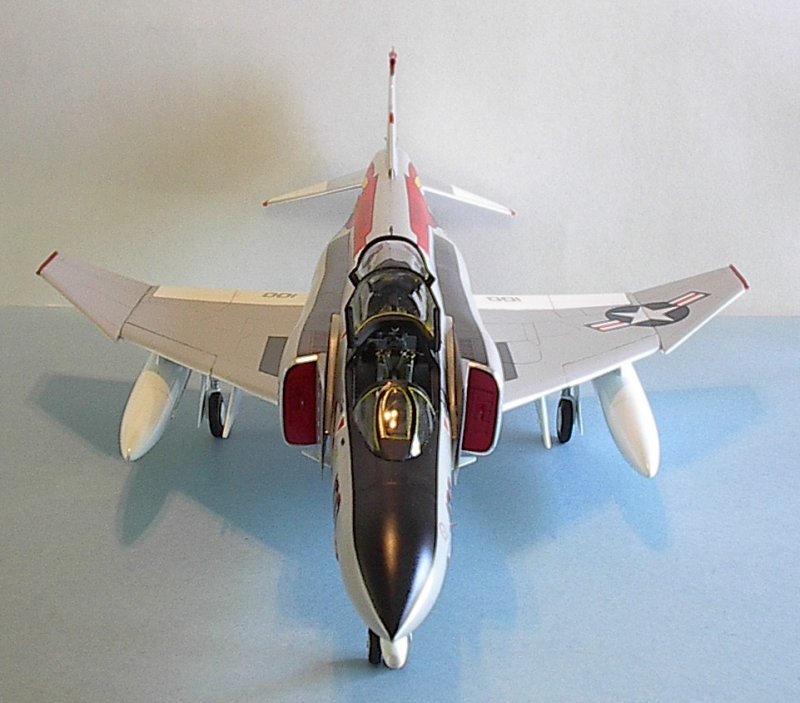
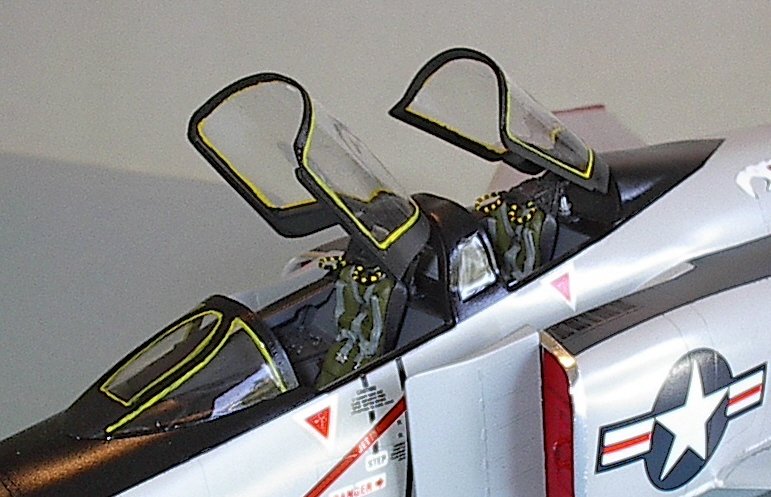
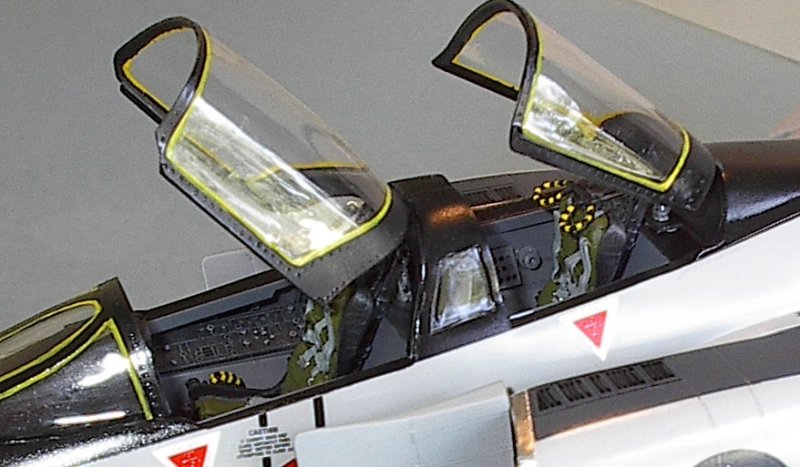
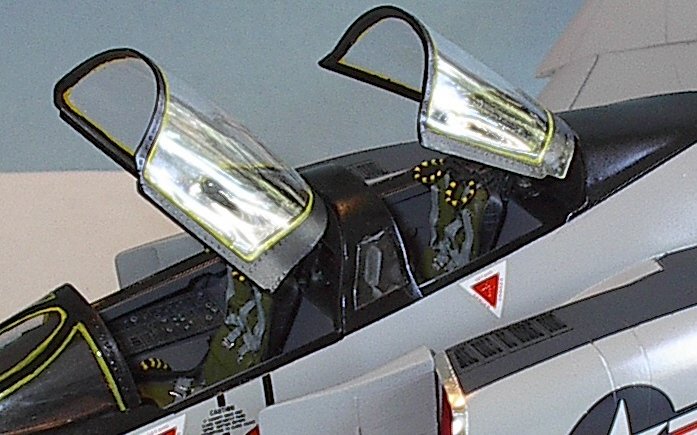
The cockpit was mostly scratchbuilt using only the front side consoles to which knobs and switches were added to give them some depth. The seats are Cutting Edge Martin-Baker MK5 seats that were used in Navy F-4s until the MK7 seat was standardized in 1970. The chin dome and exhaust nozzles are from the old CAM F-4B conversion kit. SCALEMETAL foil was used on the aft fuselage and stabs and on the leading edges of the intakes. The canopies are modified from the kit parts, they're not quite the right shape but don't look too bad with some interior structure added.
The missiles and tanks are from the old Revell F-4E kit with some scribing and extra detail added. The decals are set 32-009 from CAM decals and are of excellent quality and went on very well with only a little solvent to make them conform to some compound curves.
The photos I have of this particular aircraft show it with and without the “feet” on the main landing gear doors so building it either way is correct. The photo without the “feet” also shows the aircraft with the early non-slotted stabilators which were modified from the slotted type in the kit. The model was painted with Tamiya and Testors acrylic paints and given several coats of future floor wax to get the semi-gloss sheen I wanted. Weathering was minimal, the CAG bird was generally kept cleaner than the rest of the jets in the squadron.

The kit isn't exactly state of the art, it required a LOT of filling and sanding, but it was a fun and challenging project. It sure isn't anywhere near perfect but I enjoyed doing it and will probably do another one just for the fun of it. Maybe after another one I'll hack up one of those expensive Tamiya kits.
Materials:
- Revell kit #H-182, H-188, or various Revell-Germany issues
- CAM decals 32-009
- Cutting Edge Martin-Baker MK5 seats
- Parts from the CAM 1/32 F-4B conversion kit
- Tamiya primer-surfacer (This stuff is great.)
- Testors acrylic paints
- LOTS of Acryl Blue putty and JB Weld epoxy
- Future Floor Wax
- Evergreen sheet styrene

© George Piter 2008
This article was published on Wednesday, July 20 2011; Last modified on Saturday, May 14 2016