
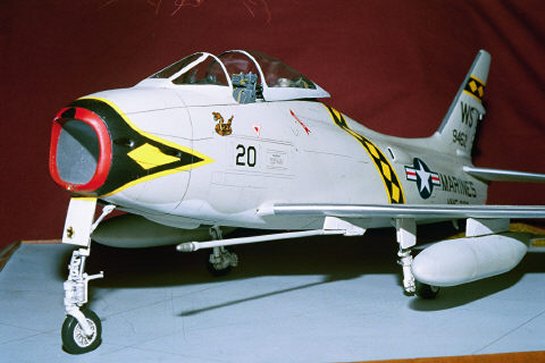
1/32 I.D. Models FJ-4 Fury
By Gil Hodges

First off, let me note that I built a -4 Fury, and NOT a -4B Fury. This was in order to simplify the building process. By doing the earlier -4, I avoided having to model the second external speed brake on each side as well as the extra pylons under the wings. In other words, I was lazy!
The ID kit is very basic. It provides the airframe parts, the intake trunk, and the clear parts. The clear parts were marginal. Luckily, they were just small enough to make better copies on my old Mattel vacuform machine. The rest of the model has to be scratchbuilt or fitted out from the spares box.
The parts were cut from their backing sheet and sanded to shape using the usual methods. They were test fit often during this process. Most of the parts fit together quite well (for a vacuform). The worst part was the intake trunk. Putty and elbow grease smoothed it out. An engine face was added to its rear.
Note MV lenses in the intake bottom lip and in the nose gear door.
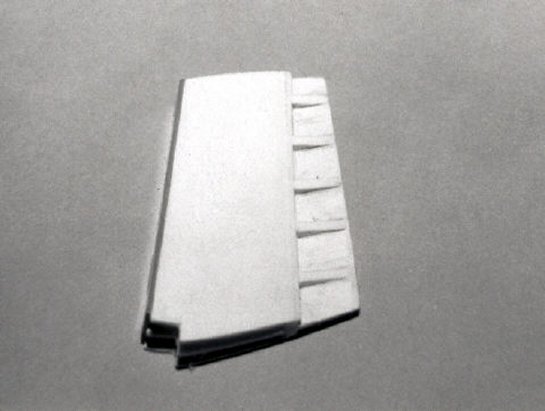
A new rudder was made in order to replicate the corrugation crisply.
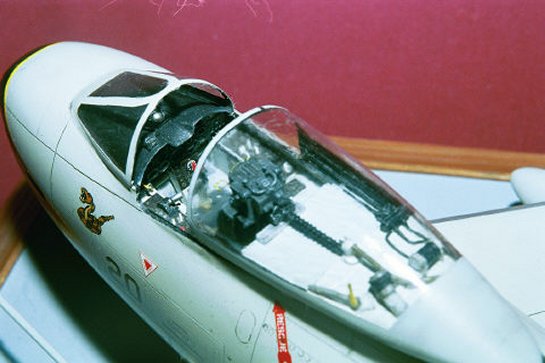
The cockpit was built from sheet plastic. Hodgepodge photo etched "generic" consoles were detailed and installed. The main panel was built up in layers. A piece of cellophane from a cigarette pack was trapped between the layers to act as the glass for the instruments. The coaming was vacuformed to get the distinctive shape. Everything in the cockpit and on the decking under the canopy was either scratchbuilt or pirated from the seemingly bottomless spares box.
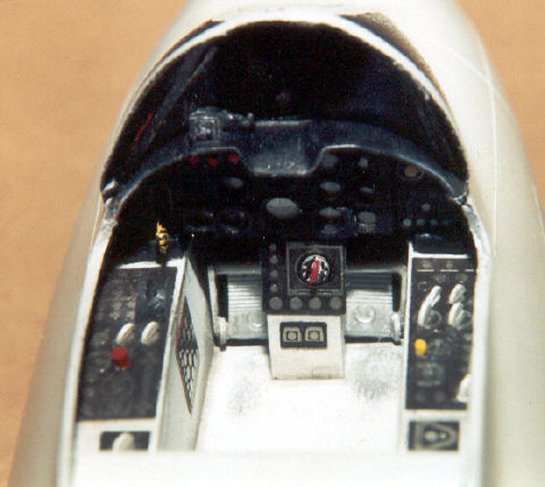
Cockpit view. Note coaming shape, PE side consoles, and the "glass" of the instruments.
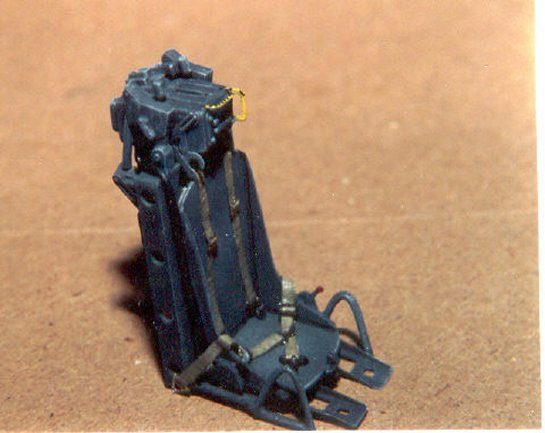
Scratchbuilt ejection seat.
The landing gear proved to be a major project in itself. Luckily, I have a lot of the FJ-4 tech manual to use for reference! The nose gear was pretty straight forward. Wire, plastic tubing wrapped with tape, and bits of scrap plastic made up its assembly. The main gear are truncated, much like the modern F-18 gear. The same materials, along with some carved scrap plastic achieved the look I wanted. Wire pins were added to the trunions so that the gear could be added after the model was painted.
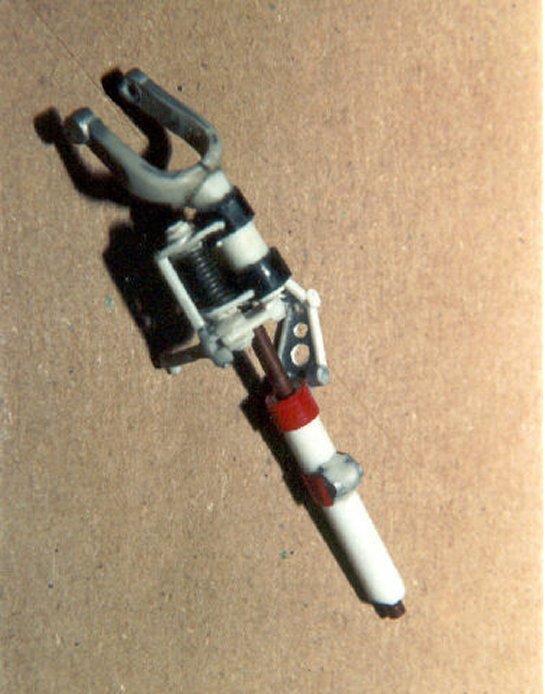
Scratchbuilt nose gear.
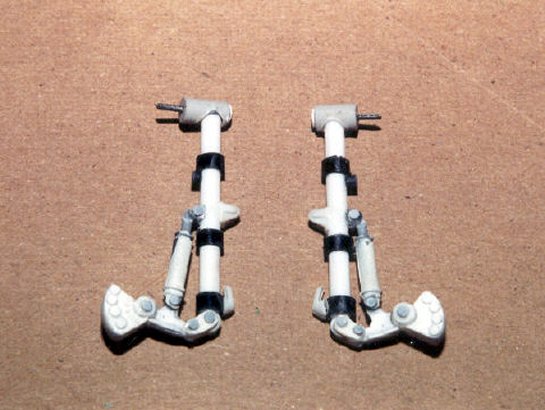
Scratchbuilt main gear. Note truncated axles. A waldron punch is indespensable for making small discs.
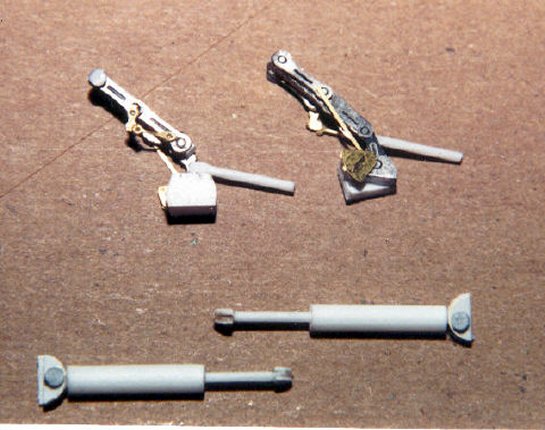
Main gear actuators made from plastic rod and bits of spare photo etch.
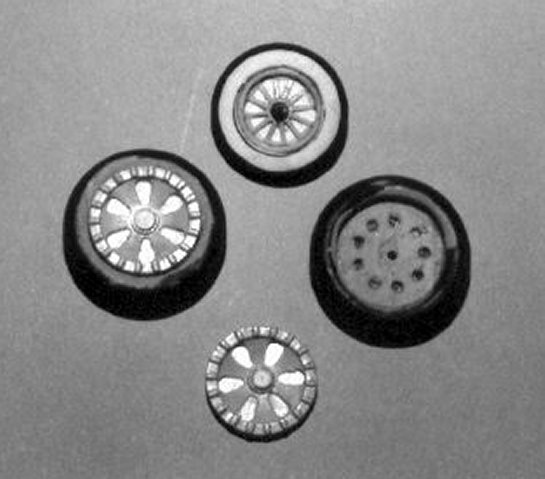
Tires and wheels mixed and matched from the spares box.
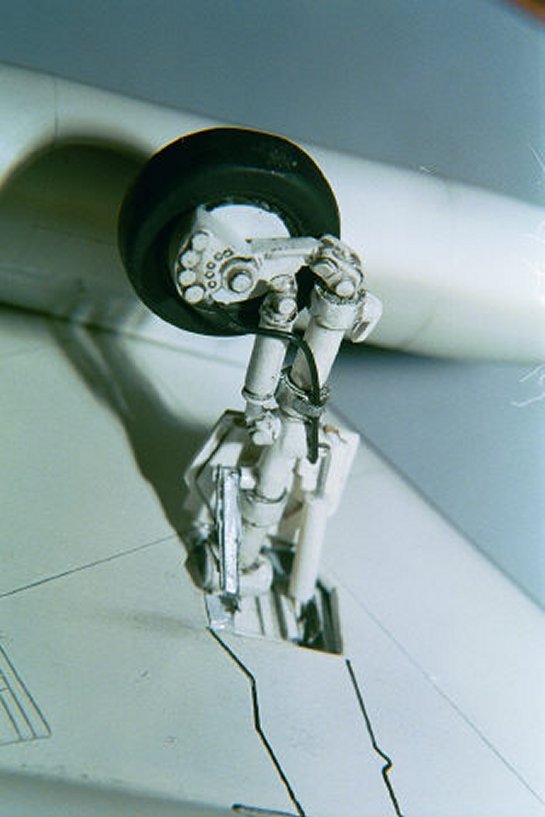
Completed main gear with associated actuators.
The cockpit and intake trunk were installed into the fuselage. The exhaust pipe was made from brass tubing encased in a sheet plastic bulkhead to help detail the rear end. The fuselage was then assembled. The wings went together with few problems. Their fit to the fuselage was good. A new rudder was scratchbuilt. The kit rudder just wasn't crisp enough. The tail planes were added last.
A liberal amount of Dr. Microtool's red putty was applied and the model was then sanded and primed. That process was repeated 2-3 more times. The model was then scribed. Note: most ID models have no scribing on them. Seems ID would rather have YOU get them right instead of THEM being criticized for being wrong!
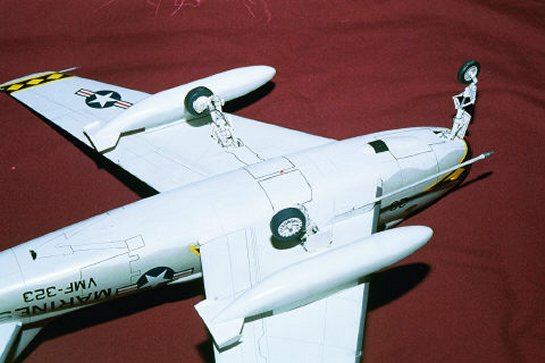
You may also note that the gear doors are all up. I couldn't find a single picture of a -4 Fury on the ground with the gear doors open. In fact, I'm still not sure how the middle main gear door is hinged as I've never seen a picture of it down at all! In any case, doing the model with the gear doors up makes for less work in the gear wells.
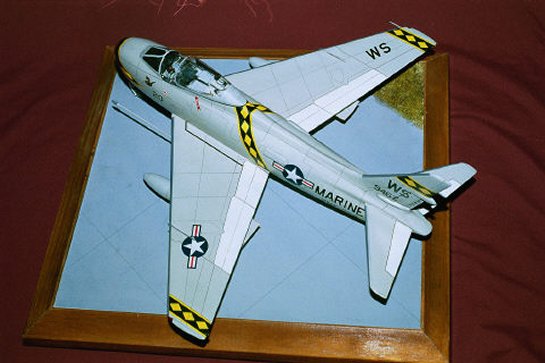
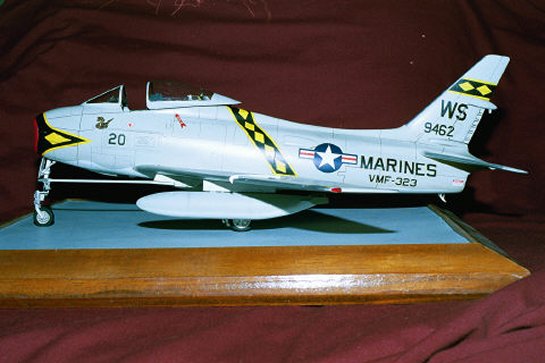
The model was painted in the markings of VMF-323. The black and yellow diamonds are painted. All of the other markings are spare decals. The refueling probe and the drop tanks are out of the spares box. The small LSO lights in the intake bottom lip and the landing light in the nose gear door are MV lenses from the railroad dept. of the hobby shop. The wingtip lights are translucent colored plastic (bits of plastic cocktail swizzle sticks); cut, sanded, and polished in place.
That about does it. Overall, the model was fun, if a bit challenging in spots. But, isn't that what a beast like that is all about?? Happy modeling Y'all!
© Gil Hodges
This article was published on Wednesday, July 20 2011; Last modified on Saturday, May 14 2016