
Combat Models LTV A7 Corsair II
By Howard Weaver
The first was a carrier based bi-plane. The second was the gull-winged WWII fighter considered by many to be the finest fighter produced during WWII. The third is the A7 Corsair II a premier attack aircraft.
I had been hoping in vain that someone would produce this model as an injected molded model kit, but no one ever has. I found this Combat Models Vac kit at a model show and thought I might try my hand at it. The first thing I noted was that the kit comes without hardly any detail at all. You get two fuselage halves, two upper and two lower wing halves, and I think a canopy and a white metal front and main landing gears. That was about it. No cockpit interior, ejection seat, no decals, wheels or for that matter, there were no rear elevators either.
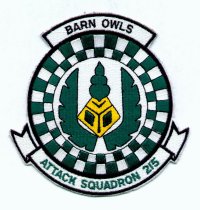
All of these things would have to be scratchbuilt along with weapons pylons missile rails etc...I acquired a few good references and went to work on a project that as I recall took the better part of a year to complete. I had two Detail and Scale books and a very good Air Combat issue, Sept. 1975 that had some very good photos and some history of VA-15, the .Fighting Barn Owls.. During the period of the build, I managed to acquire a squadron patch also.
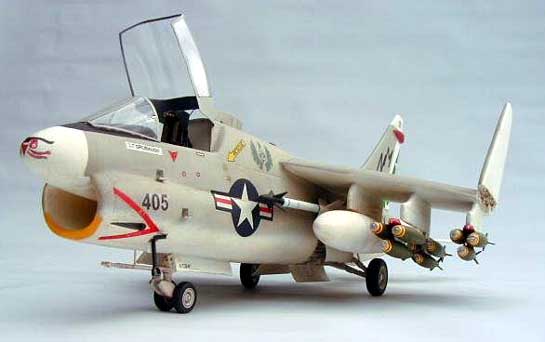
Now with some of the construction of the kit. After separating the forms from the sheets, I found that they were kind of flimsy even after they would be joined together, so I decided to install balsa wood bulkheads into the fuselage to give it some internal support. These were epoxied into place. The kit doesn't come with an intake tunnel either, so after the fuselage halves were glued together, a tunnel was formed from thin sheet styrene and installed into the opening.
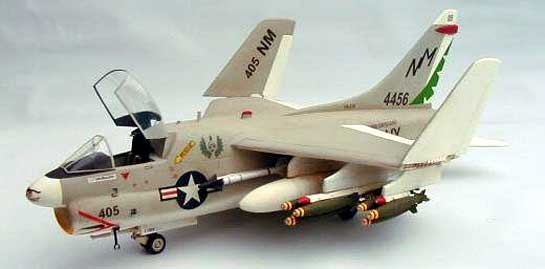

The landing gear doors were all opened up and wheel wells made from sheet and installed. I added some details to the main and nose gear wells at this time also....I made a main wing spar from balsa wood to add strength and also to keep the wing square to the fuselage. This was epoxied into the fuselage and the wing skins installed over them. I wanted the wings to be displayed in the folded position, so the wingtips were cut off at this time. I found that the wing folds from a Tamiya F-4 would work well in the wings, so I modified and installed them into the wings. The wingtips are installed using pieces of wire to keep them in the upright position.
The rear stabilizer/elevator assemblies were scratchbuilt at this time and are attached by means of a hollow rod that runs through the fuselage. Another rod runs through this and the elevators are actually attached to them. This allows the elevators to be removed for transport and they can be repositioned for display....The cockpit was detailed next and an ejector seat scratchbuilt. I robbed the main landing gear wheels from a Revell Phantom and the nose wheels are from the spares box.
I scratchbuilt the weapons pylons and the bombs are from a Tamiya Phantom. The sidewinder rails and missiles are from the spares box too. A refuelling probe was scratchbuilt and the stowage well scratchbuilt and installed on the right hand side of the forward fuselage. An Arrestor hook was scratched and installed.
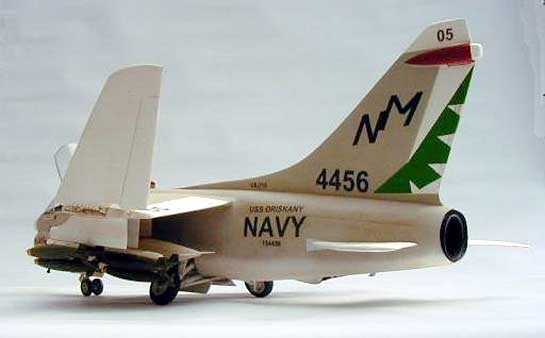
Now for the markings. The Stars and Bars and the small .no step. stenciling were from the spares box. The serial numbers, Navy, Squadron call letters and the squadron insignia were all made by hand. These were made from masters and transferred to clear decal paper on a commercial printer. (a Cannon I think) All in all they came out pretty good using a commercial printer. Now I have an Alps printer and it works well too.
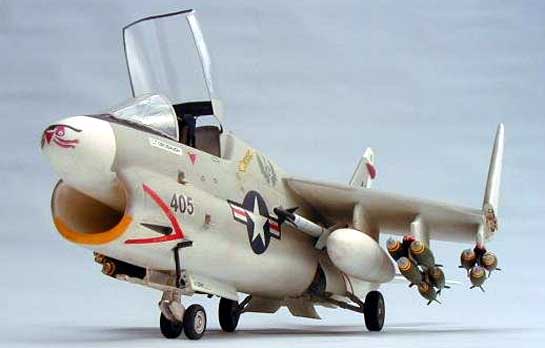
This model depicts an A7-B flown by Lt. Grubaugh of VA-215 .Fighting Barn Owls. era 1971-1975. I hope you like the model. I really enjoyed building it.
Happy modeling.
© Howard Weaver
This article was published on Wednesday, July 20 2011; Last modified on Saturday, May 14 2016