
Hasegawa F-16 B/D
By Jake Melampy
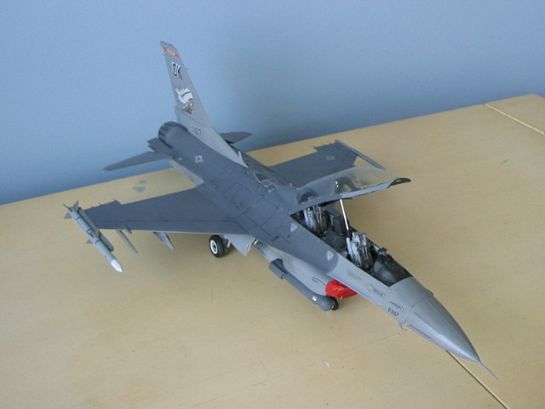
This is a project I began about two years ago. I have always liked the outlines of the twin-seat F-16B/D, and I wanted one in my collection. Since there were no kits of the two-seat F-16 in 1/32, I decided that I'd have to build my own. This is the Hasegawa F-16A/C kit, converted using my own scratch-built parts.
The first step was measuring the model to try to figure out where I needed to remove parts of the fuselage. Luckily, most of the cutting was done on existing panel lines. A large chunk of fuselage was then removed to make room for the rear cockpit. Once that was complete, my attention turned to the panel lines, which were removed and rescribed. Not totally necessary, but I think it helps the looks of the finished model. The vertical stab also had to be modified slightly. F-16Ds do not have the scoops on the base of the vertical stab or the scoop on the leading edge. These were removed. With the fuselage complete, I then moved on to the front cockpit.
FRONT COCKPIT
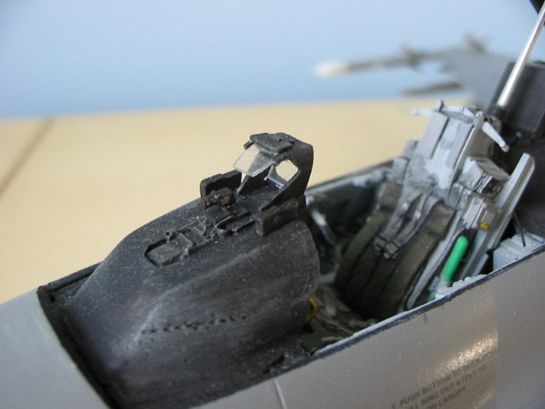
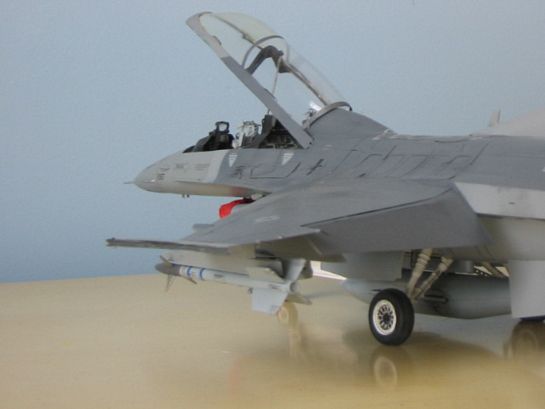
The front is basically a Black Box cockpit for the F-16C. Since the D is a combat-ready aircraft, the C and D both have identical front cockpits. The only parts that aren't Black Box is the front instrument panel and instrument panel shroud. Black Box missed the mark badly on these two parts. They were scratch-built and cast for all of my future F-16s.
REAR COCKPIT
The rear cockpit is mostly scratch-built using the kit's cockpit as a basis. The side panels were constructed using very thin plasticard. Switches and knobs were added where necessary. The instrument panel was also constructed from sheet plastic and the MFDs were swiped from a spare F-15E. The rear instrument panel shroud was constructed from thick sheet plastic and sanded to shape to round the edges. The area between the two seats was built up and detail was added on the rear bulkhead to finish up.
AIRFRAME
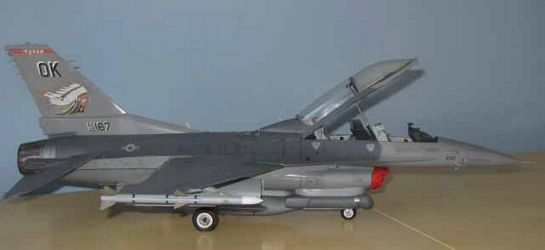
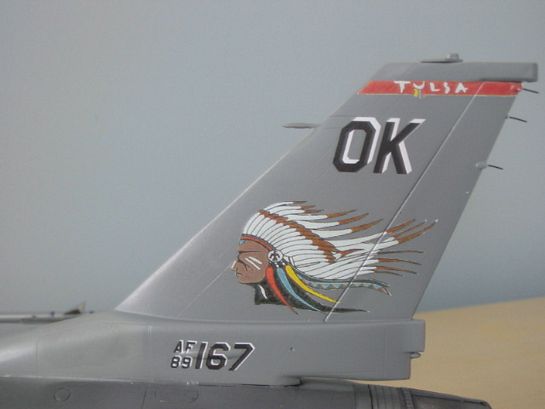
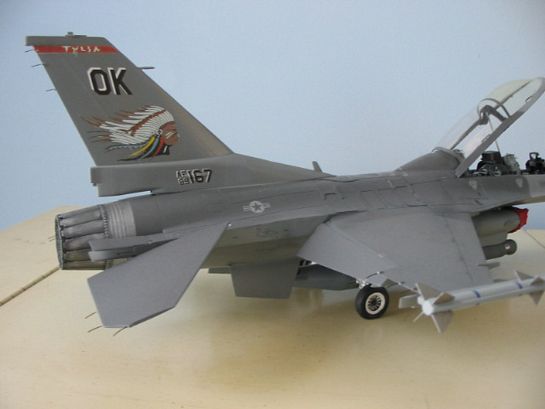
The jet was originally going to be a block 30 from the 178FW. The jet had been painted and the Ohio ANG markings had been hand-painted. Somewhere along the line, I changed my mind and decided to do a block 42 from the 138FW, with the very attractive Indian Head tail markings. I now had to apply the skin strengtheners found on Block 40 and 42 jets. Scratch-built AIM-120 launch rails, ECS vent, ECM "beer cans", and static dischargers for the radome were also built at this time.
PAINT AND MARKINGS
After the mods were completed to bring the kit up to modern Block 42 specs, I sprayed the jet with Model Master acrylics. The white/gray "OK" and serials were supplied by Mike Grant (thanks again, Mike, they look great!!). The rest of the markings were made at home on my computer and printed using a laser printer. Once the decals were on, another coat of Future was applied, followed by a light wash to bring out some of the panel lines. The next day, Dullcoat was applied to bring down the gloss.
LANDING GEAR
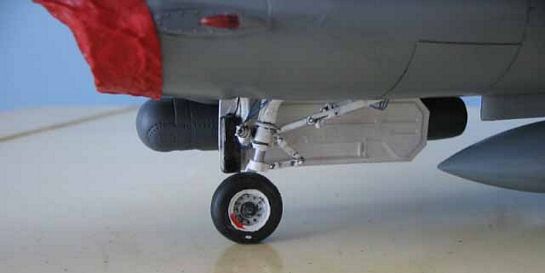
Block 42s have larger landing gear than earlier versions, so these would have to be reproduced. Luckily, Cutting Edge had just released their conversion to add the "big-mouth" intake (not used here) and larger main wheels and bulged gear doors. I snapped up the set to use the wheels and doors on my model. Hydraulic lines were added to the gear struts using fishing line, followed by a wash. The landing/taxi lights on the nose gear door were scratch-built using scrap plastic and clear ThermaForm.
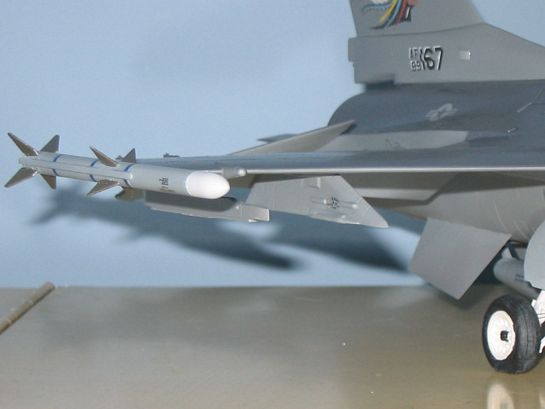
ARMAMENT
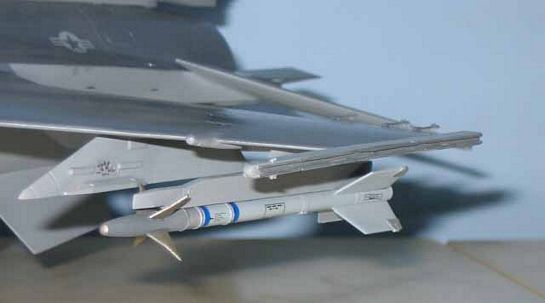
Air National Guard jets usually are not armed while at home, with the exception of inert training rounds. I swiped the AIM-120 and AIM-9 from the Tamiya F-15E. The LANTIRN targeting pod was also from the Tamiya F-15E, but modified. I cut off the head and repositioned it at a 30-degree angle, like real pods. The LANTIRN pylon was scratch-built and cast, again for future F-16 models. The kit includes a TER, but is just about unusable due to very poor detail. Again, Tamiya came to the rescue. I used a TER from the F-4, cut off its front, and added a scratch-built aerodynamic front. Cables were added to bring some life into it.
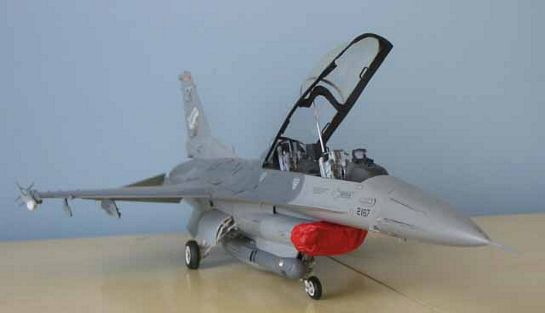
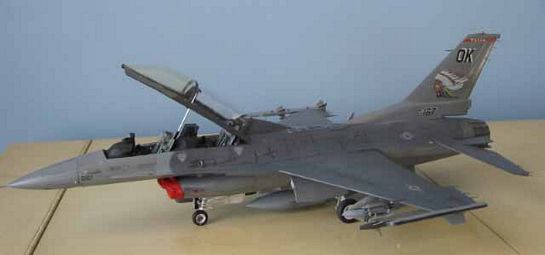
CANOPY
The canopy was worrying me from day one. I thought I knew how I would construct it, but was never quite sure my theory would work. I bought a block of balsa wood and went to work. I began to cut, sand, and whittle wood away until I got the shape and contours right. The biggest problem was getting the whole thing symmetrical. I thought I would use the wooden canopy as the master, but I found out too late that balsa wood was the wrong choice. The wood grain was very prominent and could not be sanded away. I decided to cast the wood canopy to make a resin canopy master. Once I had this, I used Squadron's clear Thermaform to reproduce the canopy. The front part was tinted with Future mixed with yellow food coloring, while the rear part was masked to be kept clear. The structure and canopy framing was all built from scrap plastic sheet.
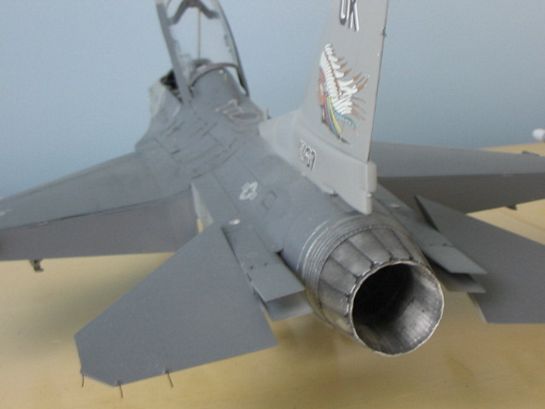
FINISHING TOUCHES
The exhaust is from Cutting Edge. The detail on it is outstanding. The front HUD frame was added, along with the glass. The rear HUD-repeater was built from scrap plastic. The front of the HUD-repeater has a rubber seal on it, and this was made from lead foil. The canopy actuator is a combination of plastic sprue and a paper clip. Wiring between the cockpits was made from fishing line, as were the static wicks on the trailing edge of the wings, horizontal stabs, and vertical stabs. The intake cover was made from tissue soaked in a white glue/water combo, and painted red to add some necessary color.
It took about two years to finish, but I am very happy with the results. In retrospect, there are some areas I could have done better, and some areas where I could have added more detail. In the end, I was just eager to get it done. It now sits next to my other 1/32 F-16s in my living room, much to the dismay of my wife!! I hope everyone enjoys seeing the pictures and article.
© Jake Melampy
This article was published on Wednesday, July 20 2011; Last modified on Saturday, May 14 2016