
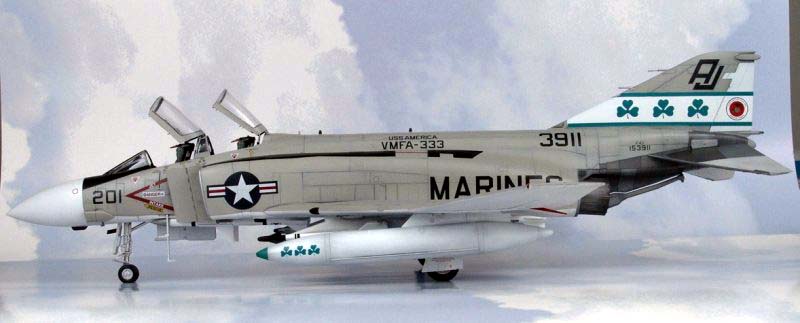
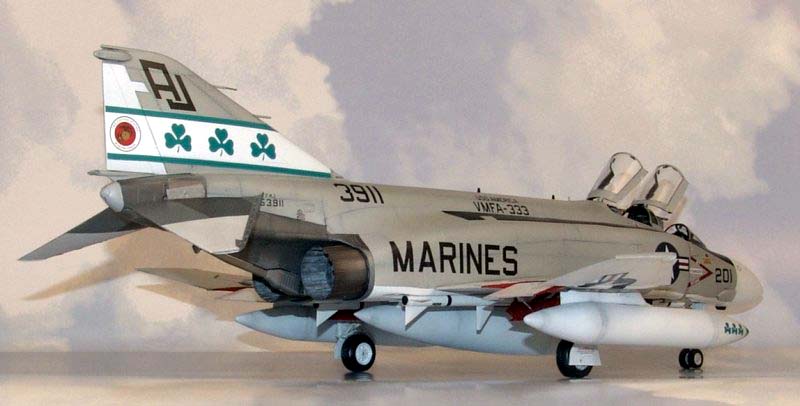
1/32 Tamiya F-4J
By Jeffrey Brundt
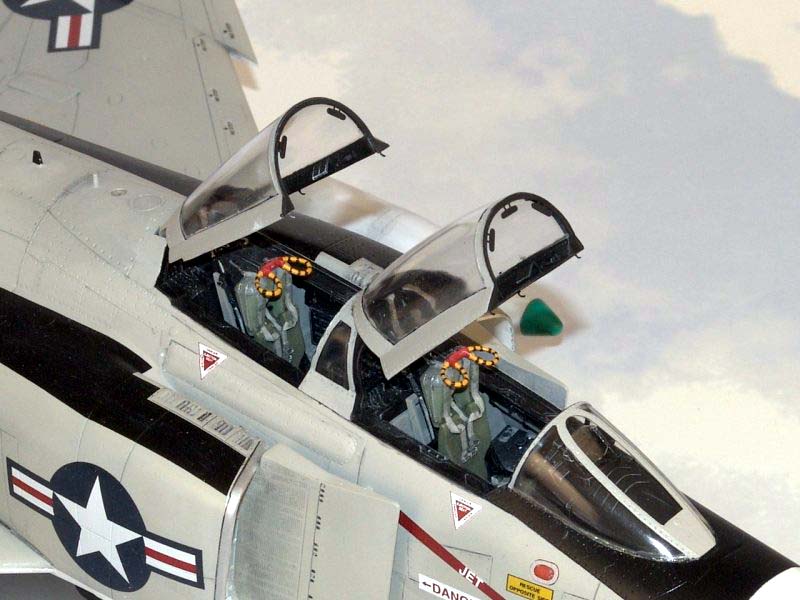
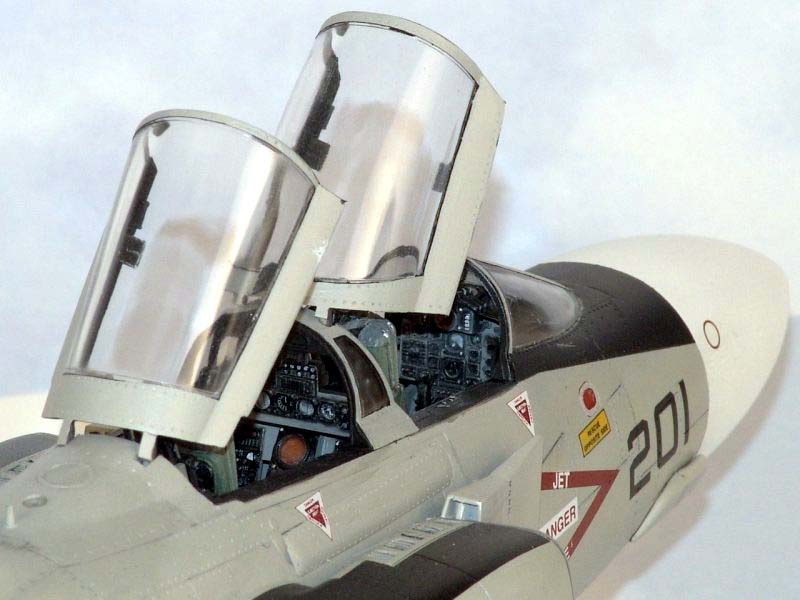
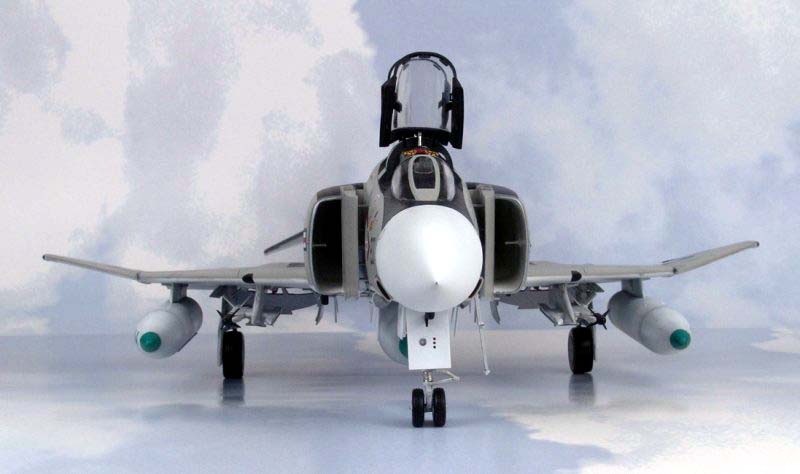
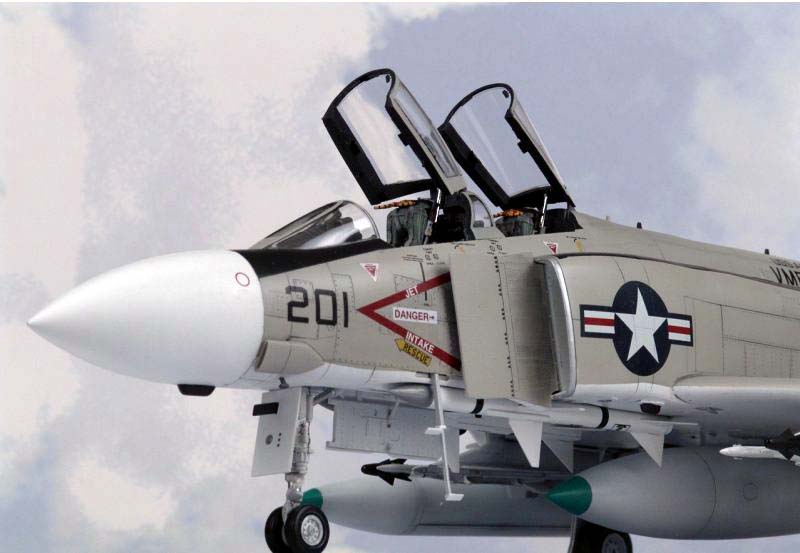
This is my Tamiya Phantom. I've always liked the big Tamiya jets and when the local hobby shop had this one on sale I couldn't pass it up. The kit is 'phantastic'. Excellent detail is provided right out of the box. I wanted to use the Eduard PE set for the cockpit but it was taking forever (over two months) to arrive from Squadron so I started without it. Of course soon after I began the set arrived. Arrrggghhhh! Oh well, the kit detail on the instrument panel is good enough to begin with so I added what PE stuff I could and pressed on. I also used the Cutting Edge "seamless"intakes. These were very nice despite what others may have said when comparing them to the Seamless Suckers F-4 intakes. The CE intakes require a bit more care, pre-planning and filler but in the end look just as nice. For the bang seats I had started outwith the CE MB Mk 5 seats but several forum members pointed out these were all wrong. Now here I am with complete, painted and weathered MBMk 5 seats...what to do? I ordered a set of True Details MB Mk 7 seats and painted and weather them. Another week wasted...sigh. Construction went right along with no major hang-ups. The only fault I can find with the Tamiya Phantom is how they deal with the horizontal stab. The way the kit is engineered the stab is a one piece assembly that is held in place with a keel fitting. Know that this area has to be painted it seems to me that the stabs should be separate and be allowed installation later, after painting. One could try to wait and install the keel piece and stab assembly after painting but there would be an unsightly seam. So, I had to engineer a way to separate the stab halves then provide a way to attach them later. I ended up using wire pins in the stab roots to mate with match drilled holes in the center stab fitting. It worked like a charm. The Eduard PE set contains quite a few details for the entire aircraft. One particular portion that takes quite a bit of time and patience are the canopies. These are almost kits unto themselves. It took about a week just to complete these. The end result though is very pleasing and realistic. When attaching the outboard wing panels I even used a template to achieve the 12.5 degree bend in the wing. (I heard the Tamiya had made the angle much greater than that).
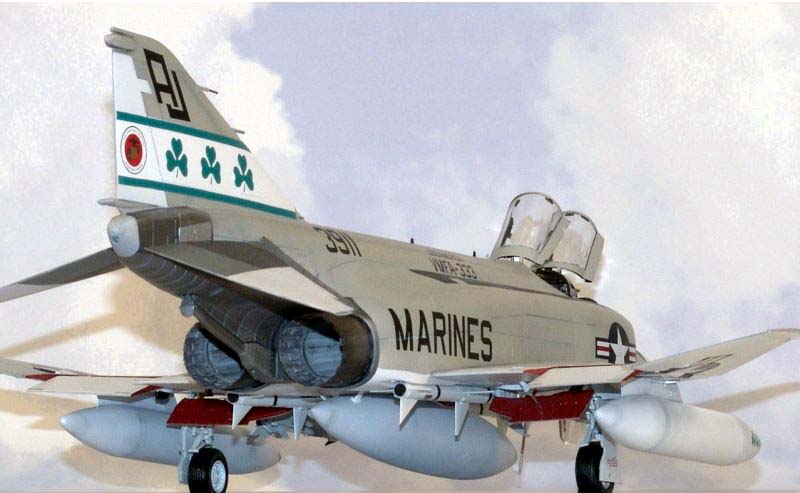
Once major assembly was done it was time for paint. One good thing about these Tamiya jets is that very little filler is required. Most all of the seams are nicely hidden or blend very well. After masking the cockpit off I gave the model a shot of Mr Surfacer 1000. Minor imperfections were taken care of followed by another light coat of Mr Surfacer. Panel lines were pre-shaded with PollyScale grimy black. The underside and radome were sprayed with Tamiya white, masked at the demarcation line then the top sprayed with PollyScale Light Gull Grey. The anti-glare shield area was masked off and painted with Tamiya black. The next job was the stainless steel areas on the aft fuse and stabs. These were done with various shades of MM metalizers and Alclad II lacquers. I used CE resin nozzles(which I found out are too small in diameter but look good anyway) and painted them various shades of steel and gave them an enamel wash.Matching the green trim on the external tanks to the fin flash decal required a bit of work. I was able to find an acrylic craft paint that was a close match and after a bit of mixing I had something reasonably close. I masked the tanks off and brush painted the green on. It was time now for the PollyScale gloss clear coat and decals.

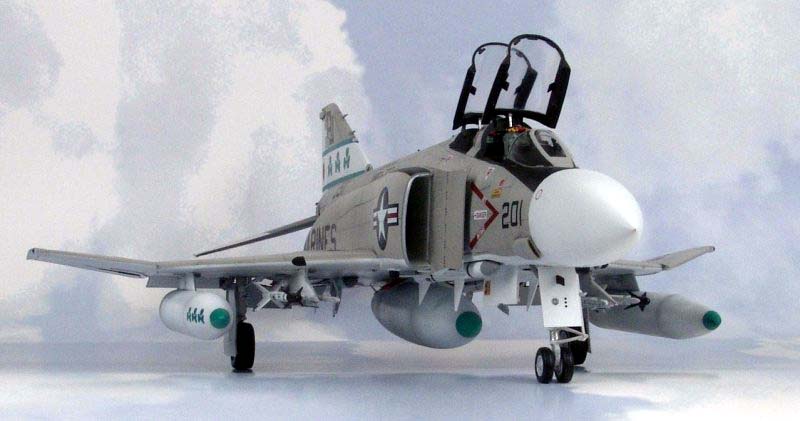
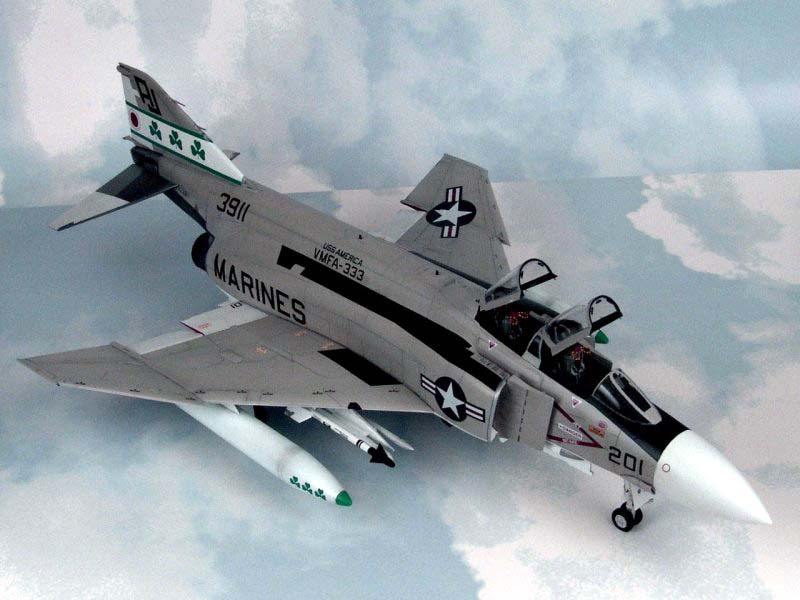
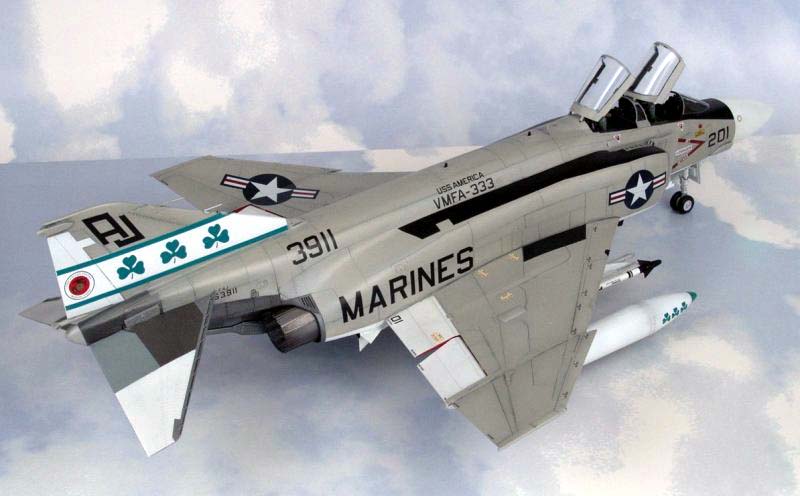
I wanted to do a Marine Phantom used in Vietnam but I didn't want to use the kit decals since they represented a post-war Marine bird. I used a mix of kit decals and CAM's decal set for VMFA-333. I really like the Triple Shamrock bird. Both the Tamiya and CAM decals went on nicely. I did need to use the Solvaset in certain areas but several applications made sure everything snuggled down. An enamel wash was applied to bring out the panel line and rivet detail. A final coat of satin was applied to everything and it was time to add the fiddly bits (landing gear, drop tanks, ordinance, pylons, nozzles, seats, canopies, wheels, flaps, stabs, gear doors, etc. etc.). CE resin wheels and tires were also used (rather than the kit furnished vinyl tires). The Tamiya sidewinders as furnished are incorrect. The forward fins are too far aft. I fixed only two of the missiles and mounted them on the outboard rails. I went with the kit furnished C/L tank. I have heard that F-4's used a less ogiveshaped C/L tank (similar to the wing tanks) but in all my research I didn't find many pictures to support this and none of the VMFA-333 pictures I had showed anything but the C/L tank as furnished in the kit. I went with a CAP war load (since that’s what comes with the kit). Marine Phantoms would routinely fly either CAP or ground attack missions so the same plane could be configured either way. Once all the extras are added it really looks like a Phabulous Phantom. So there you have it; my big F-4J. It even took 2nd place at the local St. Louis Gateway IPMS contest this past September.
Now, where did I put that F-4D?
© Jeff Brundt
This article was published on Wednesday, July 20 2011; Last modified on Saturday, May 14 2016