
Hasegawa 1/32 F-16C Part 1
By Jeffrey Brundt
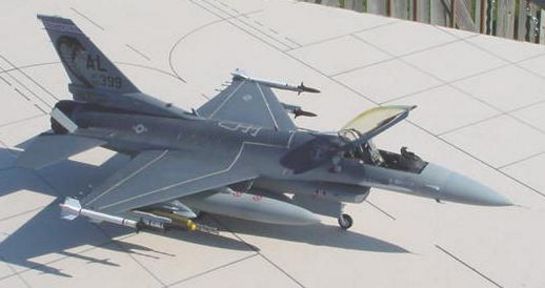
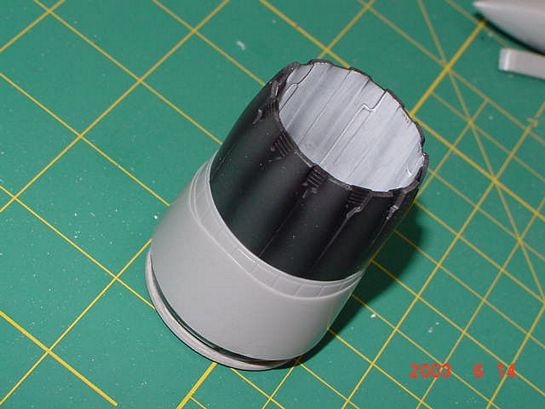
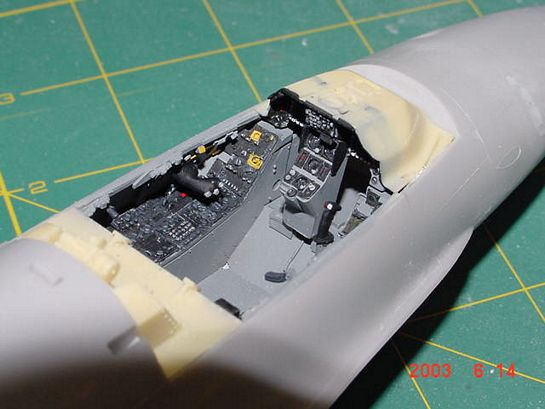
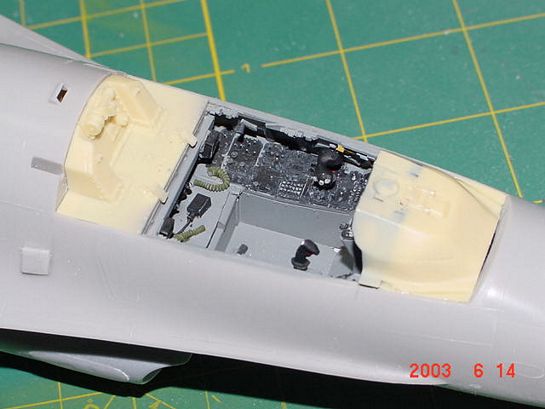
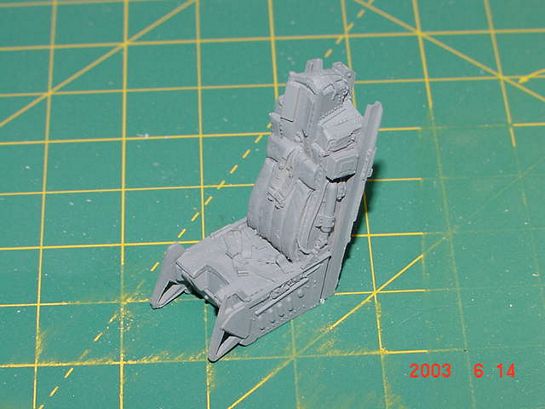
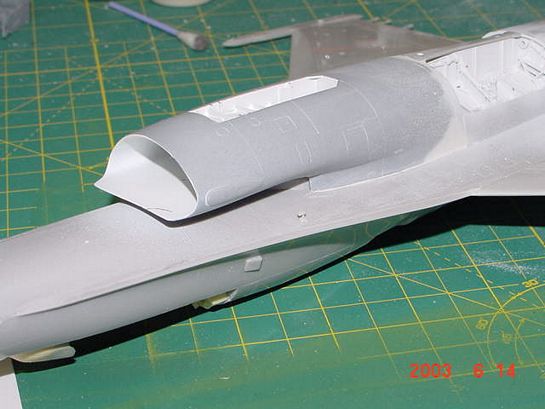
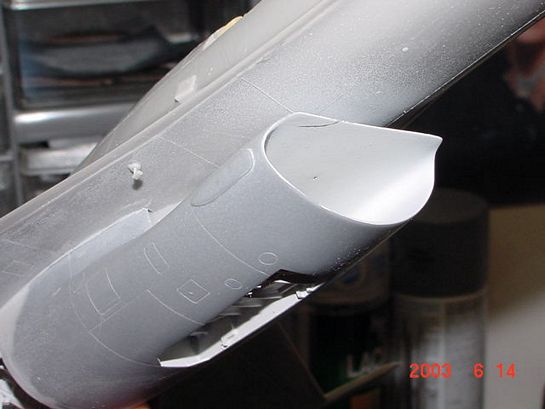
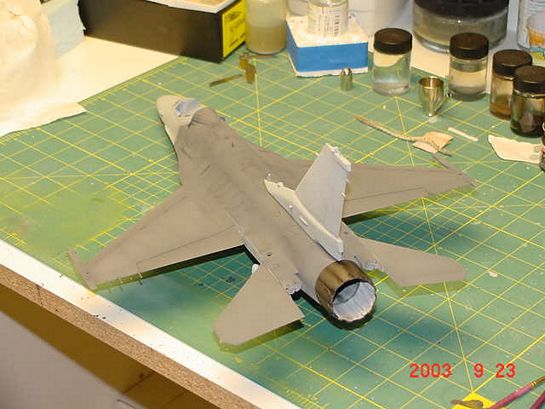
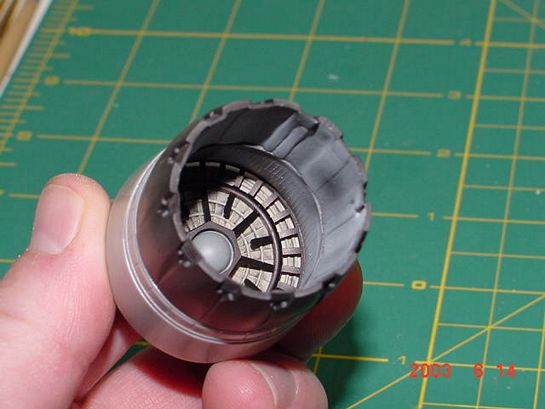
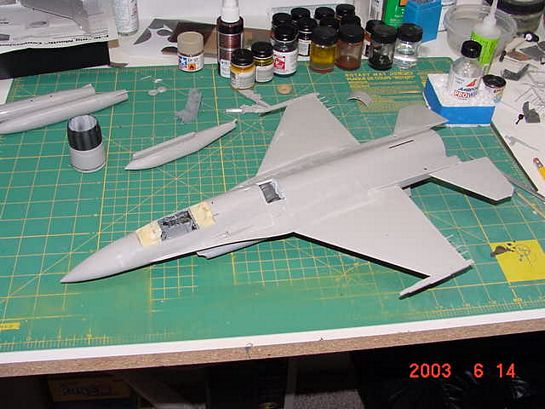
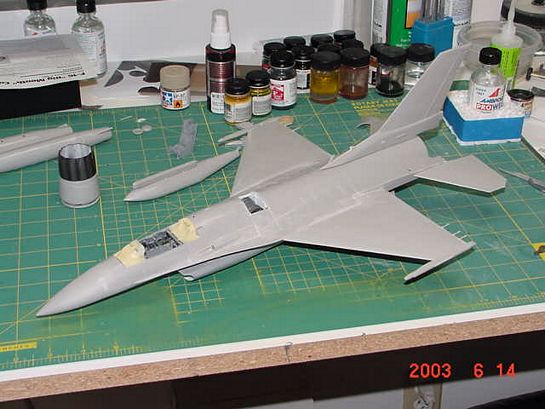
Here's my F-16C in 1/32. It's the Hasegawa F-16C 'Ramstein' boxing of the Viper. I've used the CAM F-16C resin cockpit (exactly the same as the Black Box one) and Cutting Edge's F-16 'big mouth' intake resin conversion set for use with the GE engine. Overall Hasegawa's big Viper isn't too bad. It's a mid-'80s vintage kit but the fit overall is good. The CE intake is designed to fit with a minimum amount of trouble. You get the 'big mouth' intake and the associated duct work plus the forward and aft landing gear bay bulkheads. CE also includes the larger tires, new brakes and bulged gear doors. The CAM cockpit tub needs a bit of sanding down to get it to fit properly on top of the intake duct so the upper fuse will mate up. The CAM cockpit is a real gem and includes a highly detailed ACES II ejection seat as well as the C model glare shield and HUD. The Ramstein kit includes white metal parts for an ACES II seat but the CAM one is so much more detailed it's like the difference between night and day. The kit also includes all the parts to make an 'A' model Viper plus the added bits for a C model (these include the C model specific vertical fin plus various ECM bumps, vents and antennas in plastic and white metal). The nice thing is the kit comes with both the P&W exhaust nozzle and the GE exhaust nozzle so converting it to a GE engined 'big mouth' Viper is a natural progression. Very few Vipers used the GE engine with the 'small mouth' intake due to the GE engine's airflow needs.

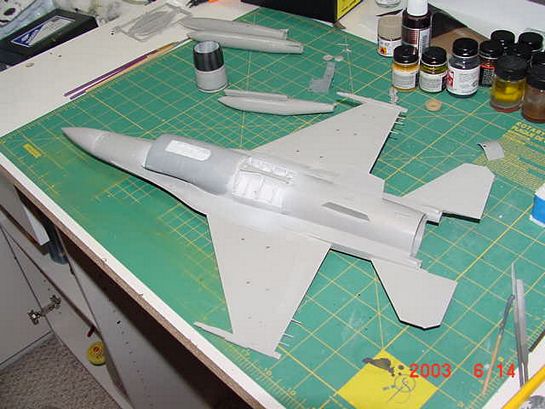
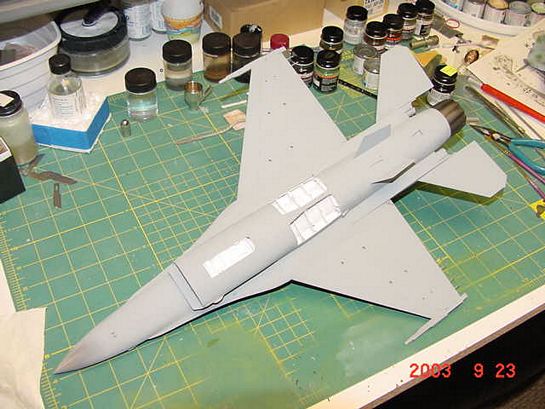
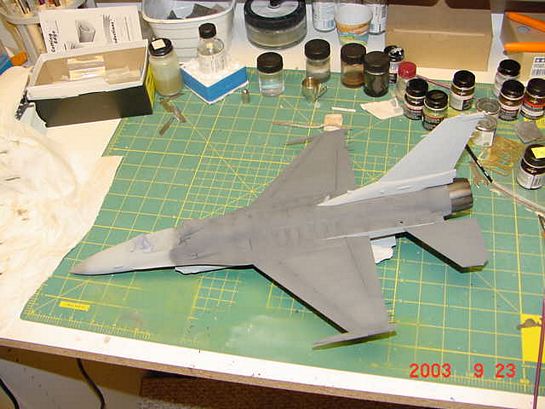
I modified the pitot tube with brass tubing and music wire. The kit's tube was OK but would be sure to get broken in time. The tubing in mine extends all the way through the radome to the instrument panel for extra support. The kit allows you to model a detailed gun bay and radar unit. I chose not to display them (although the gun bay is installed and painted but at least I know it's there) since I wanted my Viper to look rather 'clean' while on display. One thing that the instructions aren't real clear about is the landing gear installation. I did a lot of fiddling around with the main gear bay details to get everything installed correctly. Hasegawa could really improve that part of their instructions. The speed brakes were displayed in the open position. Real life Vipers can have their speed brakes opened manually on the ground with the hydraulics off. I've heard the molded static discharge wicks are too large but I liked them and left them on. The canopy was sanded to remove the molded seam and then polished with successive grits of Micro-Mesh up to 12000. The canopy was then sprayed with Tamiya clear yellow to give it that golden EMI shielded look and dipped it in Future for a nice shine and to restore clarity. The Viper was painted with MM enamels over Floquil grimy black preshaded panel lines. The main painting was followed by an oil wash in the panel lines and some pastel chalk weathering. A coat of clear, gloss lacquer was applied to smooth things out in preparation for decal application.
Go to Part 2.
© Jeffrey Brundt 2004
This article was published on Wednesday, July 20 2011; Last modified on Saturday, May 14 2016