
Fully Disassembling and Cleaning a Paasche VL or VLS Airbrush
By Ron Patterson
Many folks are daunted by the prospects of fully disassembling their air brush for a proper cleaning.
I do not fully disassemble my airbrush after every use. I usually run clean lacquer thinner through the brush after every painting session. I then pull the needle and remove the head (tip) and air cap. I leave the head and air cap soaking in a sealed bottle of lacquer thinner at all times. I then run a reaming needle through the body several times and poke a Q-tip into the head of the brush to remove any remaining wet paint.
A full cleaning will be required at some time though, its only a matter of time. This is really not that hard to do if you take your time. I usually do this about once a year and I use my airbrushes a lot.
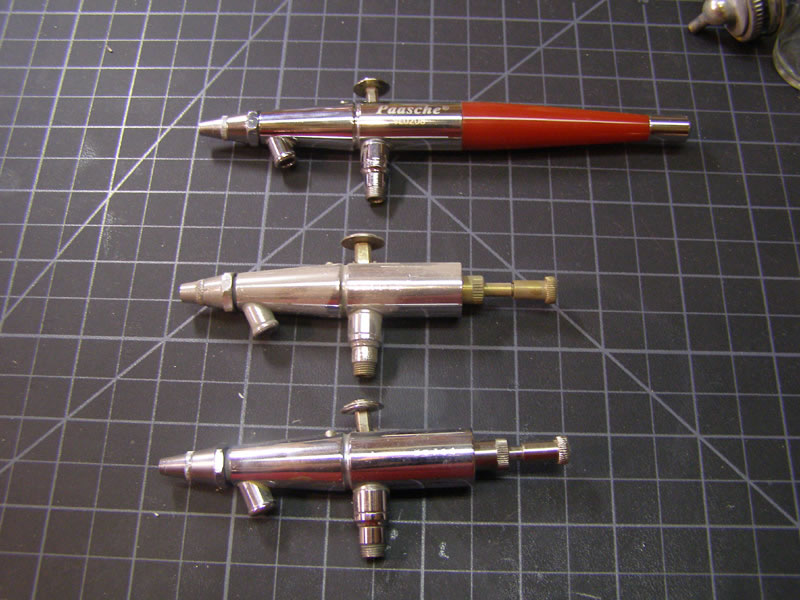
As you can see, I have few to clean. I admit I do not like cleaning my airbrushes as it feels like work rather than something fun like building, so it gets put off until all three are unacceptably dirty.
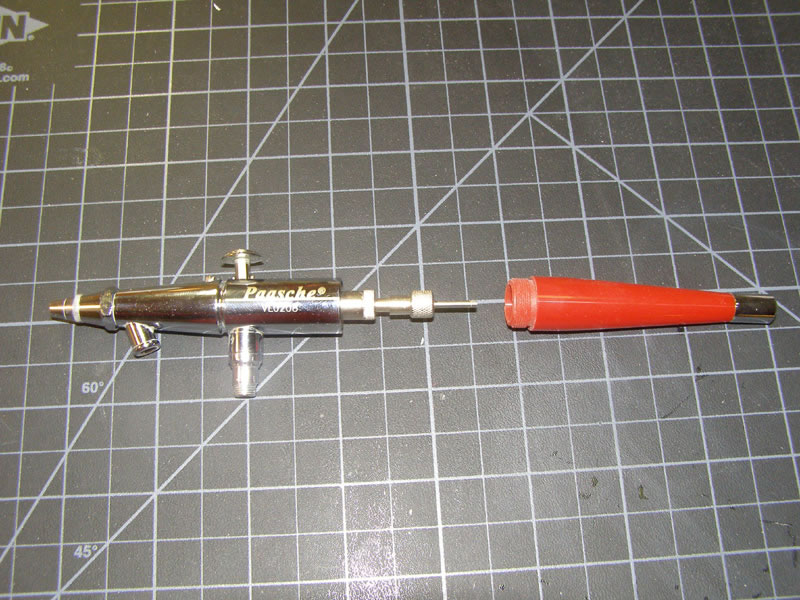
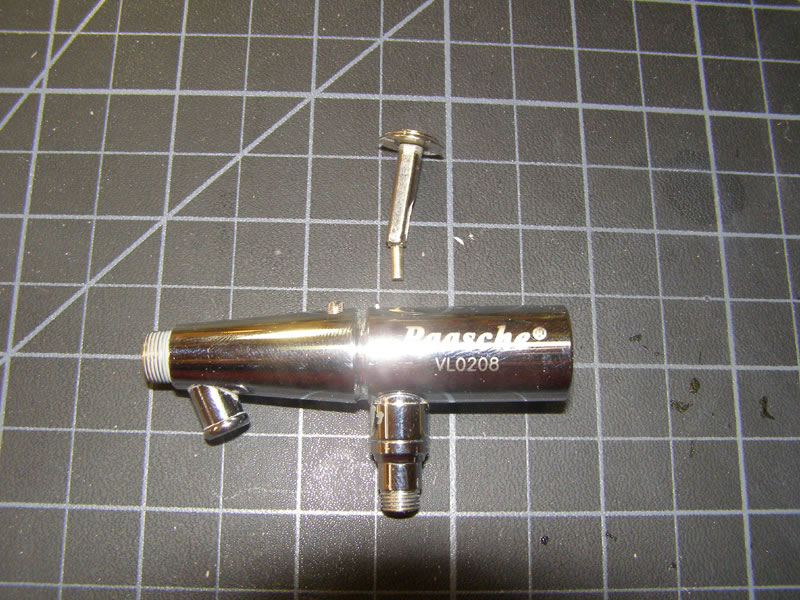
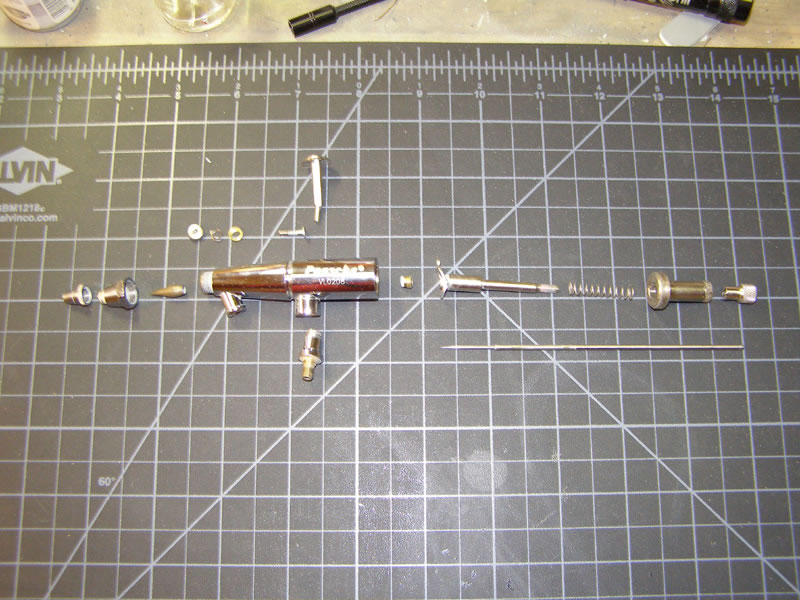
1) Remove the handle.
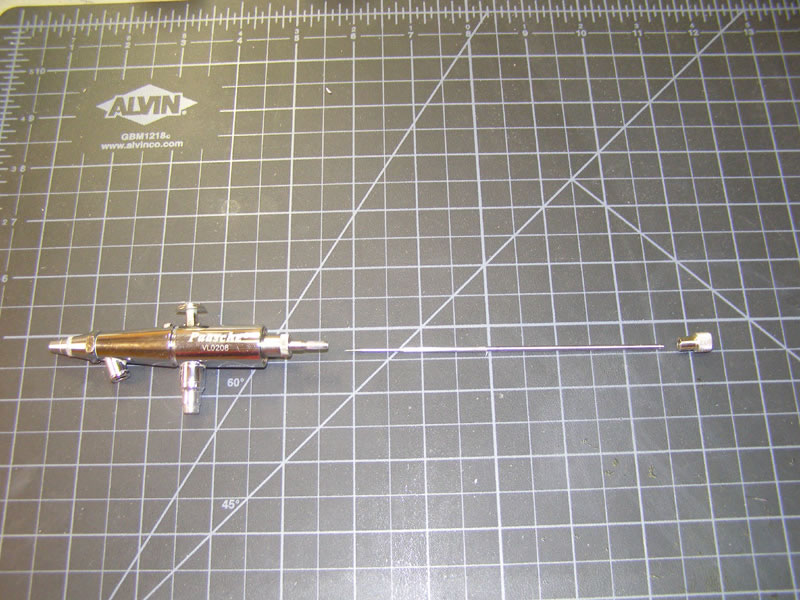
2) Loosen or remove the needle lock nut and carefully pull out the needle.
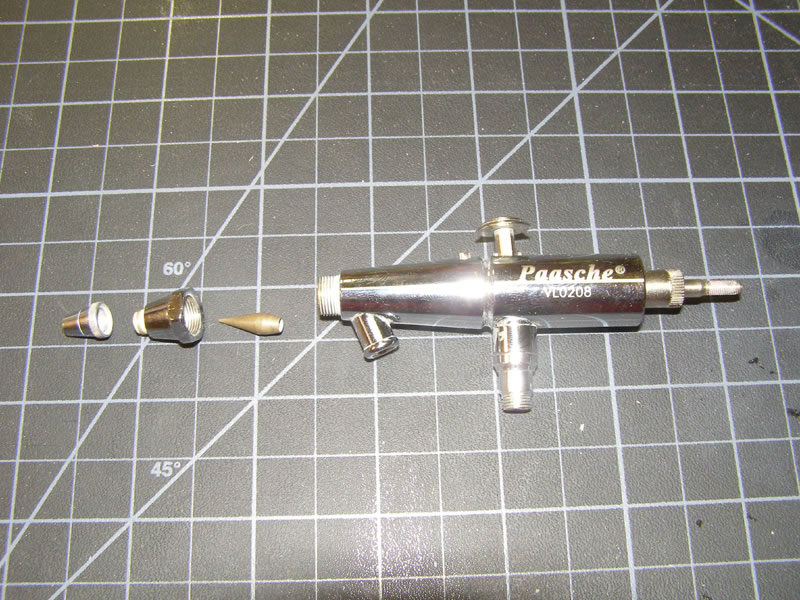
3) Carefully remove the head assembly and air cap using a wrench.
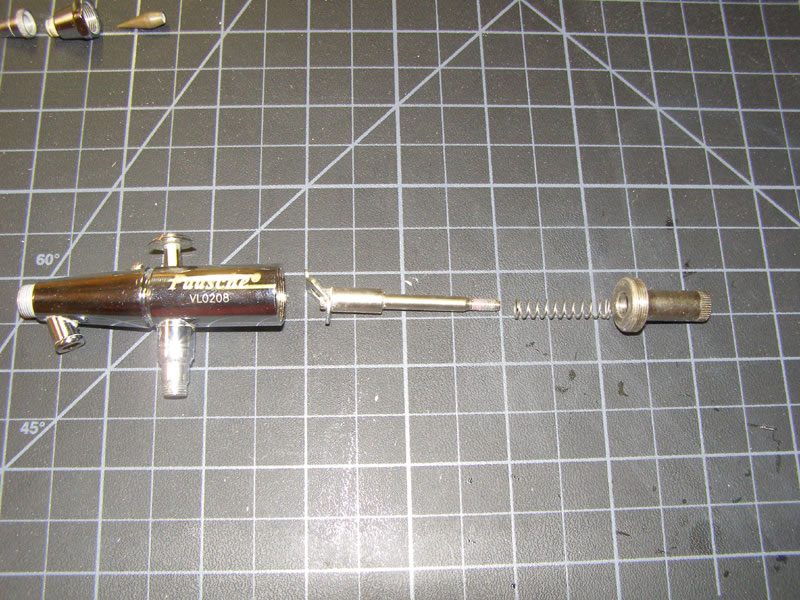
4) Remove the needle valve assembly by fully unscrewing the needle adjusting sleeve.
5) Remove the trigger through the top of the body.
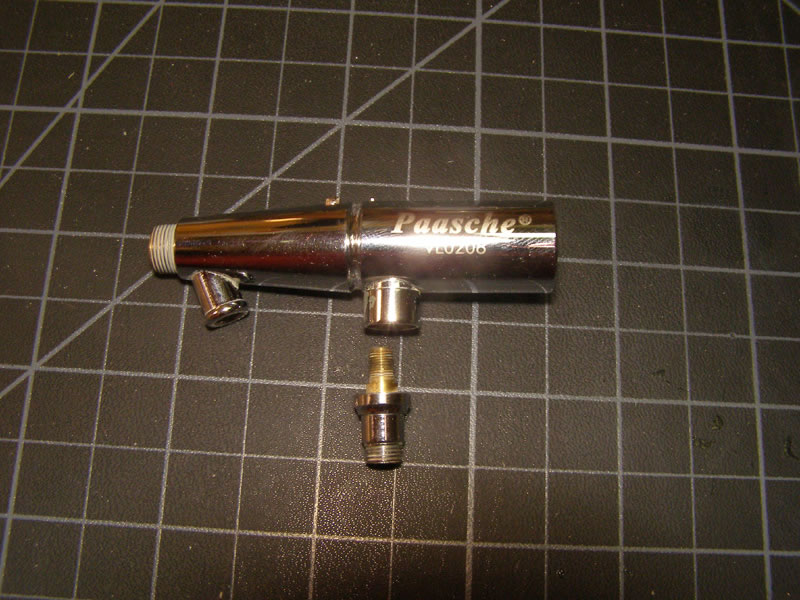
6) Remove the air valve assembly using a pair of pliers to unscrew it from the body (careful not to mar it up).
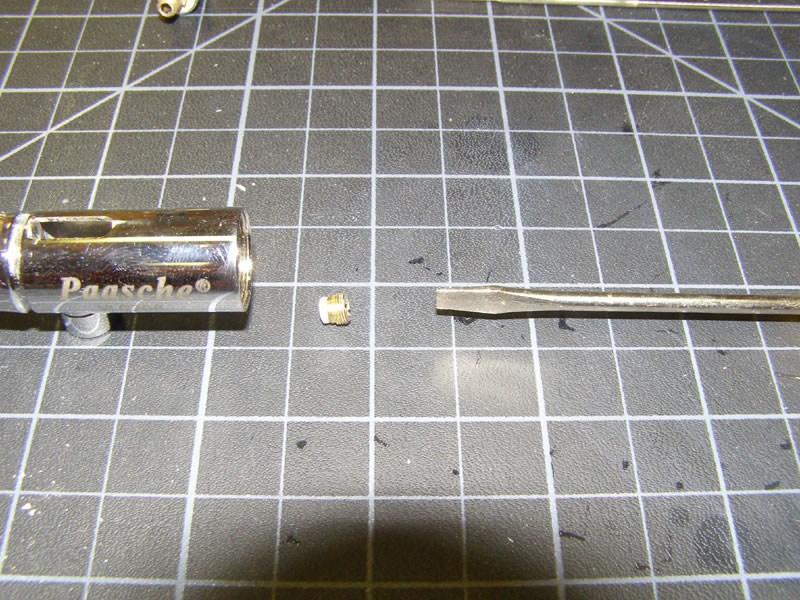
7) Now you need to remove the packing nut and packing
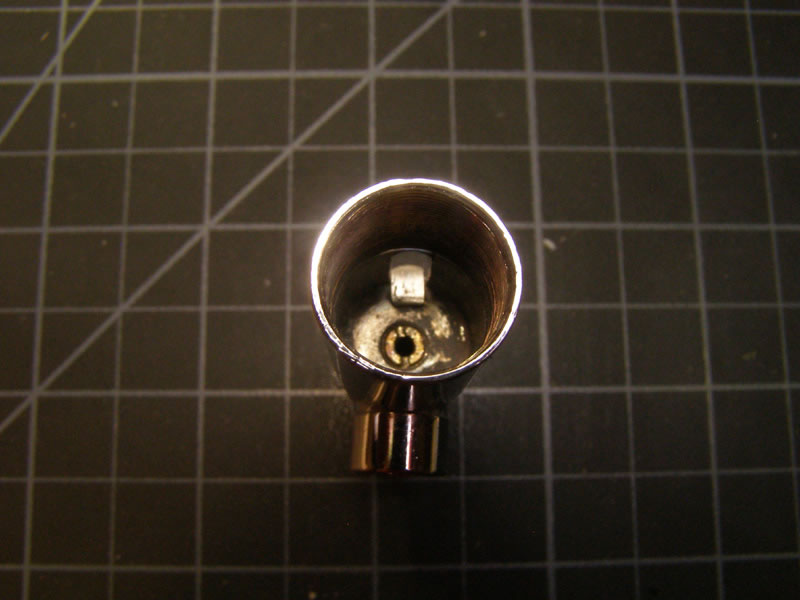
8) Use a small flat head screw driver to unscrew the packing nut from the body. The packing is a Teflon washer behind the packing nut. It may come out with the nut. If it does not, use the blunt end of the airbrush needle inserted from the front of the airbrush body to push it out. Inspect the Teflon packing for damage or scaring. This is a very important piece. Your airbrush will not work properly (if at all) if this is damaged so replace it now if you need to.
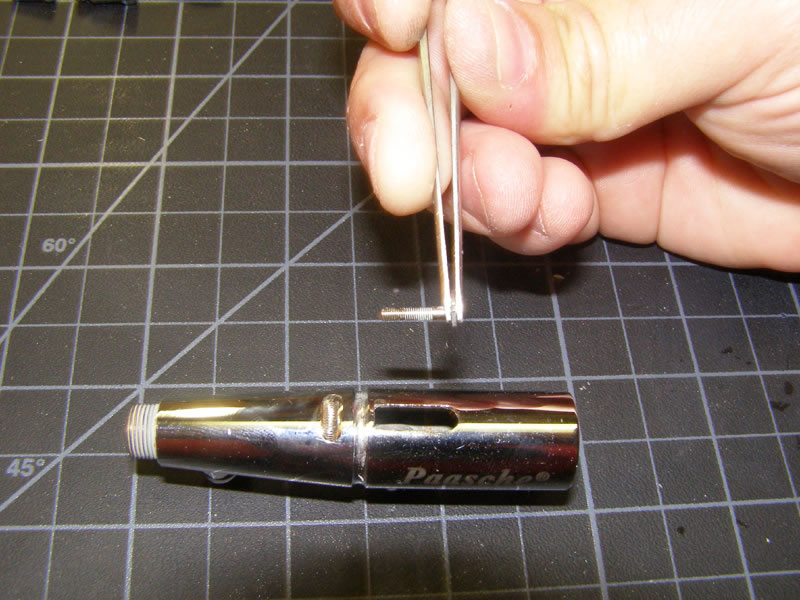
9) Now remove the paint flow adjustment assembly by spinning the thumb screw until the push bar falls out. Carefully pull the thumb screw out of the top of the body. Note that it is three pieces, the nut, a small spring and a brass thrust washer.
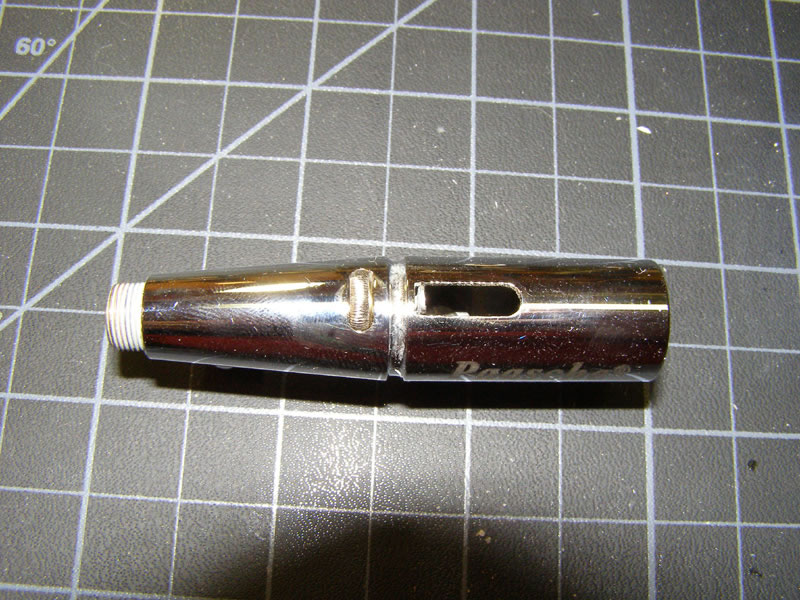
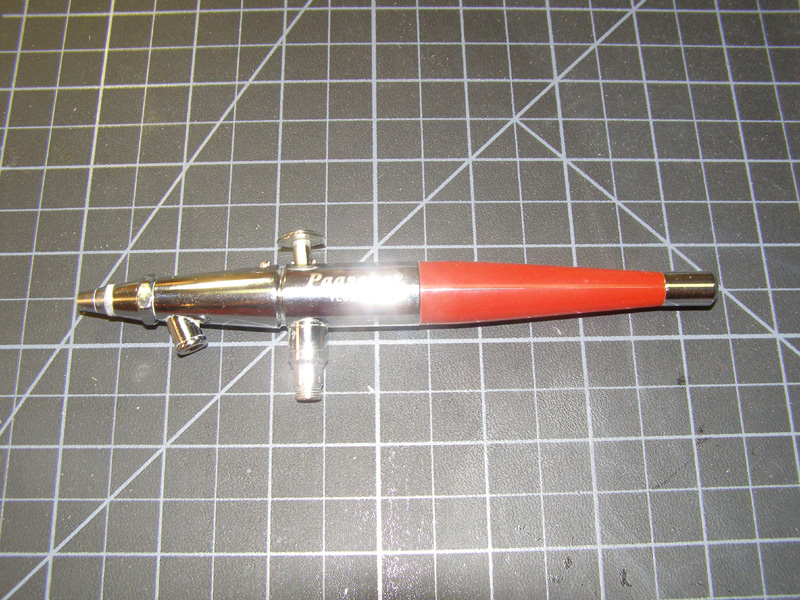
Here is the completely assembled airbrush.
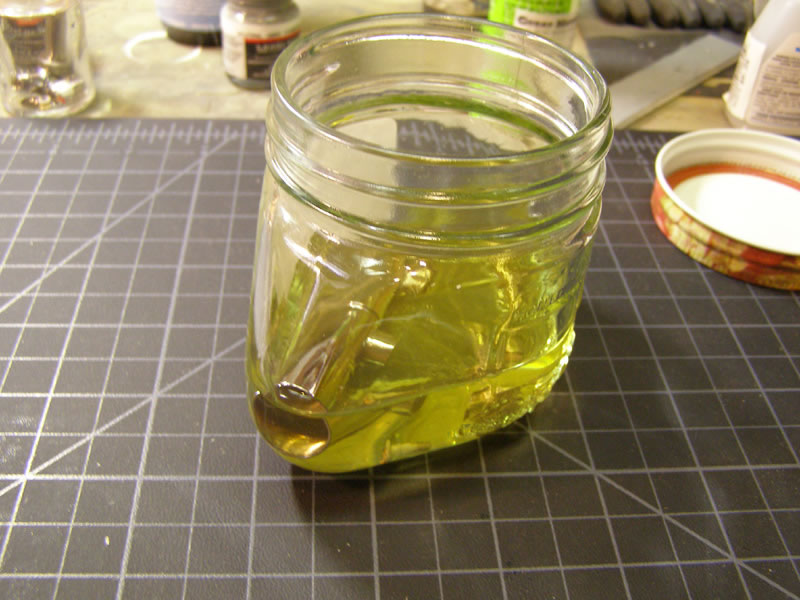
I soak all the metal bits in lacquer thinner for 24-48 hours to soften up all the old paint. DO NOT soak the air valve assembly or the Teflon packing washer.
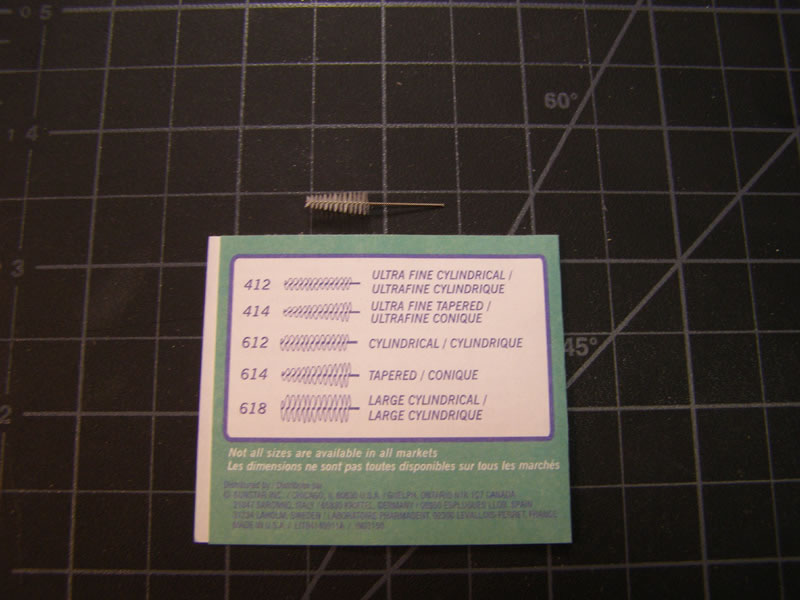
After a good soak, I scrub all the left over paint bits off using Q-tips, an old tooth brush and dental cleaning bristle brushes. The dental cleaning brushes are made by the company Gum and can be found in most drug stores. They are very handy items for cleaning air brushes.
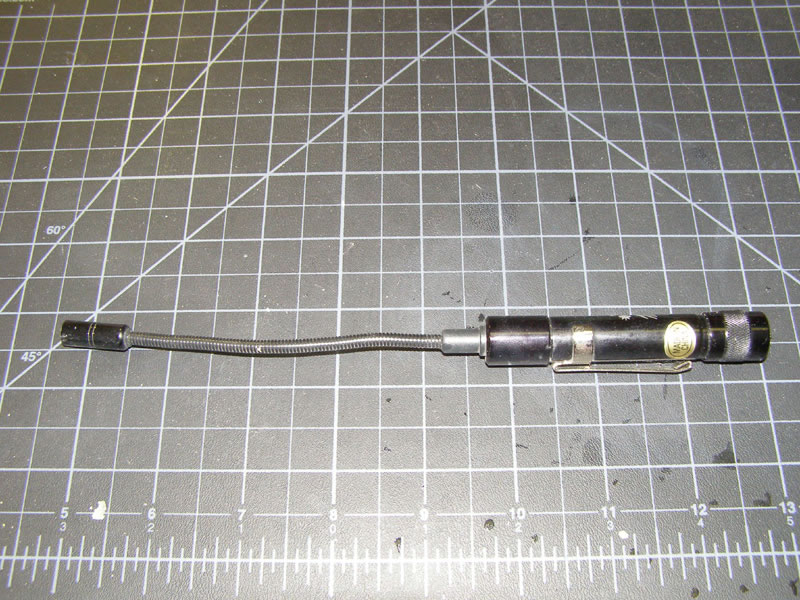
A reaming needle is also helpful. The old VL airbrush sets used to come with one. The new ones do not. You will need to purchase this separately. It is invaluable for cleaning the needle passage in the body as well as the needle valve assembly.

A small mag light helps to see into the brush to make sure everything is clean.
Once everything is clean, assemble the airbrush in the exact reverse order you that took it apart. Make special note of the packing nut adjustment procedure below.
Adjusting the packing element.
This is the only area to watch for when assembling your airbrush as it must be done properly for your airbrush to work as it was intended.
Drop the element into the body and place the nut into the body using tweezers. Carefully screw the nut in with a flat head screw driver until it is just seated with the packing. (DO NOT TIGHTEN THE NUT). Tightening the nut crushes the Teflon packing element. The idea in following the packing setting procedure is to slightly compress the packing to get a good seal on the needle.
Slide the airbrush needle through the body and packing with the nut seated but still loose. It should slide through with no effort. Carefully tighten the packing nut just a little bit and try pushing the needle through again. Repeat this until you feel some slight resistance when pushing the needle though the body. When you feel this resistance you have set the packing and can move on with finishing the assembly.
When you are done you airbrush should look as good as new.
© Ron Patterson 2012
This article was published on Saturday, October 31 2015; Last modified on Sunday, November 01 2015