
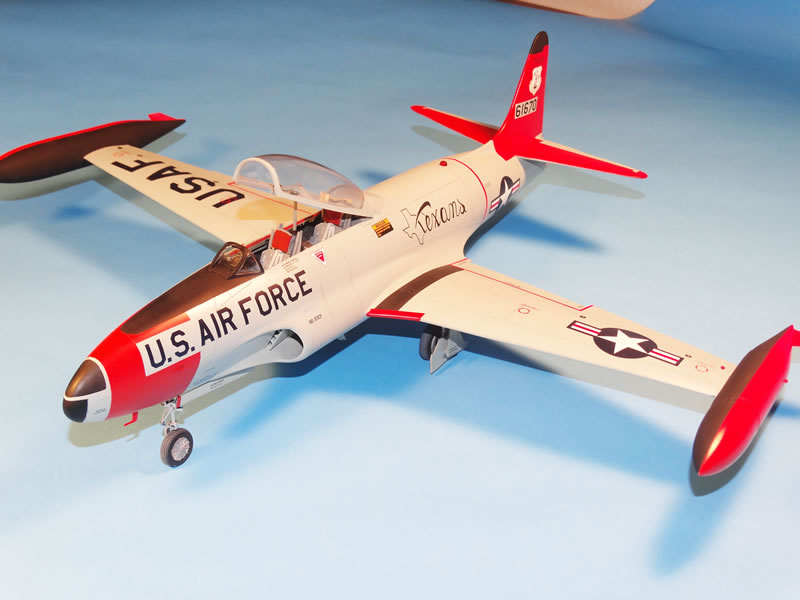
Czech Model 1/32 Lockheed T-33A Shooting Star
By Boyd Waechter
The Czech Model 32nd T-33A is not an easy build, I think one reason you rarely (if ever) see one of these completed and seen at a show. I actually started this model in early 2010 when it was first released, but after six months of grinding away at it, it finally beat me down and I put it away until this past summer when I decided to either finish it or trash it. Either way, it was coming off my shelf of doom and going someplace.
I complicated the build by adding an AMS Resin cockpit tub, True Details wheel well and dive brake set (main and nose wheel wells), removing and scratchbuilding the main flaps, using SAC white metal land gear and resin wheels, and putting on a paint scheme that required many many hours of masking work. In using these aftermarket items, there are two main issues; 1) installation of the cockpit tub, main wheel well, and kit air intake trunking into the fuselage, and 2) the very poor fitting air intakes.
First off, to get the cockpit tub, main wheel well, dive brake wells, and air intake trucking to all fit into the same space is almost impossible. I had to remove a significant amount of resin from the rear portion of the tub to get it to fit next to the intake trunking.
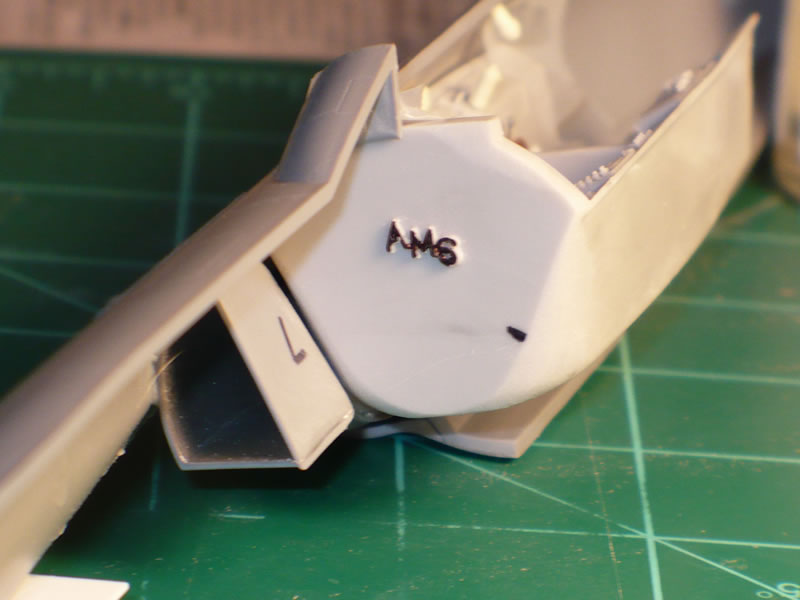
I also had to sand the top of the True Details resin wheel and dive brake wells paper thin so they would not interfere with the bottom of the AMS Resin cockpit tub (which was also sanded very thin). Finally, part of the True Details resin dive brake well had to be reshaped so the two intake trunks that run along the inside of the fuselage would fit.
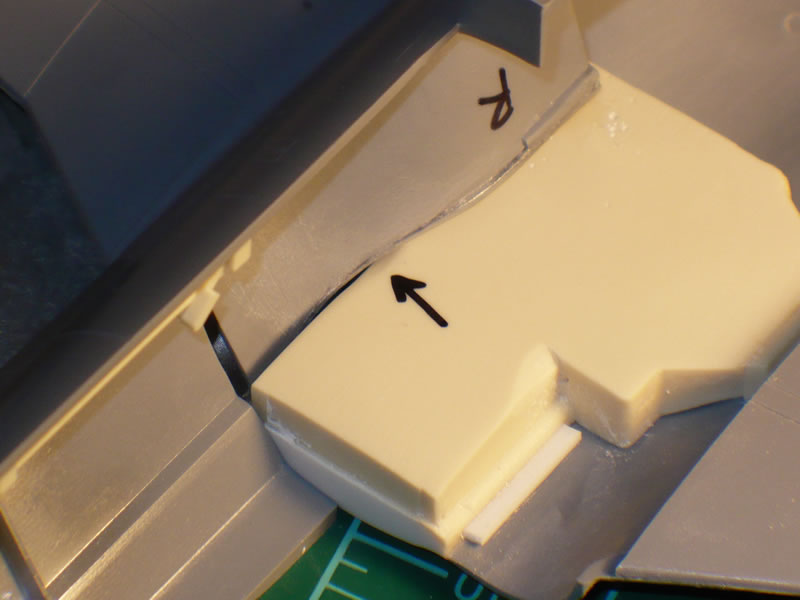
All of this filing, sanding, and reshaping took days to correct so their installation would allow closure of the fuselage halves.
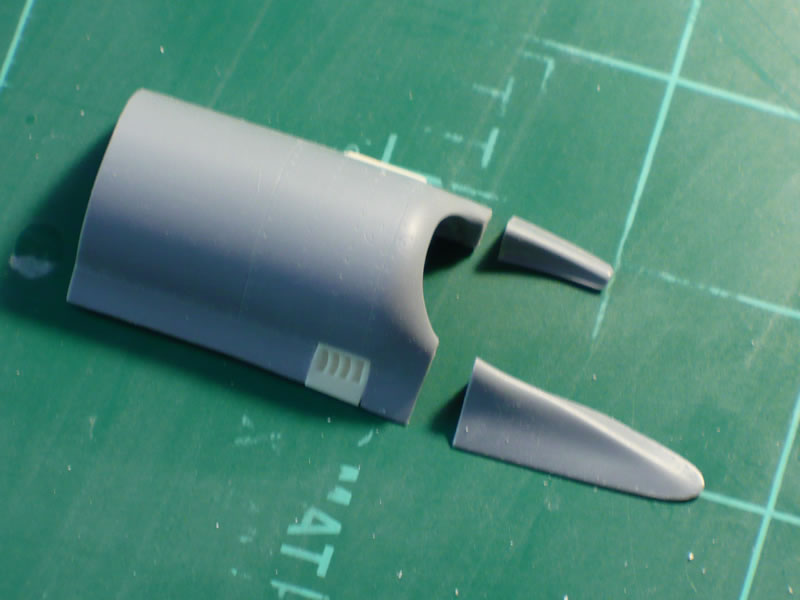
The second area that caused a lot of frustration was the installation of the air intakes on the side of the fuselage. Their tips do have any curvature that matches the contour of the fuselage, so I ended up cutting them in pieces, gluing them in place, and filling the gaps with plastic and putty. Getting these blended in also took several days of sanding, polishing, and rescribing lost panel lines.
If you are going to drop the flaps, you will have to put in a small piece of plastic inside the fuselage on each side. This will block your view from seeing all of the internal pieces mentioned above.
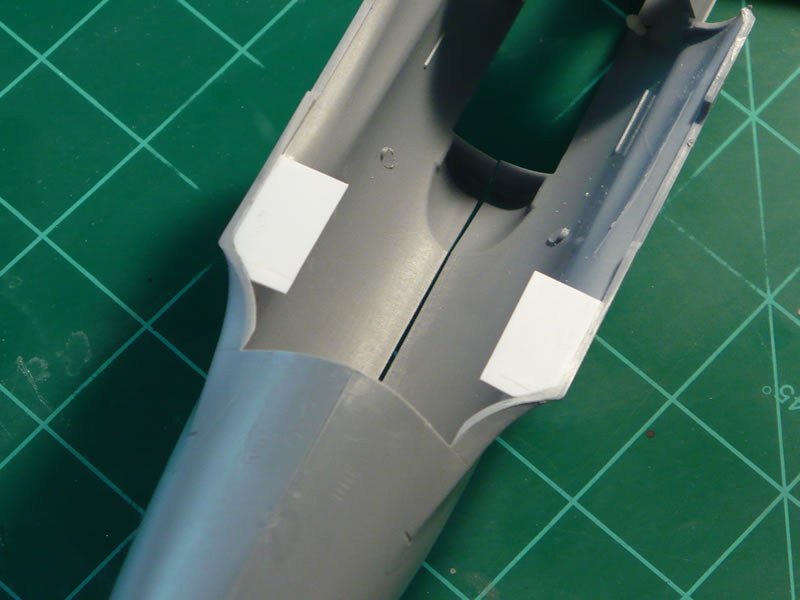
But, your work is not over with yet. When you mate the wings to the fuselage, there is a prominent step where the center section and lower rear fuselage come together. I had read other articles about this problem, so I did everything I could to minimize the problem with some shims. But, it was still a problem area that took another weekend to fix.
Getting the rest of the parts together was not really too much of a problem. I did encounter a gap in the wing roots that I filled with thin strips of plastic and sanded to sand. Again, I lost a lot of panel lines in the process that had to be rescribed.
Once I had all of the main parts assembled and it started looking like a T-33, I then spent at least a month sanding, polishing, and rescribing panel lines. I was originally going to do a natural metal finish, so this required a lot of extra work to eliminate every scratch in the plastic I could find.
I now had about 6 months of work on just this one project and it had totally worn me down. By this time, I had totally lost interest in painting the model, so it was put on a closet shelf and left there until I regained some energy to work on it. However, it didn’t work out that way. It sat there month after month, then year after year, slowly accumulating a coat of fine dust. In the meantime, I had built a number of other 1/32nd scale models (Italeri F-104G, Trumpeter F8F-1 Bearcat, etc.) until one day in early July 2015 I decided to get it down, dust it off, and give it a thorough wash. I had forgotten about a lot of the work I had into it and was pleasantly surprised how good it still looked. So, being between projects, I decided to commit another two weeks to the model and if I was not making the progress I had hoped for, then I would trash it.
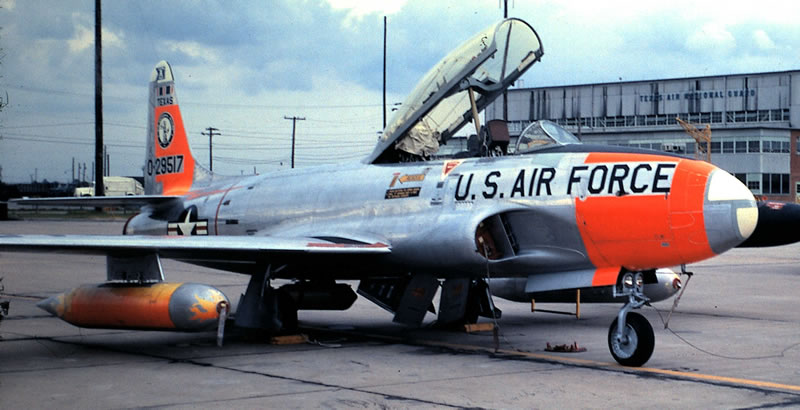
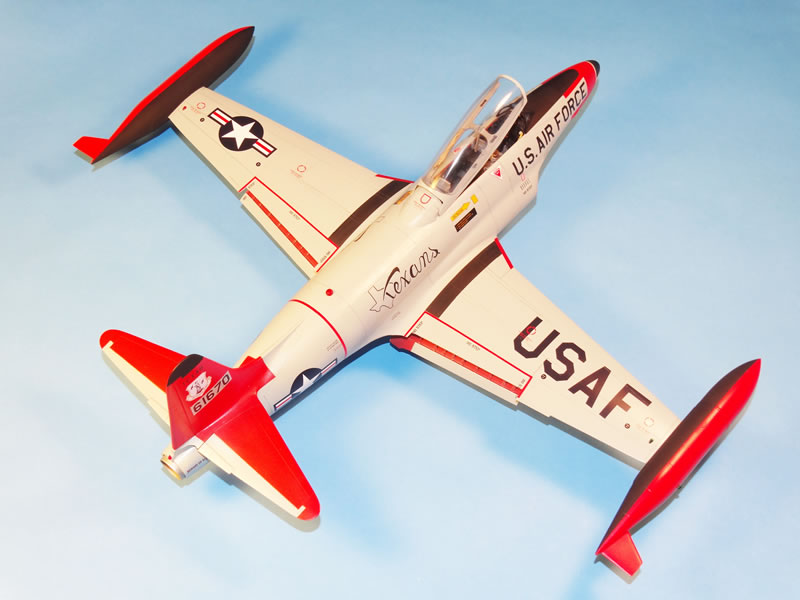
The 111th TFW was an instrument training base and had multiple T-33As assigned to it for this purpose. In 1975, the unit began using the “Texans” marking on the fuselage of their aircraft in several forms. Other aircraft which flew with this distinctive marking were their F-101Bs, F-4Cs, and some F-16 ADF aircraft. This unit also flew F-102A Duces, but they were phased out and replaced with Voodoos about this time. The T-33As of the 111th TFW went through multiple paint schemes during their 25+ year career based at Ellington. I have found color photos of these aircraft being overall natural metal, natural metal with dayglow orange trim, overall ADC Gray with intense orange trim (in different configurations), and in an overall ADC Gray scheme with the red/white/blue fin flash also specific to 111th FIS aircraft.
From the time I got the model off the shelf of doom until I had it ready to paint required only about 2 weeks of final polishing and the repair of several seams. After a thorough cleaning with alcohol, it was ready for paint.
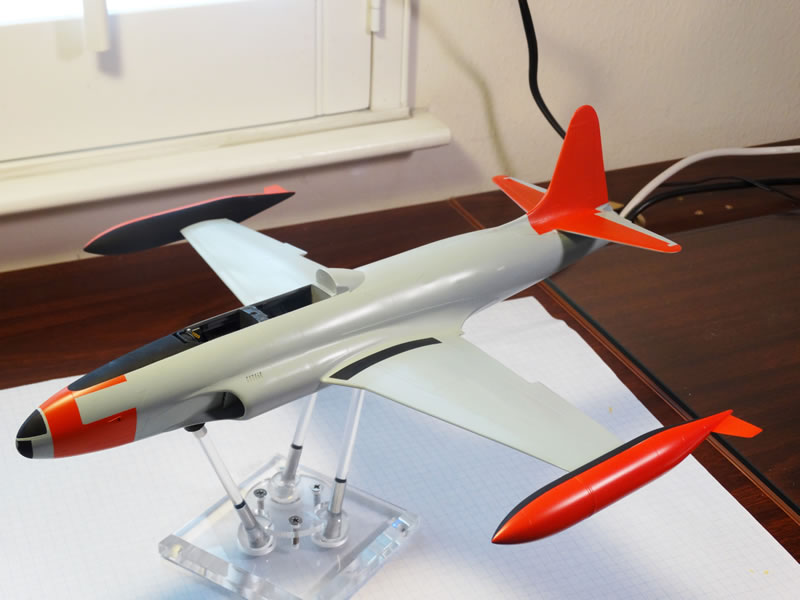
I first masked off all of the areas to be painted black and sprayed these with Tamiya Flat Black. Next, I masked off the areas to be painted orange and first undercoated them with semi-gloss white followed by Model Masters Chevy Engine Red (gloss acrylic), a very intense orange color that matched what I was seeing in the photos really well. Lastly, I spent two weeks masking off the black and orange and then began spraying the rest of the model overall with Model Master ADC Gray (enamel) in several steps. This is a great color that goes on very smooth and has a nice semi-gloss finish. I let the paint dry for a couple of days and then removed all of the masking tape. I did have a couple of areas that needed touched up, but once that was done, I over coated the entire model with several coats of Future applied with a 1” flat faced brush.
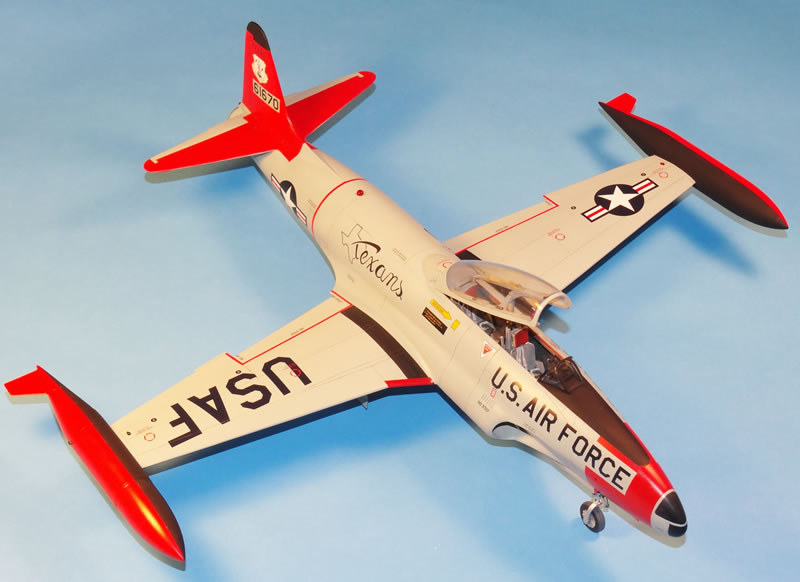
Decals came from several sources, but the ANG emblem on the tail and the “Texans” title were from Caracal’s 1/32nd sheet on ANG T-33As. The insignia, all of the USAF titles, and data and stencils were off of the kit decal sheet. After decaling was completed, I gave the panel lines a wash of dark gray india ink and then the model an overall coat of Testor’s Satin Finish to blend everything together.
Another week was spent adding the landing gear, gear doors, dive brakes, ejection seats, canopy, rotating beacon on the fuselage, etc.
After five years, I can now say the model is done. It has subsequently won First Place in its category at the Capital Classic model show in Austin, TX., as well as winning Best Texas ANG Aircraft at the same event. In December, the model is going to be donated to the model collection of Texas ANG aircraft on display within the Headquarters building at Camp Mabry, the home of the Texas Air National Guard.
© Boyd Waechter 2015
This article was published on Friday, November 20 2015; Last modified on Saturday, March 05 2016