
"Poor Man's Slotting File" - Cleans Up Engraved Lines
By Richard Brumm
Achieving consistently clean and uniformly straight engraved panel lines can be a challenge.
Even against the solid edge of a metal ruler, it's common to experience needle "chatter" or localized "digging" as you draw the engraving tool across the model's surface, perhaps due to uneven finger pressure or soft spots in the plastic. Whatever the causes, it leaves behind a groove that's irregular and craggy, at least when viewed up-close or beside the crisply molded engravings that adorn modern kits.
What to do?
Many modelers have discovered how to chemically treat these imperfections with a light brushing of plastic solvent. This helps smooth out rough edges and dissolve burrs.
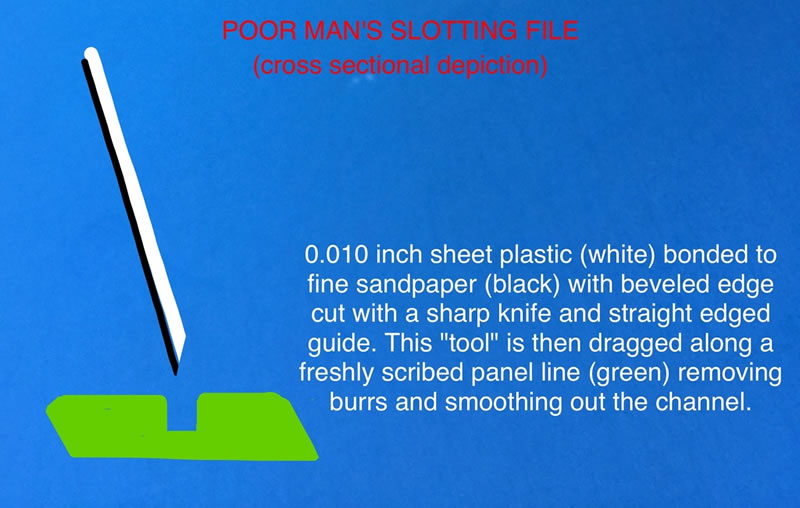
Another perhaps less-well-known method is to attack the problem mechanically with what I call a "Poor Man's Slotting File". It's quick. It's easy. And, unlike the solvent trick, it works across a wide range of substrates, including putties and resins.
Here's the rebuilt nose section of my EA-6A Electric Intruder. New panel lines were created along its surface, including atop areas built up with epoxy putty and cyanoacrylates:

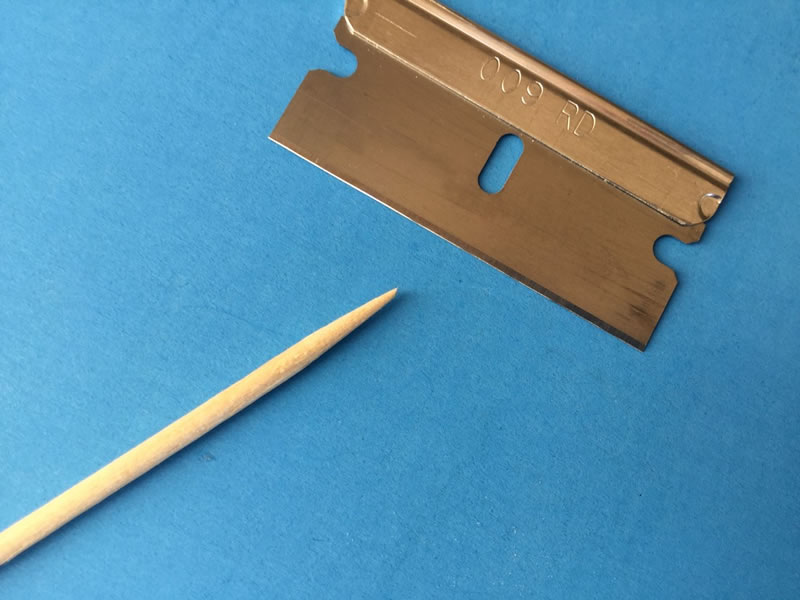
Making the Tool
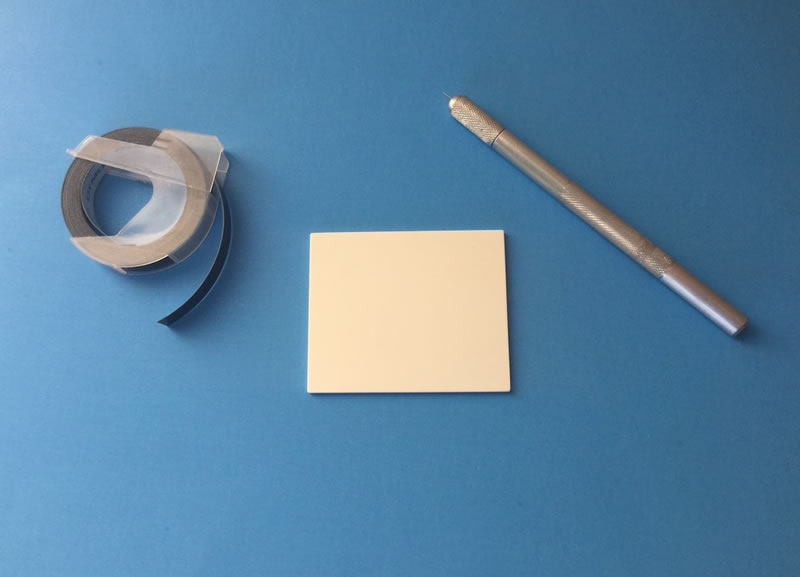
For the sanding tool, I cut out a piece of .010 inch plastic card (about the size of a small guitar pick). Coat one side of the plastic with CA glue and lay it down flat against the back side of a sheet wet/dry sandpaper (I use fine grit 1000). After the glue drys, trim away any excess paper with a sharp hobby knife or razor blade. Create a bevel on the "working edge" of the tool. That is, slice it at an angle so that the sanding side is prolongated.
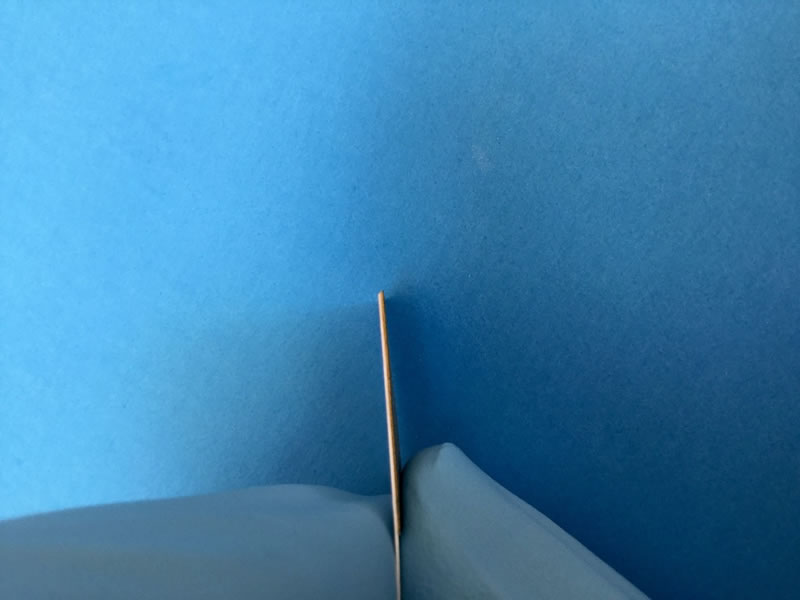
Here's a crude illustration:
When the sanding edge becomes dull, just slice it off (again, at an angle) to create a fresh threshold.
For really fine lines, you can get away with using fresh sandpaper by itself. Just remember to slice it an angle. Without the plastic backing though, it is prone to crumpling.
Using the Tool
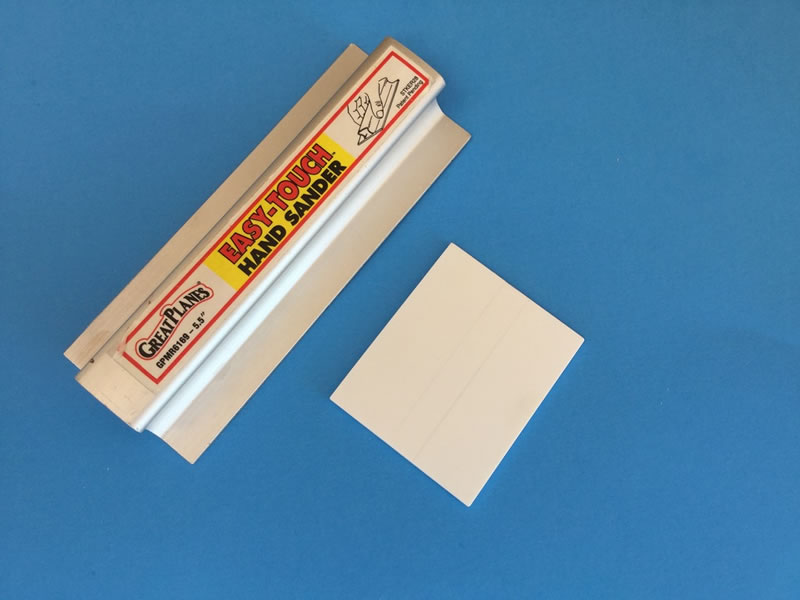
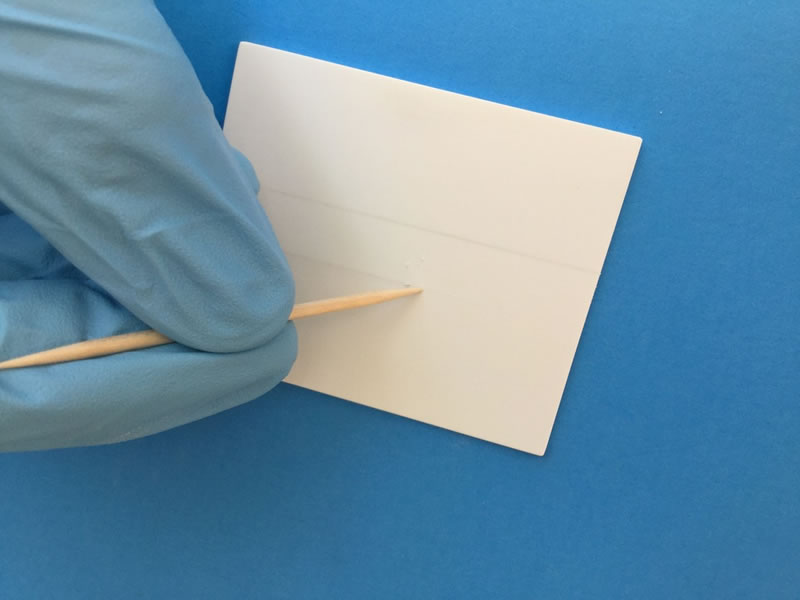
To start with, two parallel lines are scribed into a scrap piece of styrene plastic:
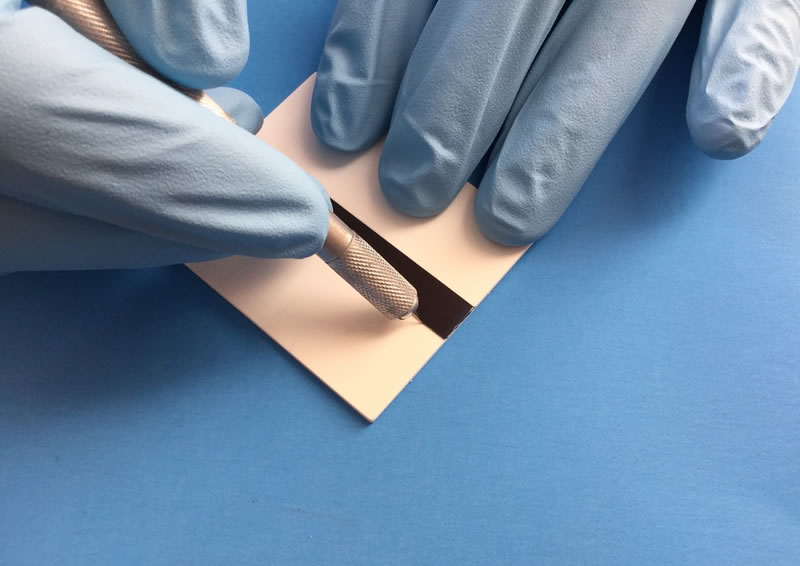
The entire surface is block sanded flat, removing the raised ridges along each line. Afterward, the chiseled point of a wooden toothpick is used to clean out each channel:
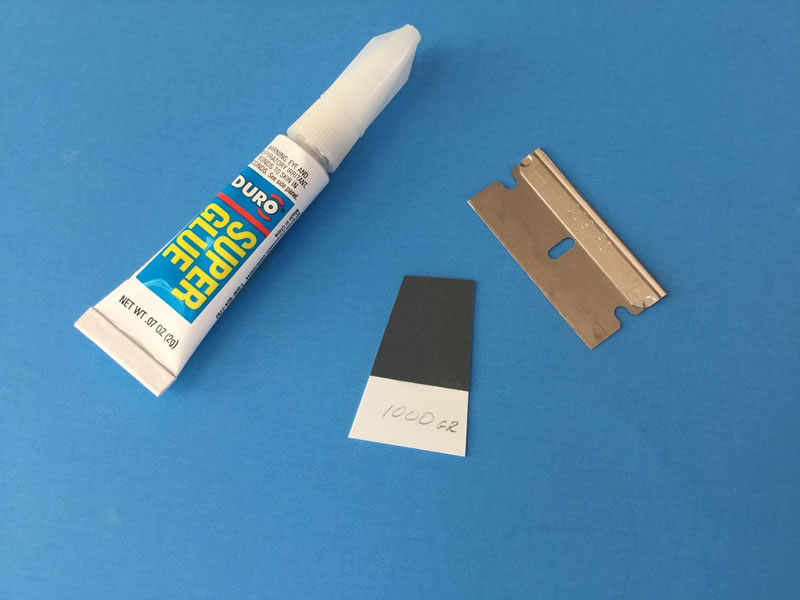
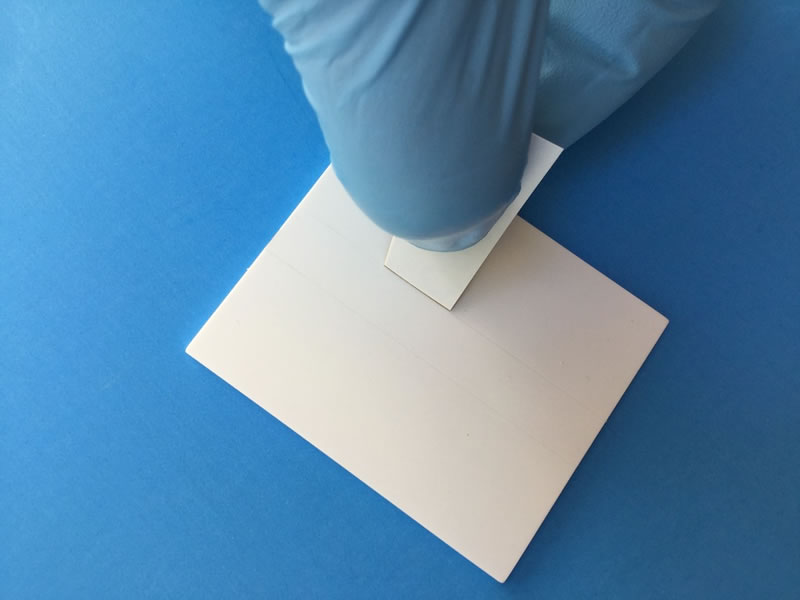
Next, the filing tool, made from .010 inch sheet plastic bonded to 1000 grit sandpaper and given a beveled edge, is gently drawn along both sides of one line. Position the sander so that its nearly 90 degrees to the surface. The goal is to straighten out imperfections without appreciably widening the groove.
Note that one of the lines here is left untreated for comparison purposes:
Residual sanding dust is whisked away with a soft dry paintbrush. The plastic card then received a coat of Gunze Mr. Surfacer 1000.
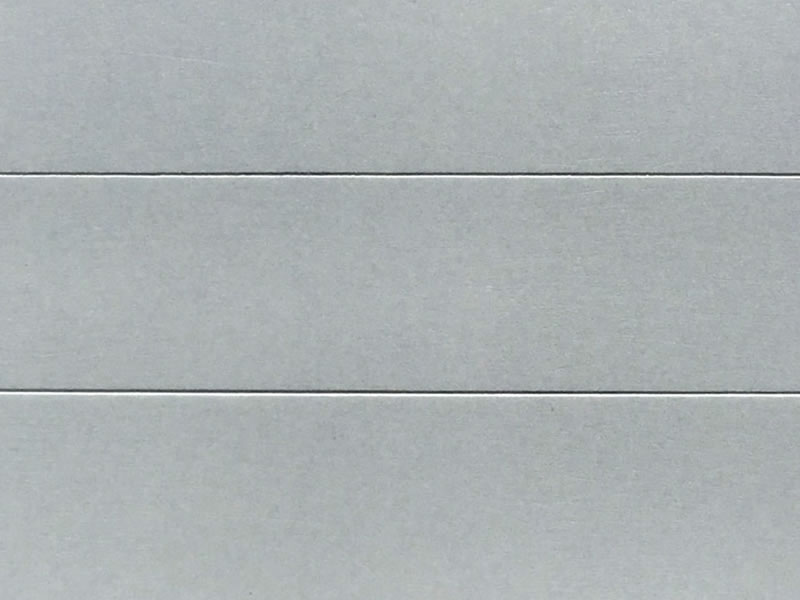
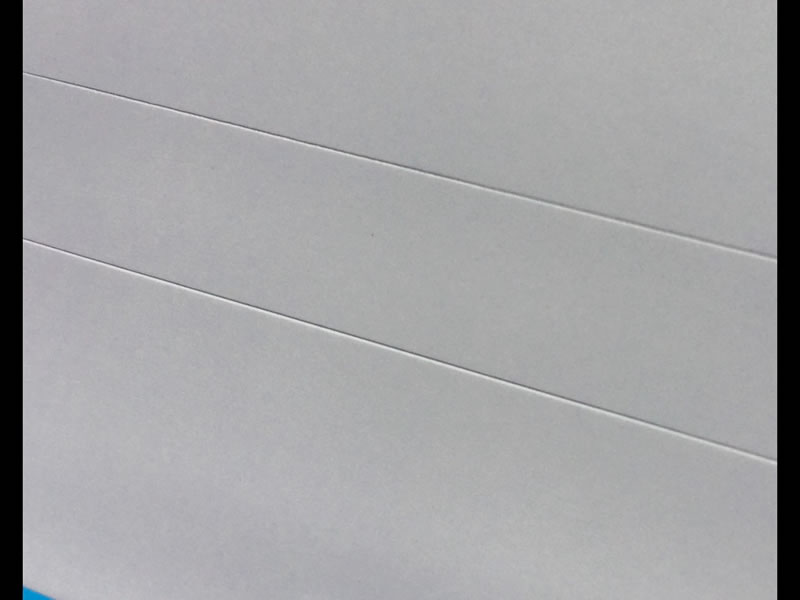
And here's the result (in each of the following pictures, the "untreated" line is on top):
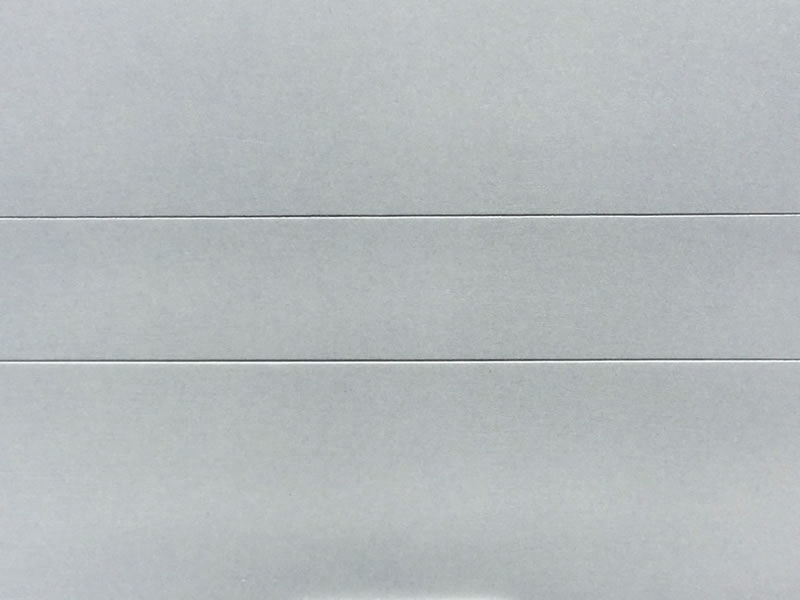
Granted, the difference is subtle. For one thing, I "lucked out" in the beginning with two successful (and fairly clean) draws from my scriber. This doesn't always happen!
In these super close-ups though, the contrast becomes more apparent:
Why bother then?
Well, even from normal viewing distances, our eyes can detect (and construe) the shadows and highlights cast by engraved panel lines. And a smooth-edged line, uninterrupted by micro blemishes, I would argue, prevails, especially given how little time it takes to apply this technique.
The tool can be created in a few minutes time, from materials you likely have on hand. And dressing the panel line takes only a few seconds.
So give it a try. It's easy as pie and I think you'll like the results it yields.
© Richard Brumm 2016
This article was published on Friday, July 01 2016; Last modified on Friday, July 01 2016