
1/32 Trumpeter MiG-21F-13
By Rick Reinbott

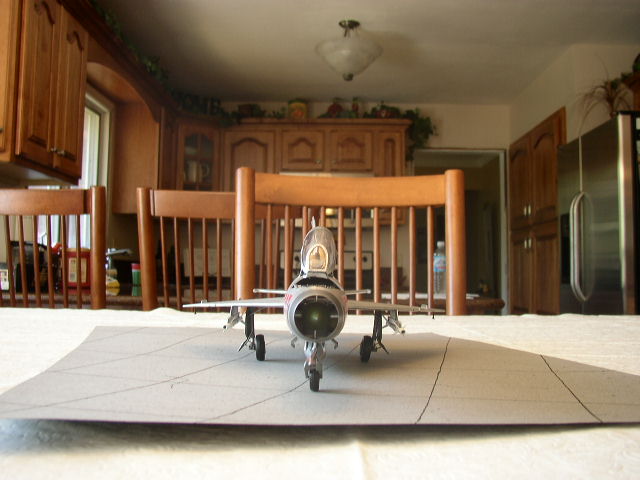
This is my Trumpeter 1/32 MiG-21F-13 Fishbed.
Construction
Other than some wire and retaining straps (lead foil) that I used to simulate the brake lines on the nose gear, the model was built straight out of the box.
While the kit has nice detail, there are some engineering issues with it. There were some fit issues with the landing gear as well as some locating pins/holes that were missing. Also, attaching the screws that are supplied to affix the wheels to the struts was quite frustrating in some areas. In addition, the engine body came in four "quarter" sections that didn't have any locating pins or holes.
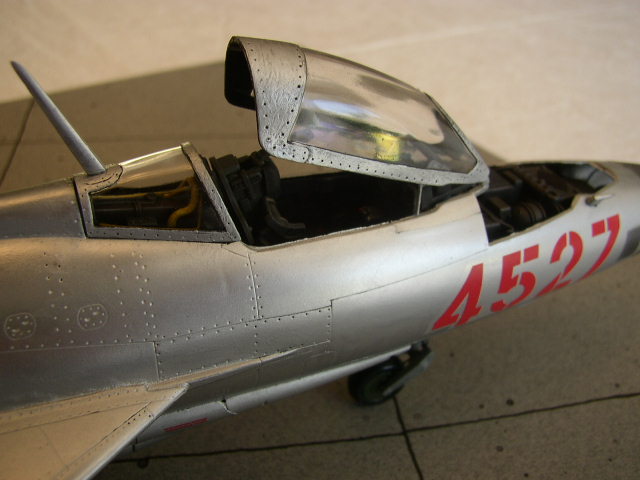
The canopy and windscreen both had a raised seam going down the middle of them, however, I used this method to eliminate them and it worked perfectly. The canopy is actually supposed to be angled a little bit higher but I had some trouble with it remaining straight the higher I tried to hold it and the glue just wouldn't seem to set until it came down a little.
Painting & Decaling
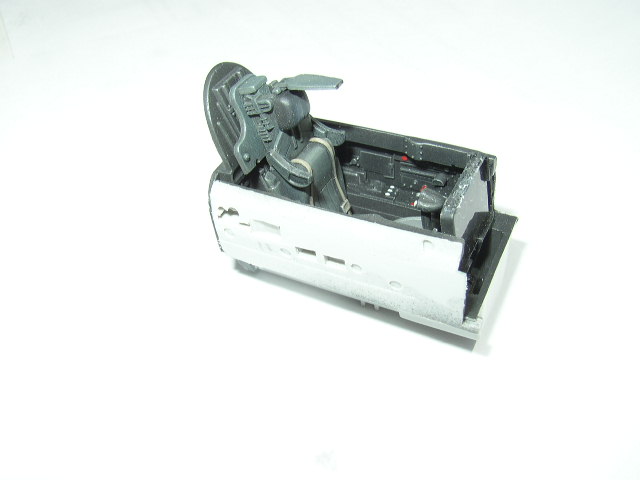
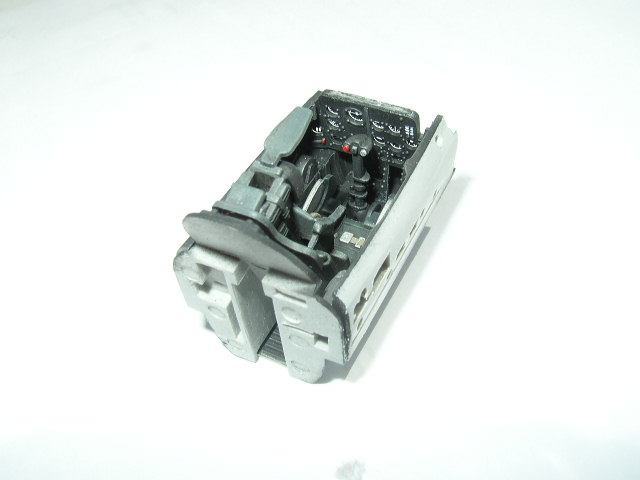
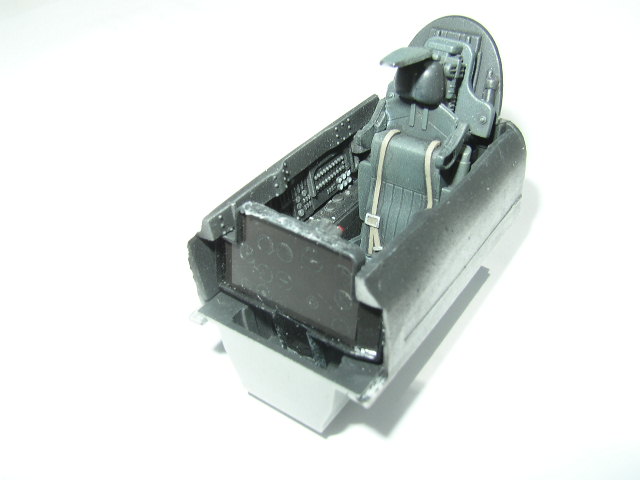
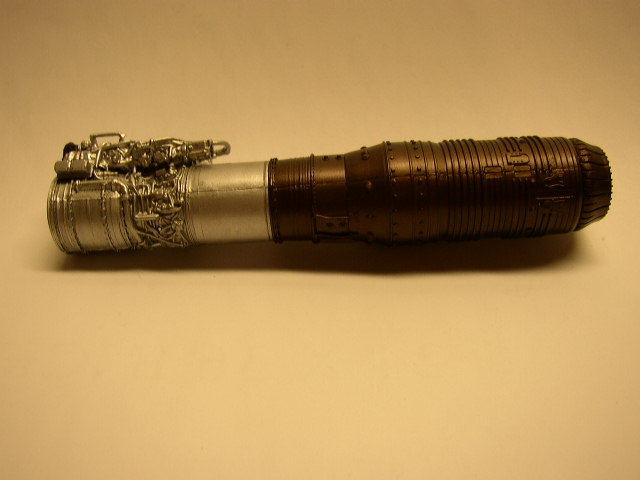
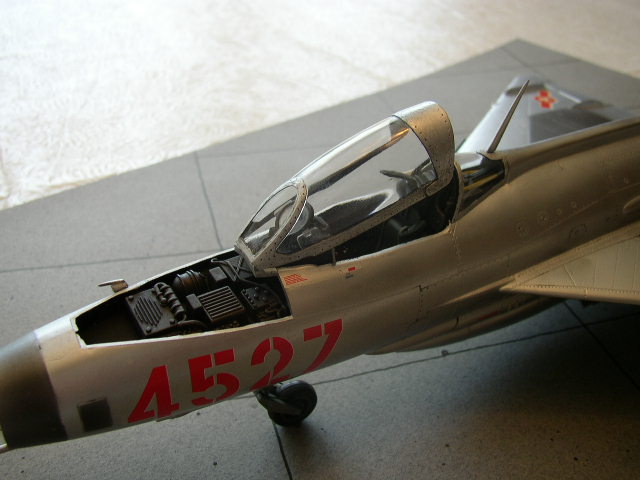
Testors Silver and Model Master Burnt Iron was sprayed on for the Tumansky R-11 engine. A light "sludge wash" was then applied using black pastel chalk, water and dish detergent, which, in looking at the couple of color pictures from the 4+ book, adds a more accurate "used" look to it. For the cockpit, everything was first airbrushed in flat black. The cockpit tub, consoles and instrument panel were drybrushed with dark gray then aluminum while the seat was drybrushed with RLM 70 black-green. I used the pictures in the 4+ book for reference. The wheel hubs and wheel wells/gear door interiors were painted with Model Master Dark Green and Neutral Gray respectively.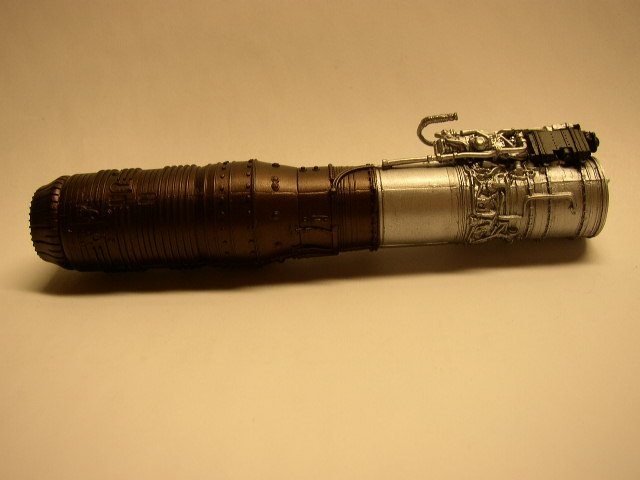
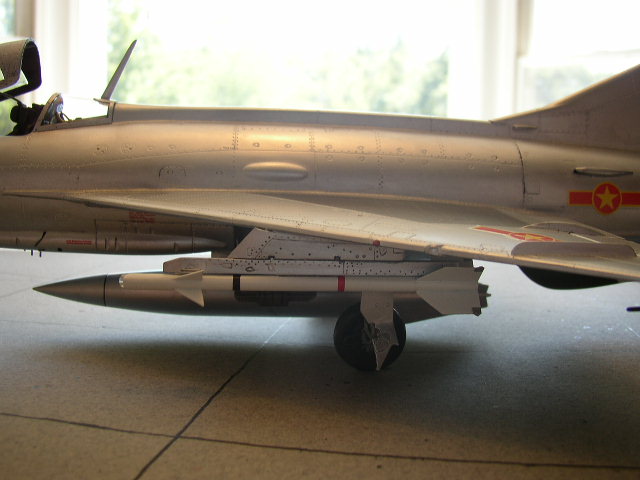
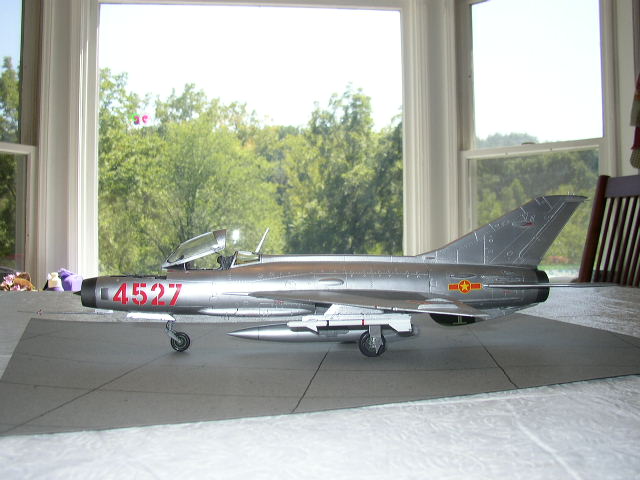
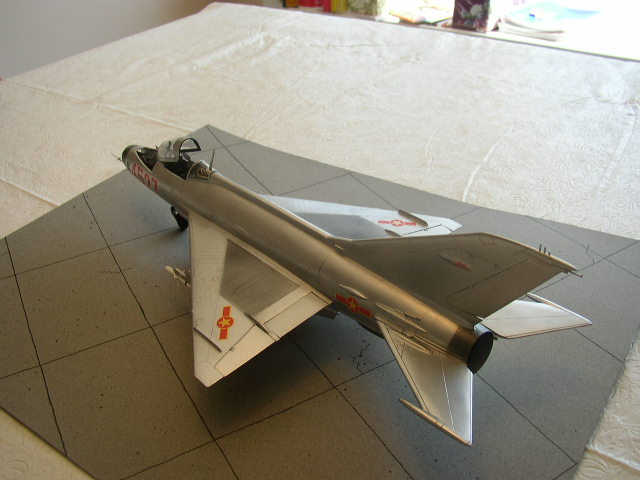
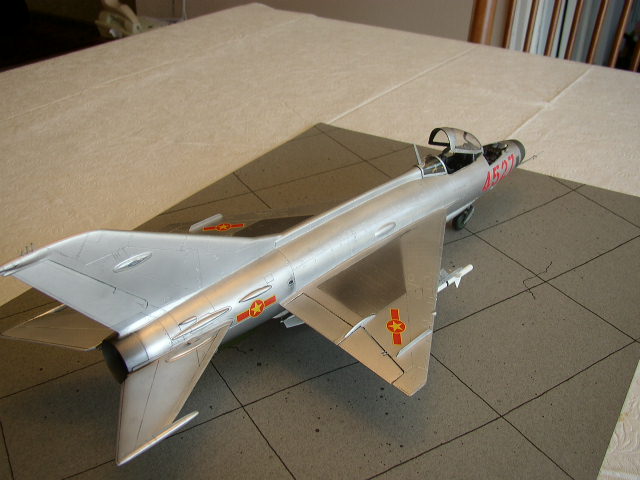
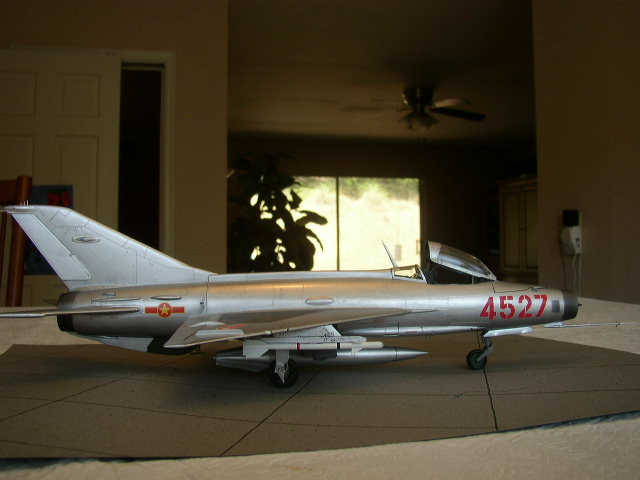
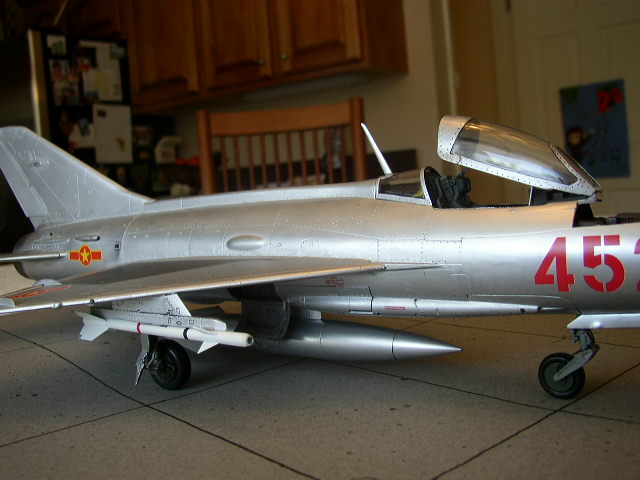
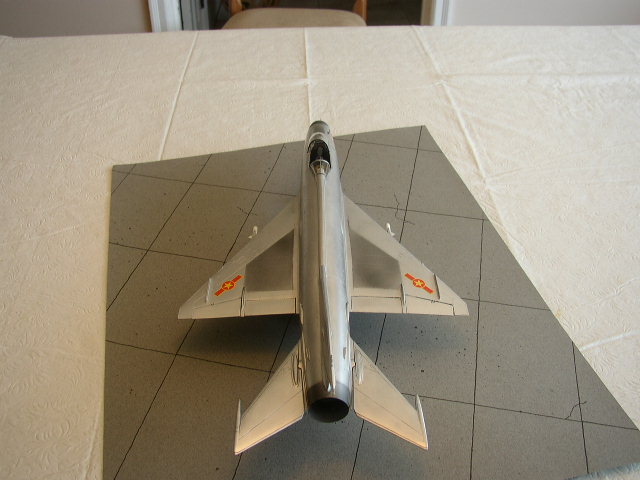
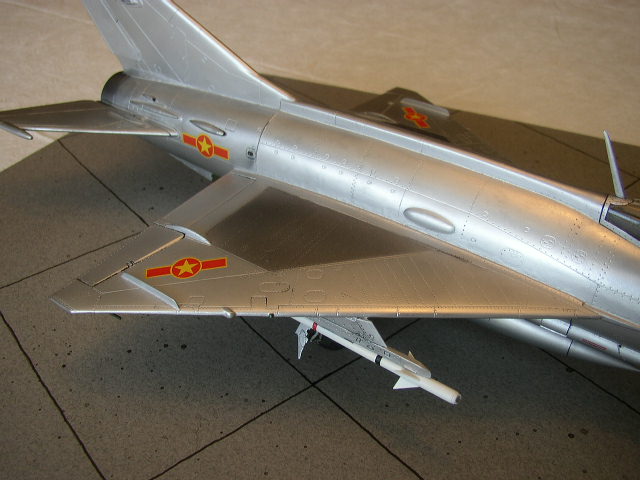
The natural metal finish is a product called Rub N' Buff which is a wax (comes in various colors) that's sold at most large Arts & Crafts stores (I picked up my tube at Michaels). Prior to applying the Rub N’ Buff, for the base I used Tamiya Satin Black out of the spray can which went on great. For the framing on the clear parts, I brushed on two coats of Humbrol Flat Black and masked off the clear areas with drafting tape before applying the Rub N’ Buff.
For the shaded areas, I first sprayed a coat of Polly S Satin Clear Coat to seal the Rub N’ Buff. Once it was sealed, I masked off the panels with Post-It Notes and applied Testors enamel heavily thinned flat black to the panels using an airbrush.
The decals came with the kit and went on with no problems. Once all the decals were applied, I applied a second coat of Polly S Satin Clear Coat to seal everything.
The model represents a MiG-21F-13 ‘Fishbed C’ from the 921st regiment of the Vietnam People’s Air Force (North Vietnam) in 1967.

Happy Modeling!
© Rick Reinbott
This article was published on Wednesday, July 20 2011; Last modified on Sunday, October 02 2016