
Trumpeter MiG-19S/F-6 Shenyang F-6 of Pakistani AF's Combat Commanders School
By Ron Cline
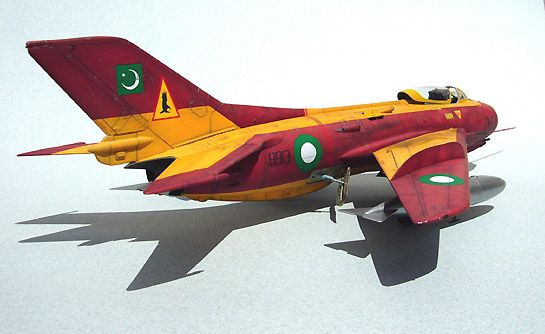
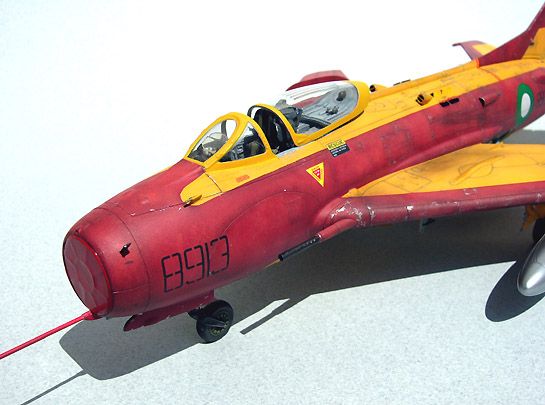
This was built using the Trumpeter 1/32 MiG-19S/F-6 kit. The cockpit is stock with the exception of the seat. The seat is a Paragon MB Mk10 made for a Tornado that I modified to the configuration of the one used in the F-6. It took a LOT of grinding and cutting of both the seat and the cockpit tub to get it to fit, but I finally managed to barely squeeze it in. I refined the shape of the wing root fairings aft of the wings to a more pointed shape than what the kit provides, and the dorsal fin leading into the tail fin was extended forward as the kit's is too short.

As I never intended to install the engines, I used the kit's exhaust covers (plus it added a bit more color!). The nose intake would've needed some 'inventive' sanding techniques to finish properly, so I made an intake cover from some sheet brass to cover it.
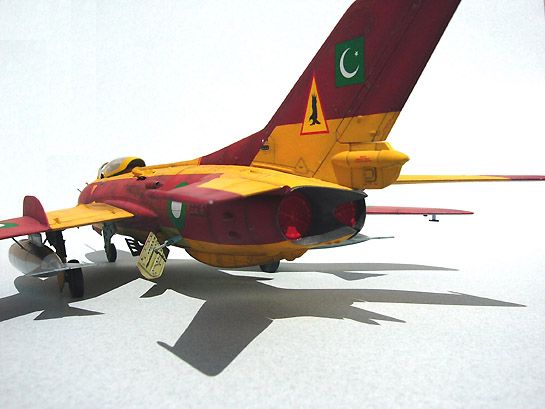
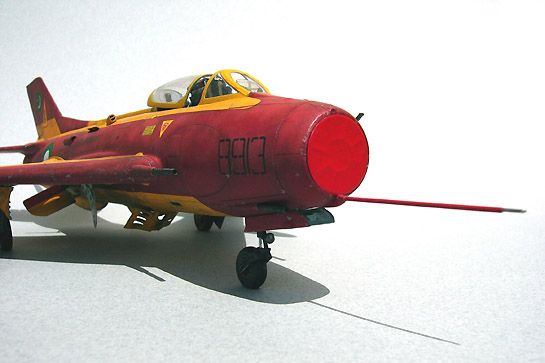
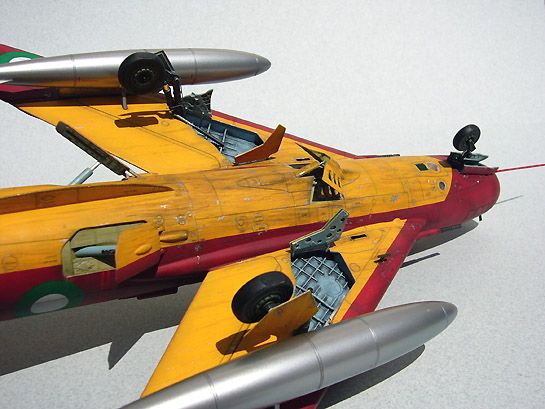
The other changes to the kit were to replace the aux. inlet doors on the upper fuselage, and the blade antenna on the nose, with thinner ones made from sheet styrene; some lines on the main gear legs made from wire; replaced the nose probe with one made from a section of Plastruct styrene coated wire; and I made new actuating cylinders for the rear speed brakes from aluminum tubing.
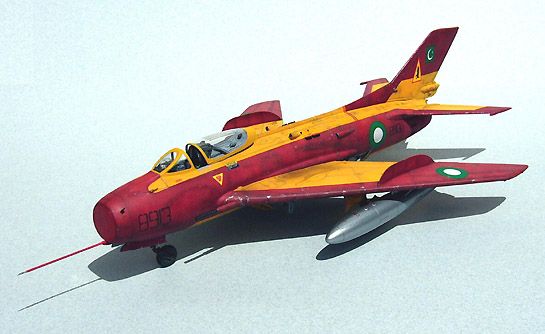
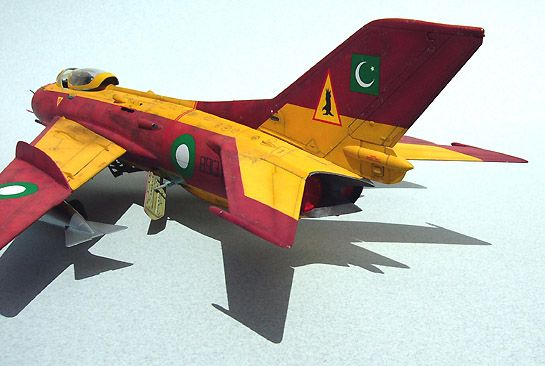
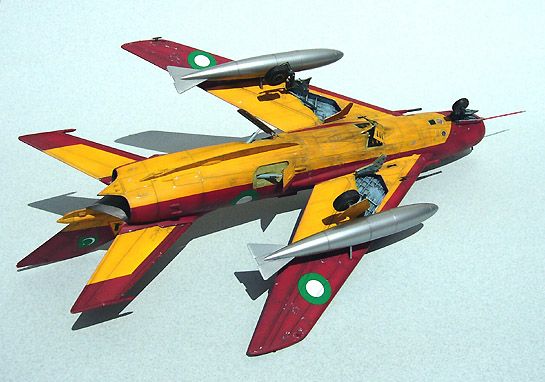
The marking represent those of an instructor's aircraft from the Combat Commanders School. I only had a profile drawing to go by, but others who have seen photos of this aircraft informed me that it was in pretty rough condition, dirty, with plenty of paint fading and wear; so the weathering is 'best guess' on my part. This has been a hard model to photograph; the finish always looks 'harsher' than it does in person.
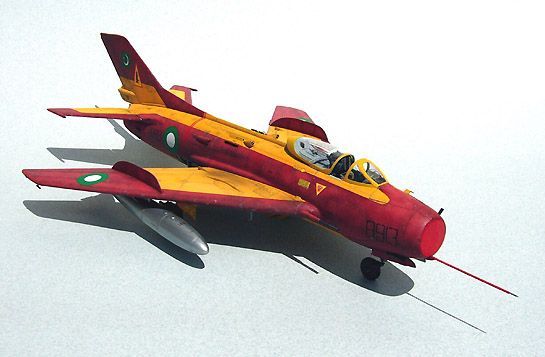
The main paint colors are Model Master Insignia Yellow and Insignia Red. The yellow was 'faded' by mixing in some white to lighten it, and applying this to the upper surfaces with a brush using a sort of 'wet dry brushing' scrub job. It's hard to explain, but it gave me the patchy look I was after. The red areas were faded using Model Master RLM Rot, as this is a lighter red shade without looking too pink; the same application method was used. The panel lines and the dirt streaking were done with brown watercolor.
The national markings, the tail emblem design, and the turbine warning stripes are from PWMP decals. The numbers and the rescue information decals under the cockpit were made on my computer, and all of the maintenance stenciling is from the kit's sheet.
© Ron Cline
This article was published on Wednesday, July 20 2011; Last modified on Saturday, June 09 2018