
HpH Models 1/32 L-39ZA
By Nguyen Huy Hoang
Back to the hobby after a long break, I decided to finished what I have started a long time ago: the L-39ZA 1/32 from HpH Models.
Includes here are some work in progress pics that I took along the battle. Yes, I called it the Battle as this is my first resin kit and oh boy...
The Kit
For the price tag, you will get lots of resin, PE both in color and brass, fabric seat belt, masking for canopy, clear resin canopy and formation lights, vacuum form for wing tips lights cover and round up with 2 decals sheets.
The fit: quite nice in some place and horrible in many places. Watch out for these cons:
- The intake or you can call it the nightmare. It took me ages for sanding and swearing to make the damn things fit properly.
- Wings to fuselage, a better nightmare compare to the intake but still...it's better if you attach the wings to fuselage before attach the intakes as you will have more spaces for sanding the joints.
- The boarding ladder is a very nice touch and well detailed. However, you have to sand the cockpit tube then test fit then sand again to accommodate the PE boxes for the ladder.
- The canopy is made from resin and must remove from the casting block with care as they are really fragile.
- The inner frame for the canopy is another drama, somehow the fit really out of places.
- There are no location pins but there is location holes so all I have to do is made location pins from brass tube.
- There are some details HpH required the modeller to scratch-build.
- Rivets everywhere but very shallow and couldn't hold a light wash so I have to punched every single rivets with a sharp needle (I won't ever ever do this again).
Pros:
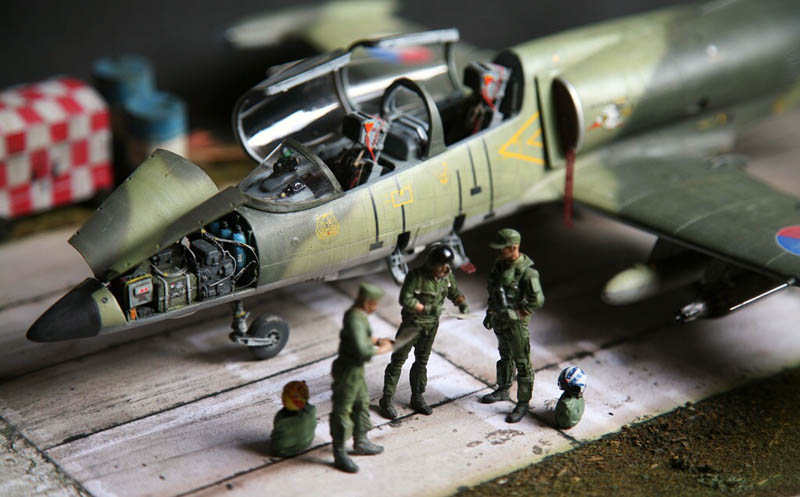
- Stunning cockpits, outstanding details especially the seats. The fabric seat belt took me 2 hours for each seats.
- Decals are really thin but fragile
- Resin, PE, fabric seats belts, nice decal, stunning details on most of the resin parts, etc. You really don't need any after market parts for this.
- And most important, this is the only L-39 1/32 in the market for the time being.
The Build
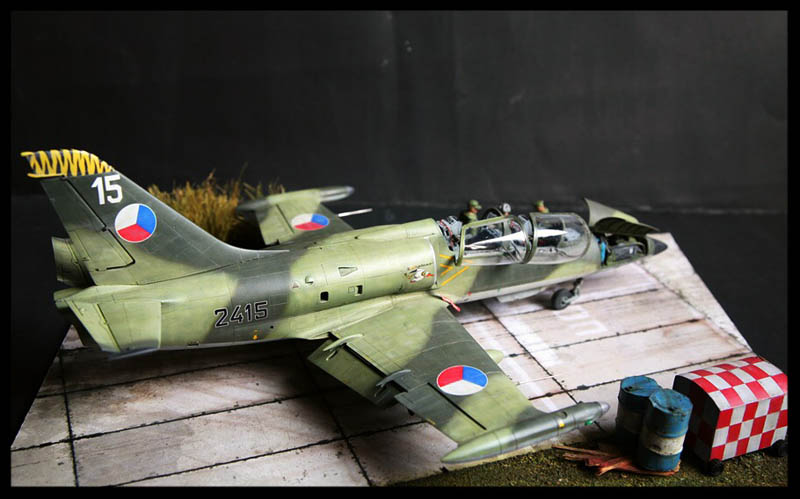
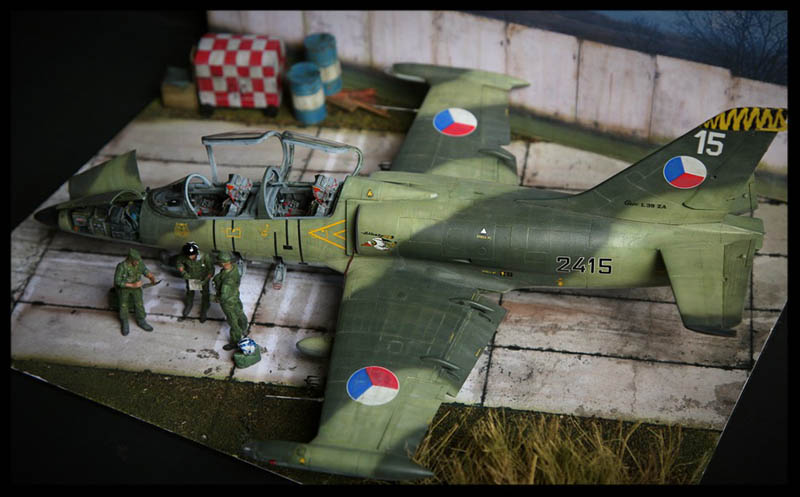
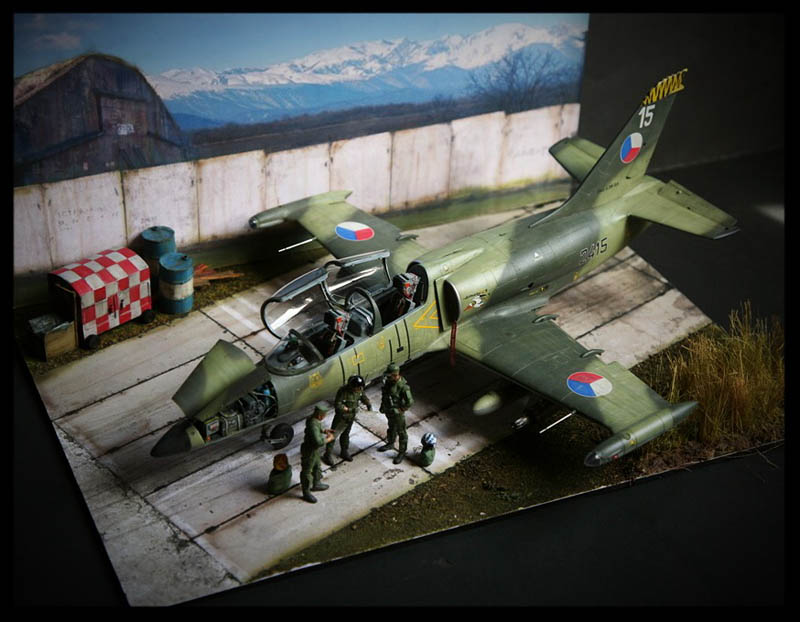
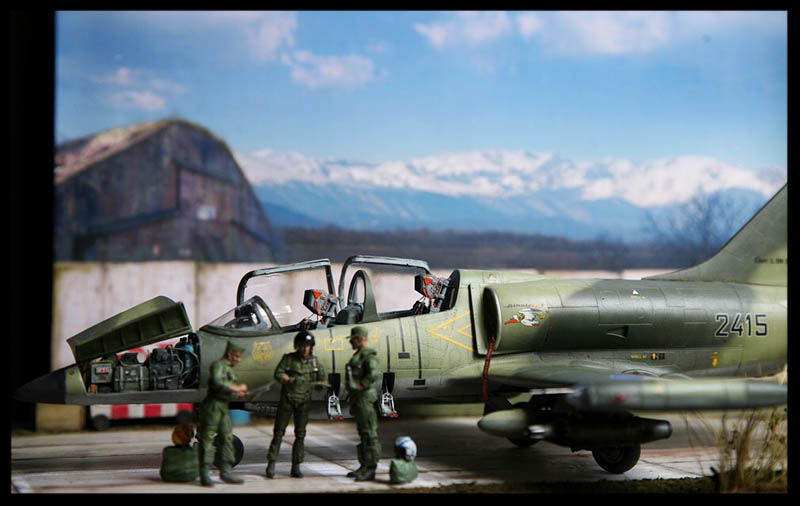
Paint: Gunze all the way, weathering used Mig product and color pencil for all the chippings.
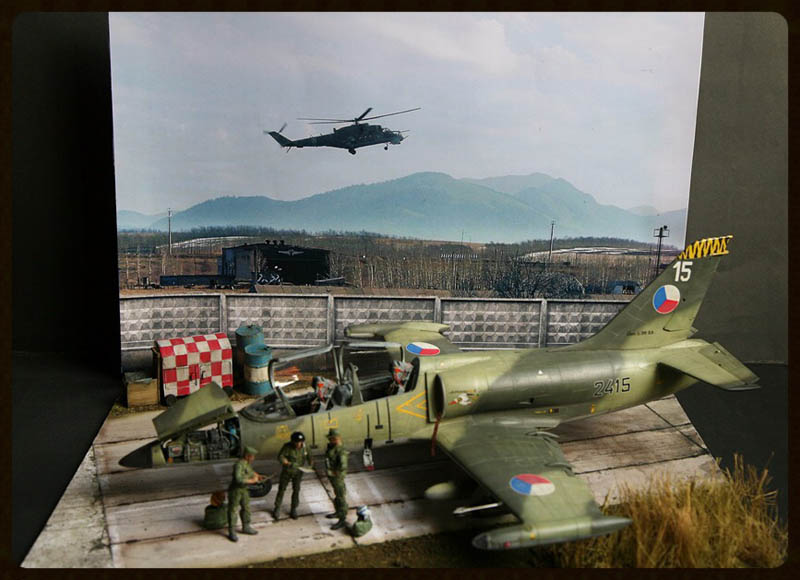
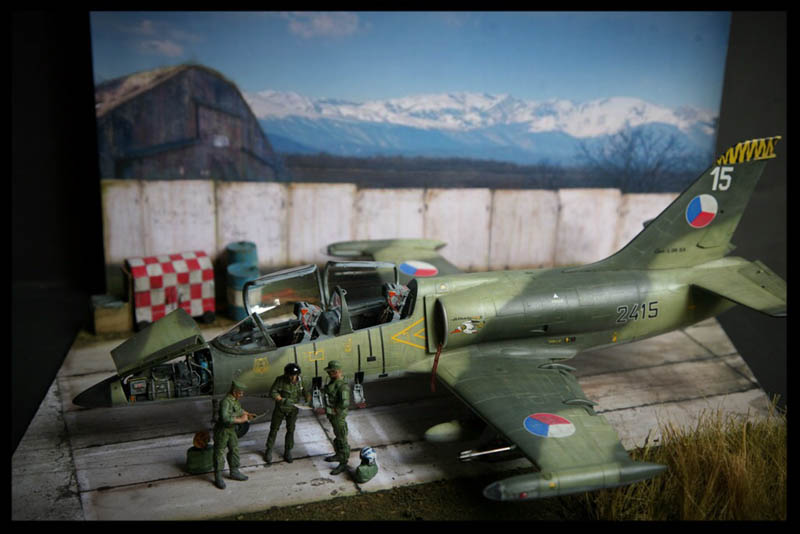
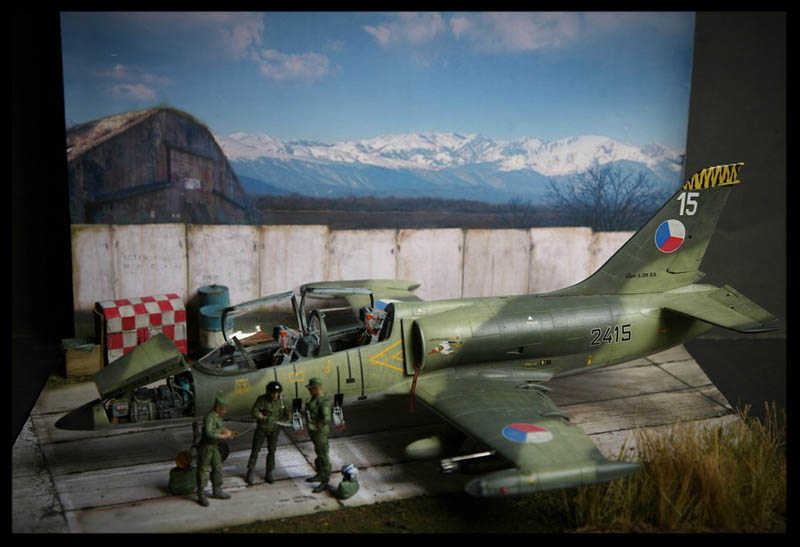
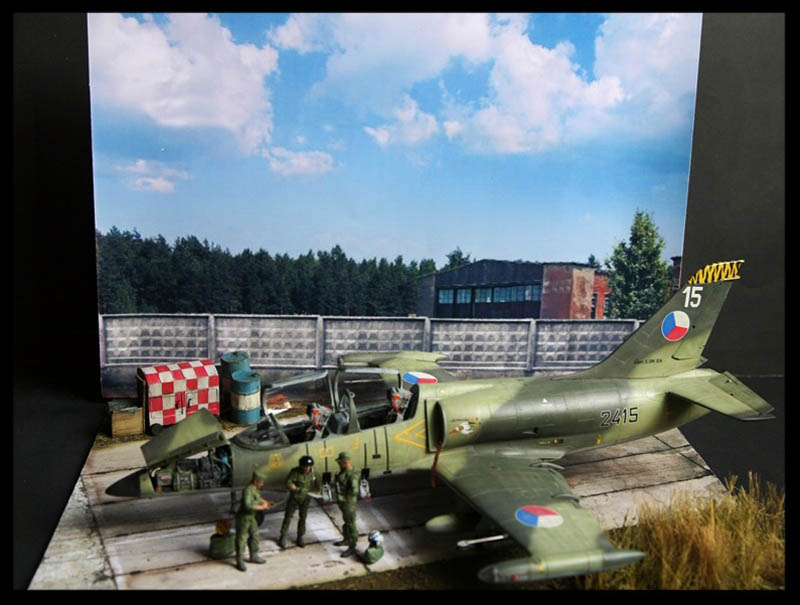
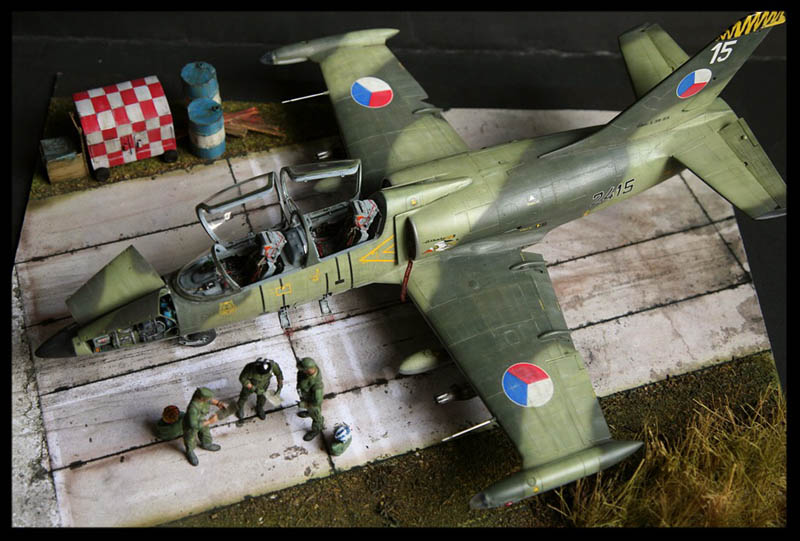
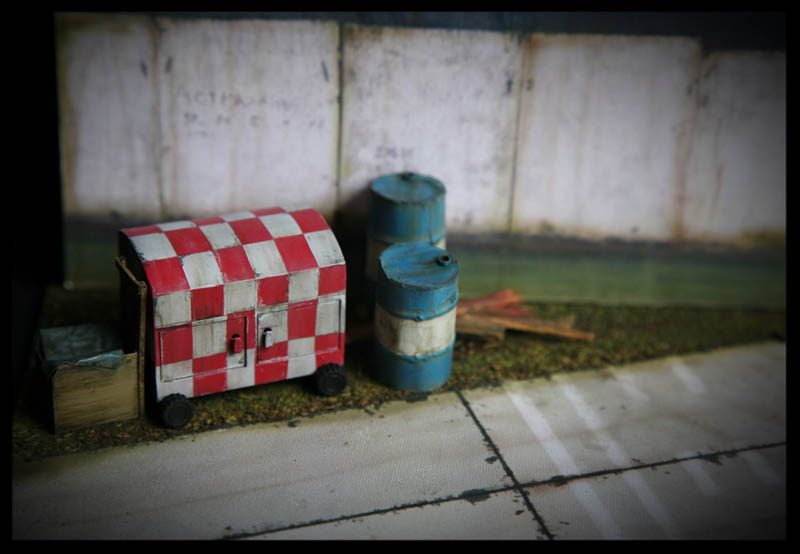
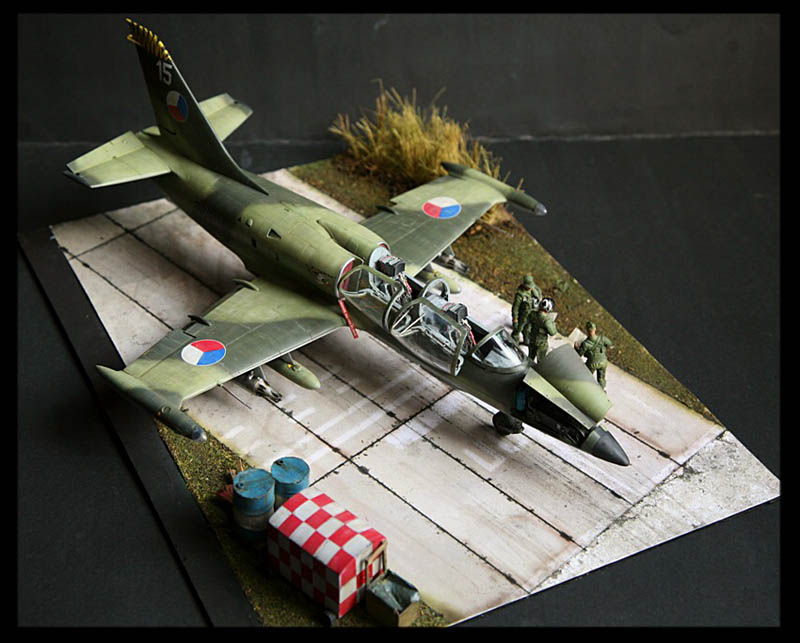
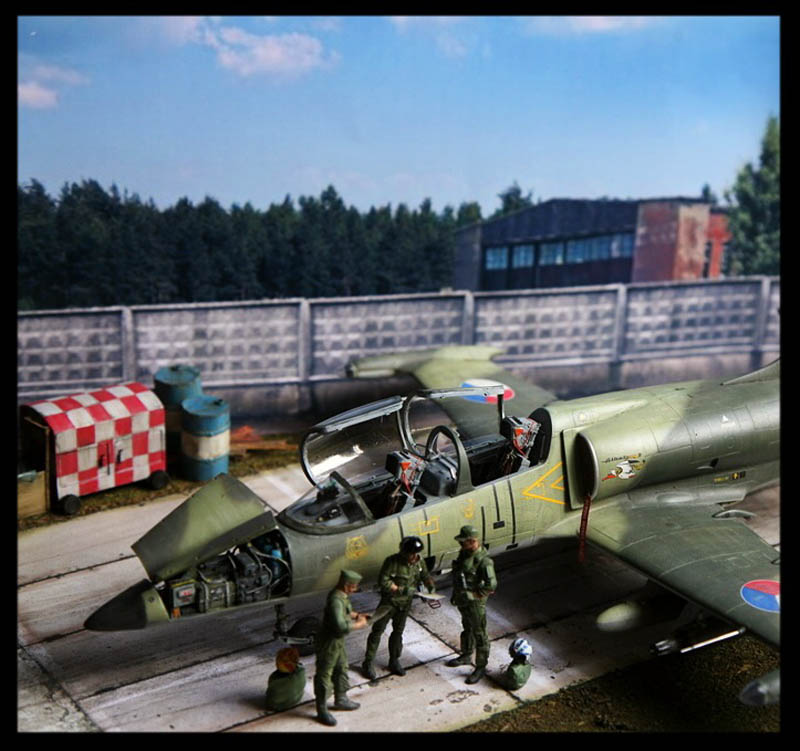
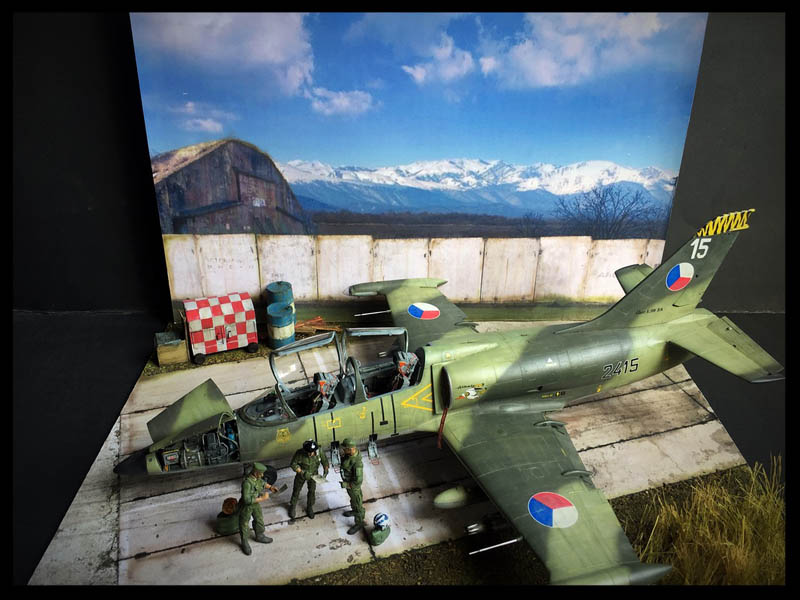
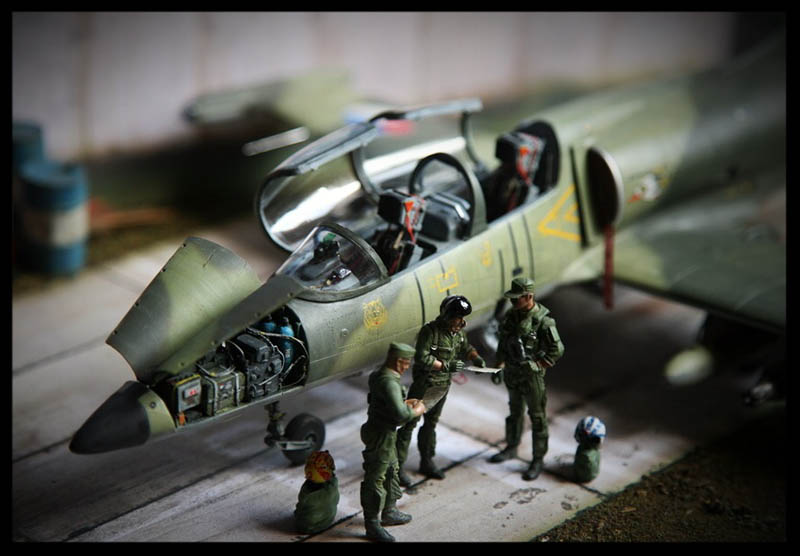
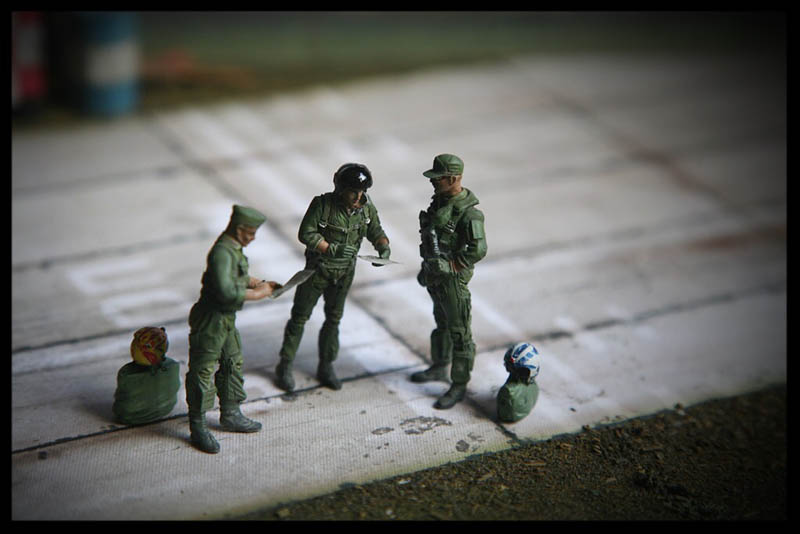
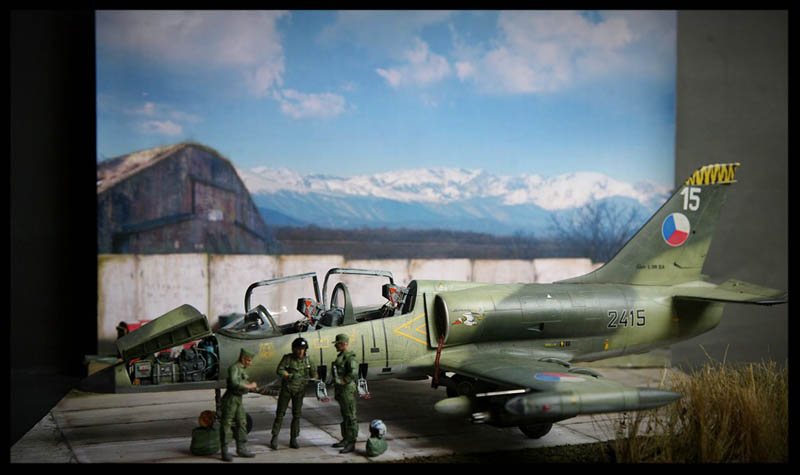
Scratch build items: the avionics bays as I always love the look of it. FOD cover, ground equipment from Lego blocks, the base is from Noy Miniatures with extra homemade grass and extensive weathering. The background is picture found from the Internet, printed out by laser printer then repaint some sections for a better look. All figures are from unknown source, I'm understand those figures may incorrect to use in this scene. These figures is to add some human touch and acts as a size comparison to the L-39 which is really small.
Out of those scratchbuild items, the avionics bay took a lot of time and effort, however I'm proud that I did that as this will help my L-39 stands out from other 1/32 L-39 out there (for the time being).

After 5 months on and off, here I am with the completed model and some final thoughts:
- Am I happy with the result? Yes, I did my best.
- The kit worth the hard-earned money? Yes!
- The fit of the kit is good? Hell no!
- The details are good? Outstanding!
- Will I build this kit again? Maybe in the next 3 years.
© Nguyen Huy Hoang 2017
This article was published on Friday, August 18 2017; Last modified on Friday, August 18 2017