
How to Make Weighted Wheels
By Luc Janssen
This is a way to improve the look of the wheels of models. Unfortunately, it only works with wheels of a bigger size. As I always work on 1/32 scale, this is not a problem for me but this is not going to help modelers on 1/72 scale with the exception of some “big wheel” models!
I recommend trying this method first several times with wheels out of the spare box. I ruined several wheels and rims before getting the feeling!
Most of the pictures hereafter refer to the wheels of a Bf 109G-10 from Revell, except the last 3 pictures, which are from the old Bf 110, also from Revell.
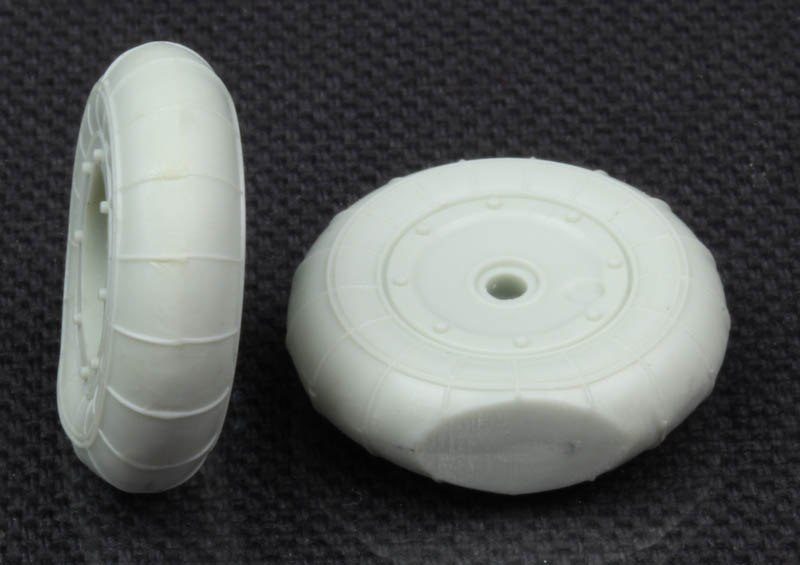
After checking the hollow space in the wheel halves of the kit, look to find the perfect sprue thickness to fill in this hollow space. Then, with some careful heating, bent the sprue in the same form as the wheel.
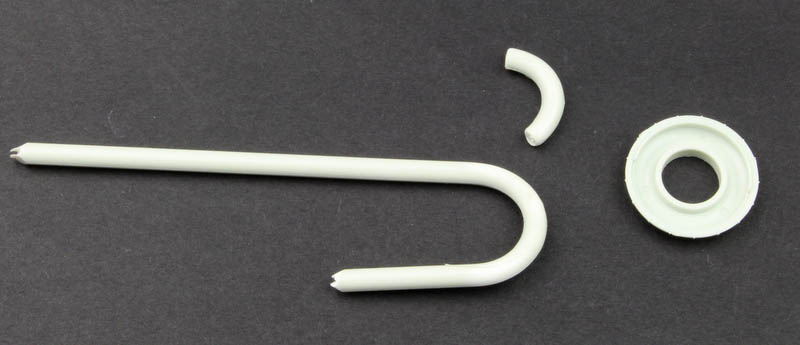
Now cut the bent sprue to length to fill in the hollow space for about half of the wheel.
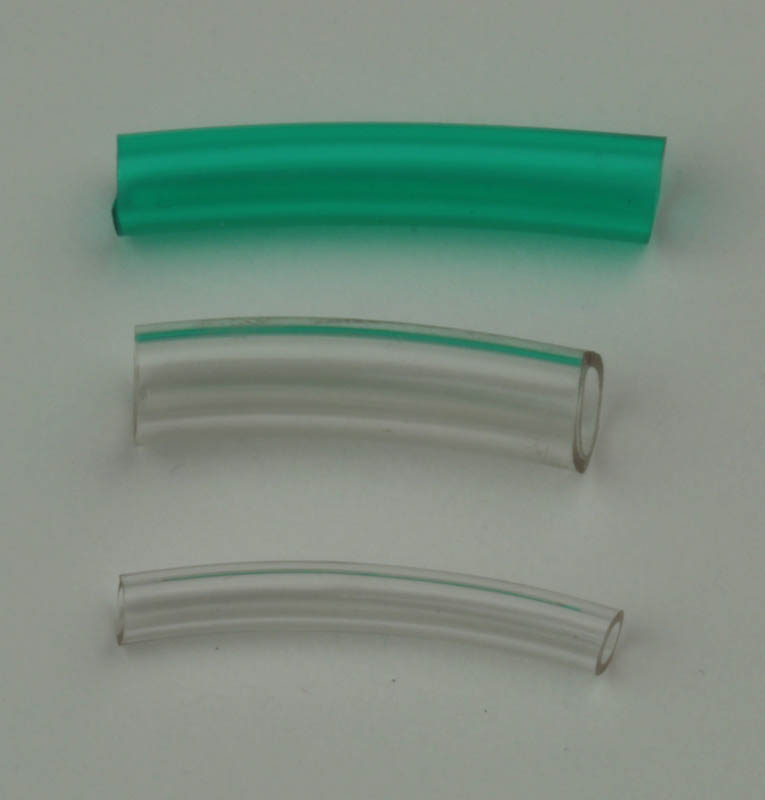
For bigger wheels, plastic tubes as from an infusion set, can be used as well.
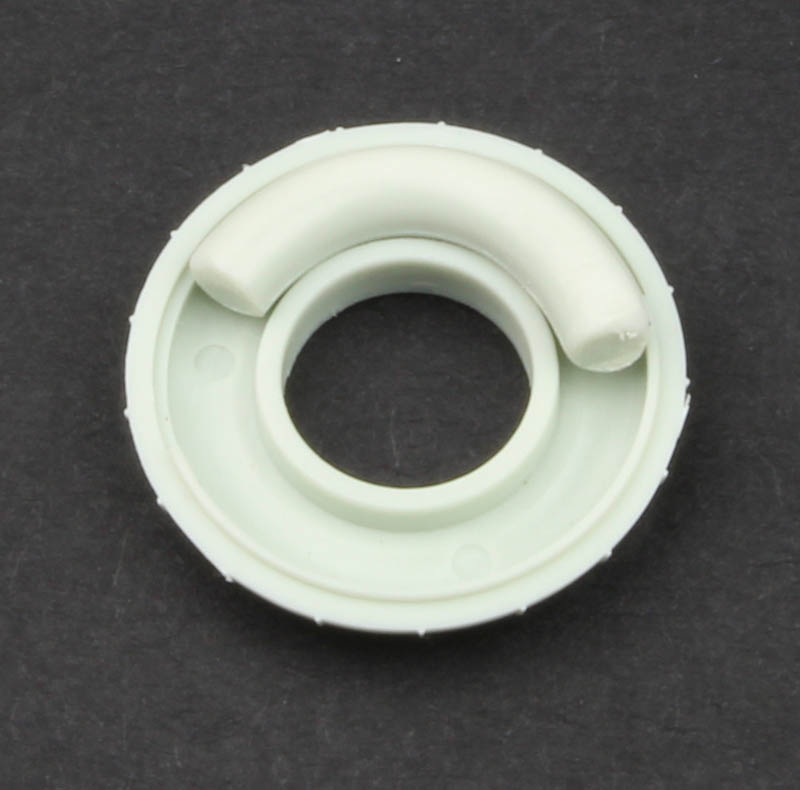
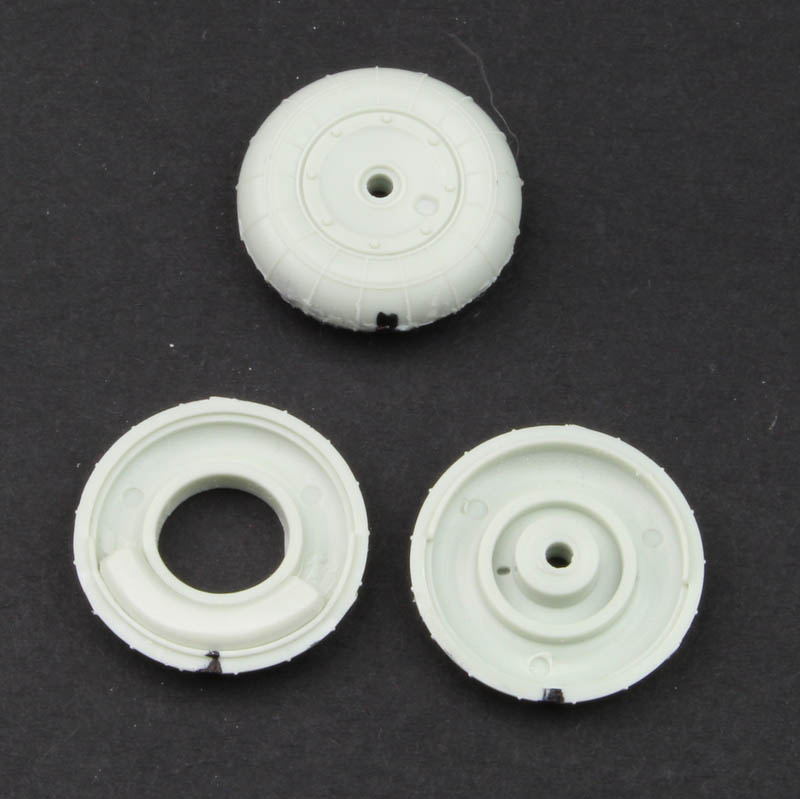
Once the correct measure obtained, glue the piece of bent sprue in the hollow space of one wheel half and glue the other wheel half firmly together. Put on sufficient plastic glue because the wheel must be strongly glued together to resist some pressure later.
Make a mark (drill a small hole) on the wheel where the sprue has been glued and let dry for at least 24 hours.
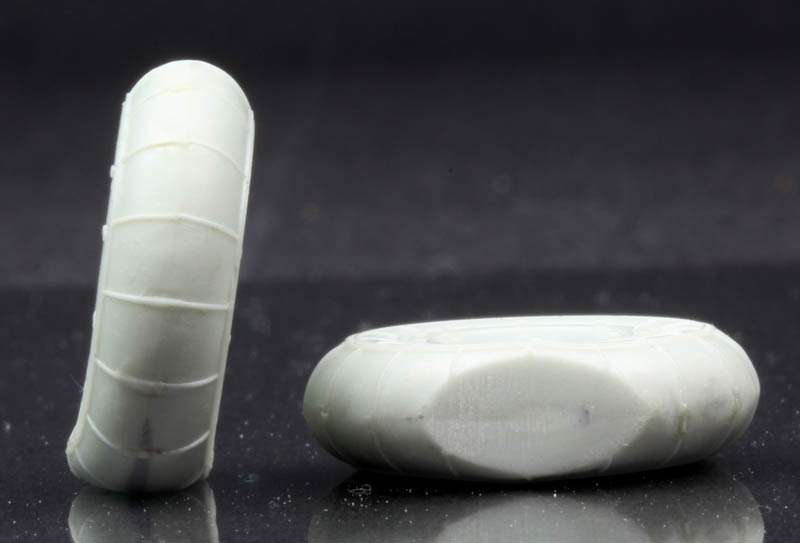
Now sand the wheel (check the mark!) on a sandpaper fixed on a perfect flat surface. I always use sandpaper glued on a glass plate. Sand just enough to keep the wheel standing vertically on its own.
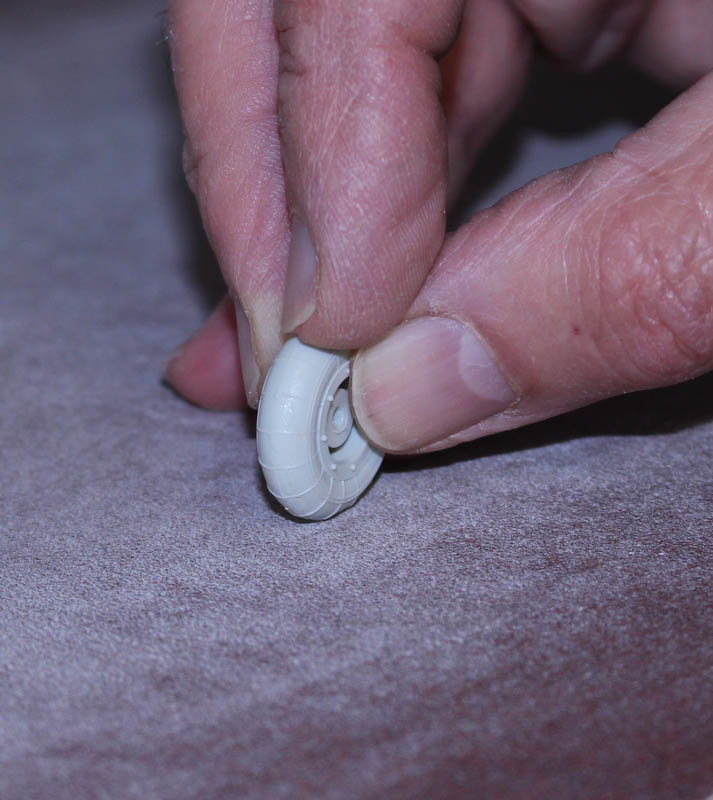
Once this finished, in a frying pan put just enough water to keep the tire of the wheel under water. Put this on a hot plate and bring the water to the boiling point. Let the water cook gently without too big steam bubbles. Now put the wheel in the boiling water on the sanded spot and let it stand for perhaps 10 to 20 seconds. Take the wheel between your fingers and gently put some pressure on it, keeping it in the vertical position. Blowing over the boiling water will prevent burning your fingers.
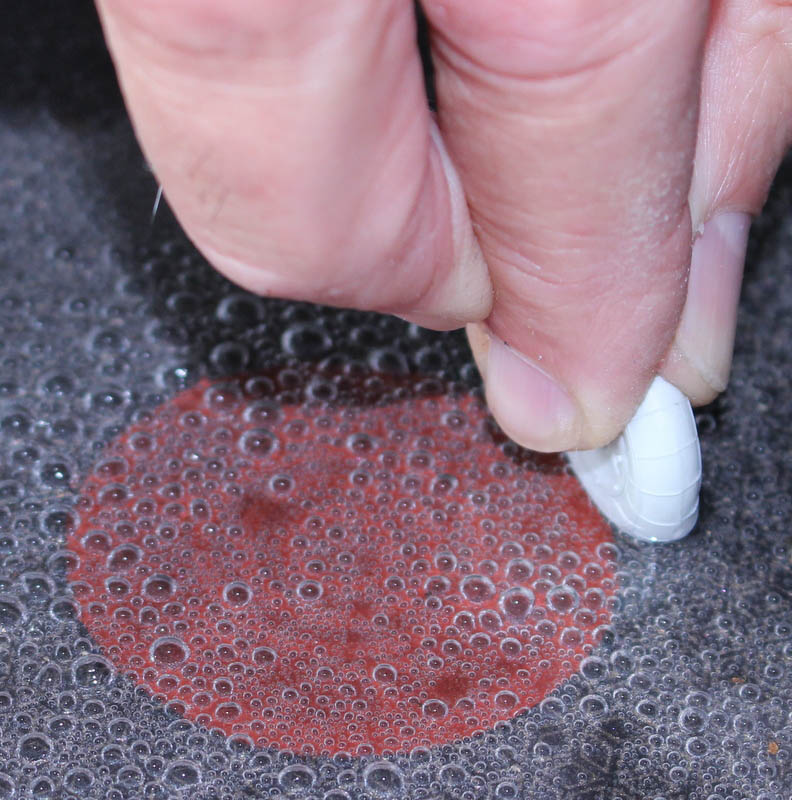
With some experience, you will feel the wheel move. DO NOT try to do this too aggressively, but gently and perhaps in different steps. The plastic has become soft and you could overdo it and even deform the rim of the wheel.
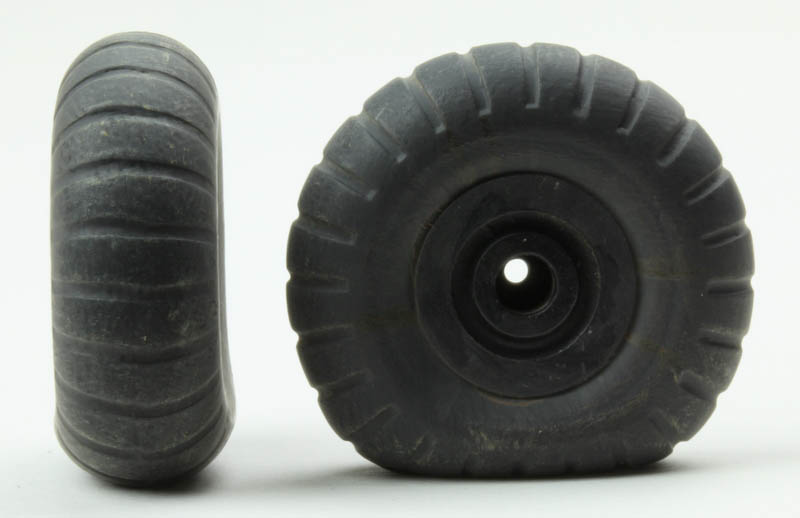
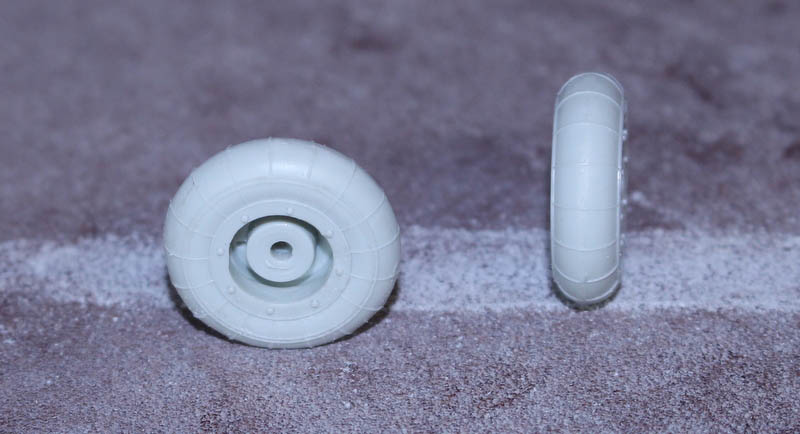
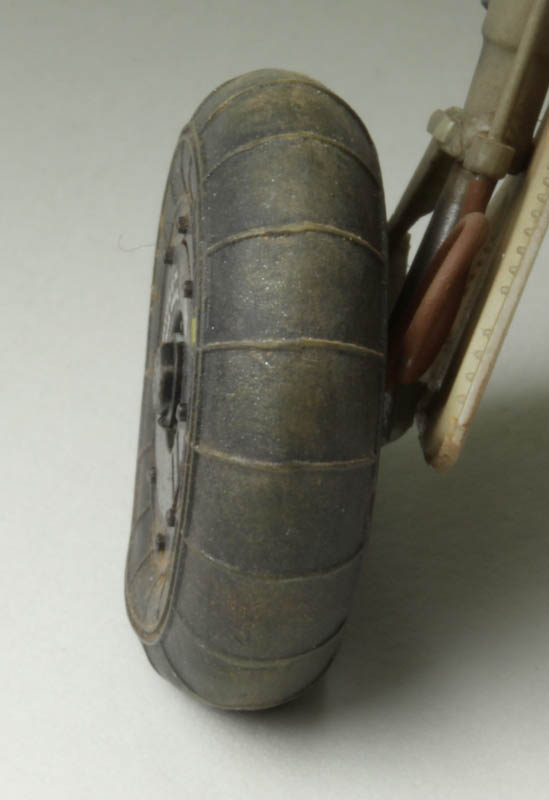
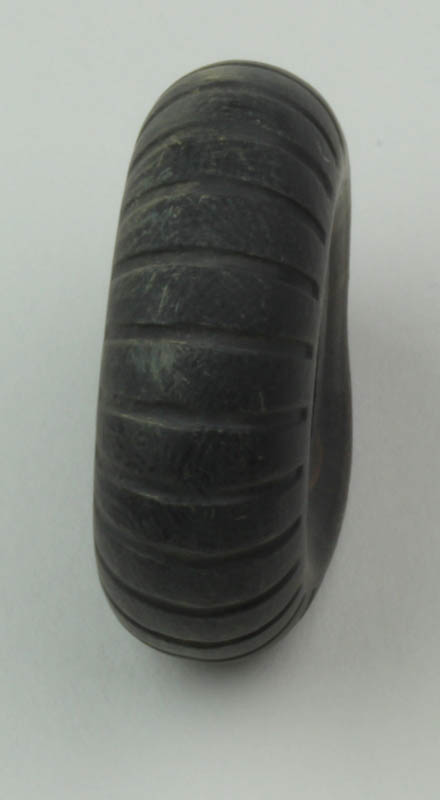
As the wheels of a Bf 109 are mounted on an “angled” gear, the deformation of the tire has to be in accordance with the angle, as shown in the pictures of the Bf 109G-10 wheel.
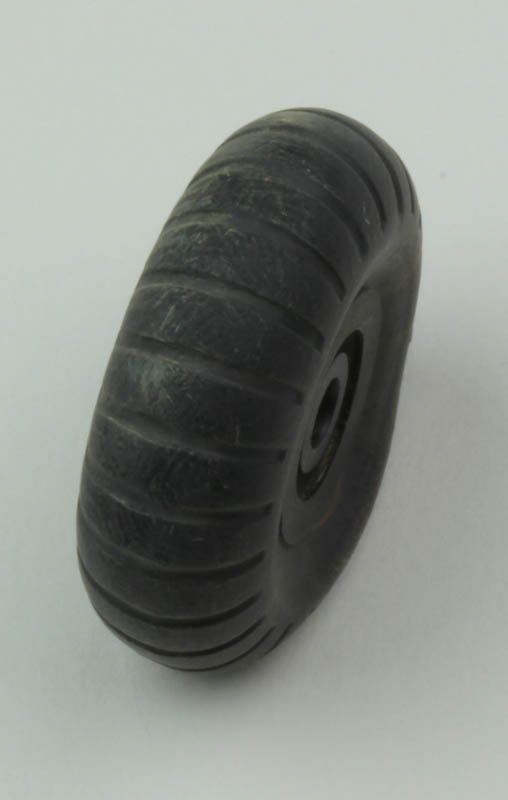
After this treatment, the wheel will have some small cracks and seems that have opened. Just restore them with some filler and sand them.
The weighted wheel is now finished and ready to be painted and weathered.
Good luck! For questions or comments go to lucjanssen32nd.com.
© Luc Janssen 2017
This article was published on Friday, September 15 2017; Last modified on Saturday, September 16 2017