
Hasegawa 1/32 Ki-61 Hein/Tony
By Suresh Nathan
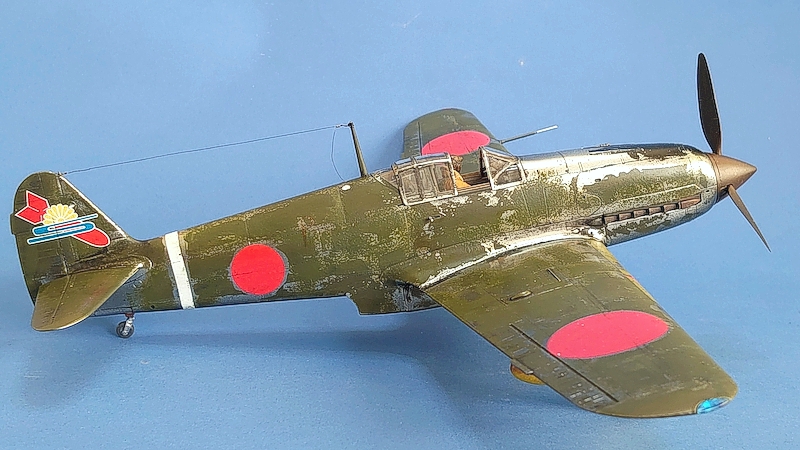
Here is a build of a really nice kit - The Hasegawa 1/32 Ki61 Tony / Hien.
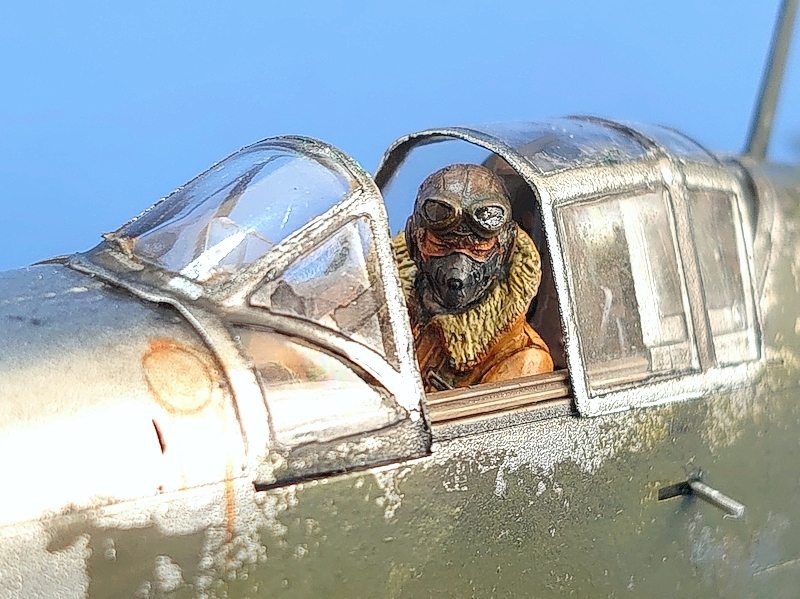
It was built mostly out of the box except for the middle canopy section which was too thick and ended up sitting unrealistically high. I vacuformed a new one from the kit master after accentuating the framework with narrow tape which otherwise would have been non-existent.
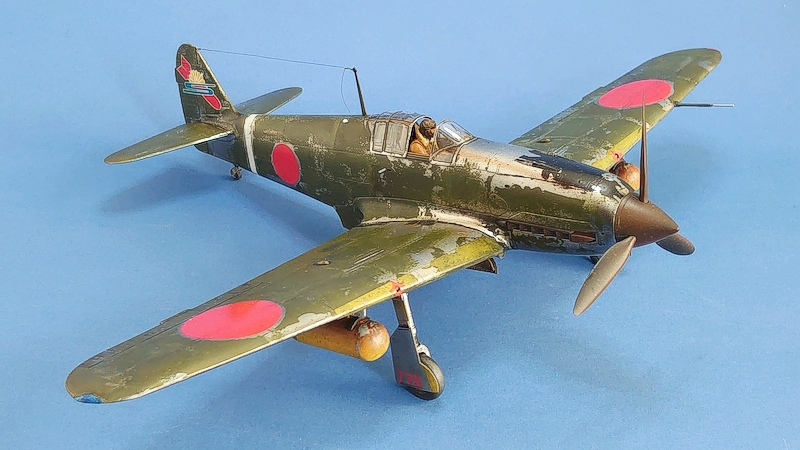
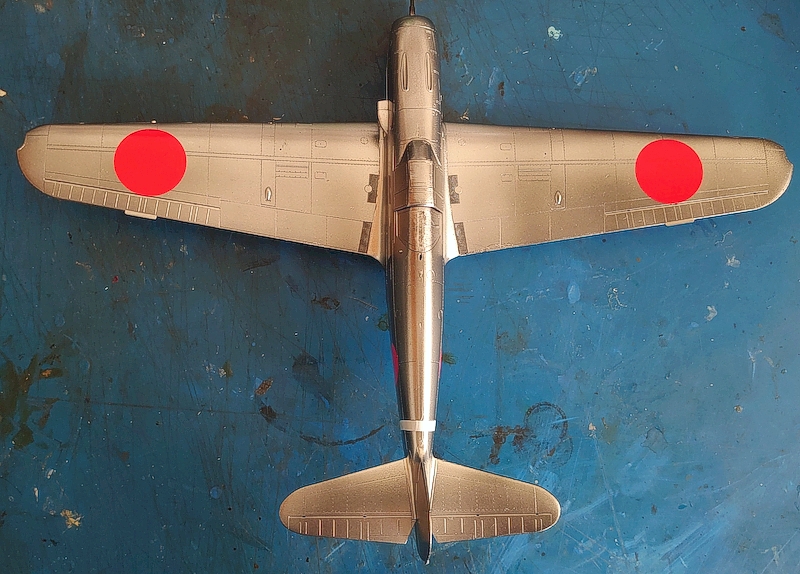
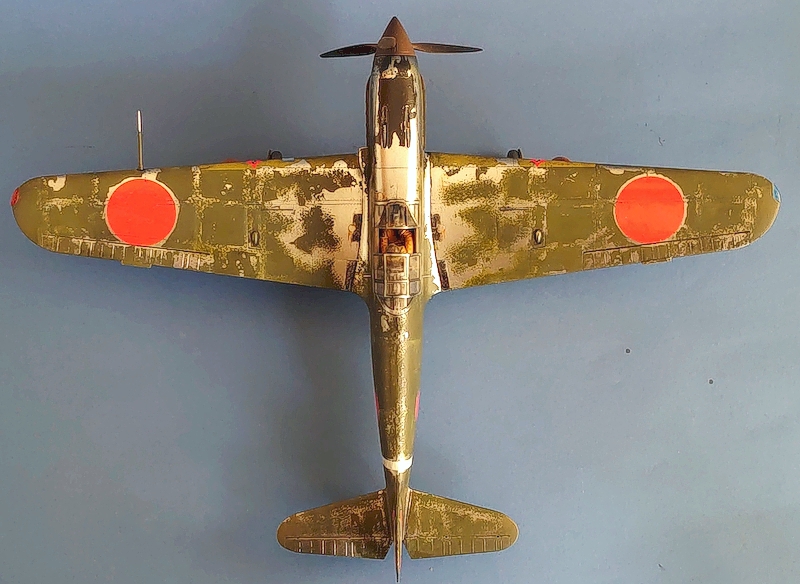
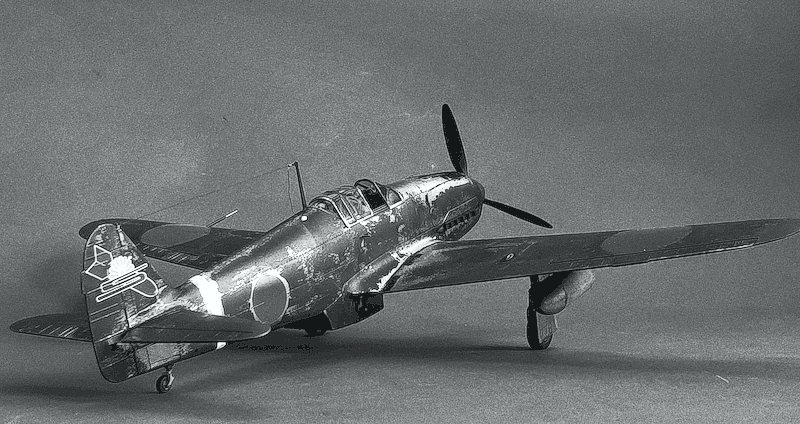
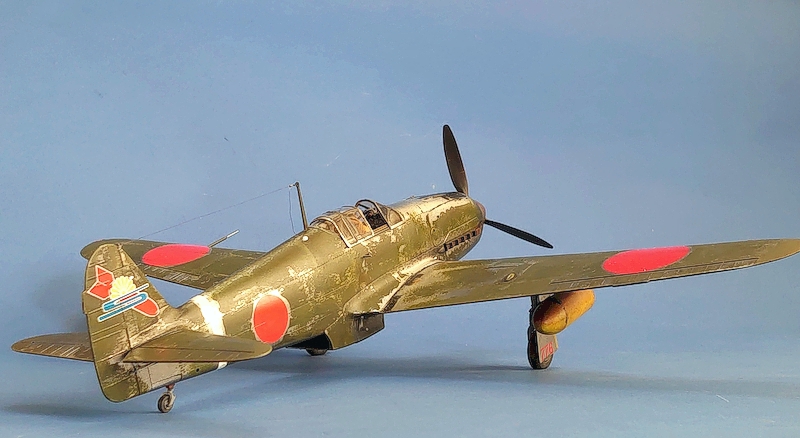
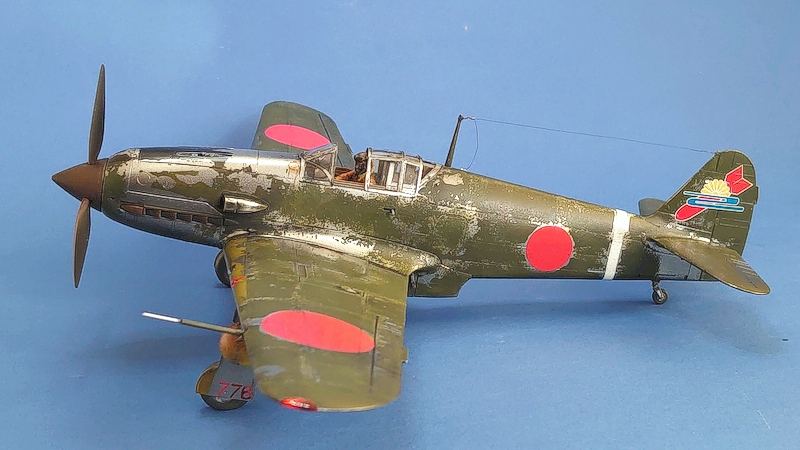
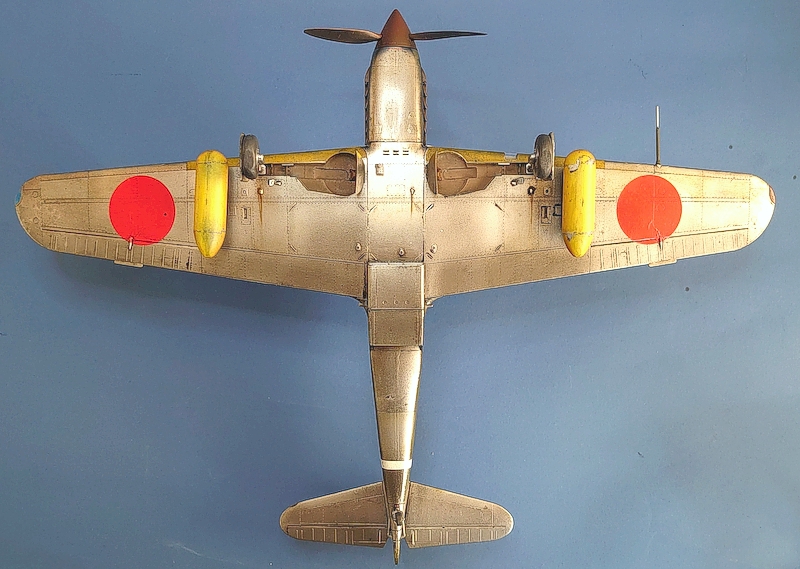
In essence this was to be a painting exercise. Tonys in World War 2 sport some of the nicest colors on a natural metal finish. I elected on this scheme painted by Jerry Butcher of a Ki-61-I Otsu, from 149th Special Attack Squadron, Ashiya Airfield, Japan 1945. It features a severely sandblasted paint job while retaining the markings. I have seen many versions of this plane and I think this is the most authentic. This plane is an option in the instructions but the suggested paint scheme in the instructions cannot be correct as it calls for an all-black splinter pattern. The base coat was Alclad II chrome painted over their black primer. I then panel-shaded the undersurface with multiple shades of silver accentuating panel variation. The model was sealed in Alclad aqueous sealer and decaled. This was sealed again.
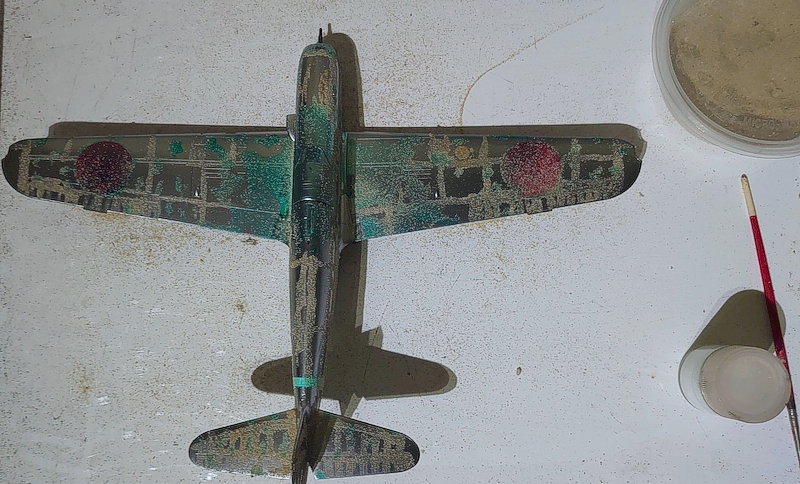
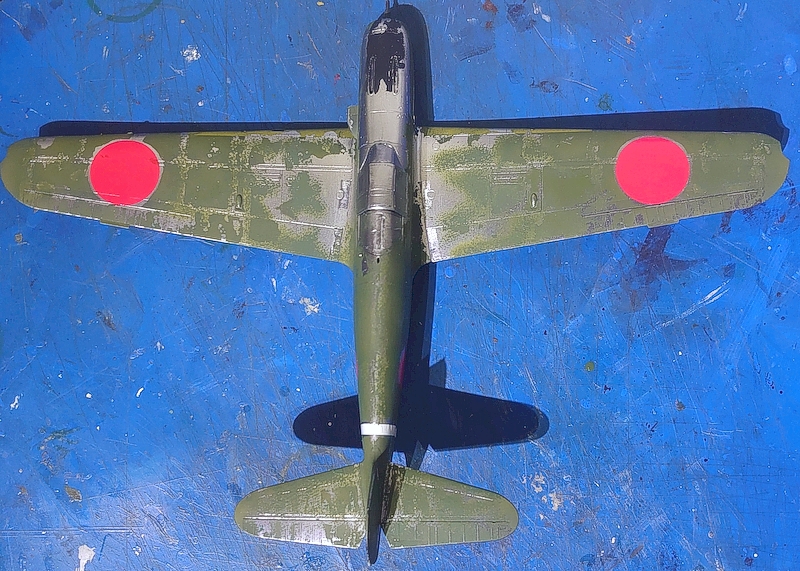
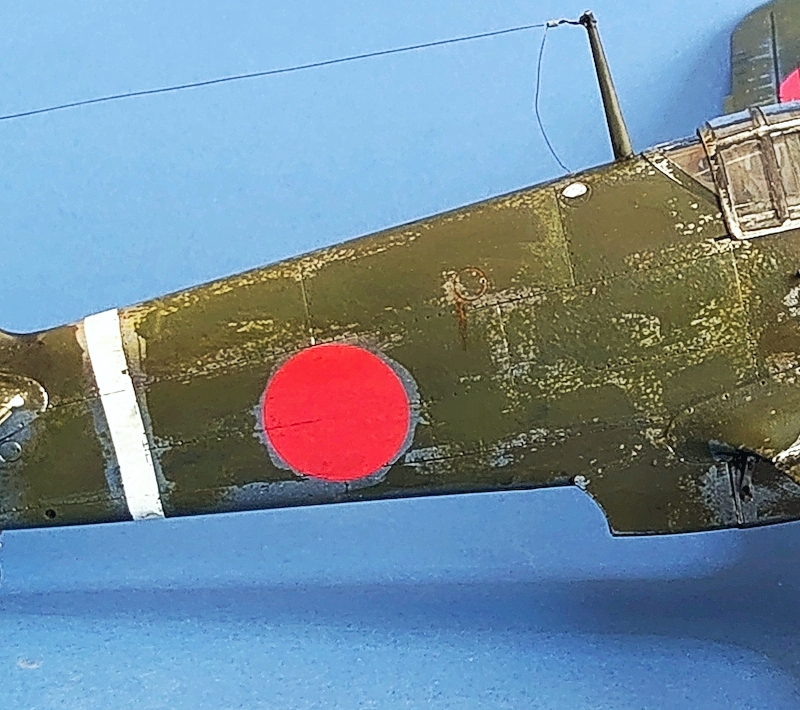
After a good period of curing, I used masking fluid for the generally larger confluent patches of missing paint and fine beach sand along panel lines held in place by diluted white glue. The factory markings included the Hinomaru and white fuselage band (which in retrospect would have been nicer painted than decaled) which I masked around. The model was then pre-shaded and painted with an appropriate shade of green enamel; I used Humbrol Matt 117 shaded with Matt Khaki 26. I let that set then came back in with another layer of Future and then the tail markings. As opposed to the factory markings, these and the fuselage colors were applied at the squadron level and the markings were on the green paint (not masked out). Demonstrating this interesting contrast was an important goal of the project. The whole thing was sealed again and then scrubbed under the faucet.
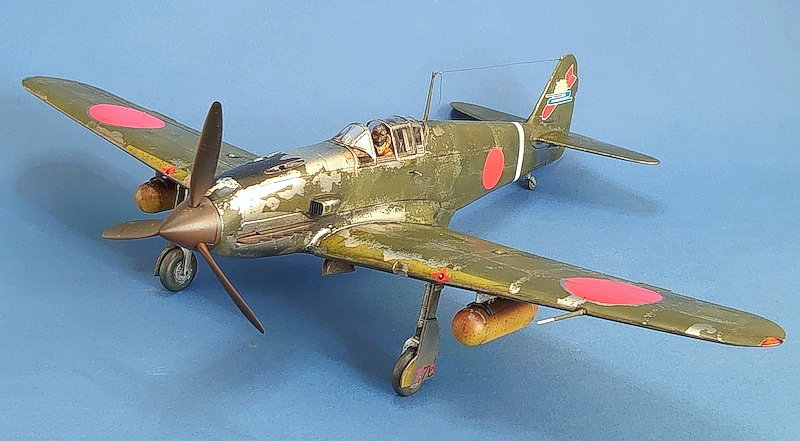
Following this I simply followed the same approach of weathering with turpenoid washes and oil panel filters. I did a little bit of paint peeling on the auxiliary fuel tanks using the acrylic paint peeling effect from Vallejo but this time in Acrylics.
Hope you like it.
© Suresh Nathan 2020
This article was published on Sunday, November 01 2020; Last modified on Sunday, November 01 2020