
Lukgraph 1/32 Friedrichshafen FF.33L
By Kent Karlsen
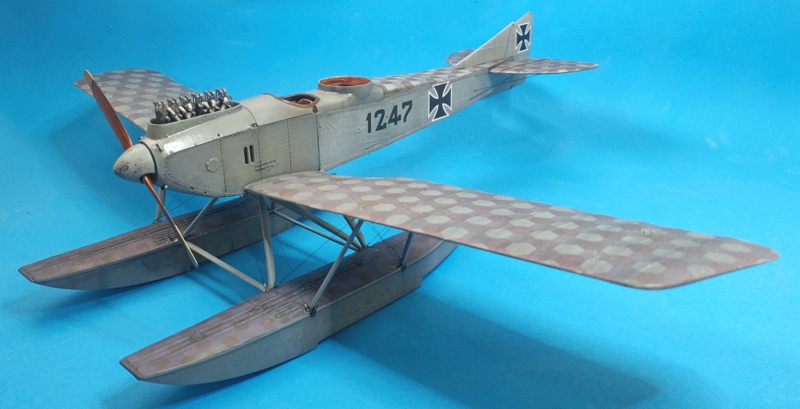
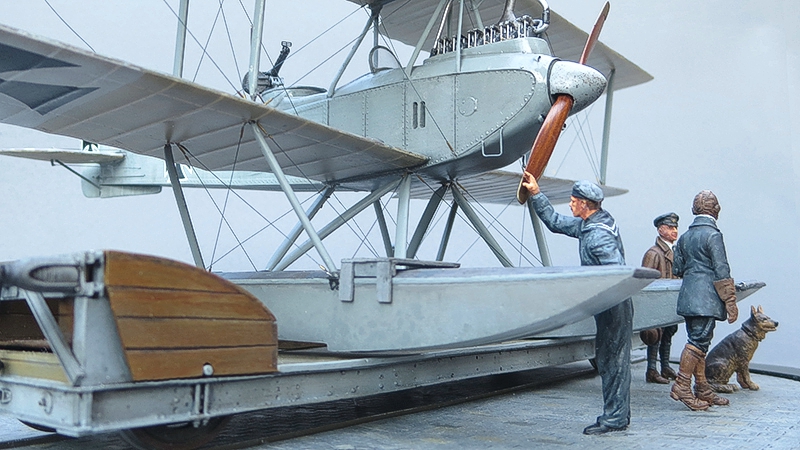
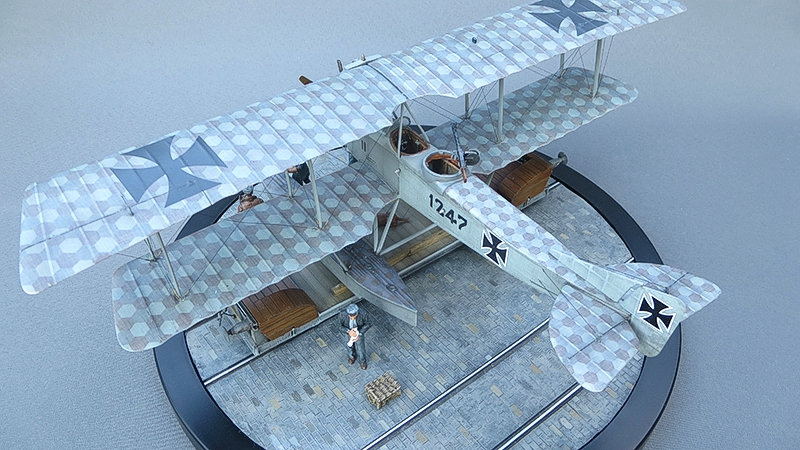
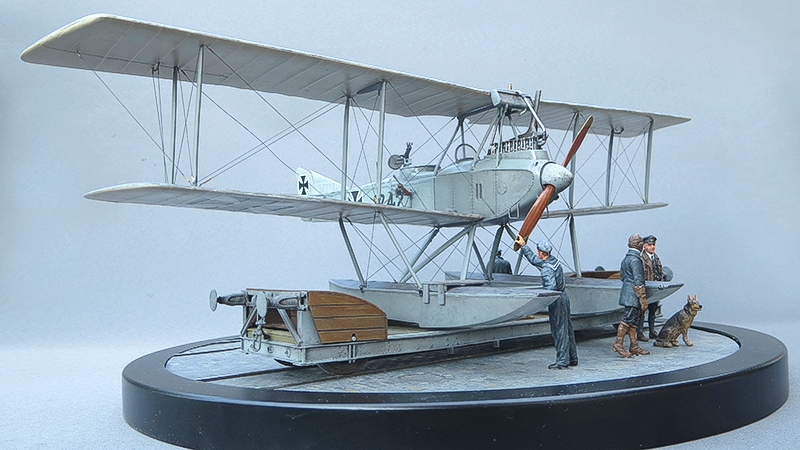
Friedrichshafen FF.33L - Marine # 1247 ‘Zeebrügge’
The Friedrichshafen FF.33 family was the backbone of German naval aviation during most of World War One. Of the 854 seaplanes Friedrichshafen provided to the German Navy, 427 or half were from the FF.33 family. The final and best FF33 variant was the FF.33L, a two-bay floatplane with a more streamlined nose for better performance. The first order was placed in September 1916 and orders continued into February 1917. A total of 125 FF33L aircraft were built, 40 in class C2MG and 85 class CHFT. The FF.33L was fairly agile for its size. The class C2MG aircraft, with their fixed gun for the pilot, were particularly suited for escort and offensive use. The FF.33L did not possess the manoeuvrability or speed of the later Hansa-Brandenburg W.12, but the FF33L was more robust and could operate in higher sea states than the W.12. Like many naval aircraft, the FF.33L underwent modifications between its relatively small production batches, most noticeable of which were changes in the vertical tail surfaces. The first changes started with batch 1158-1177, which featured a new tail design that eliminated the fin. (Friedrichshafen aircraft of WWI - Jack Herris Aeronaut books)
Subject
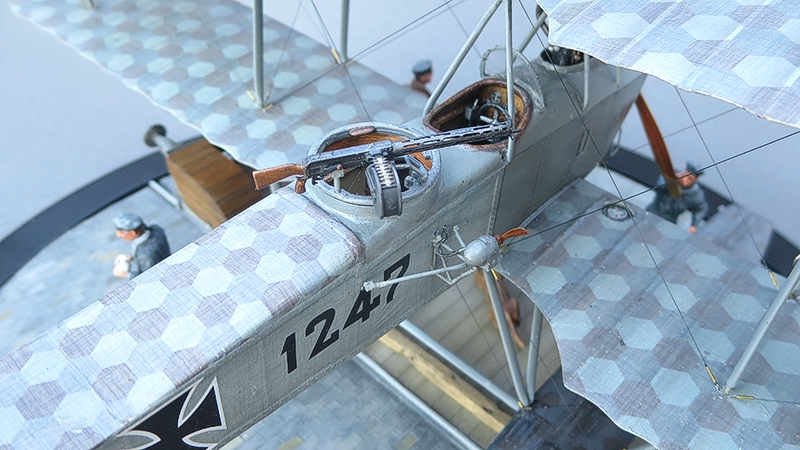
The Lukgraph FF.33L kit is of an early version of the FF.33L. I took me some time to unravel the version history, but in the end, I got an overview of the production history of the FF.33Ls. There were two main versions of the FF.33L. ‘C2MG’ was a two-seat aircraft with one flexible and one fixed machine gun. And the ‘CHFT’ version, a two-seater aircraft with one flexible machine gun and wireless transmitter and receiver. I early on decided to find a FF.33L with the characteristic German Naval Hex pattern. Next it had to have been based at the Zeebrügge seaplane base. In the end I found a couple of photos of Marine No. 1247 at Zeebrügge, a CHFT wireless plane with some oddities and questions to it that I had to resolve. It was not obvious that this plane had the Naval Hex pattern.
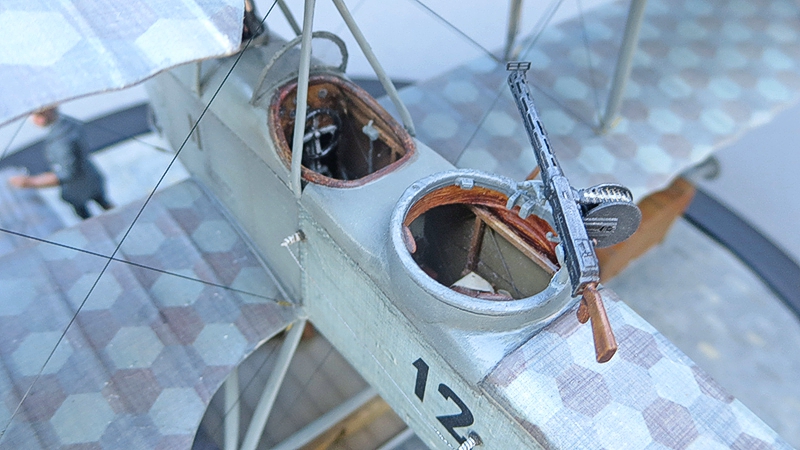
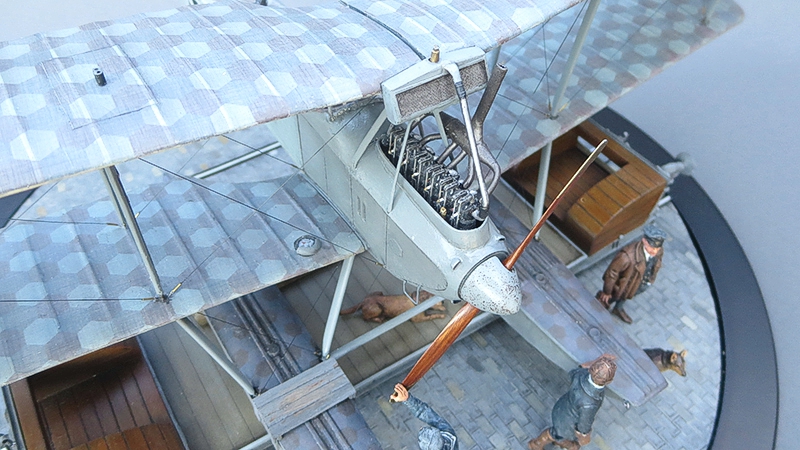
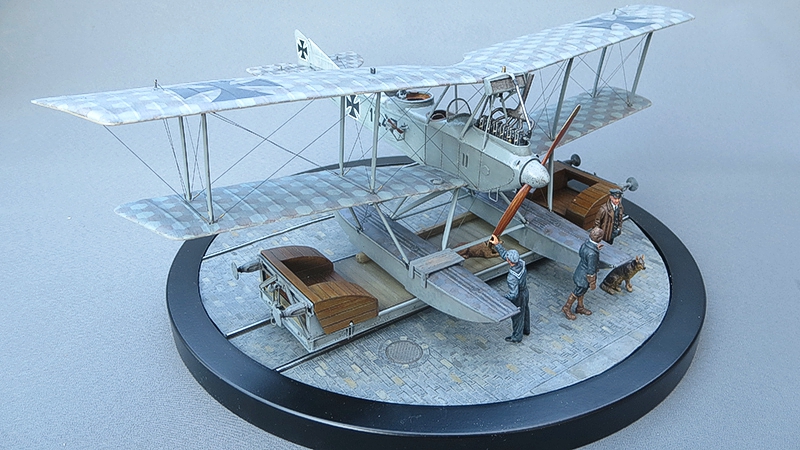
Conversion to CHFT
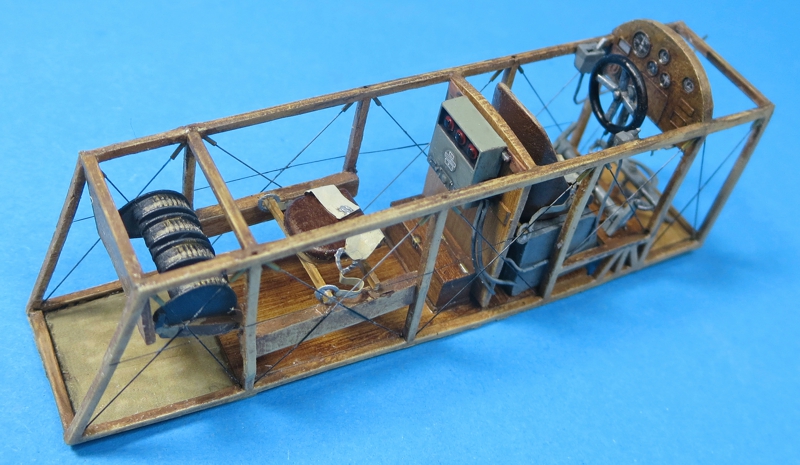
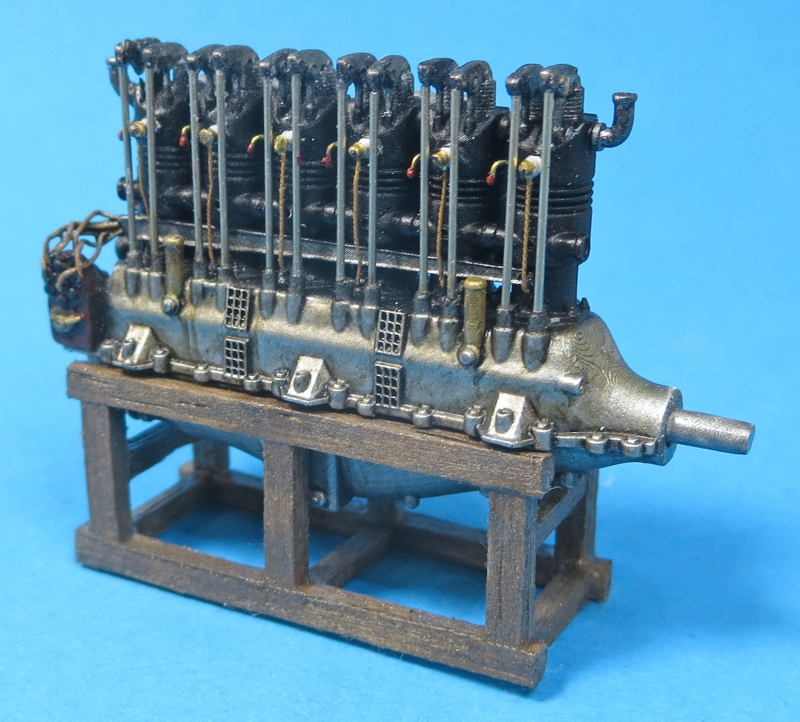
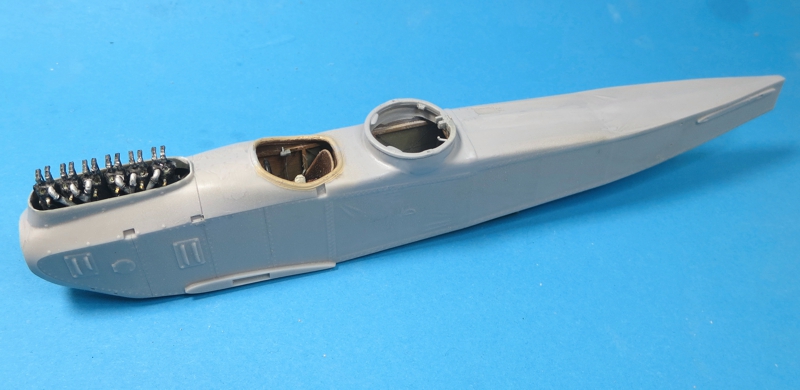
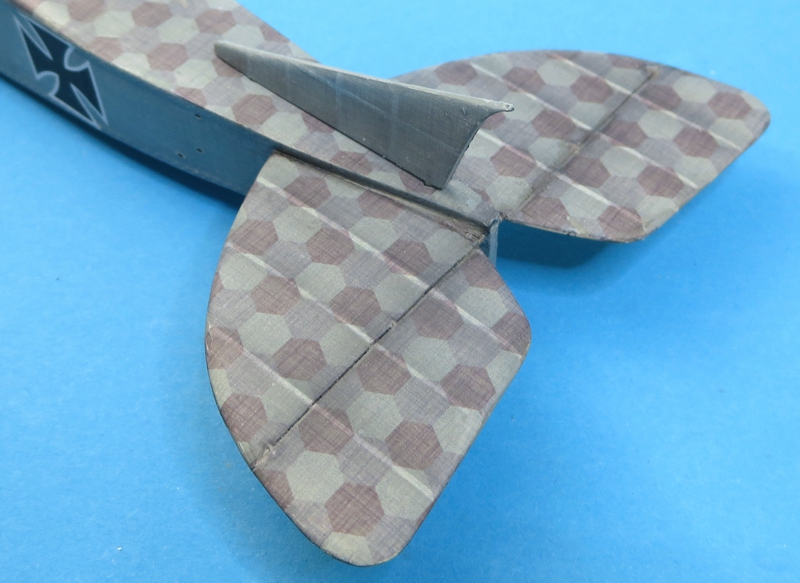
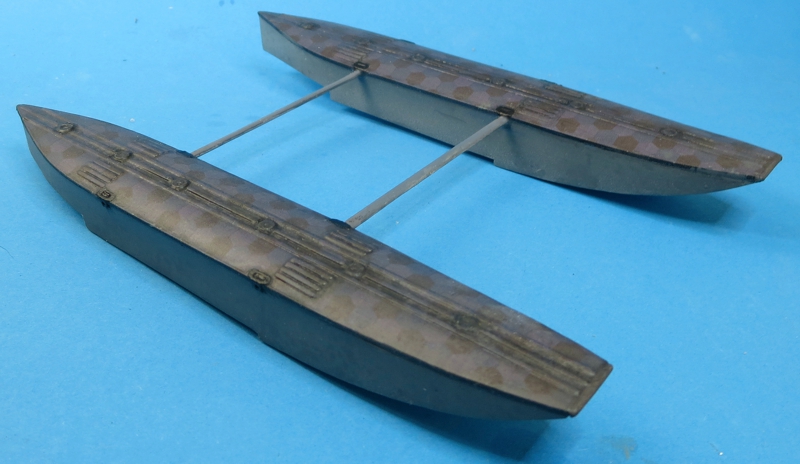
The engine cowling had openings with no covers + 4 intakes at the front. Early style windscreen. Reworking of the fuselage coaming for the MG ring. Wireless equipment inside the observer’s cockpit. Generator and antenna installation on the outside of the fuselage. Vertical surfaces of the tail plane converted to the later 'revised' version. Replacing of the fuel tank to the right upper wing, a 'sump' on the underside of the wing. Compass located on the lower right wing, close to the fuselage. Engine radiator of a later type/shape. Replicating the two styles German naval hex pattern of fuselage/wings. The kit itself goes together quite well and is well detailed. I did not make many changes or additions to the interior, although I did replace the map board with a wireless unit as I'm doing a FF.33L CHFT variant. Some leftover WNW's parts were used.
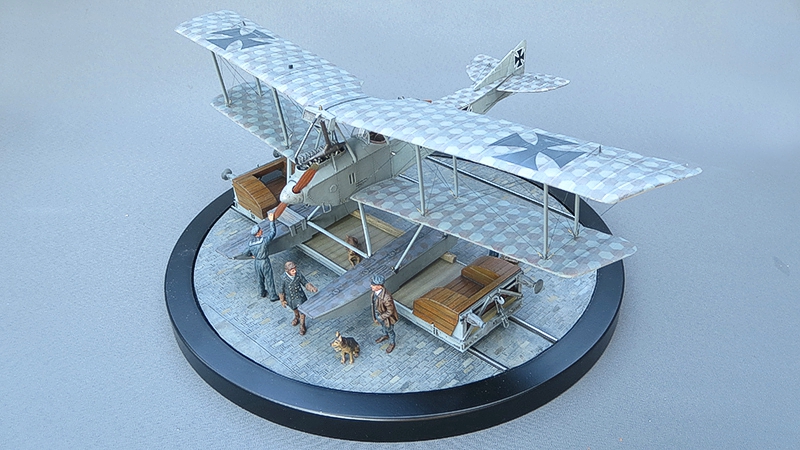
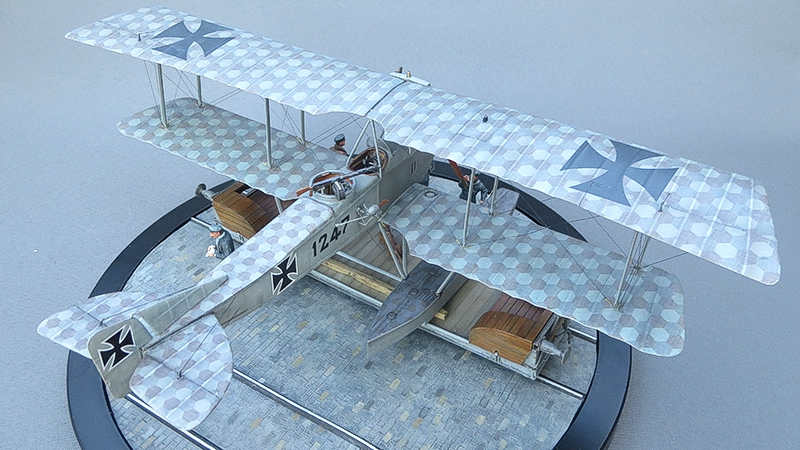
Decals
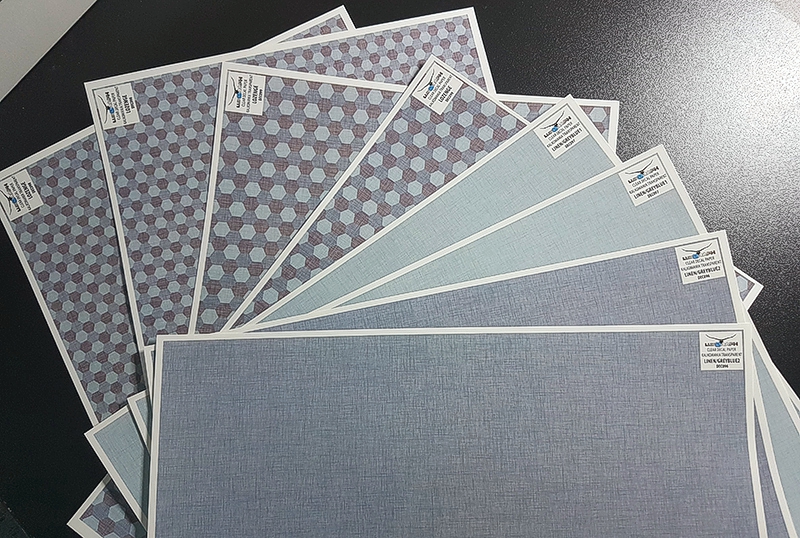
Lukasz Snajder contacted me, asking if he could help me with the decals, I assume he was already thinking ahead to add new decals to a future release. So, I send him a sketch and some measurements of the patterns I would need for the Friedrichshafen. He then sent me some test prints of the new Naval hex decals, including some with different grey textures. In that way I was able to replicate the two different sized patterns of the fuselage/wings.
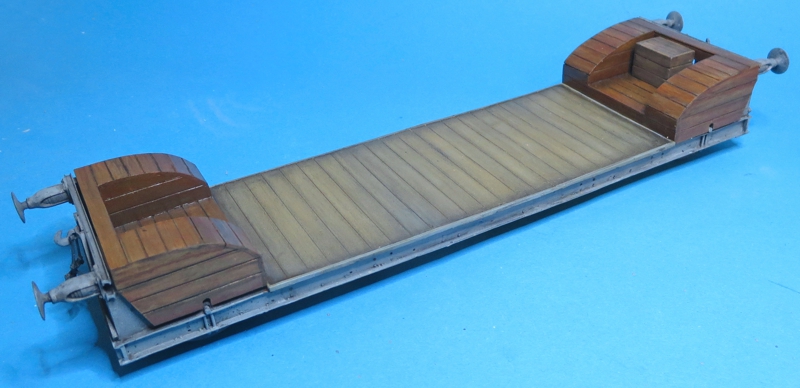
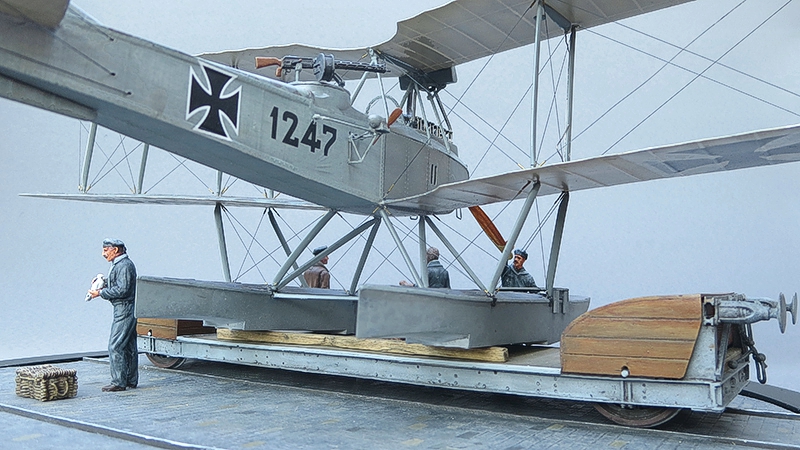
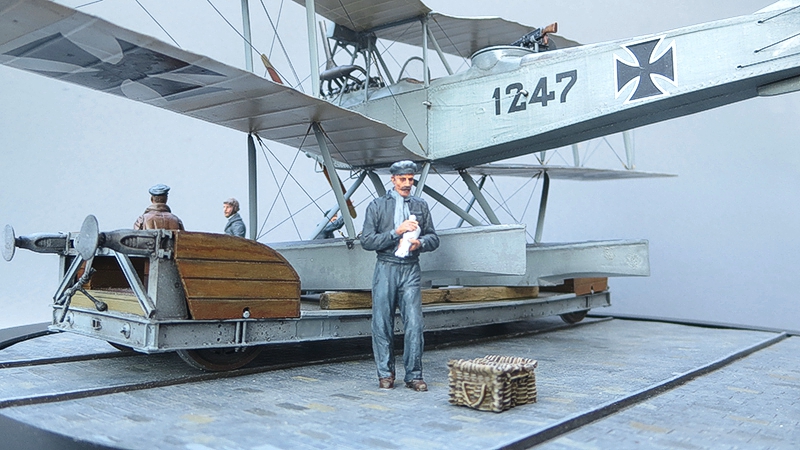
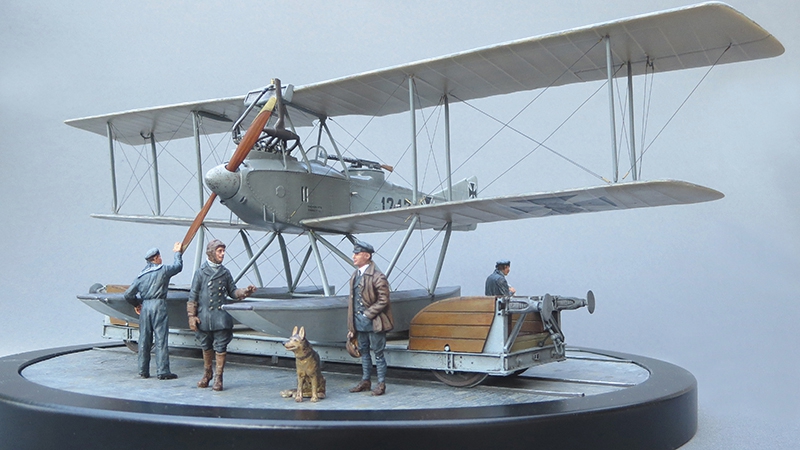
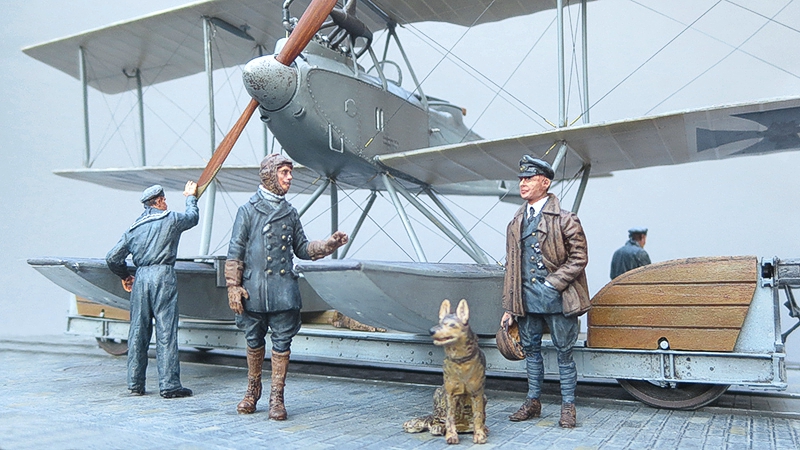
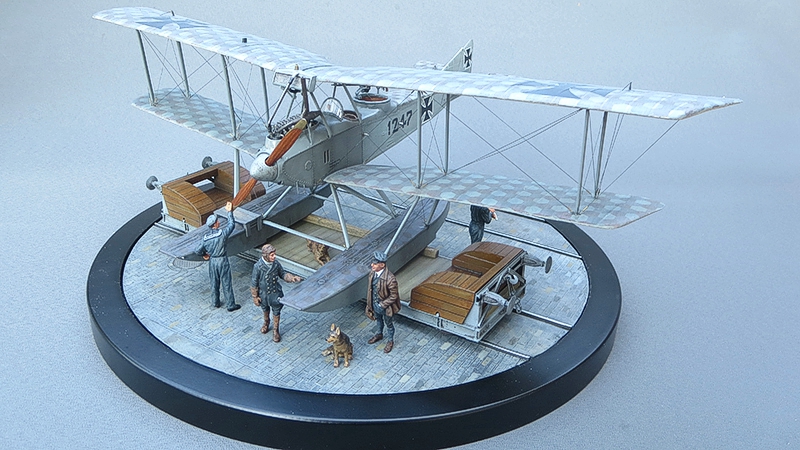
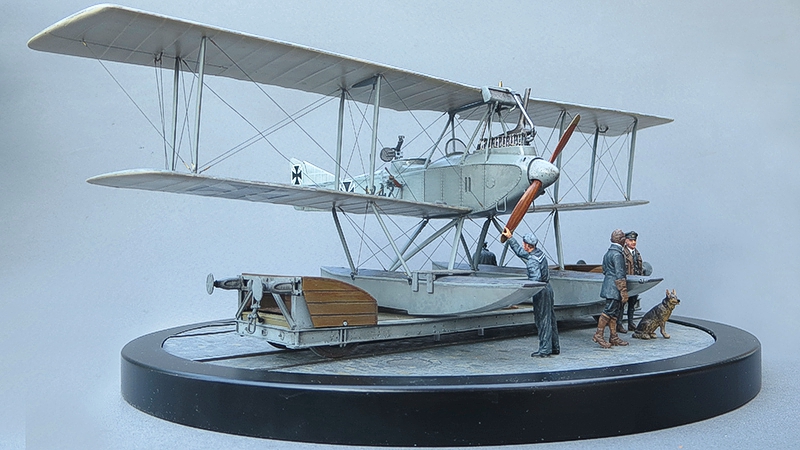
Vignette
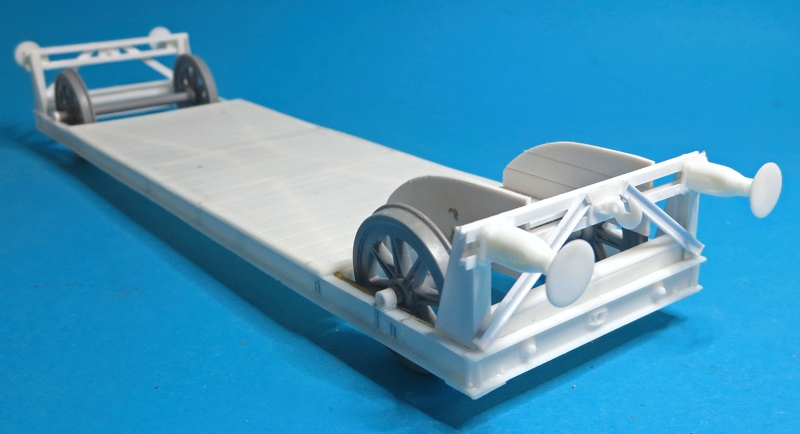
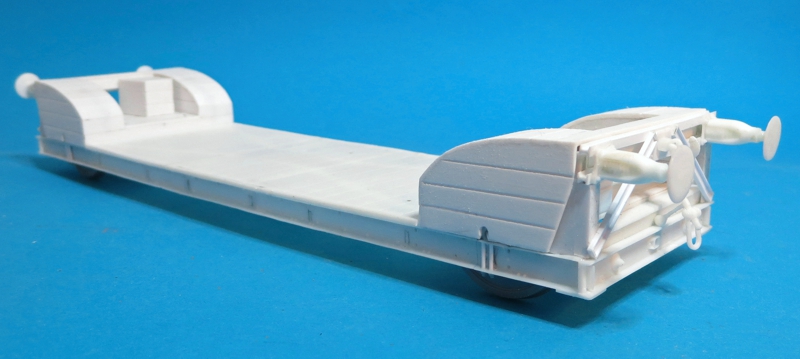
The build of the Rail Car without any drawings and with only some grainy photos was quite the challenge. I had to make a lot of testing and trials to wrap my head around this ‘thing’. To get me started on the build I ordered the ‘Railway Non-Brake Flatbed kit’ by Miniart (39004) + ‘Railroad Wheels Miniart’ (35607). These kits are actually quite nicely detailed, ready to be cut into pieces and assembled in another way! I also obtained the ‘Long Dock’ by Italeri, this kit has railway tracks embedded into a cobblestone surface, exactly the way it was at the Zeebrügge dock! It all began with a rough sketch, but it was early on obvious that the Zeebrügge Railcars were longer than the Miniart Flatbed kit and I had to stretch the wagon stringers to make it fit the FF.33. On the footage it’s evident that the planes during transport had to stand at an angle, for the wings to be able to have some clearance of each other. When the measurements finally fitted the photographic ‘evidence’ I began putting the car together. Figures used are from: Copper State Models, Elan13, Kellerkind Miniaturen and Riich Models.
Summary
This was an involved build requiring a lot of research for the aircraft and vignette, but the result was worth it! For anyone wanting to build a kit with the hex decals, Lukgraph has now released a version with the German Naval Hex CAMO. For more detail on the build, please check out my thread in the In the Navy Group Build Forum.
Enjoy!
© Kent Karlsen 2021
This article was published on Friday, October 08 2021; Last modified on Sunday, October 10 2021