
Planet Models 1/32 Yak-23 "Flora"
By Ray Peterson
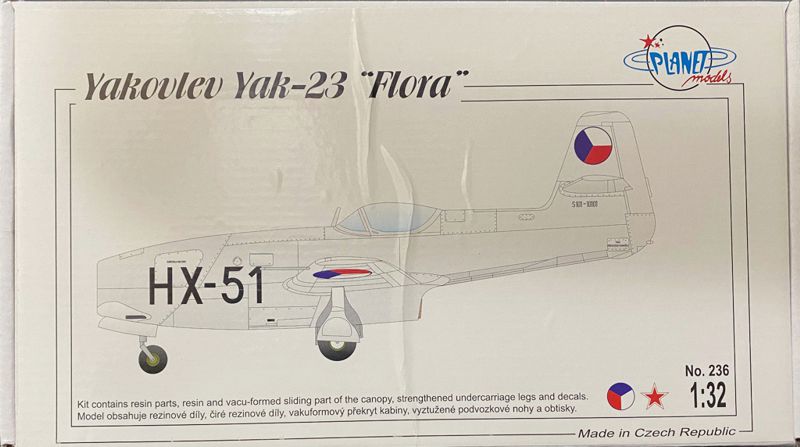
I picked this kit as a good candidate for the LSP 25th Anniversary group build. I was pushing to finish it by the end of 2024, but as I was concentrating on some joints my wife walked in without me noticing her and started talking, startling me, and I dropped the model breaking off a wing and horizontal stabilizer. I had to set it aside for a bit after that.
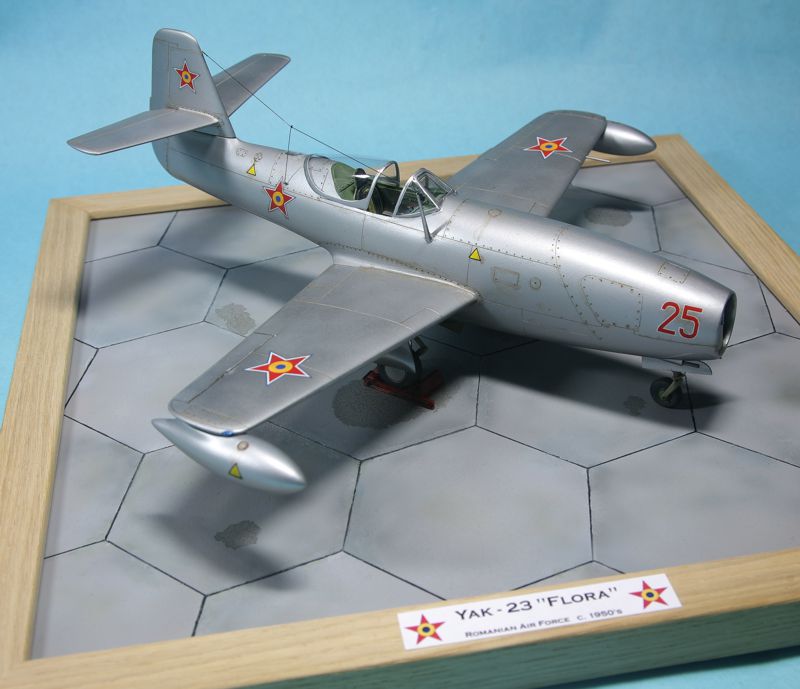
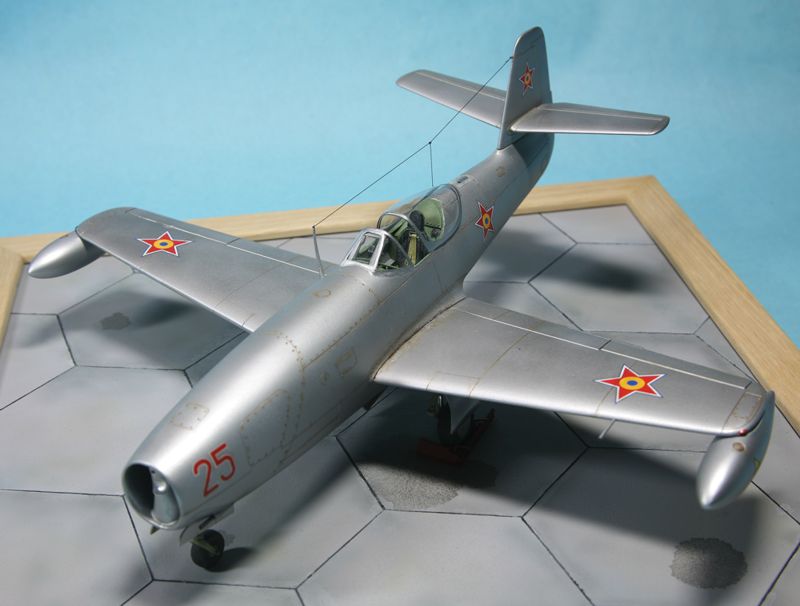
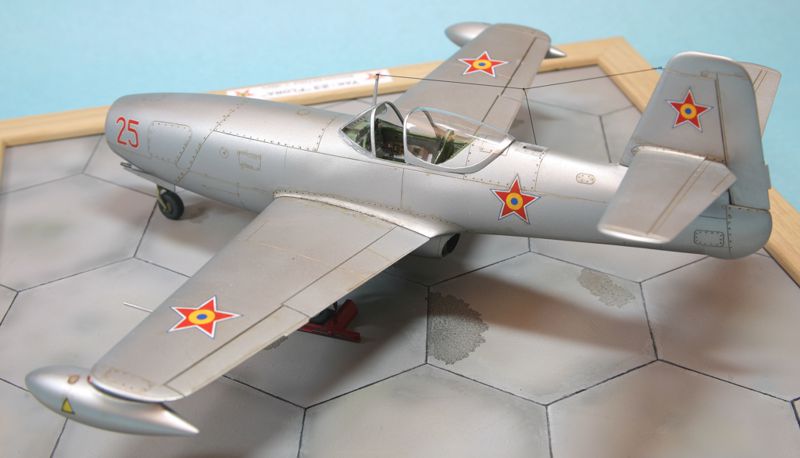
The kit is old-school cast resin. There are 47 regular resin parts, 3 “strengthened” resin parts which are the landing gear, and three clear resin parts. The only non-resin parts are to copies of the vacformed canopy. Also included is a sheet of decals and of course a set of instructions. For reference, I had MMP’s book on the Yak-23 and the first Yakolev jet fighters, Yellow Series No. 6124.
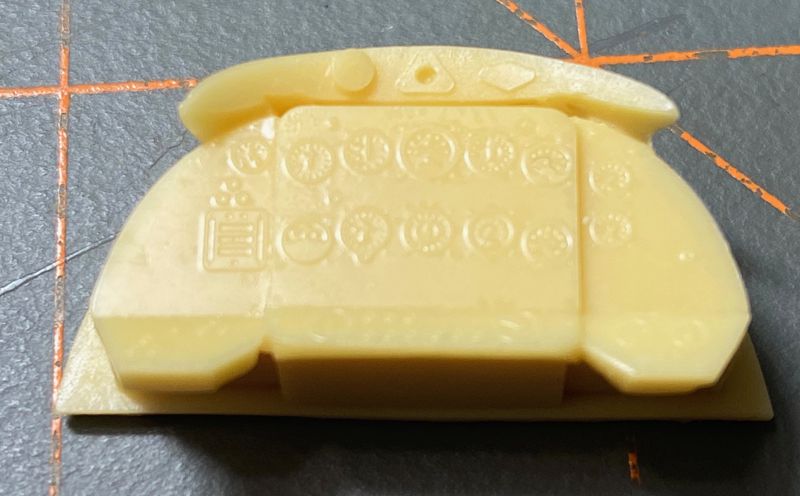
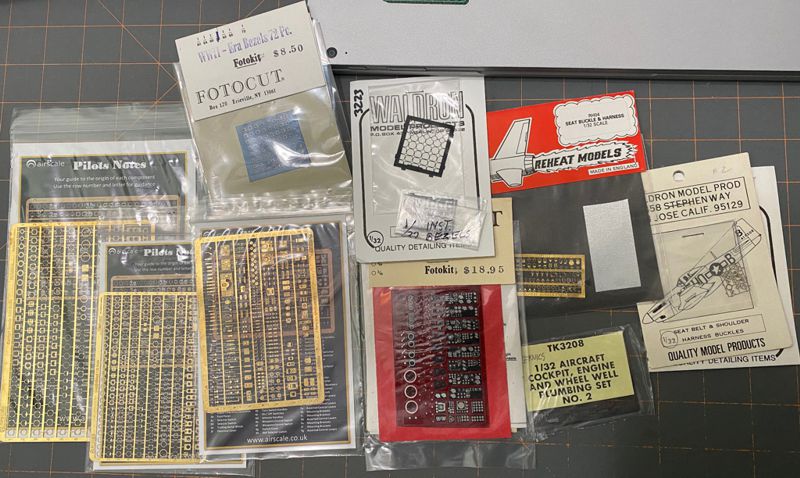
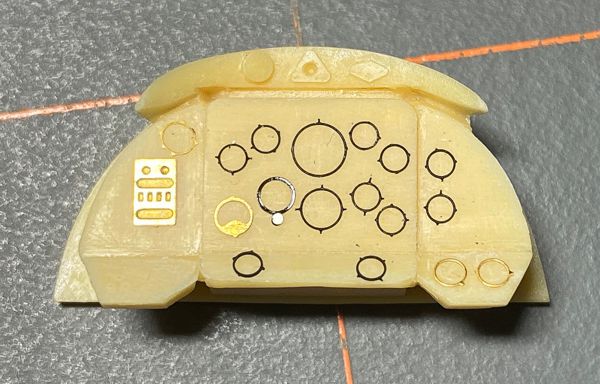
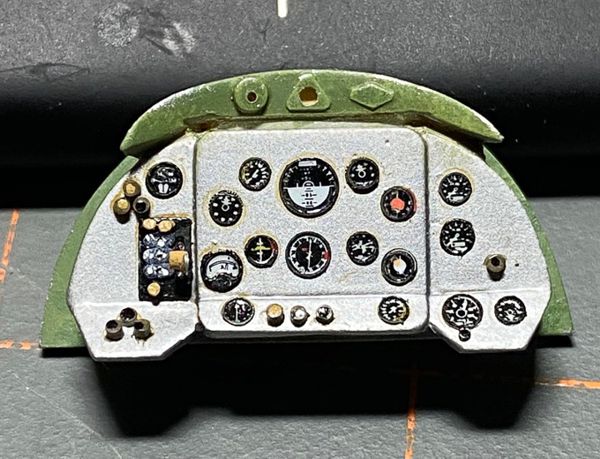
As usual, assembly starts with the cockpit. I was not happy with the IP and its faint dial detail, so sanded the detail off and rebuilt it with my hoard of cockpit detail sets. Mostly I used Waldron bezels and Airscale dial decals. The early bang seat looked pretty good, so I just added seat belts from soft metal strips and a set of photo etch buckles that looked close to the early jet era. I added the side console details, again using Airscale decals for any dials.
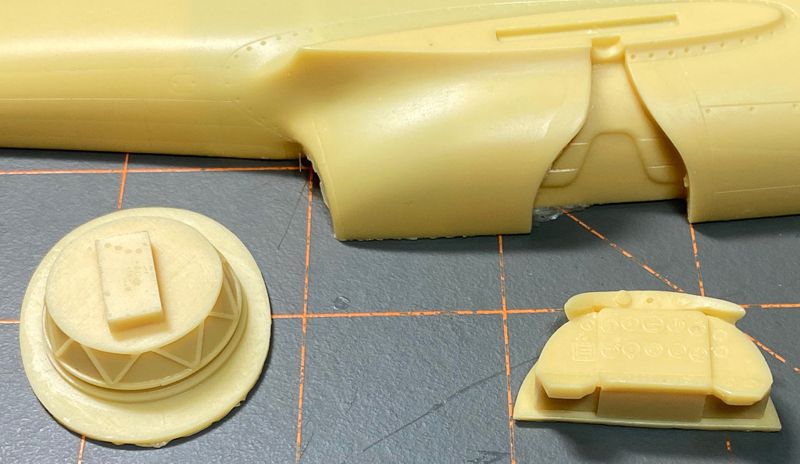
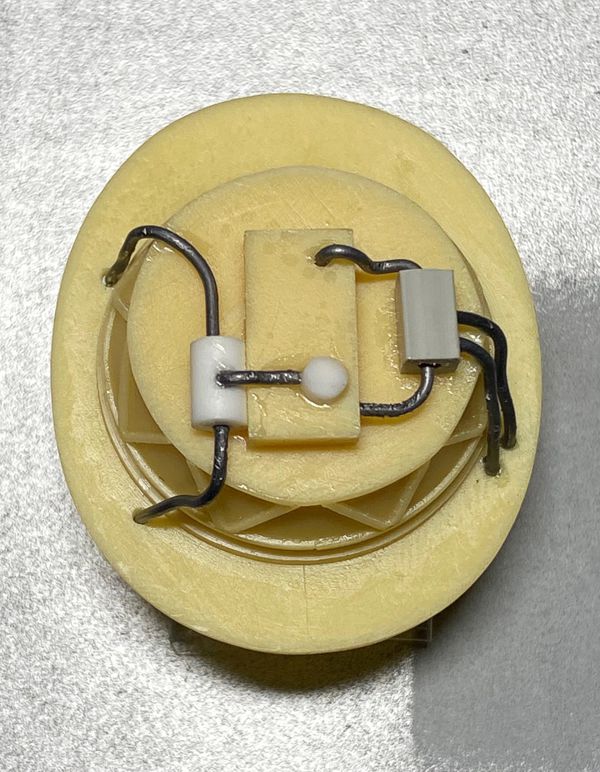
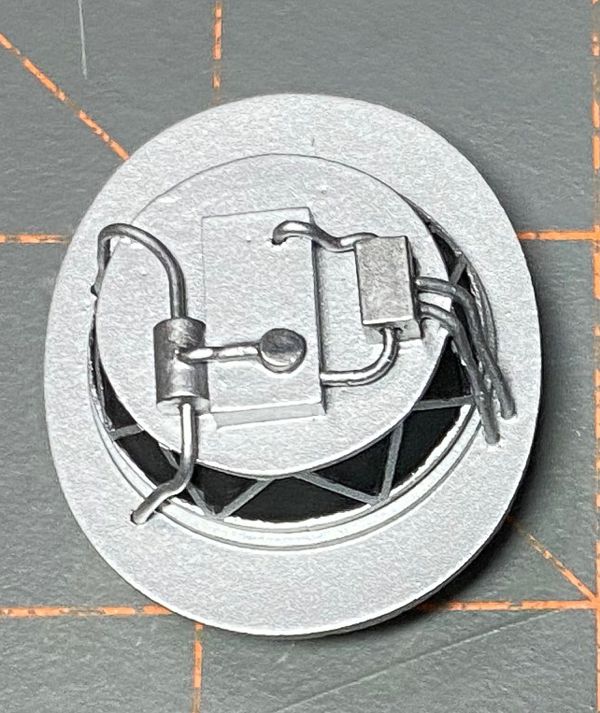
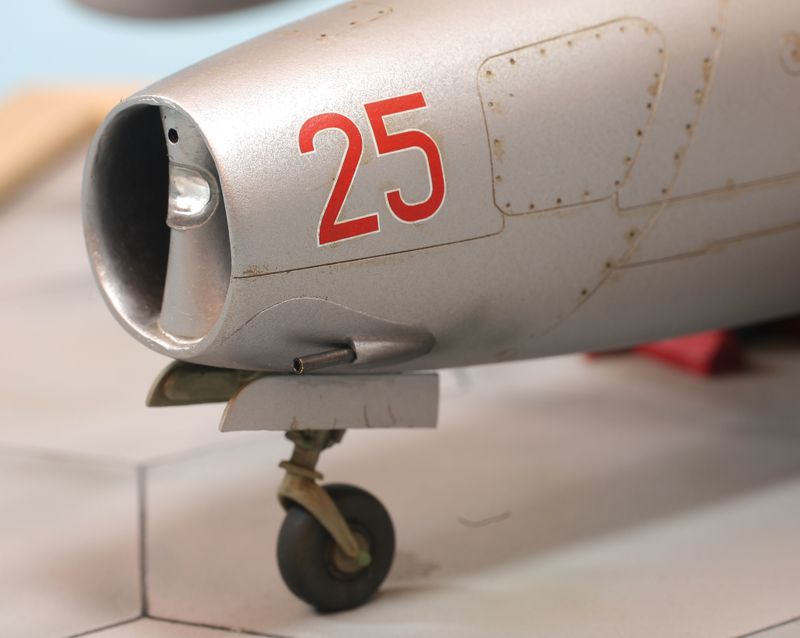
Other items that needed to be glued into the fuselage sides before closing up included the front of the RD-500 engine, based on the Rolls-Royce Derwent 5 Centrifugal-flow turbojet. It was pretty much blank, while it should have some boxes and plumbing. Was not sure how much would be seen with the splitter installed in front, but I added a bit of work just in case. Some of it can be seen if you look hard enough.
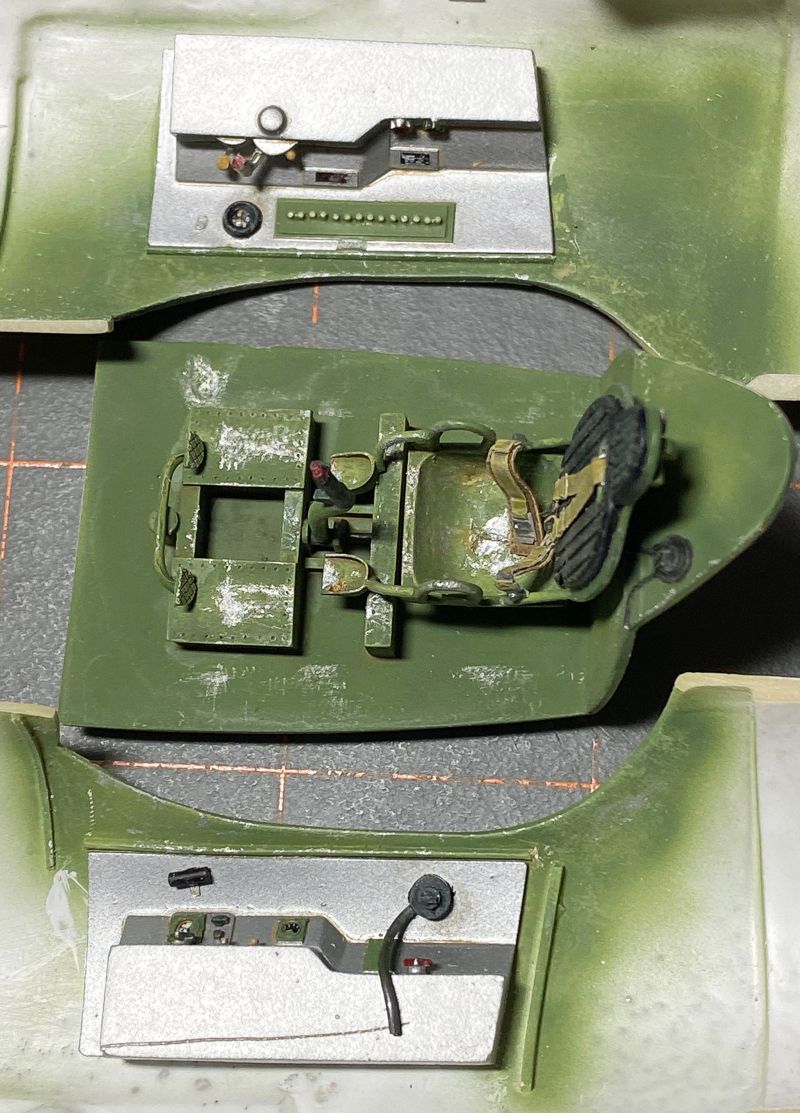
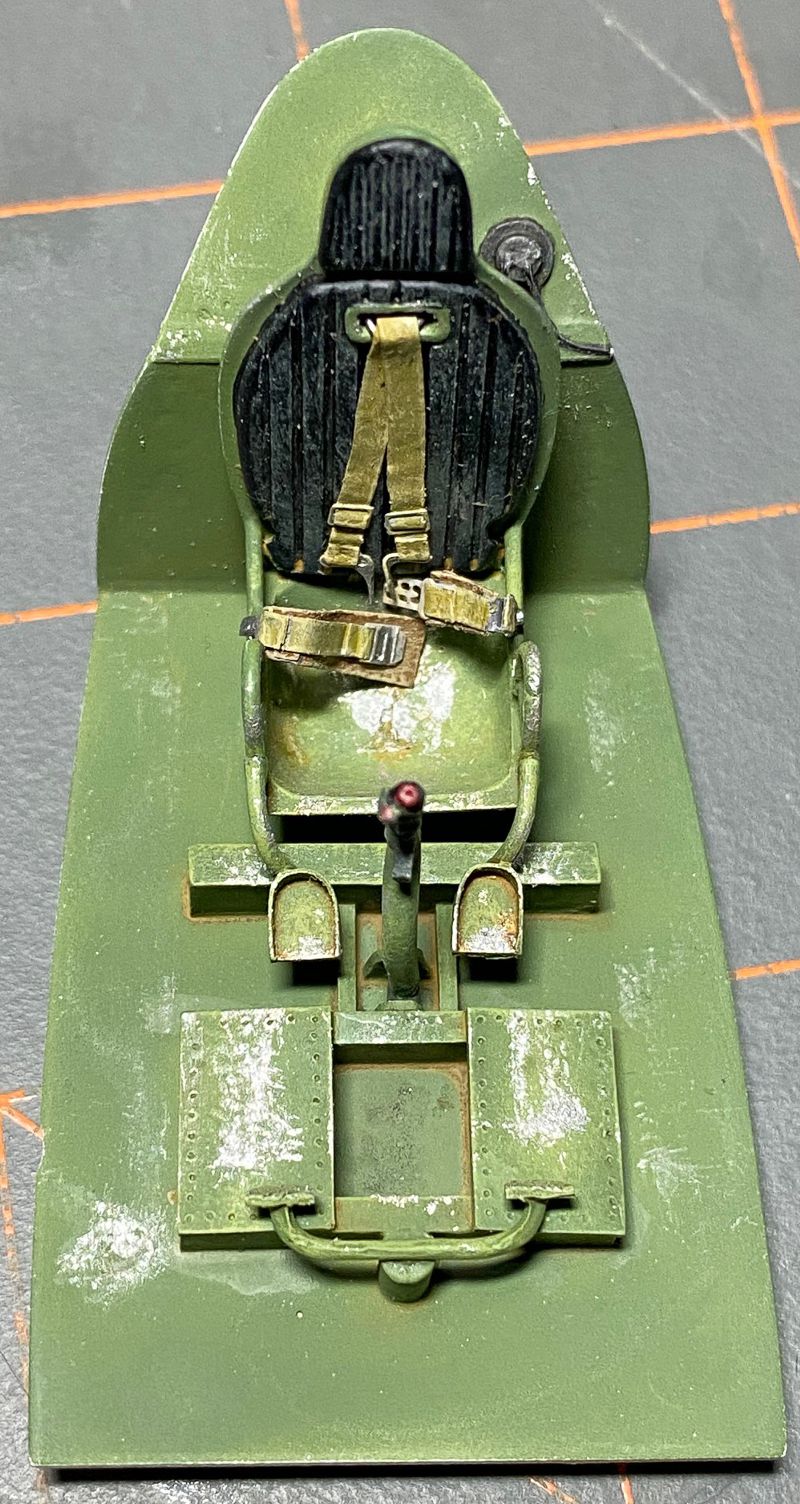
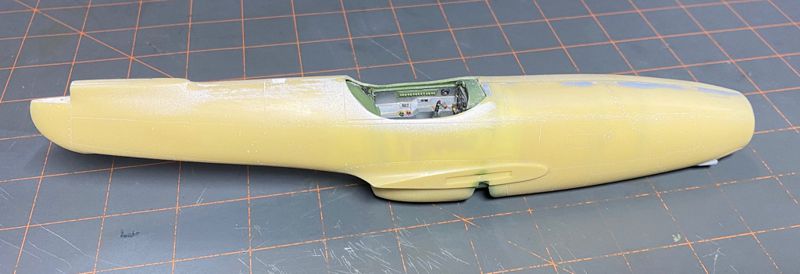
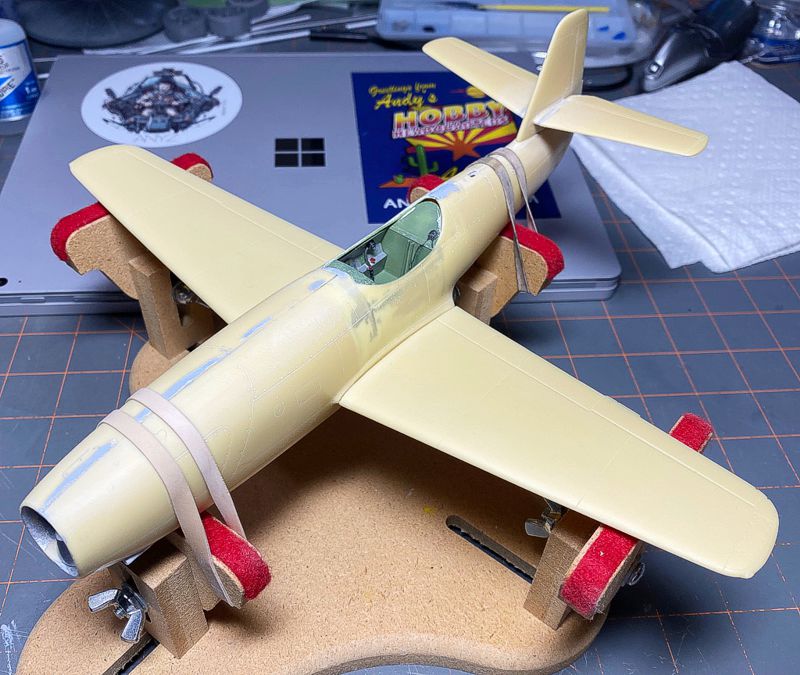
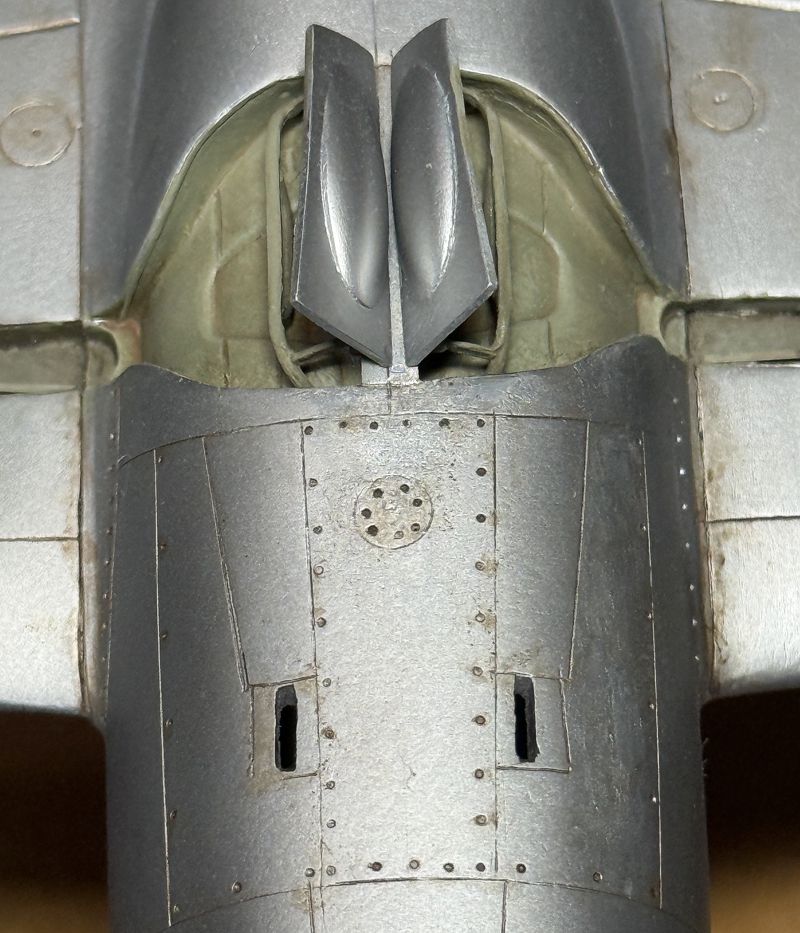
It was assembling the fuselage where the problems with resin reared its ugly head. One half of the fuselage was about 2-3mm longer than the other. Most of it showed behind the cockpit. All the panel line detail was off. Also, one half had a different curvature than the other at the intake. One side more of a C shape, the other more of half O. I tried my best to get them close, but wasn’t totally successful. If you look down the centerline, you can see the splitter is a bit off.
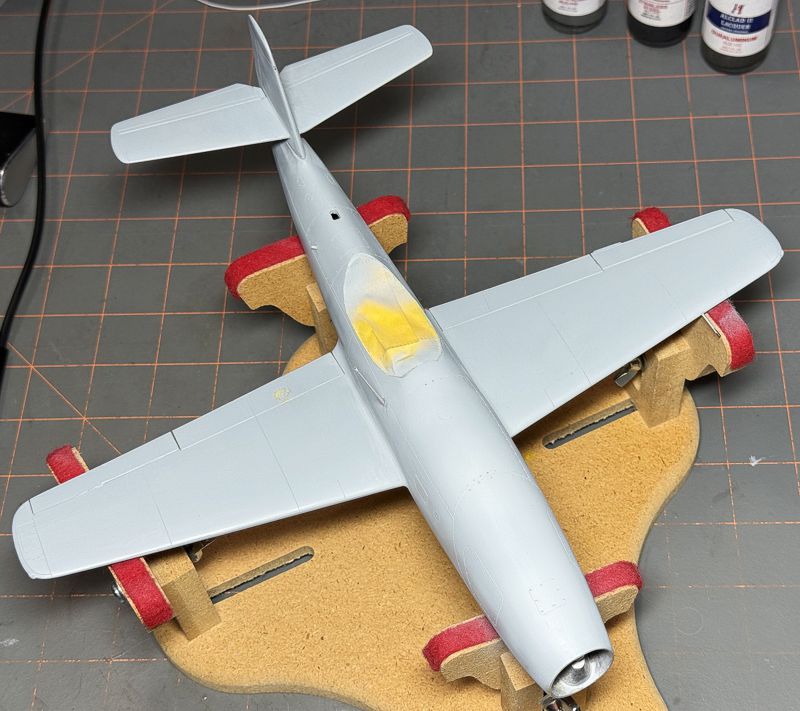
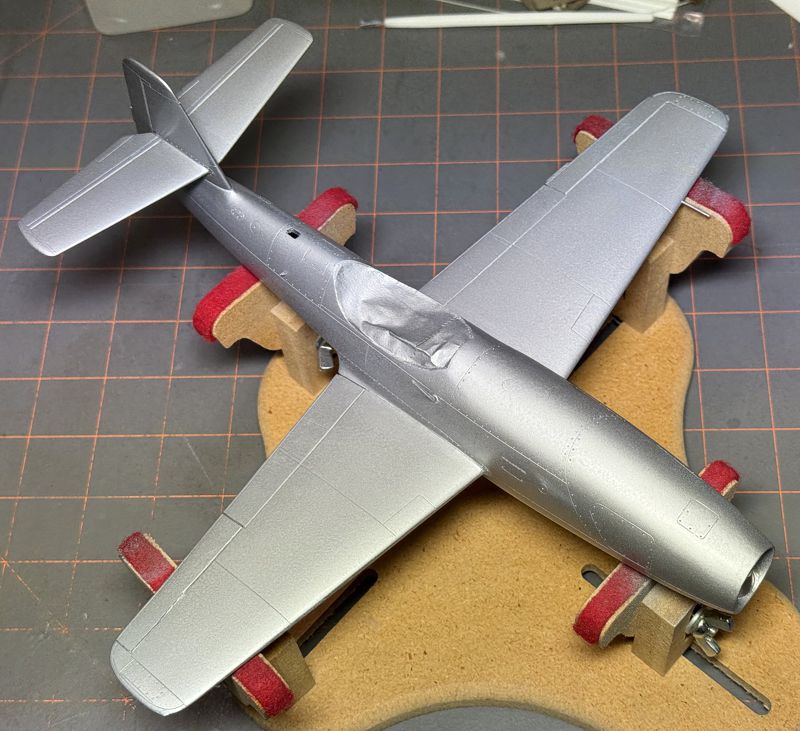
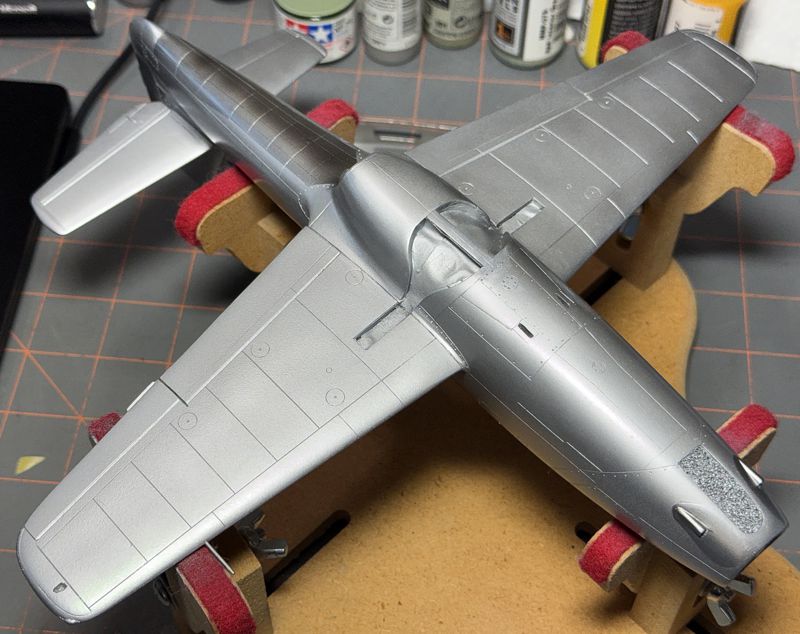
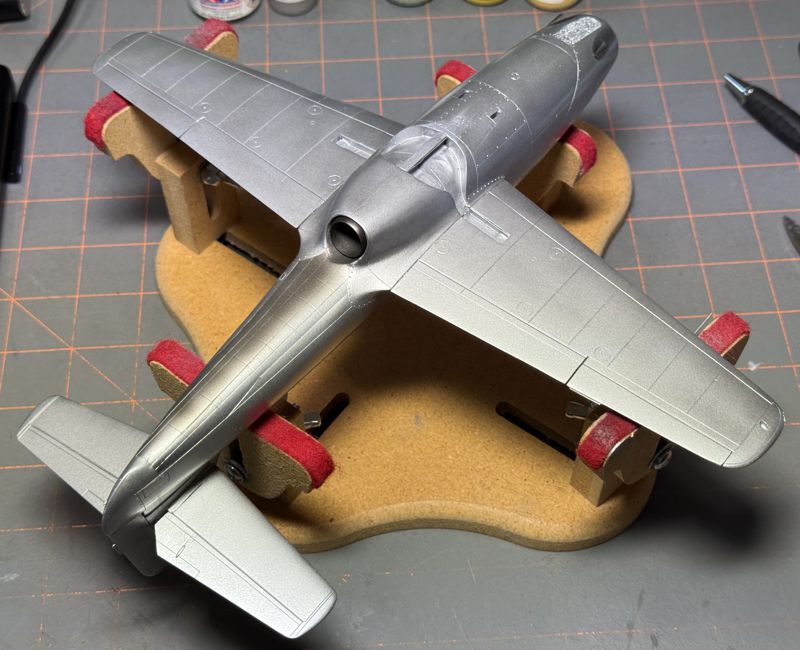
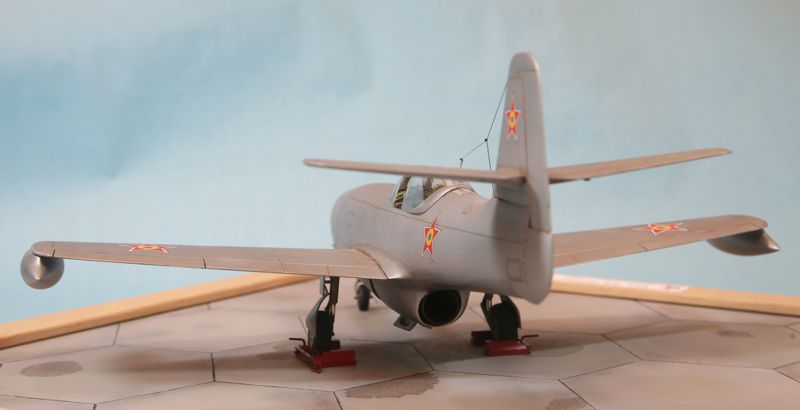
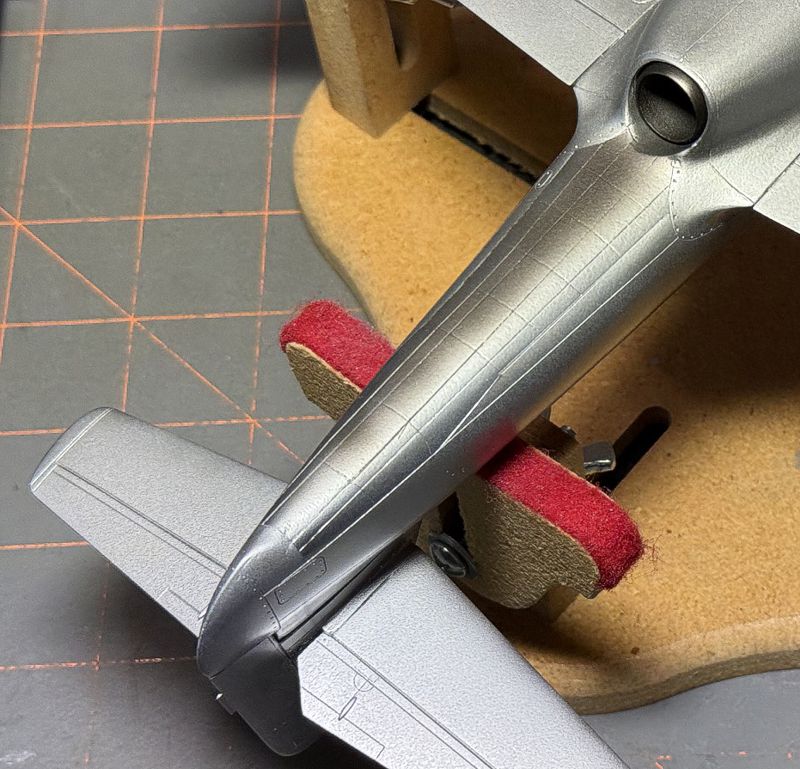
Anyway, after getting the fuselage together and attaching the wings and tail planes, it was time to work on seams and prime. Typical resin kit, fit was off here and there and attachment points were nearly non-existant. I finally got it where it looked pretty good, hit it with a last shot of Alclad primer/filler, then sprayed it with Alclad II’s Duraluminum. Disaster! There were so many scratches and bad spots I couldn’t believe it. Back with the filler and hours spent more sanding. This time, as a check, I hit it it with Tamiya’s AS-12 Bare Metal Silver straight from the spray can. It looked much better. After a few touch ups, I hit it again with the Alclad and it looked really good. I used Alclad Burnt Metal on the exhaust tube, and Exhaust on top of the Stainless Steel stretching from the end of the exhaust.
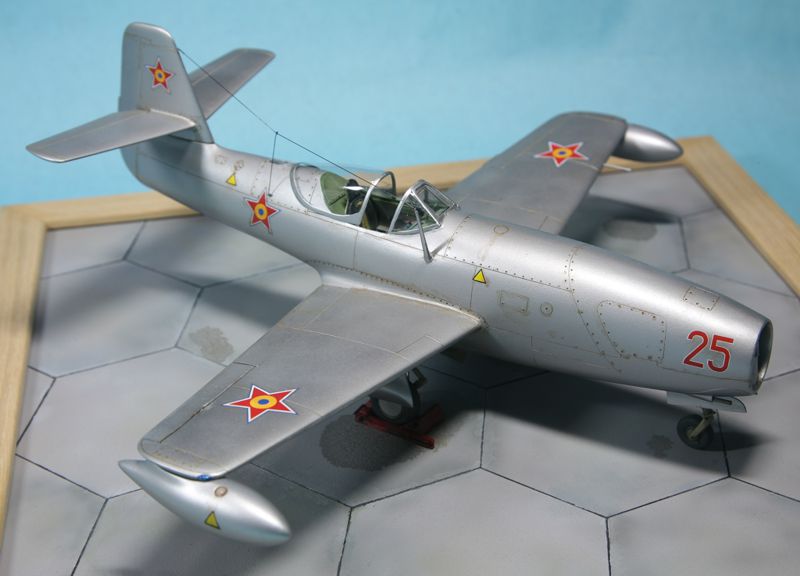
After hitting it with Tamiya Clear, I applied the decals. The national markings are from RB Production’s Romanian "Cold War" Insignia set (RB-D32003) and RB Production’s IAR 80C set (RB-D32018) which included markings for a couple of post-war birds. Needed both sets as the cold war set only had stars in one size which fit the wings, the IAR markings had the smaller stars for fuselage and tail. Stencils are from the kit, though most are in Czech, so I only used the fuel markings. Oddly, they only provided 2 of the yellow/black triangles, even though they provided the tip tanks. So, I cut some masks for them.
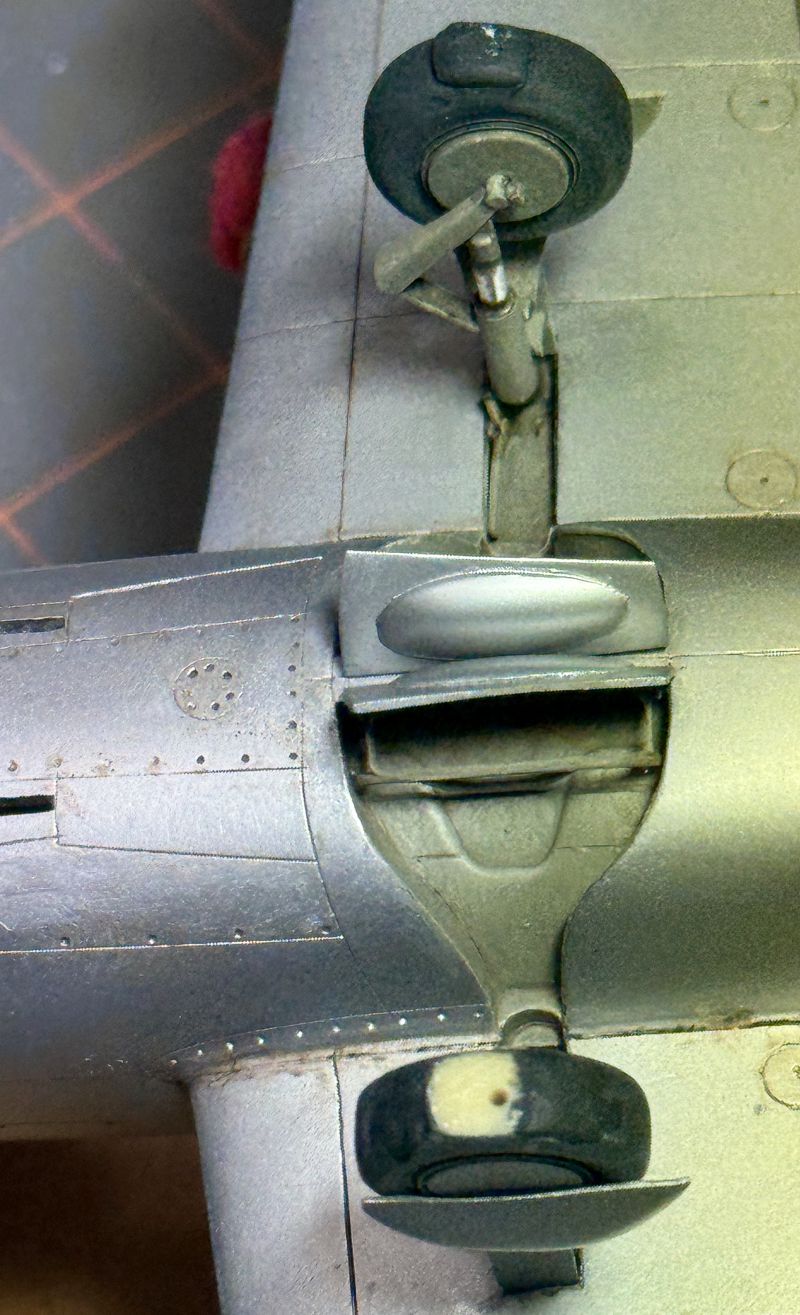
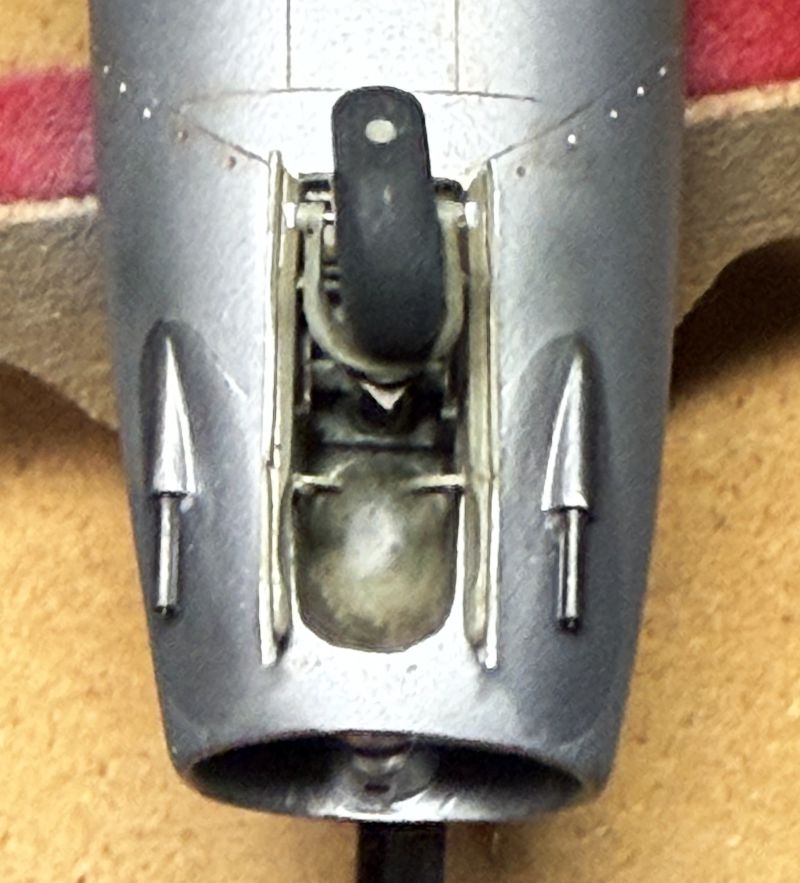
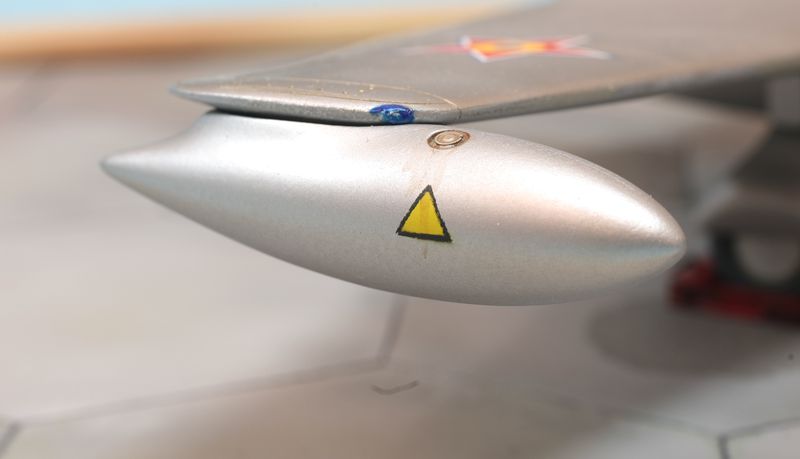
Once decals were on, time to add all the little stuff: landing gear, canopy, tip tanks, and antenna. The instructions were not much help here. Landing gear does not attach positively at all, and there is no adjustment. The receptacle is flat, but the gear comes in at about 45 degrees. I aligned it as best as possible and reinforced it with UV glue. The nose gear had a bubble where one of the stud were to attach the wheels so I ended up drill through the fork and using a cut pin as the axle. Finally, was able to set it on its wheels only to find one wing sat about 4mm higher than the other. I ended up adding a spacer under one wheel to even it up, and added the wheel stops to hide it. I am betting the off wing is due to breaking it when I dropped the model.
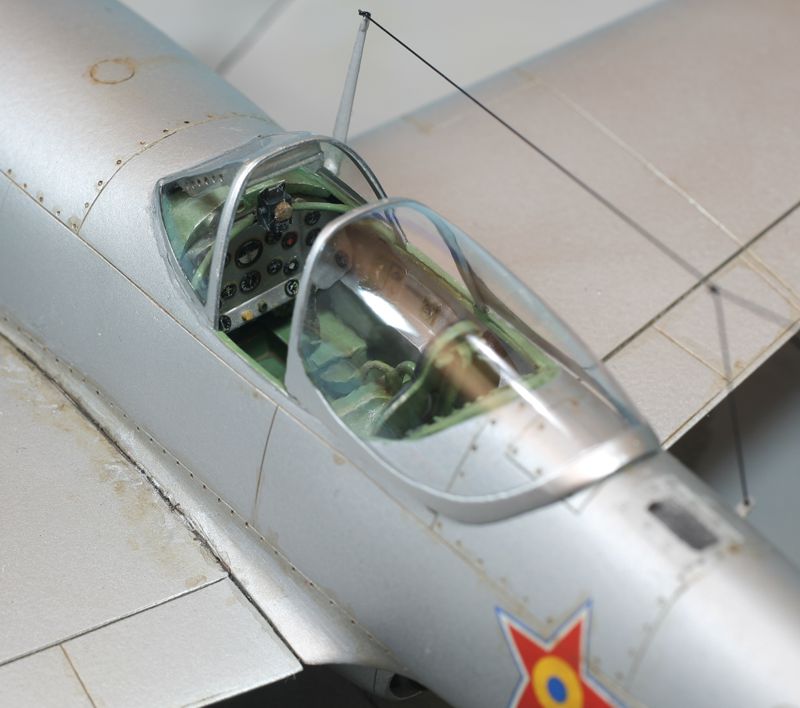
The last things to be attached were the canopy parts, gunsight and antenna. The vac canopies were nice and quite clear. I dipped them in a Future alternative, Holloway House “Quick Shine.” It is not acrylic, though, but worked well. Note Planet Models figure you are going to use the canopy shut as there is only a thin frame between windscreen and canopy. To get mine in open state, I used both canopies and cut one with the frame on the windscreen side and the other on the canopy side. Also, the vac parts once cut splayed much wider than the cockpit opening. I glued a thin strip, painted Tamiya AS12 silver, to the inside of the frame of both windscreen and canopy, let them stick out at the bottom a bit, then carefully carved out notches around the canopy opening to sit the canopies in. That made for a nice secure way to sit the canopies and they fit pretty well.
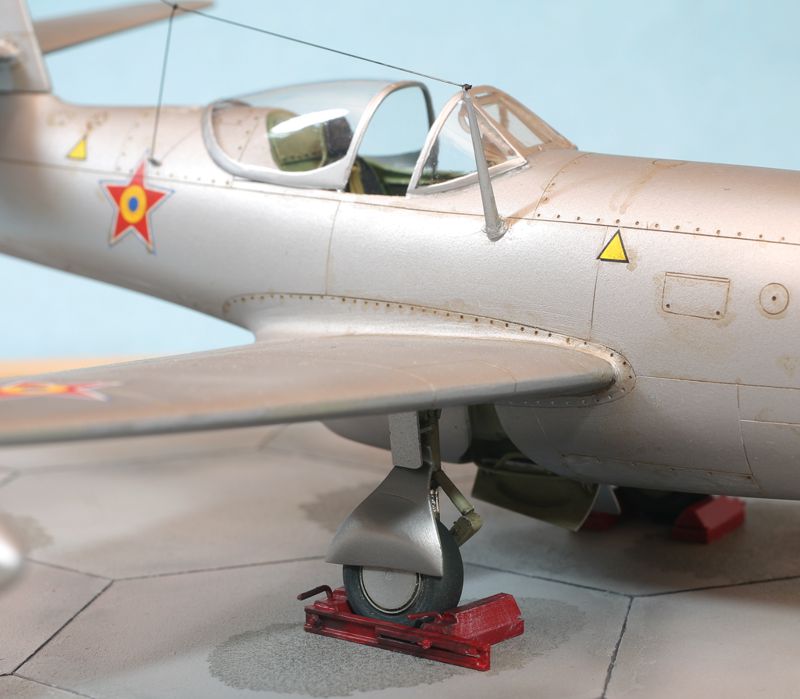
Last was the antenna, which was made with ModelKasten stretch thread.
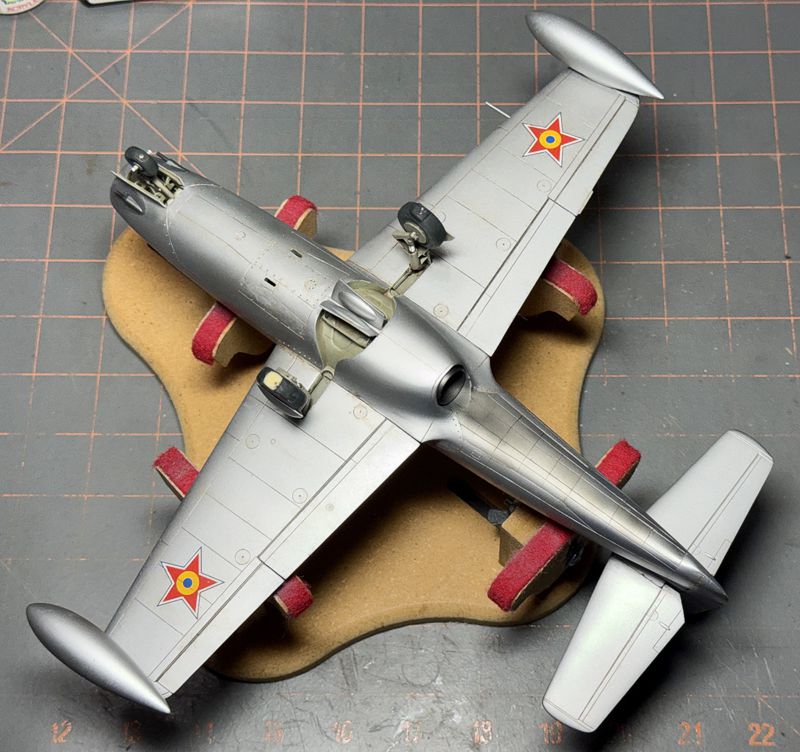
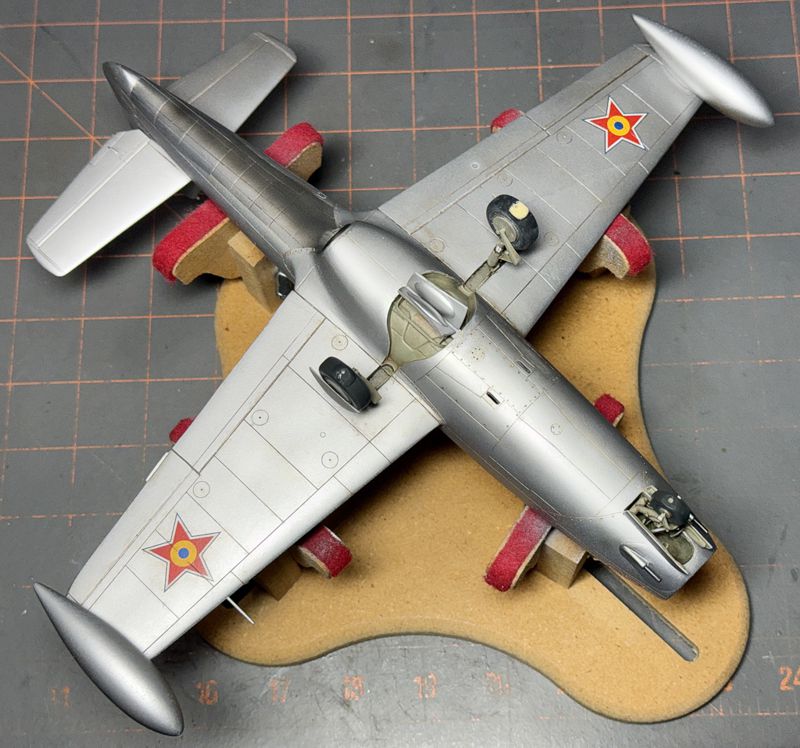
And finally we are done! Thanks for following!
© Ray Peterson 2026
This article was published on Saturday, November 21 2026; Last modified on Saturday, November 21 2026