
What to Do After You've Cut the Nose Off an Azur D520
By Suresh Nathan
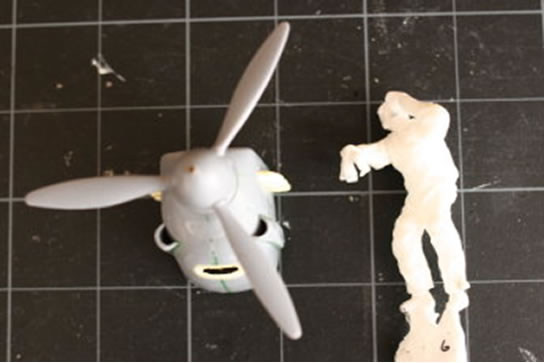
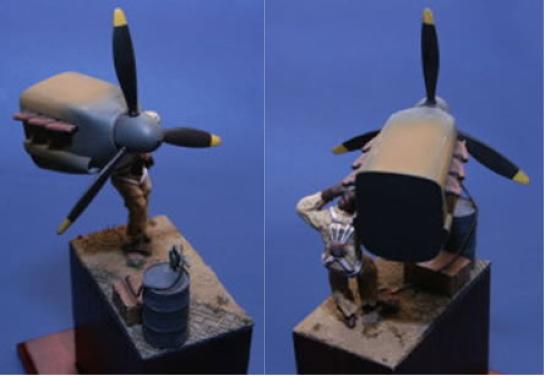
I had begun to build the Azur 1/32 D520 with the Contact Resiné upgrade when I realized what a shame it would be to discard the nose section of the plane. My solution? Sculpt a Vichy pilot and create a vignette around the prop assembly.
I thought it would be cool (and somewhat surreal) to place the pilot as if it was leaning against the plane when it was actually supporting it. Here's how I did it.
Research
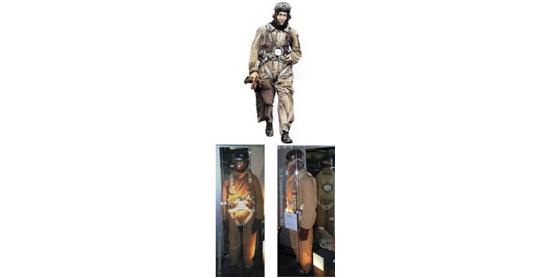
Done!
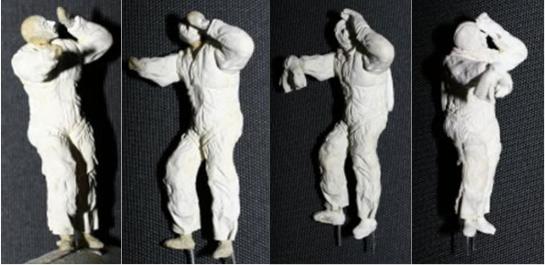
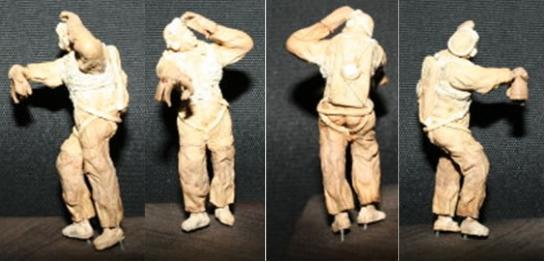
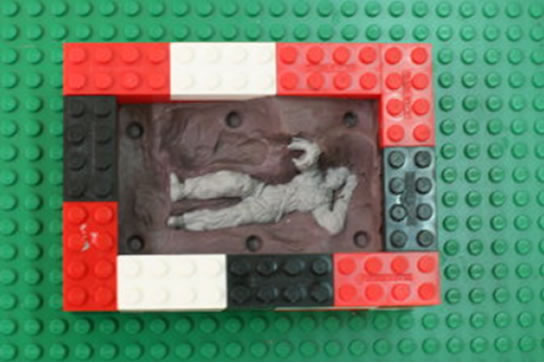
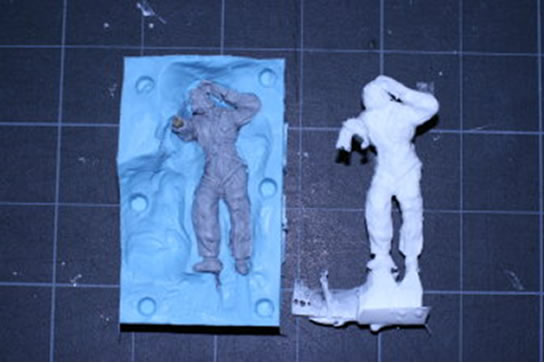
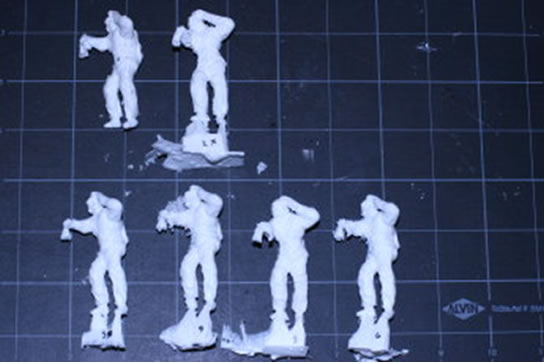
Sculpting
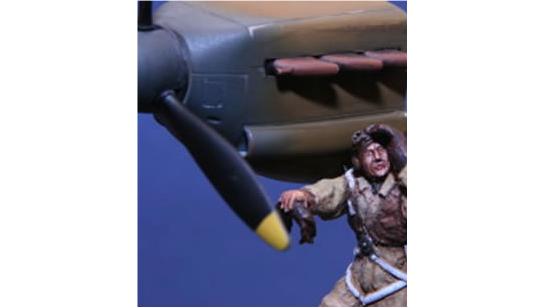
The steps are as before. The Vichy uniform was especially loose with oversized gloves. The helmet should stick out more but it just looked too weird so I sculpted it back down (call it artistic license). I then casted a few copies as I foresaw putting this figure in a display with the completed (whole) D520 – very surreal. I've noticed when casting that the first few tend to be rough (as release agents, debris, etc gets picked out of the mould). From the second casting onwards the figures became useable.
Nose assembly
This was sealed off in the back with plastic card. Primed, pre-shaded and painted. Washes, drybrush and silver-paint chipping completed the effect - pretty basic stuff.
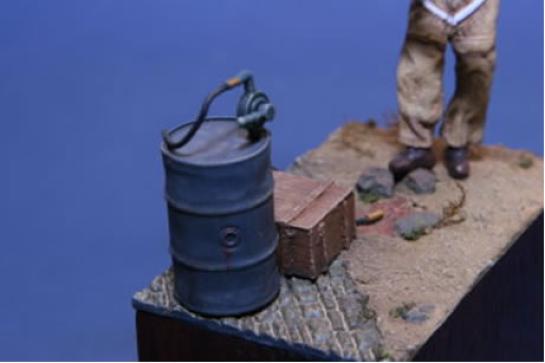
Base
I have a few of these handy. I put a side strip of cobblestone from the spares box and finished it with Milliput groundwork and foliage. The fuel drum, pump, box and hose (with spilt fuel) completed the base and gave adequate balance to the piece.
Finishing
I generally use a mixture of media capitalizing on drying times and incompatibility to allow me to coat and weather in one sitting. In general, enamels were used on the nose, Vallejo acrylics on the base and Winsor and Newton oils were used on the figure.

With a bit of cropping, looks like the whole plane is there. Lots of fun this!
© Suresh Nathan 2006
This article was published on Wednesday, July 20 2011; Last modified on Saturday, May 14 2016