
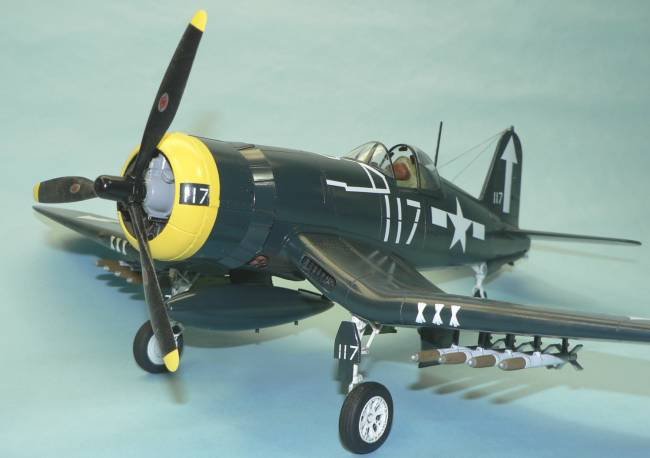
21st Century Toys Chance Vought F4U-1D Corsair
By Bill Dedig
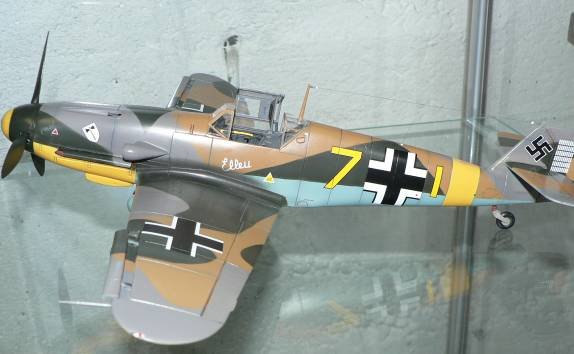
This is my second project regarding this group of models. The first project was the Bf 109F kit. I constructed this kit straight out of the box with only a few panel lines scribed and a few scoops removed.
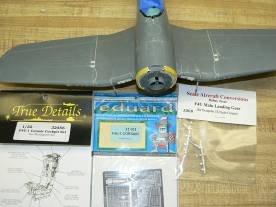
The Corsair Project involved detailed scratch building & numerous aftermarket items:
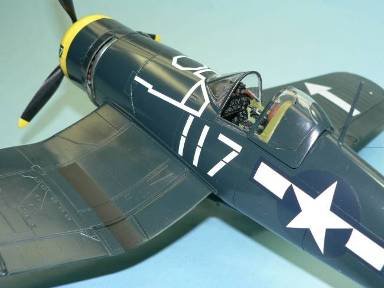
- True Details interior
- Metal Landing gear
- Scratch-built Landing gear linkage
- Scratch-built control linkages
- Scratch-built wheel well details
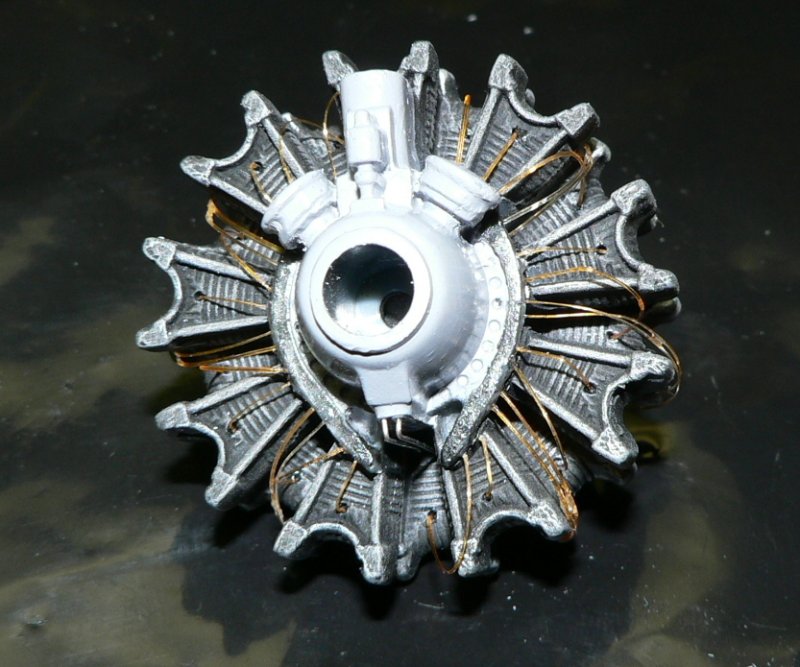
- Enhanced engine & wired
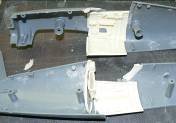
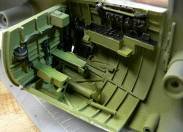
Construction started with the resin interior, and this needed quite a bit of modification to fit. The end result was greatly satisfying.
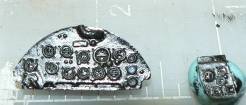
The cockpit panel was from True Details but I used Mike Grant instrument decals for better results. Much surgery was needed to get this installed

I pretty much start most projects with a wind-screen Future process. This allows plenty of time for the Future to cure.
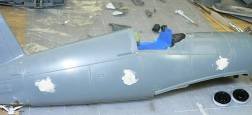
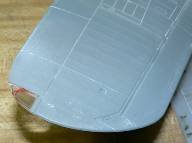
I painted the fuselage interiors and attached both sides. I had to modify the conning section to allow for the True Details resin conning. I also drilled some holes in the tail gear section to more accurately represent the tail wheel linkage. I attached both wing sections and began the task of filling all those 21st Century inserts.


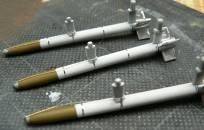
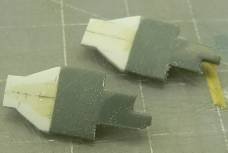
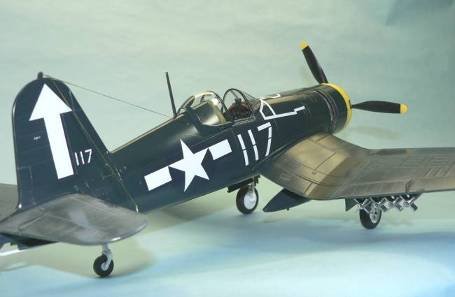
While these were drying I detailed the missile armament, as I was going to build a ground attack aircraft during the battle of Iwo Jima. These were nice and I only added some details and paint to enhance them.
I attached the wing section to the fuselage and then the outboard wings to the inboard section. I had decided not to have any fold as the section was totally wrong. I filled and re-scribed the wing area near the fold to try and correct. I used the kit wing light clear parts but drilled them out and added green and red “bulbs”. I used clear epoxy to attach and blend into wing. I cleaned up the engine and redefined some of the engine details before adding some wiring to enhance the engine.
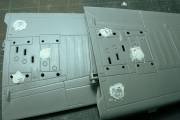
The landing gear and gear bays are the most incorrect items in this kit. I used metal landing gear from Scale Aircraft Conversions but I still had to construct the linkage and correct the gear bays. The front gear doors were incorrect and had to be reconstructed.
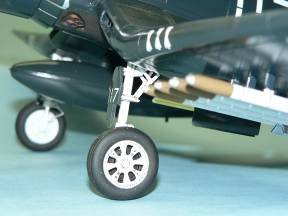
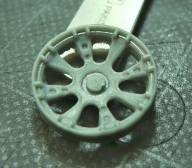
I did use the kit wheel and tires but I modified the wheel by removing the material from behind the spokes.
Enough of the small details, after adding these all together you get a pretty nice 1/32nd Corsair. As I have said to the guys in the club, I would rather add aftermarket to a $9.97 kit, than a $50.00 kit.
© Bill Dedig 2007
This article was published on Wednesday, July 20 2011; Last modified on Saturday, May 14 2016