
Hasegawa 1/32 P-51D Mustangs Part 3
By Chris Novak
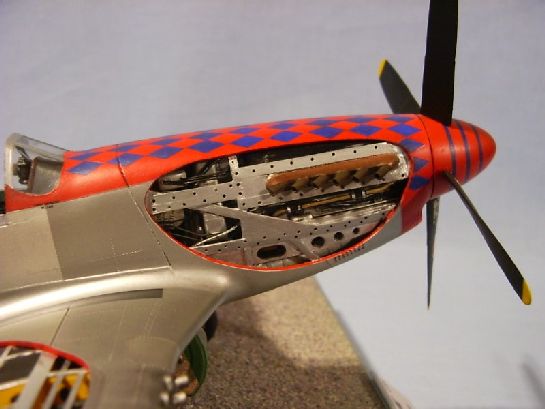
Then the hardest part had to be started: the NMF. As stated before I had a little experience with NMF from my last jug builds including a full foil job on "HUN HUNTER XVI", but this time I decided to give those famous ALCLAD colours a try ,anyway some panels were done with BARE METAL" foil too to reach a bit more "realistic look". This was my first time with ALCLAD and I can highly recommend this stuff (although it´s horrible expensive here in Germany). Here are the steps: After the bird was primed with TAMYA white filler from a spray can the whole plane was coated with a good looking and bright silver from a car-colour-scala, for example Mercedes, as a basic colour (this is where some use black as a undercoat), applied from a normal spray can. Then ALCLAD in three different shades is applied with an airbrush: ALUMINIUM dark first , then some panels were masked and a second coat of ALCLAD applied, this time WHITE ALUMINIUM, then some more panels were masked and a final coat with ALCLAD POLISHED ALUMINIUM were sprayed.
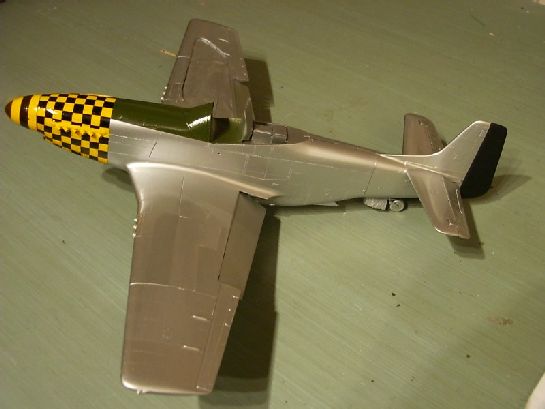
Now I had a complete Aluminium bird with different shades, but to get it look more like the real one I applied BARE METAL FOIL in two shades - Aluminium and Chrome - on some panels on fuselage and wings. After the foil was applied the whole bird gets one or two coats of normal high-gloss to prevent the surface from any accidents while further handling. With this method i achieve a very satisfying result and I dont have to get headache from thinking about how to get the foil around difficult areas like wing roots and others ´cause this areas are only ALQLAD.

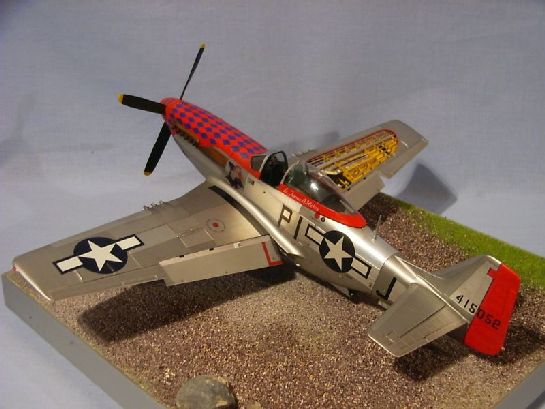
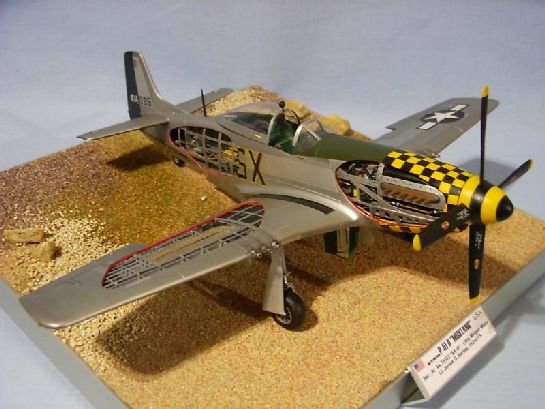
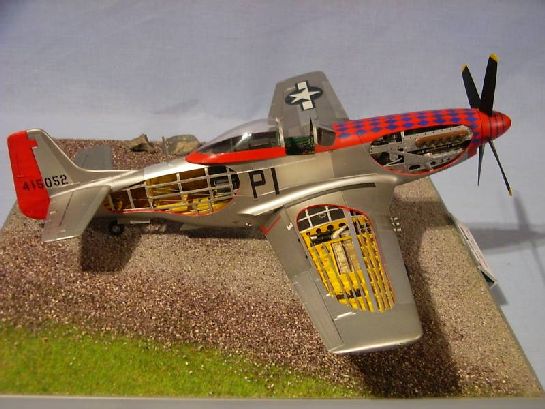
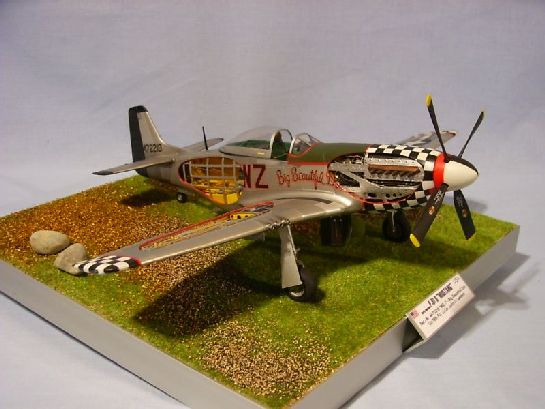
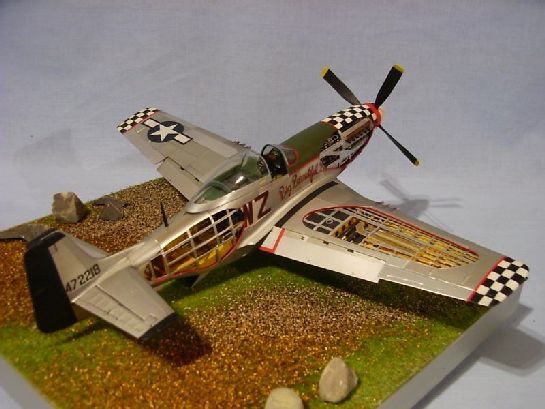
After the coat of high gloss has dried for a few days the next hard part has to be done,means: the ckeckerboards. They are all handpainted with a 000-brush, in several sessions , doing colour one, colour two, colour one, colour two to get correct and sharp checkerboards. Decals and markings for "Bartley" (yellow/black) and "Hickey" (red/blue) are self-printed on clear decal-paper, applied and then corrected by hand with an 000-brush. Decals for BBD are from an LSP er (sorry, forgot his name, but anyway a big thanx!). After the decal-job was done the whole bird was coated with semi gloss from a normal spray can and after letting them dry for a few days finally a coat of clear-furniture wax, lightly coloured with some black and umber powder-colours, was applied with a cotton fabric which gives the following results.
1st the coloured wax gives a kind of weathering including "darkening" the panel lines
2nd the wax coat can be polished to the gloss-grade you prefer.
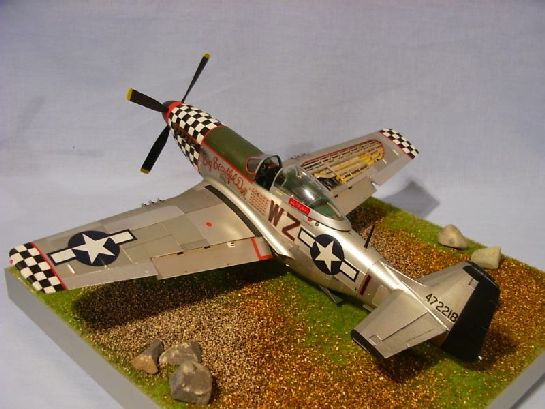
3rd the wax gives a very special kind of "deepness" which makes this NMF look very, very realistic (unfortunately not really captured by the pics).
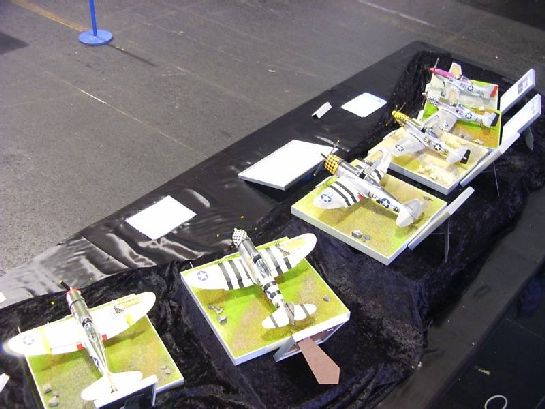
This three Stangs are my best NMF results, and a few more silver birds are planned (for example a Blue noser, a Yellow noser...)
Here´s a short shot of the combined "Mustangs & Thunderbolts" display (sorry for the bad lighting, but silver-birds are hard to photograph) at the expo, thanx for the nice comments to all LSP´ers while the online build, hope you enjoyed this project like I did.
© Chris Novak 2004
This article was published on Wednesday, July 20 2011; Last modified on Saturday, May 14 2016