
Tamiya 1/32 A6M5 Zero
By Flip Hendrickx

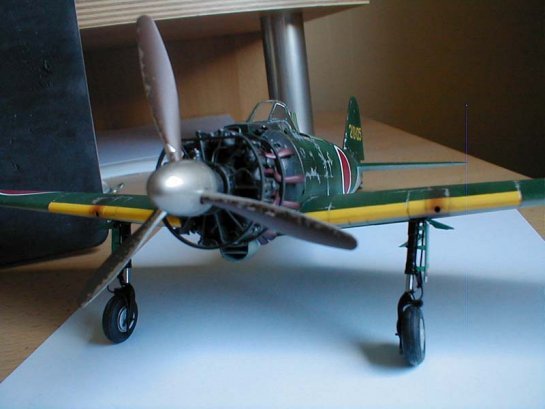
These are picture of my Tamiya Zero. There is some aftermarket stuff available for this bird, but considering the fact that this kit is already very complete as it is, I decided to build it right out of the box. First thing that struck me after opening the box and inspecting the spruces, was the superb level of detail on the parts. This is, hands down, the nicest kit I have ever seen.
Construction
Besides the "plastic" parts, there is also a lot of "hardware" (plastic/metal landing gear legs, photo etched hinges and buckles, metal rod, landing gear door hinges, nuts and screws,...) Construction is pretty forward and is divided into several large subassemblies. As I was going to build this kit out of the box I decided to follow the construction manual (this is unusual for me :-)
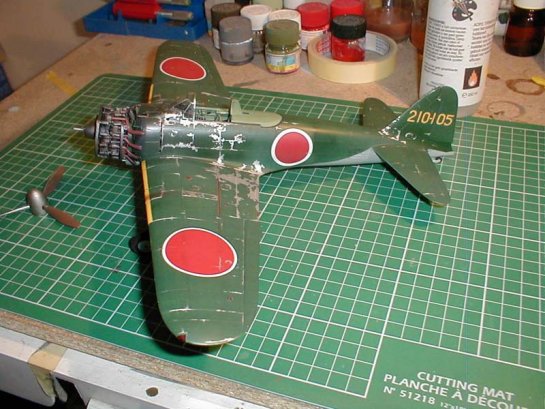
I found this kit an easy build. One only has to pay extra attention when building up the landing gear bays and during flap and rudder construction. Before closing up the wing I already painted the wheelwells. To simulate the blue-ish aotake paint, I first sprayed a coat of Tamiya Titanium silver. Once this was dry, I mixed up 2 parts of tamiya clear blue with 2 parts of Tamiya clear green and sprayed a very thin coat over the silver.
Painting
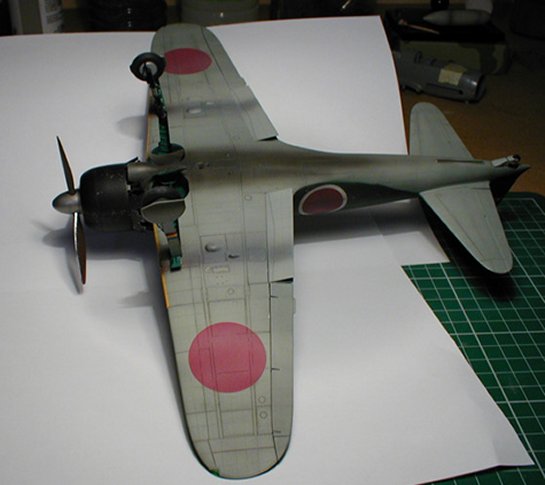
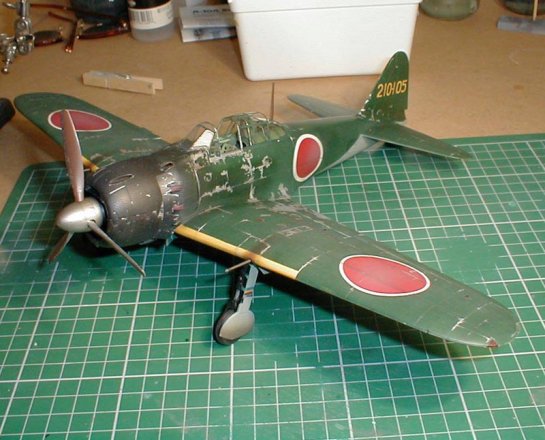
I wanted this plane to have a "used" look. I pre-shaded the model, using Tamiya Flat black. After that I painted the underside of the plane using Gunze IJN grey. Once this has dried I painted the rest of the model with Tamiya IJN dark green. I sprayed very thin coats so the pre shaded lines would show through. During the painting process I gradually added Tamiya smoke and a bit of tamiya flat white to the mix.
After the paint dried, I shot the model with 2 coats of Tamiya clear. 48 hours later it was time to decal. I decided to use the kits decals, but I regretted that choice later on. Tamiya decals are very, very thick and I had to use gallons of Daco decal setting solution (very strong stuff!) to get the decals right. As a matter of fact, even after this treatment some of the decals did not sink into the panel lines. In the end, I pulled out a new blade and traced the panel lines. After this I applied some more undiluted Daco solution et voila..! Hinomaru's that looked like they where painted on :-) The next day I sprayed the model with another coat of Tamiya clear.
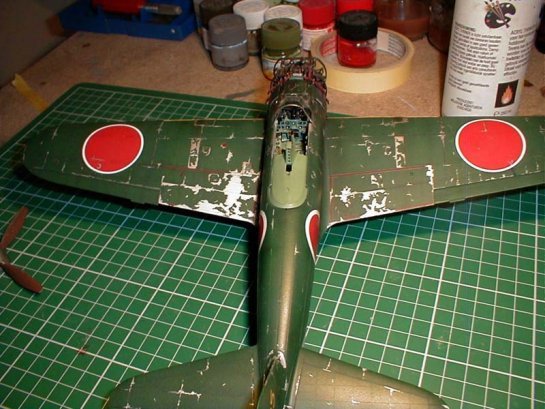
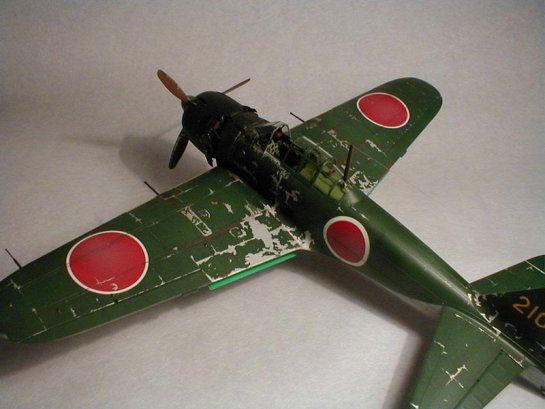
Weathering
Since I wanted this model to have a "well" used look, I would have to chip the paint. I have seen a lot of chipped Zeros, but often the chipping does not look real because it is chipped "at random" Most of the time, chipping starts around access panels, panel joints and intersections, walkways, etc. I found some nice Zero pictures in an old book and used those as reference. I simulated the chipping with Tamiya X-11 applied with a fine brush. It took me 2 days to complete the chipping phase. The problem with Tamiya X-11 paint is that it takes a century to dry, as I was about to discover... After 2 days I thought it would be ok to give the model another shot of Tamiya clear to seal the chipping. I picked up the model and put it on my workbench. Then I noticed that there was silver paint on my finger and thumb...ohhh noooo, the silver paint was still wet! I left 2 juicy finger marks on the left wing. Carefully, I removed the paint with a soft cloth dampened with turpenoid. I managed to clean it up and after this I re-chipped the wing. After this mini fiasco, I put the model aside for about 2 weeks. This time the paint was fully cured and I sprayed the model with a coat of Tamiya clear. Next came the oil wash and last but not least I sprayed the exhaust stains with a mix of Tamiya smoke, oils, dark grey, and Gunze soot. A coat of Tamiya flat concluded the painting process. I'm quite happy with the result, although I know I made some mistakes here and there. I can't wait for the next Tamiya 1/32 release (hopefully a Corsair or a Dora) In the mean time I left the shake'n'bake path. I'm now working on a Revell P-47 Razorback using Jerry's stuff and a Technics engine. To prevent madness and to give myself an out, I also have an Hasegawa Bf 109G-6 on the worktable.
© Flip Hendrickx
This article was published on Wednesday, July 20 2011; Last modified on Friday, February 03 2017