
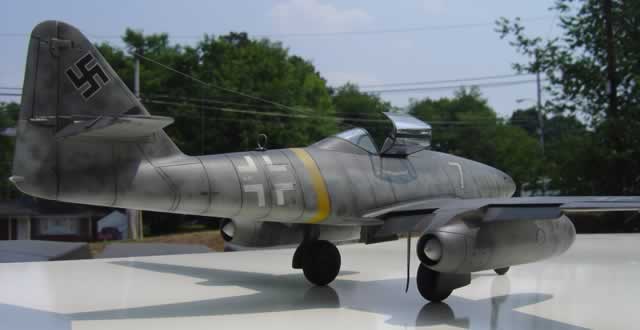
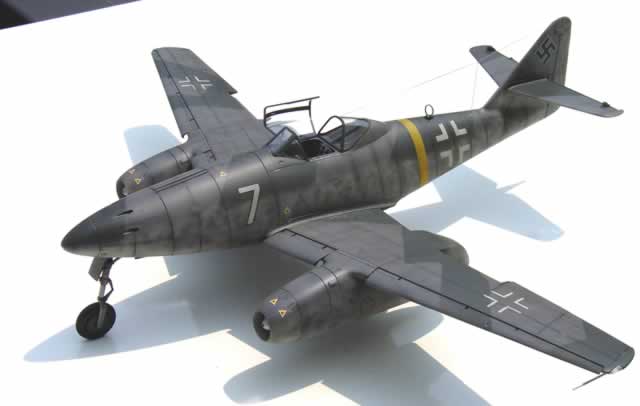
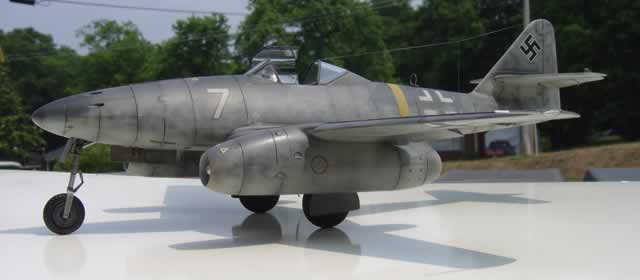
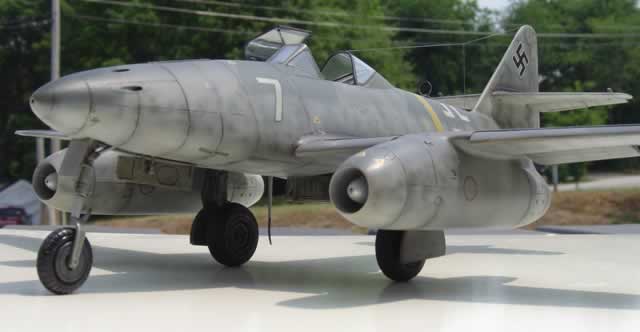
Trumpeter 1/32 Messerschmitt Me 262
By Rob Colvin
All I can say is what a great kit. I built mine straight from the box. It was a pleasure to build. I personally could have done without the clear engine pods and radio gear. To each their own...
Cockpit
There are quite a few parts involved here. The kit has separate throttle handles and fuel cocks. It is more than adequate out of the box, but it can spruced up with resin, and wiring. This would also include the main wheel bay.
Gun bay/Radio Hatch
Trumpeter gives a nice gun bay, it is missing 2 ejection chutes for the top mounted 30s, but since I was going to do a line jet it did not bother me. I put all my nose weight in the gun bay for ballast. I also found by removing the interior ribbing the gun bay door helped with a clean fit to the fuselage. I needed no filler in this area. The same technique was used for the radio hatch. Take care when removing the framework it is easier to take away than to put it back. I had to be careful as I am a bull in a china shop.
Engine Pods
Take care here when assembling the engines and pods. Make sure you fit everything together carefully before you glue it. All of this can play in for the engine to wing fit, not to mention if you have to sand the parts significantly some detail can be lost.
General Assembly
Once you get through the above mentioned steps it is a piece of cake. Like all builds watch the wing to fuselage fit. The control surfaces, slats, and horizontal tail planes all fit great.

Landing Gear
I will make a point and say...use the metal gear. I used the plastic gear, and my kit has the wobbles.
Paint, Markings & Weathering
The kit was painted with Gunze Sanyo paint. Markings were from Aeromaster, and a Hasegawa Bf 109 kit. It was weathered with a combination of oils, pastels, pencil, and very thin paint for shading. This model depicts Herman Buchner's aircraft.
Conclusion
Highly recommended, This is easily one of Trumpeters best. I used very little filler. There were no major fit issues and it looks like a 262. I am looking forward to another one down the road. Just be careful, try fit all the parts before gluing and take your time.
© Rob Colvin 2006
This article was published on Wednesday, July 20 2011; Last modified on Saturday, May 14 2016