
MPC 1/24 Bf 109E - Part 1
By William Joyce
Before jumping into the JUG I decided to tackle another old kit the 109. This is another kit my cousin sent me to build so this is my Cuz II effort, my Stuka build (previously on LSP) was number I. OK on with the build.
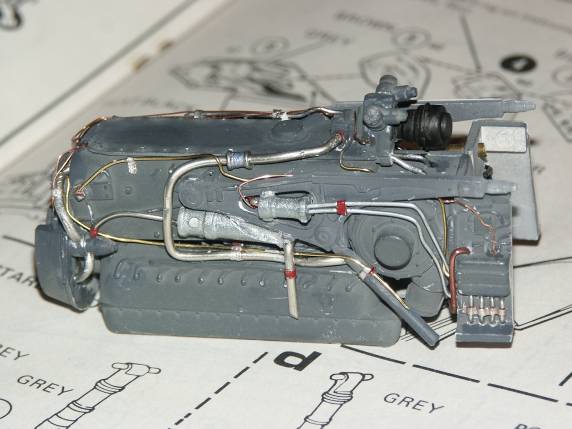
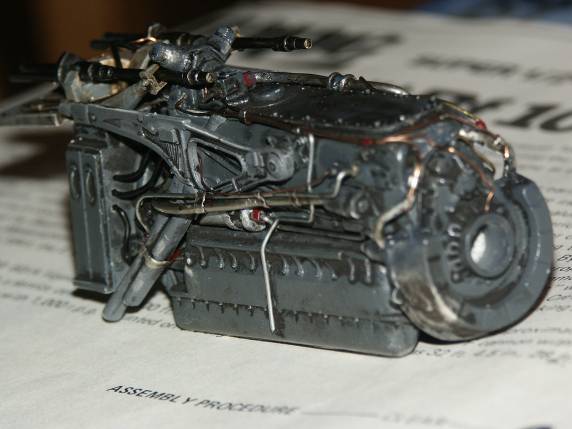
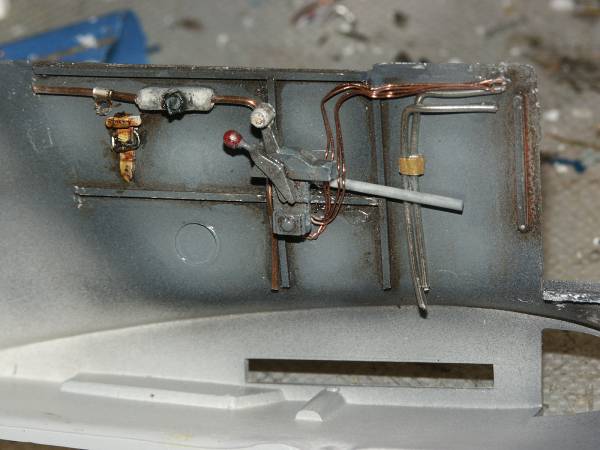
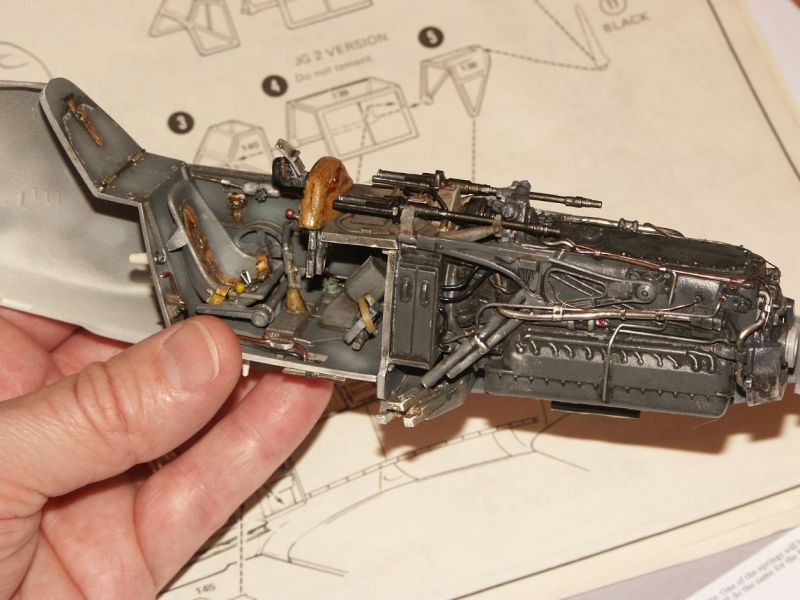
Engine
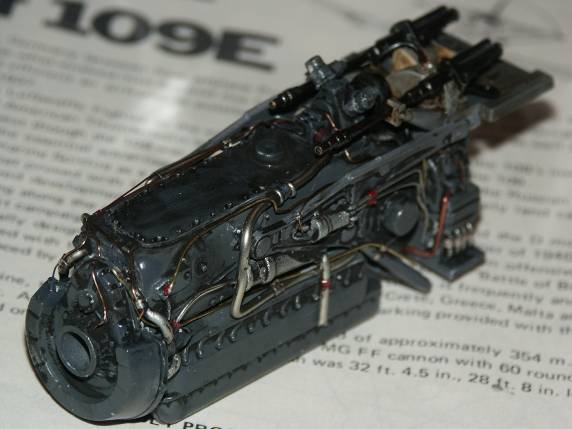
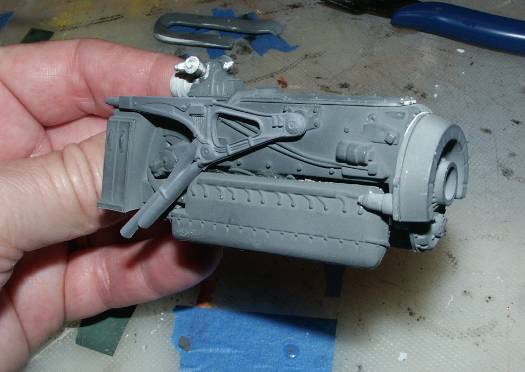
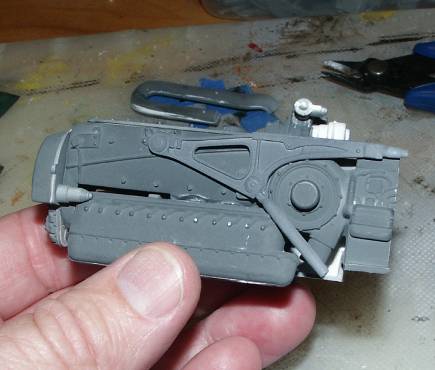
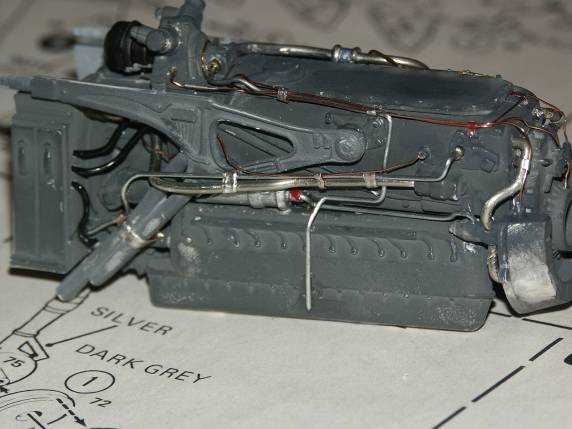
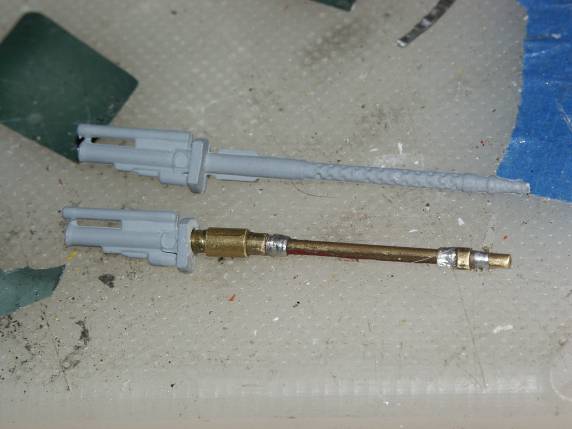
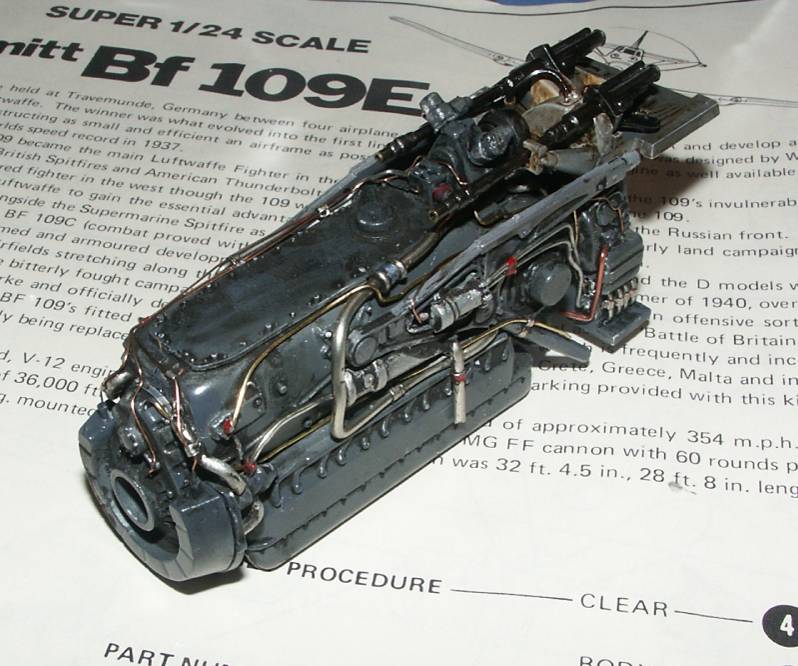
The engine went together quite well. I added plumbing consisting of solder and wire of various gauges. I pulled out my LSP and other reference material and went to town. I painted different parts of the engine different shades of grey. Once finished with the plumbing I Futured then an oil wash was applied to bring the engine to life. For the gun barrels I used brass tubing and foil for transitions. The kit guns were OK I just like the sharpness of brass tubing as it looks more realistic, finished off painting them gun metal.
For this kit the bottom of the engine will not be visible therefore no plumbing added there. One aspect I liked was that the engine block and firewall were molded as one unit therefore no voids to fill.
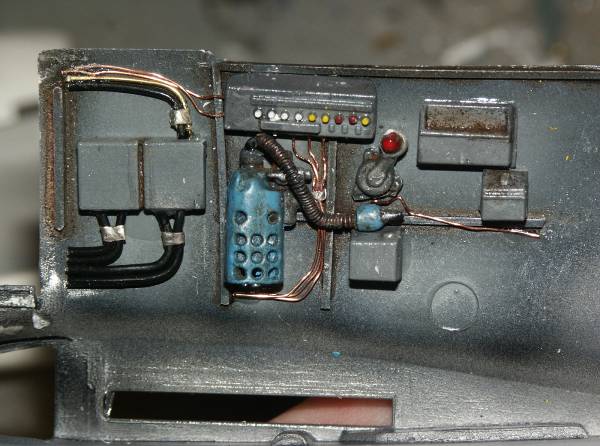
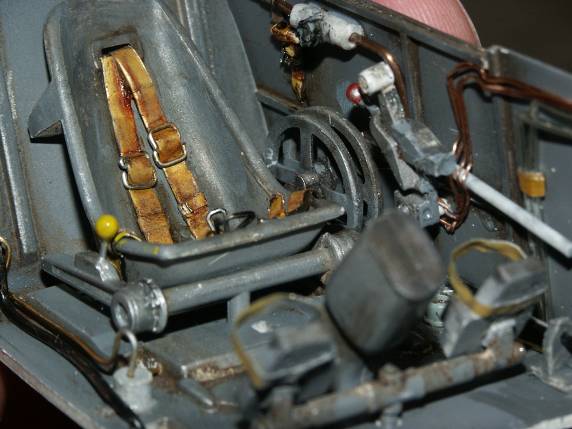
Cockpit
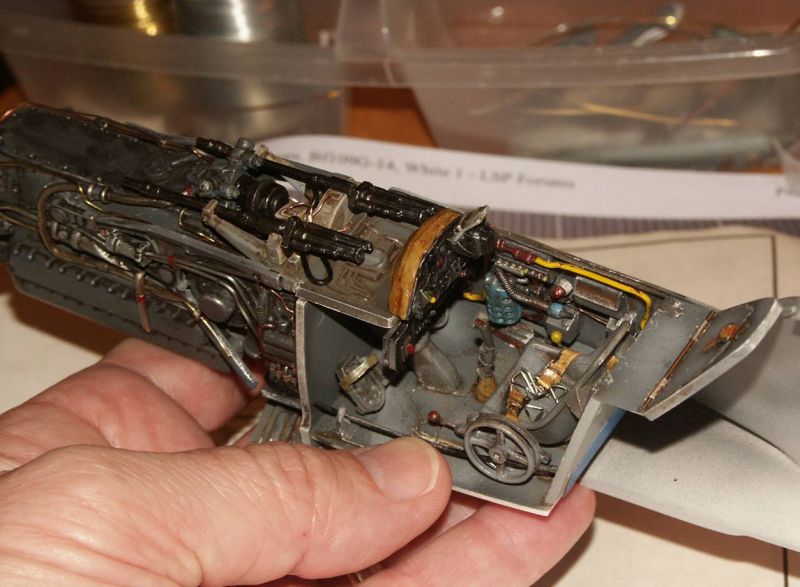
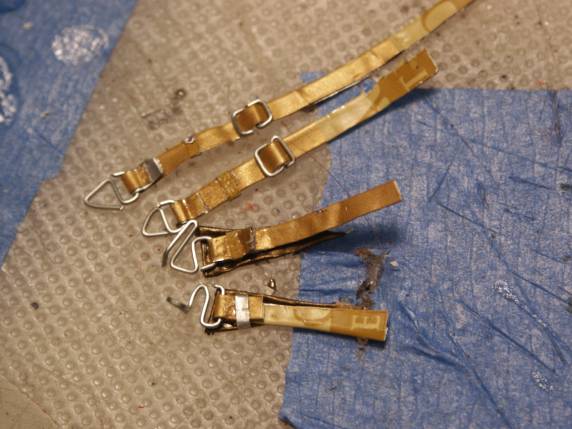
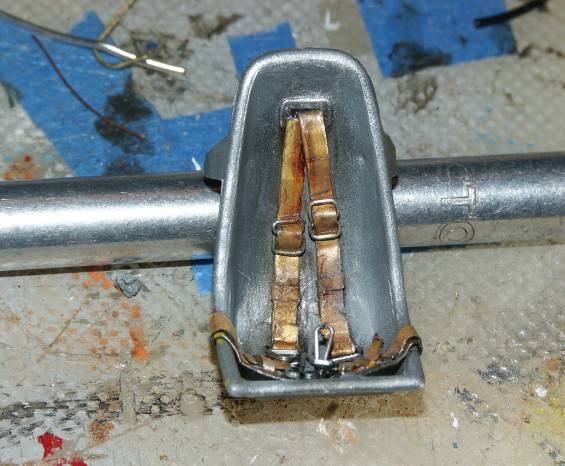
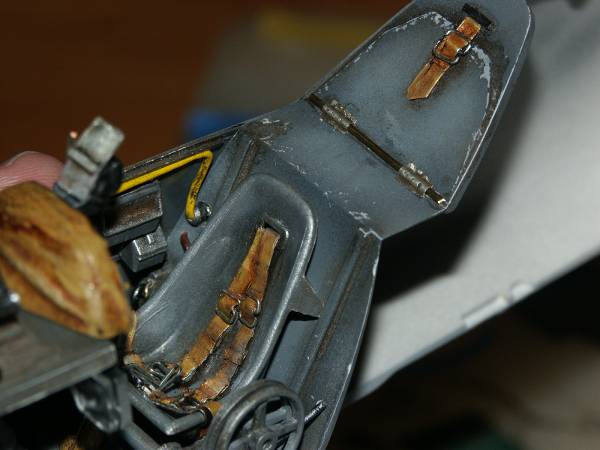
The control elements, throttle, radio, etc were all molded as one piece for each side so I started by separating all these components and rebuilding the fuselage walls with strip styrene. Seatbelts were made out of foil, the buckles were fabricated from staples, and I also added a brass rod with foil hinges and enhanced the strap to the access compartment behind the pilot seat. Added cockpit wiring then all surfaces were primed, preshaded and then oil washed. This is the first time I have preshaded the cockpit, I would recommend to all. One has to remember from the final vantage point (from outside the models cockpit) it’s hard to see all the added detail so whatever one can do to enhance contrast makes it easier for the eye to pickup...a lot of grey in them German cockpits!
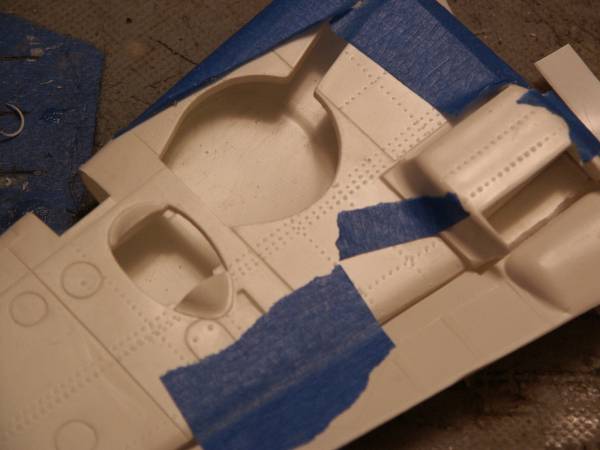
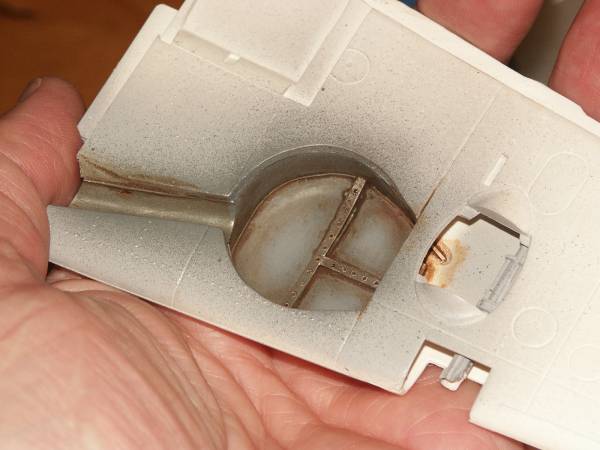
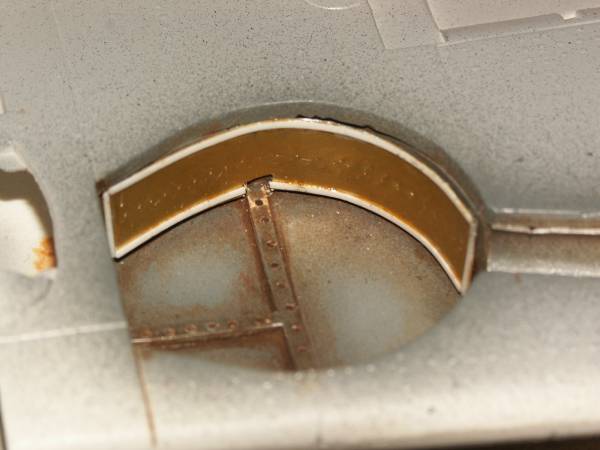
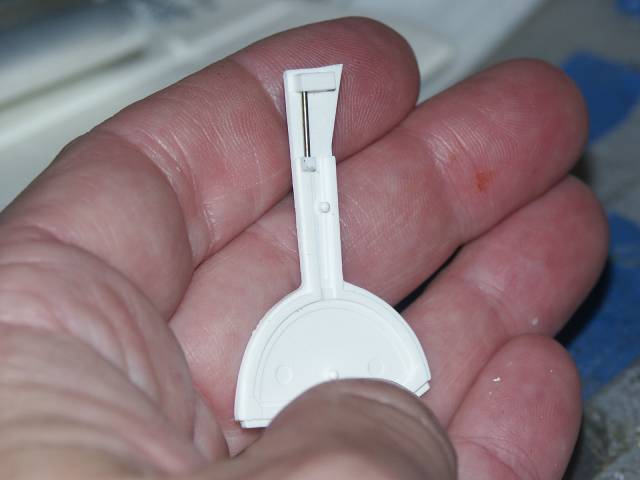
Wing Sections
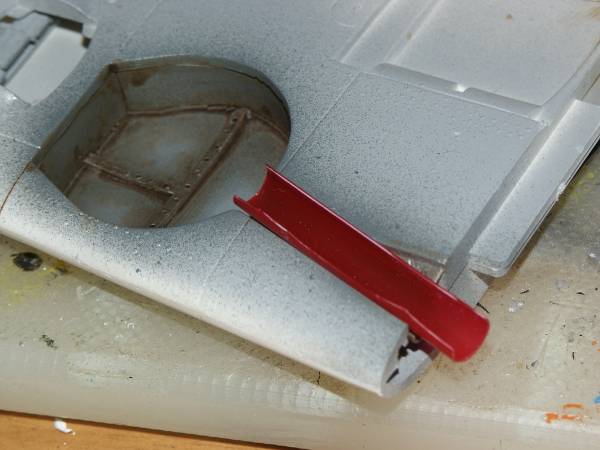
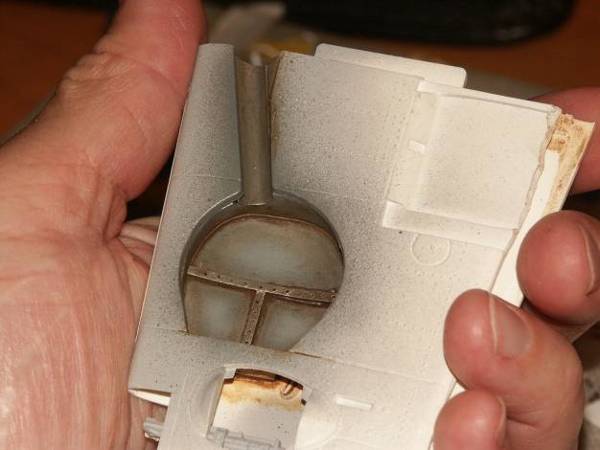
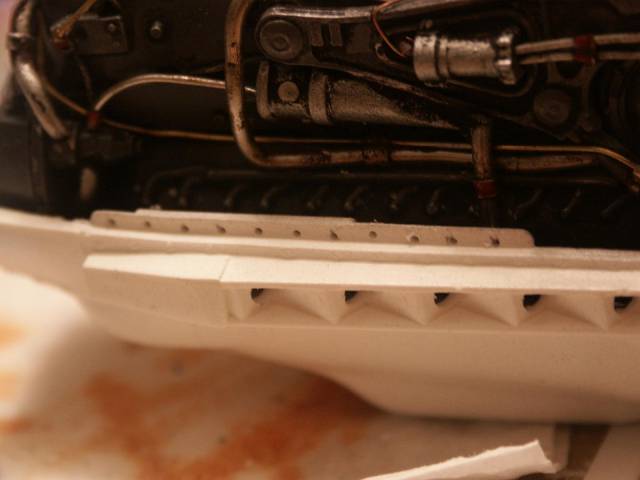
I wanted to display the kit with the flaps in the down position, but of course, the flaps were molded as part of the wings therefore time to start cutting. Once I had separated the flaps I inserted dowel styrene and Dremeled a bit here and there to manage the fit and the modification turned out pretty good. The wheel wells are typical of these old kits and were void of detail. I built-up the walls with sheet styrene and a straw, yes a straw. I had an idea and took my son down to the Jiffy Mart for an ICEE (Blue Raspberry to be exact) and once he was through I used the straw for the semi-circular section between the fuselage and the wheel well. I just cut it down the center and the fit was perfect. Those ICEE straws (the red ones) are a bit larger in diameter than soda-pop straws (the white ones). Finished off with strip styrene drilled to represent rivets and painted grey (pre and post shading) and weathered with and oil wash.
Researched showed the bulkheads were lined with fabric so foil and strip styrene were applied.

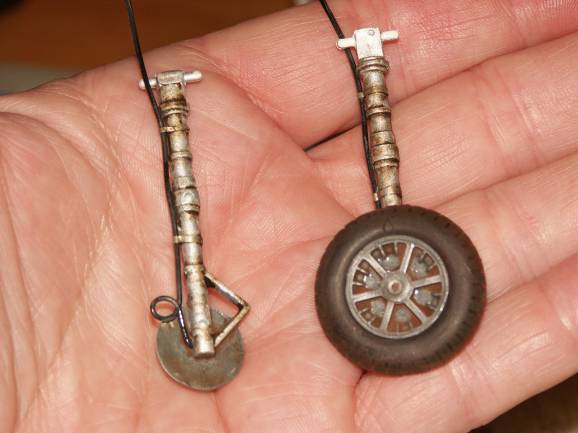
Landing Gear
All I added here were break lines (black wire), then simply painted silver and weathered with an oil wash.
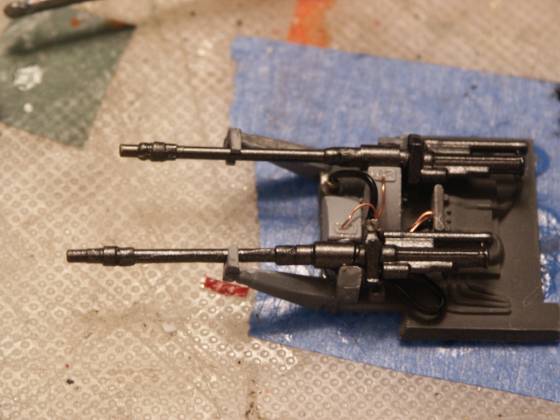
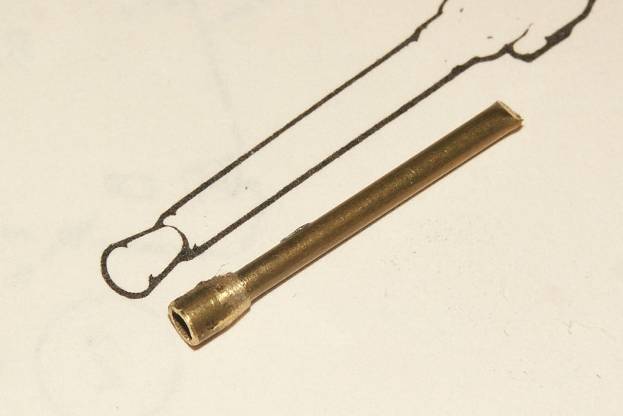
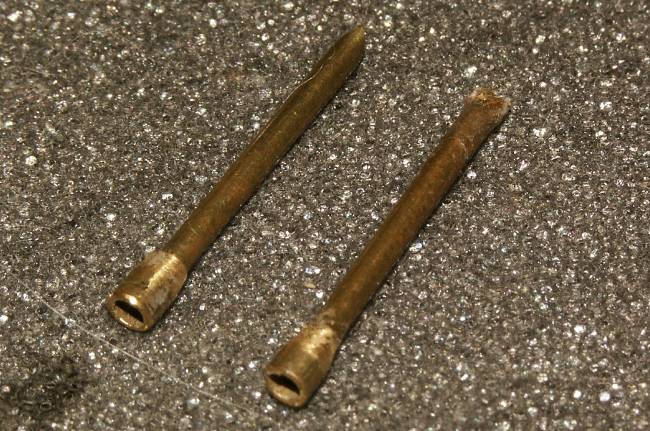
Wing Guns
Here I used brass tubing once again with a piece of larger tubing tapered with the Dremel for the end treatment.
Odds & Ends
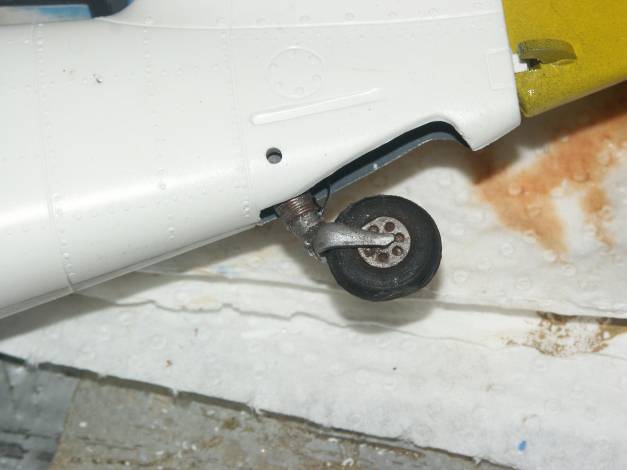
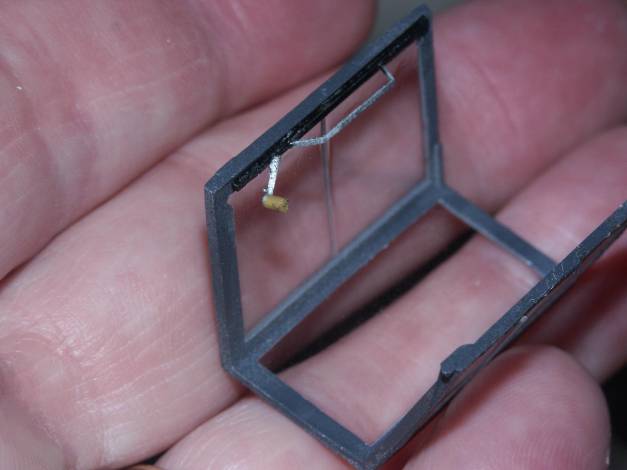
The tail gear received wire to enhance the shock absorber and a piece of styrene as linkage. Strip styrene was added to the front canopy section per reference material. A canopy handle and lever were added to the center section. The existing engine cowling mounts were drilled out along with the exhaust.

Next button up the fuselage, attach the wings, tail sections (do some filling and sanding I’m sure) and then break out the airbrush. Man I love the airbrushing of a kit. I’m really looking forward to the challenge of a German camo paint scheme especially the weathering of the surfaces that are not one color...we’ll see.
© William Joyce 2012
This article was published on Monday, September 24 2012; Last modified on Monday, May 20 2013