
HK Models | 1/32 B-25 'The Strafer'
Reviewed by Rick Bellanger
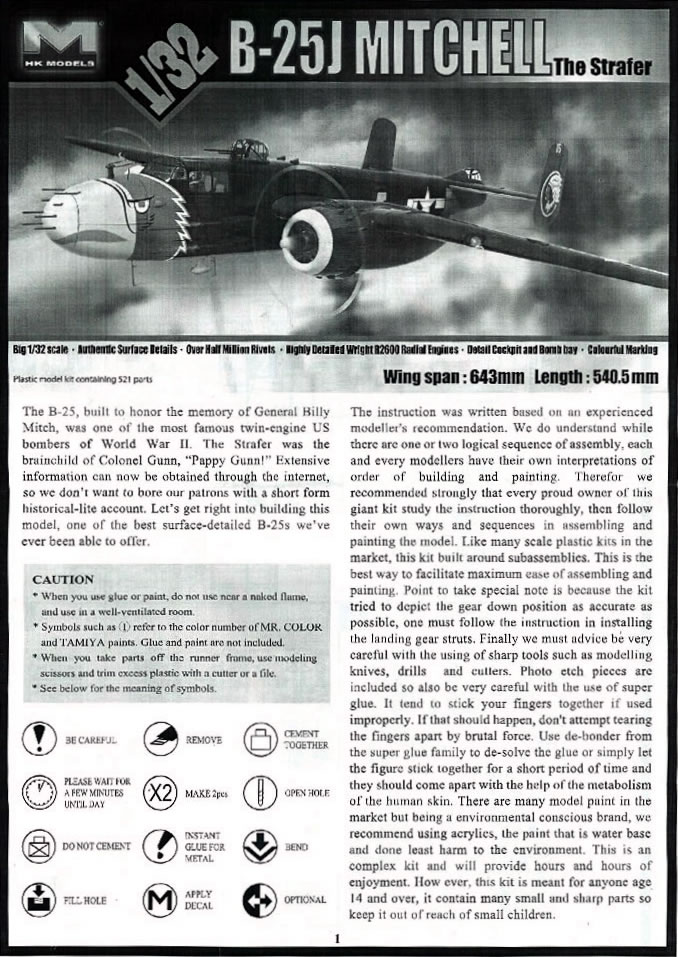
HK-Models B-25 "The Strafer"
Reviewed by: Rick Bellanger, IPMS #35220
Scale: 1/32nd
Company: HK Models
Product Number: 32 01E02
Suggested Retail Price: $169.95
Company WEB Site: www.hk-models.com
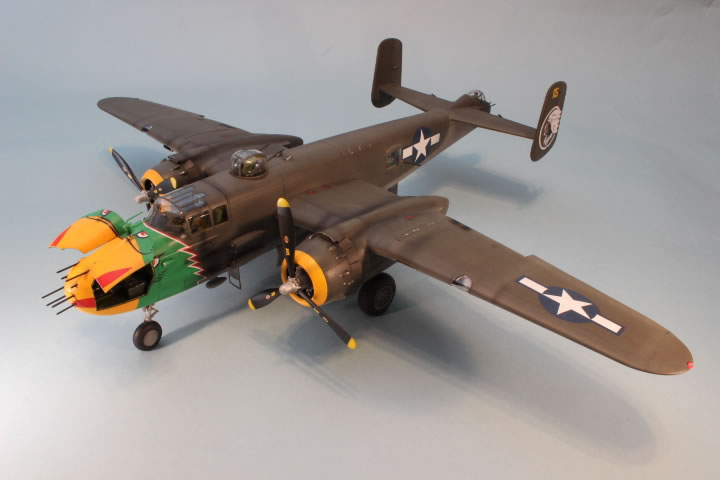
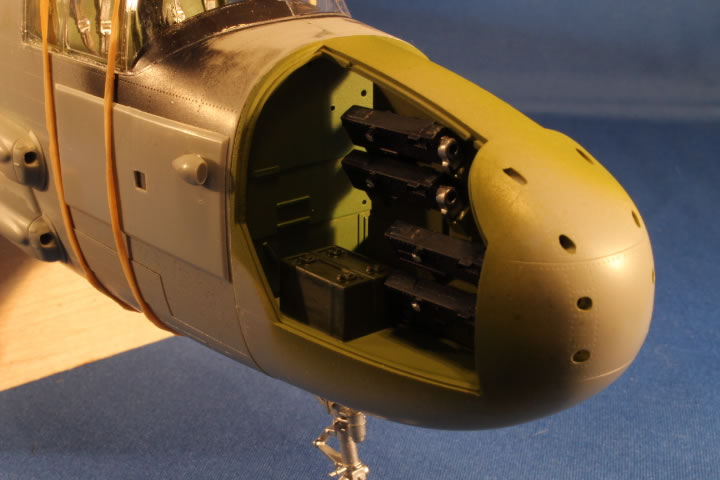
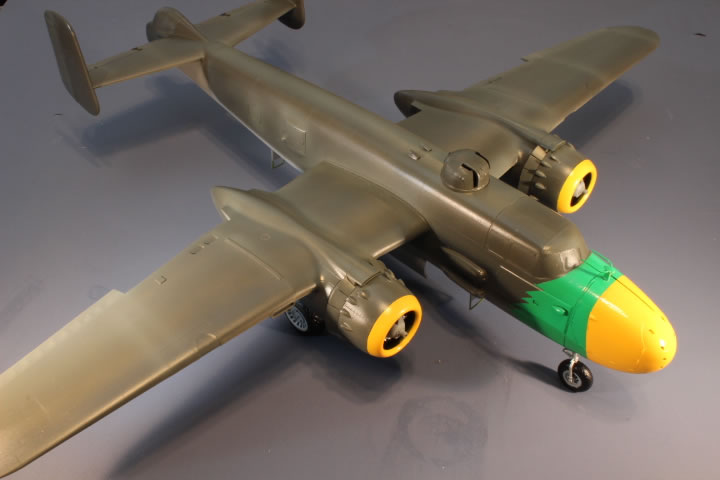
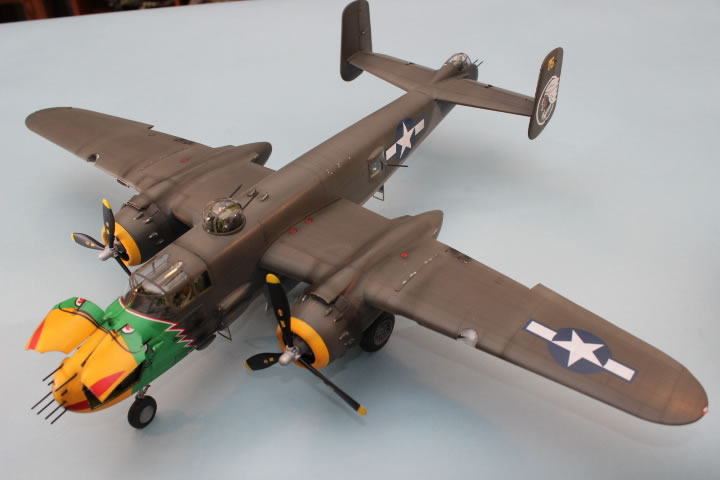
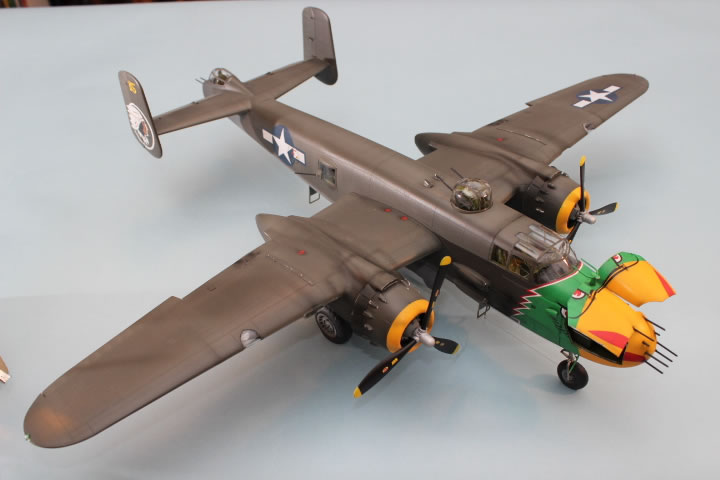
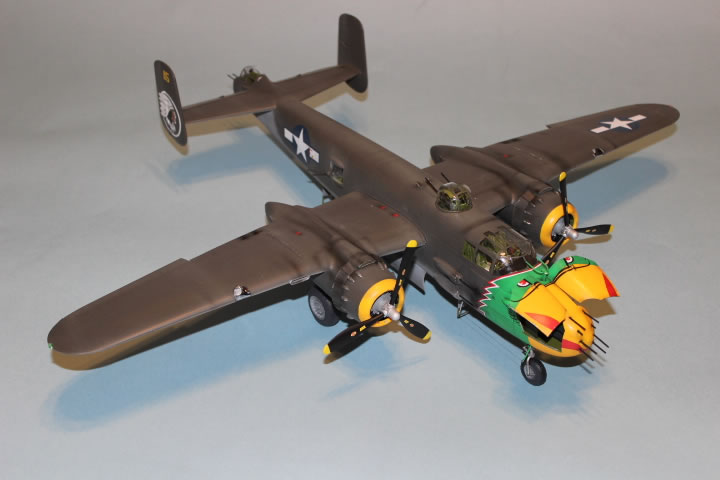
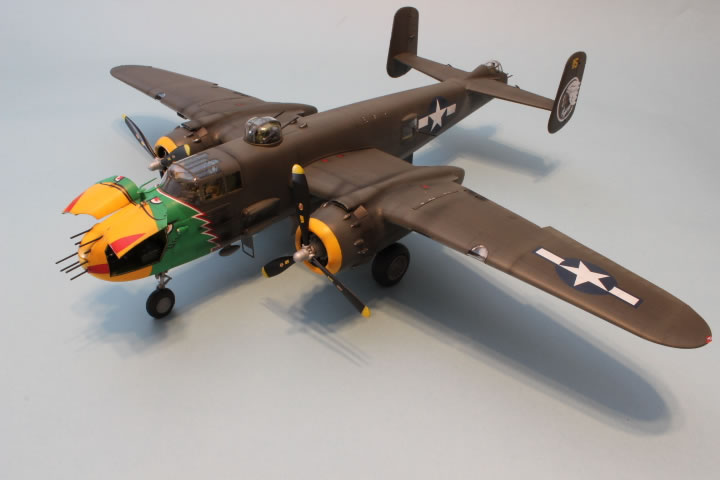
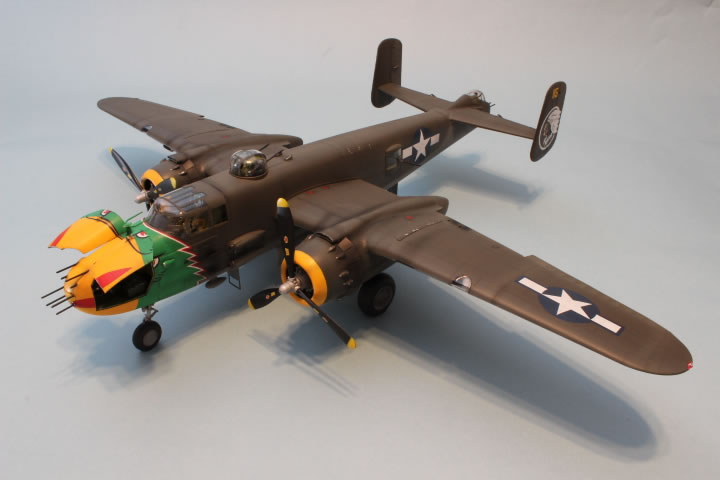
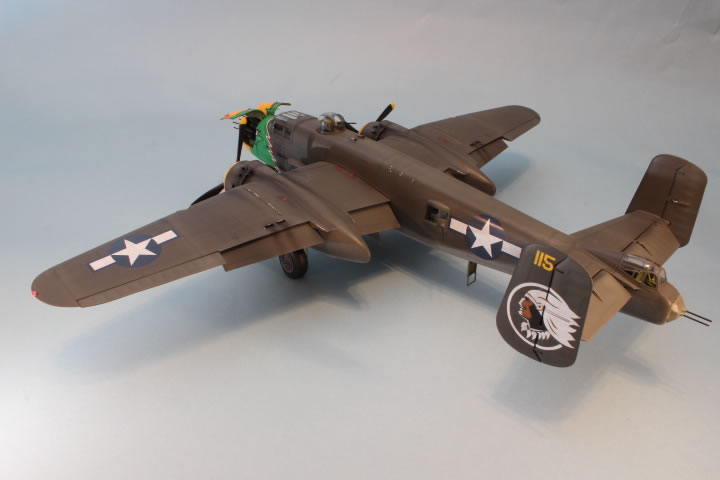
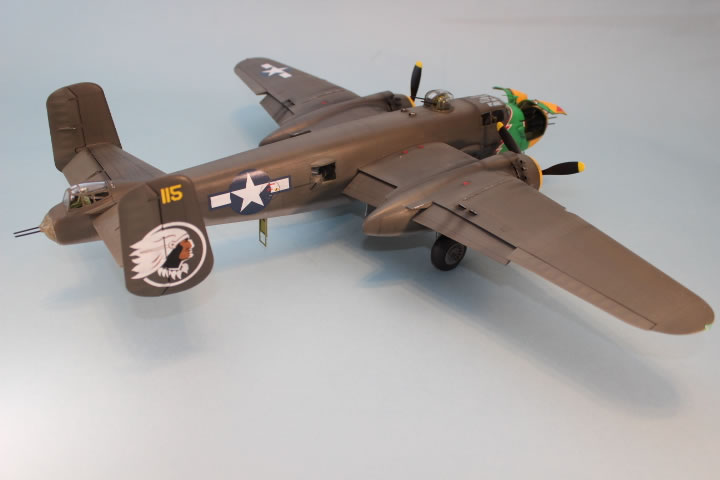
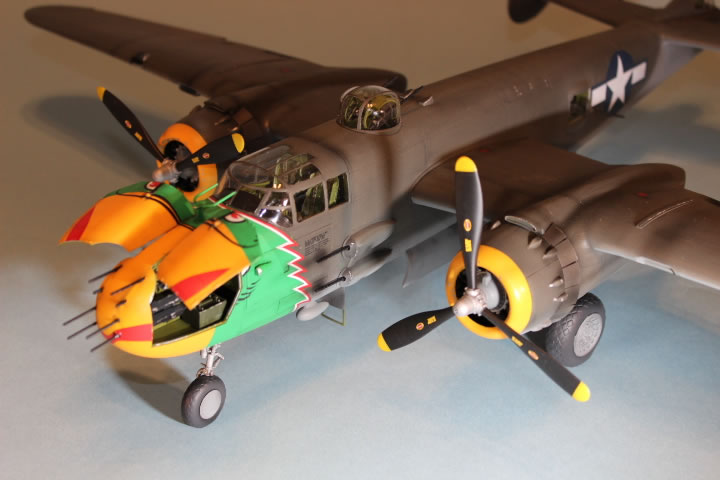
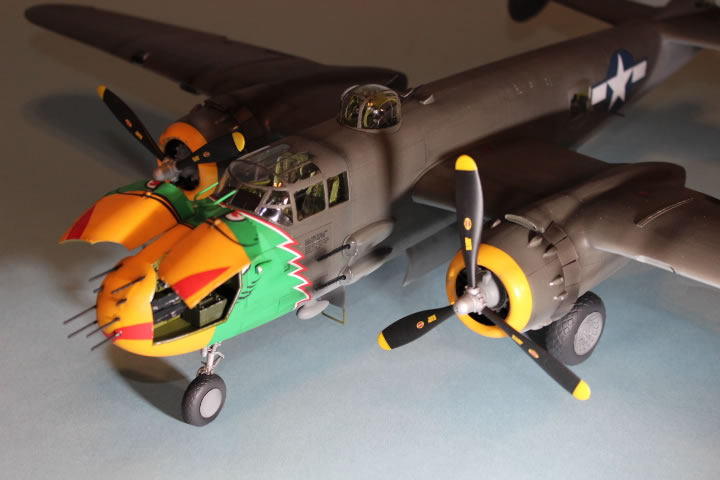
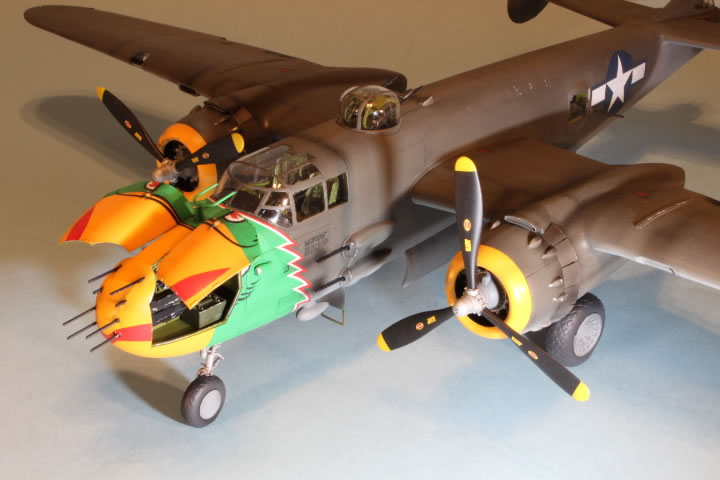
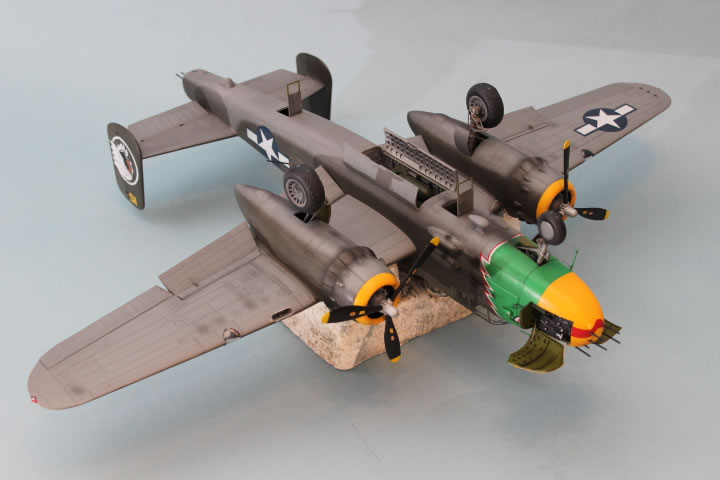
This is the second release of the HK Models B-25J series. The first was the Glass Nose version. This version is "The Strafer", which has the solid nose containing 8 .50 cal machine guns. This version relies on most of the parts provided in the glass nose version and includes several new part trees of gun nose. The same engine, wing, landing gear, tail and fuselage parts are used and you get new nose details and decals.
We will start the build by following the instruction sheet with a few exceptions. There are 38 steps and I did deviate the order on a few. I have omitted several parts during the assembly because I incorporated several aftermarket products. These include the upper turret photo etch set (32-075), tail gun photo etch set (32-074) and clear parts mask (32-079) all by Profimodeller, Eduard's cockpit interior set (32-748), seat belt set (32-746) and new decals from Kits-World War Birds Decals (KW132047). I also used Ernie Gee's metal gear set due to the heavy weight of the finished model.
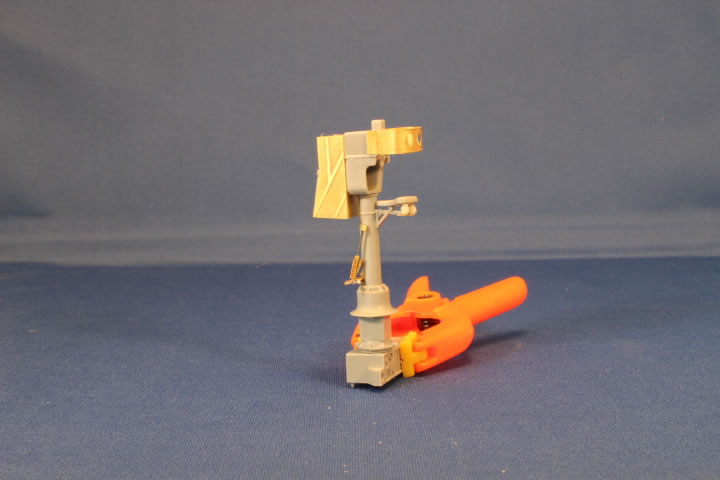
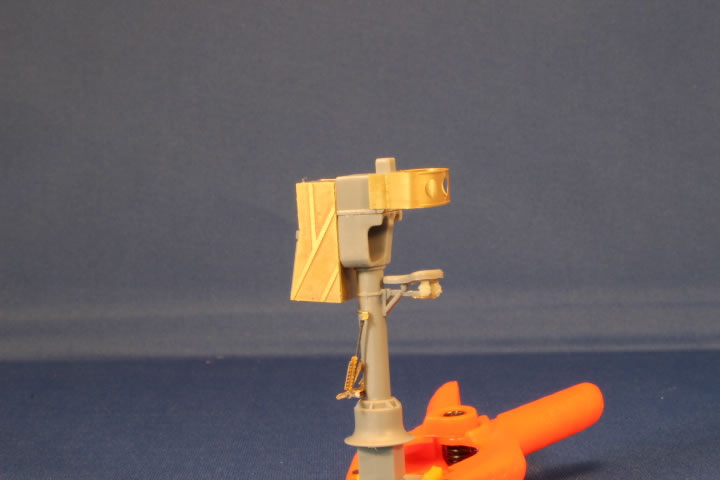
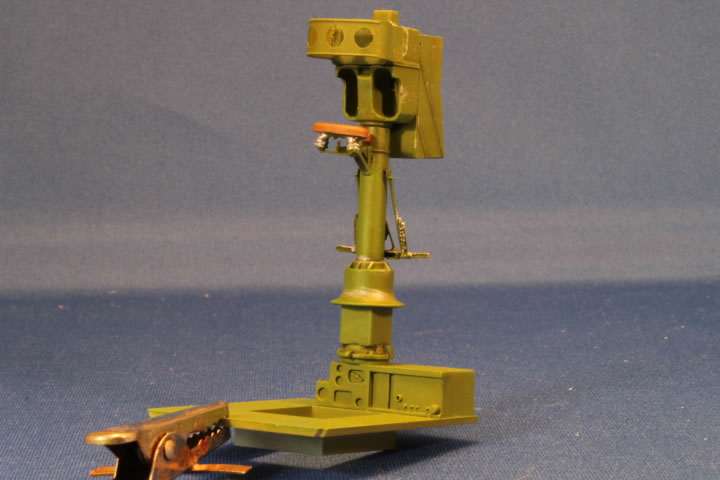
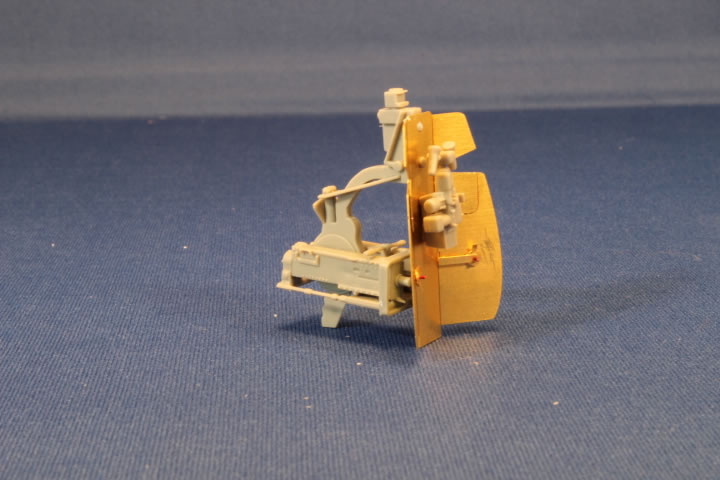
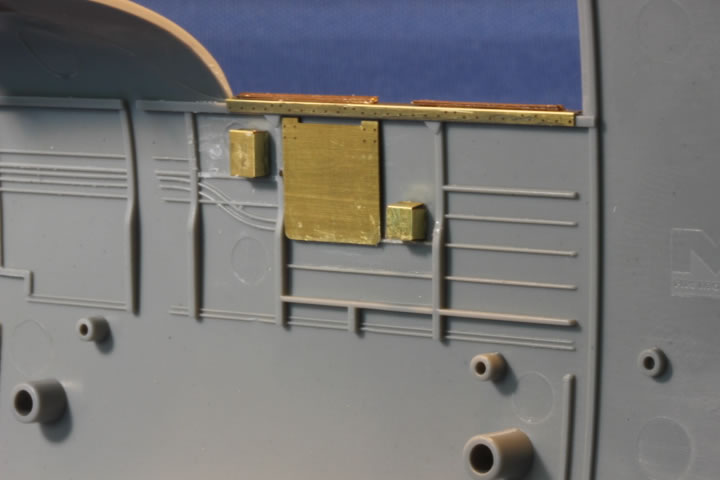
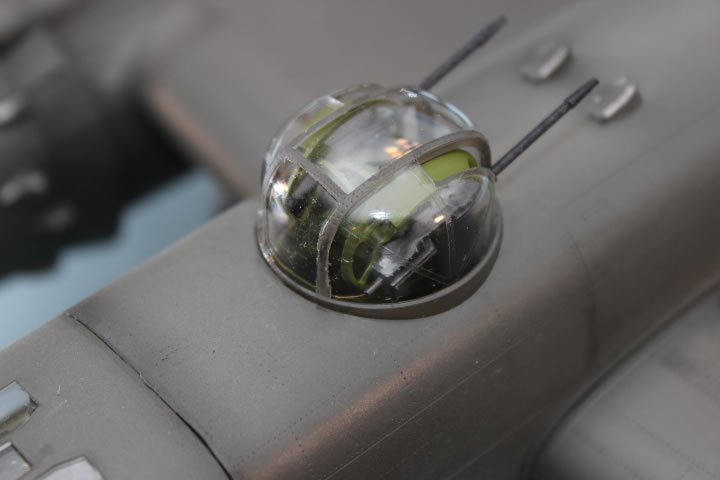
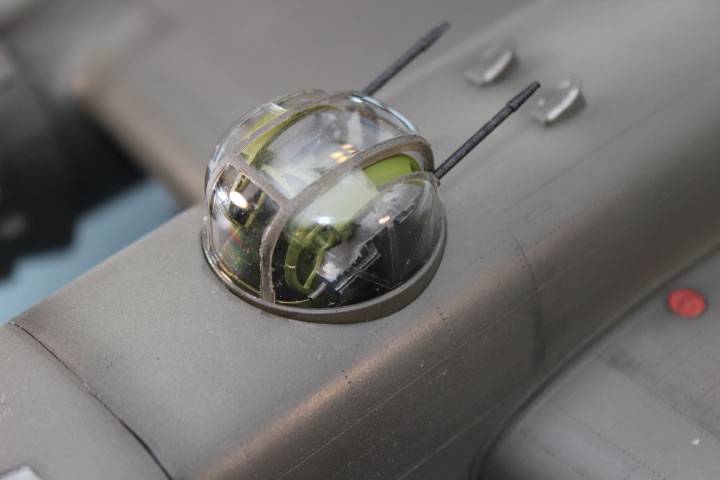
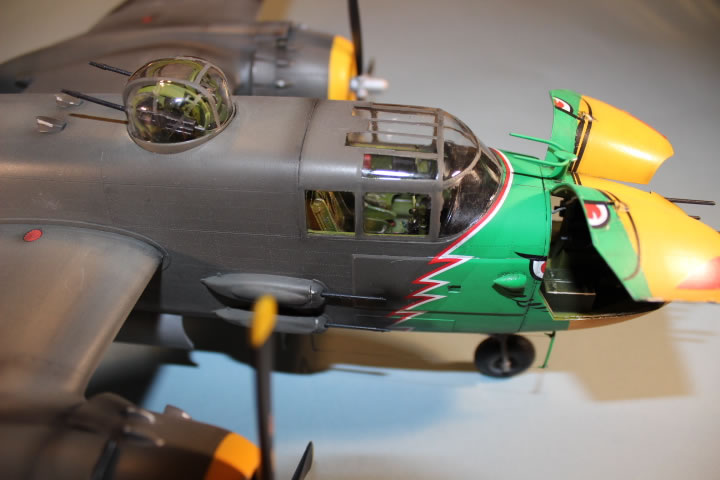
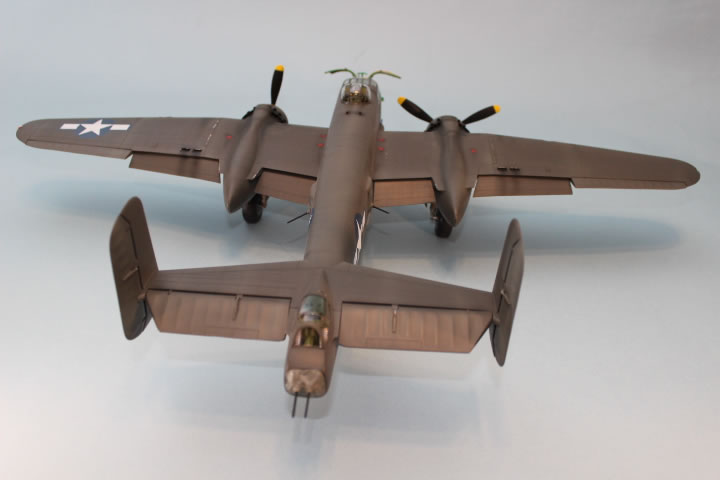
First up was the upper turret and tail gun position. The HK instruction sheet is pretty good and easy to follow, but the Profimodeller sheet leaves a lot to be desired. You really have to study the line drawing/instruction sheet and think a lot about how and where the photo etch parts go. The photo etch parts on the other hand are very good. You will have to plan your painting and building schedule to finish both these assemblies. A lot of parts require painting before attaching them to the final assembly. Both assemblies turned out to very detailed and well worth the effort.

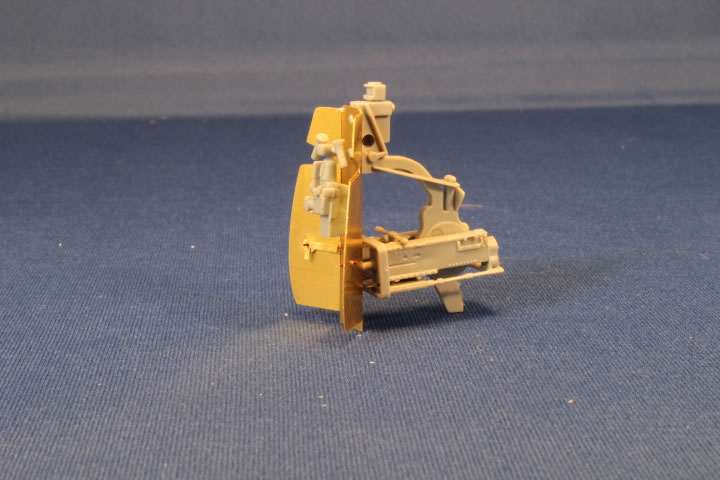
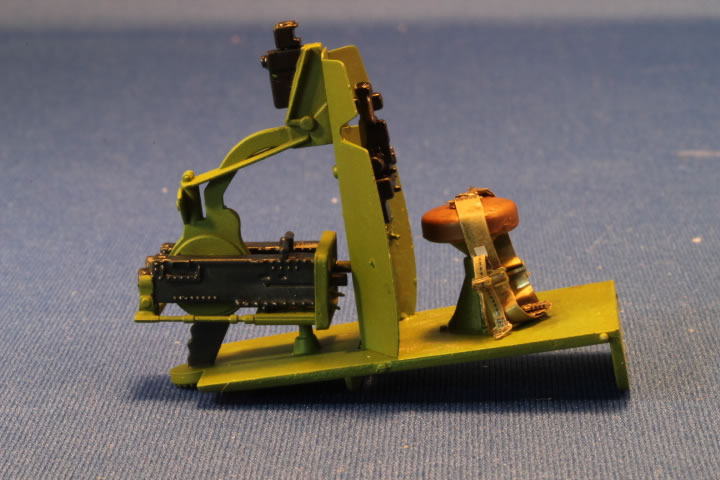
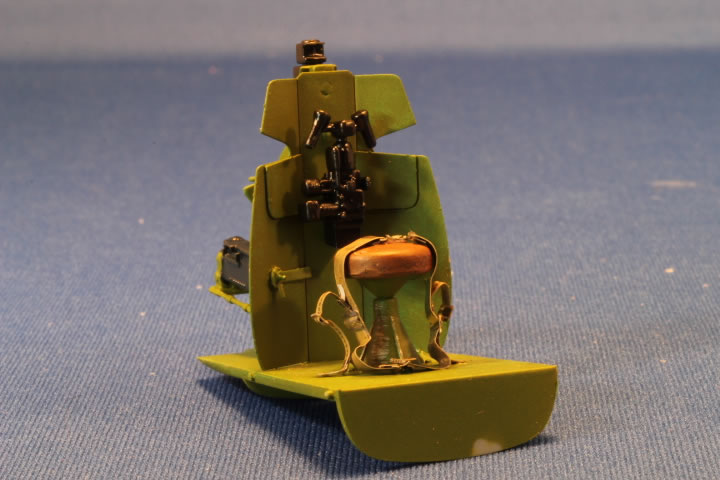
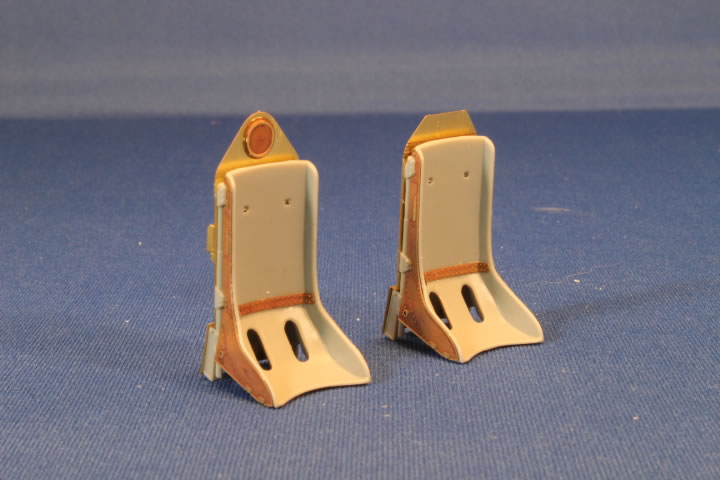
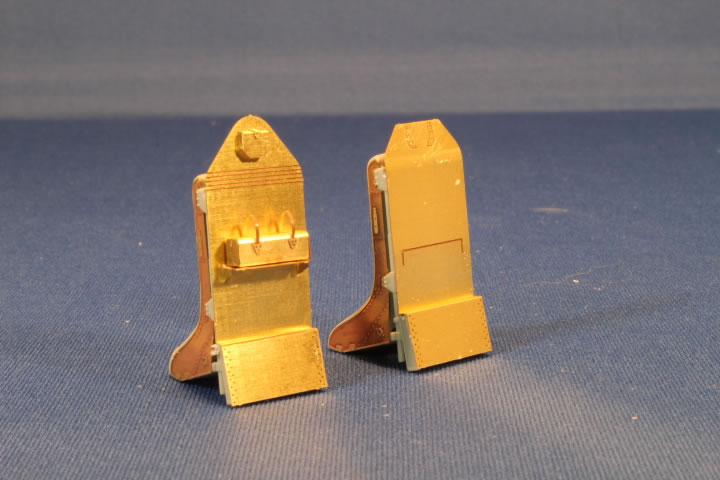
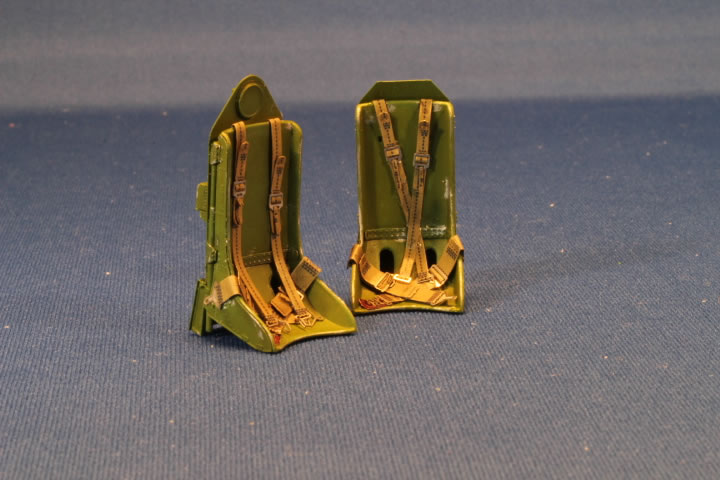
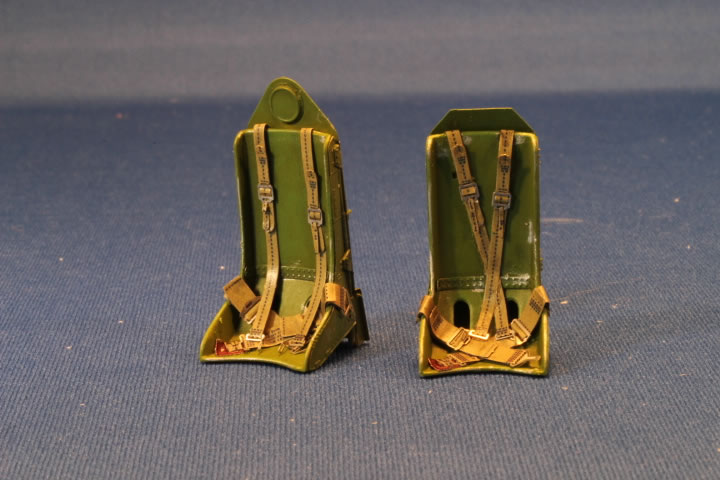
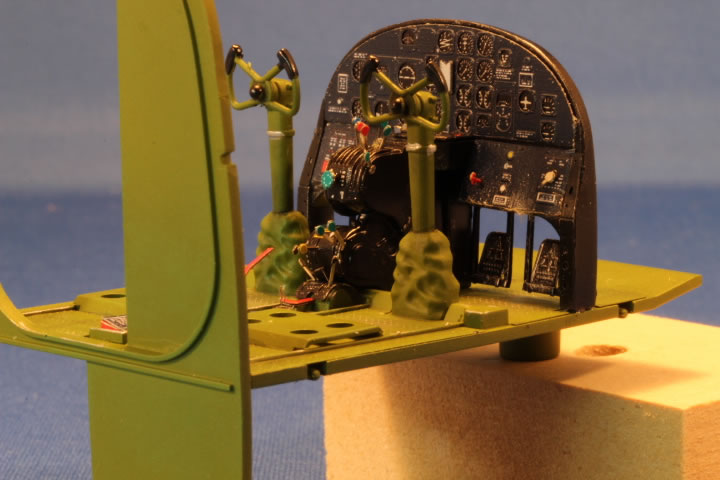
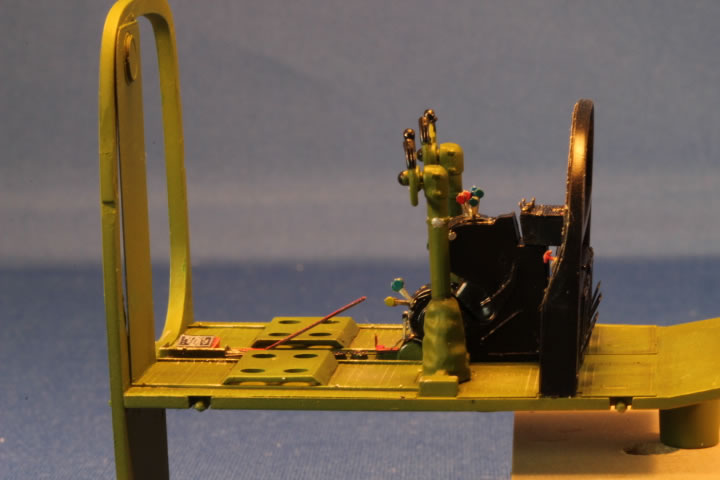
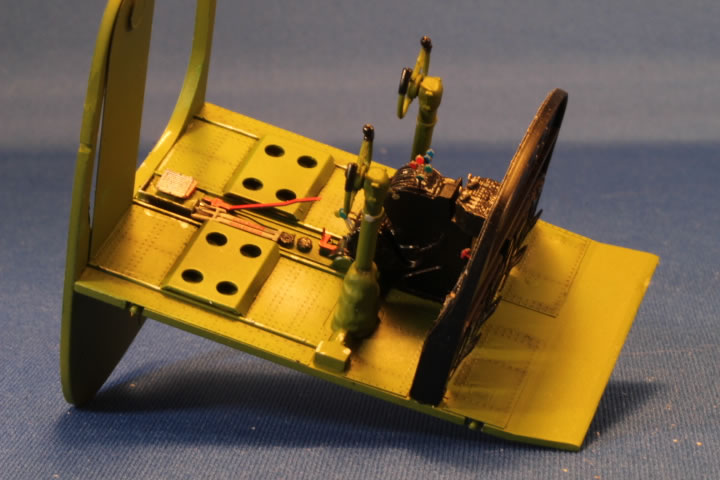
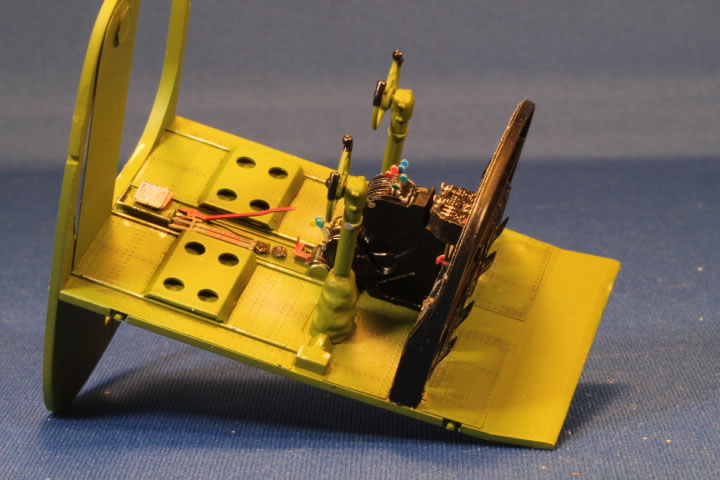
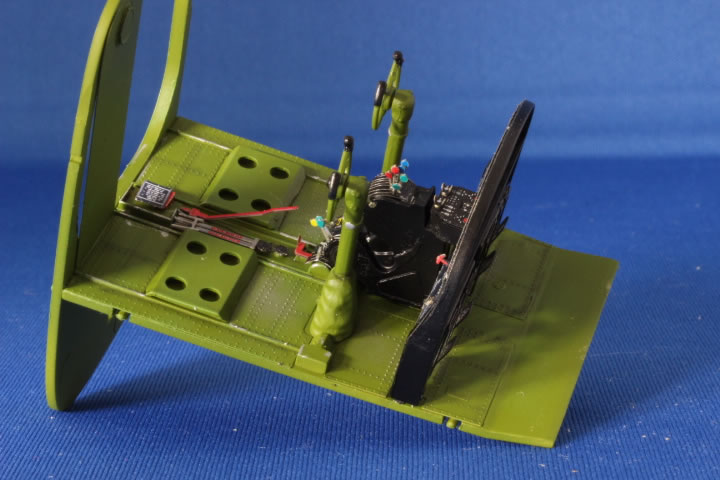
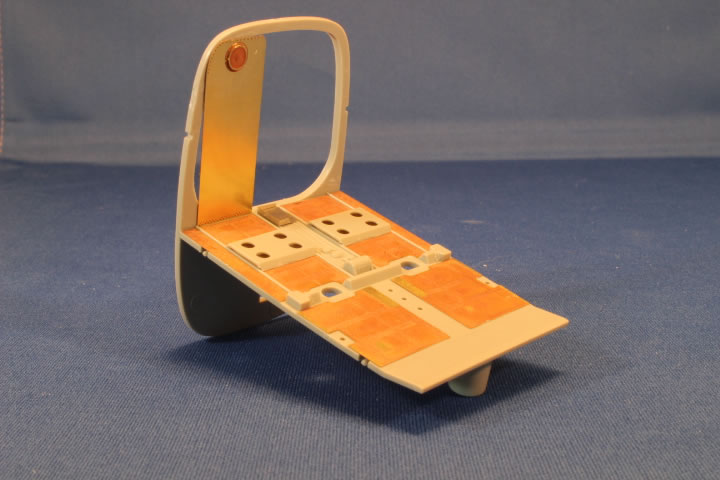
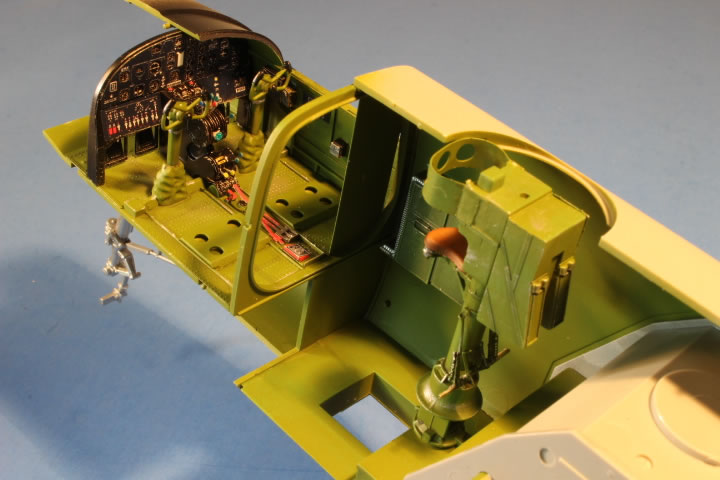
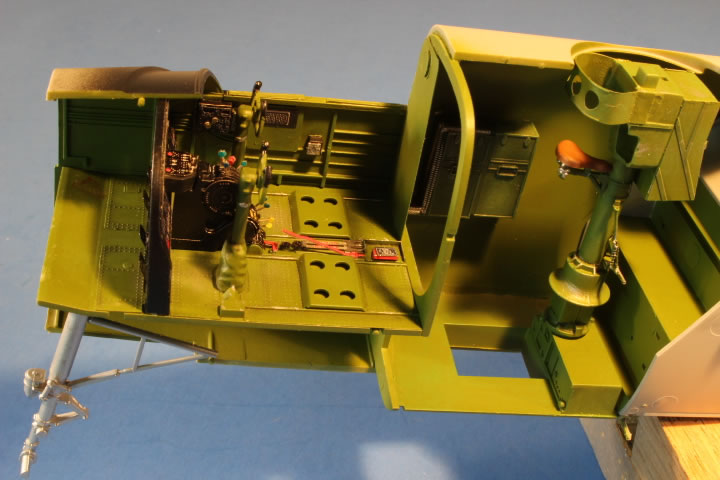
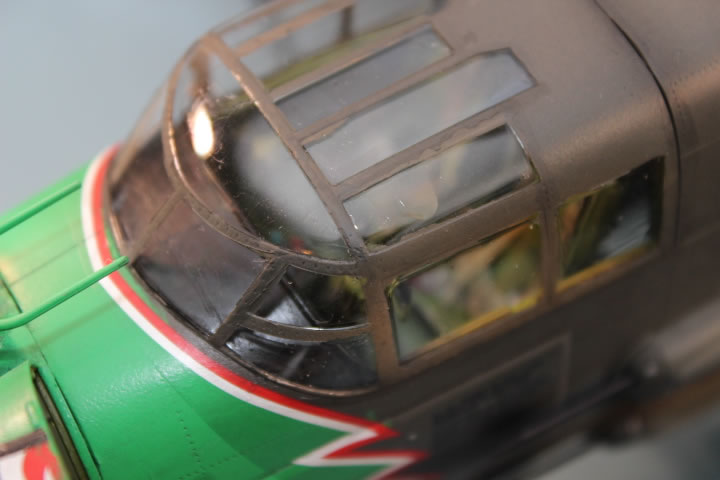
The cockpit is next and again if you were going to use the stock parts they are really nice and the instruction very good. I used the Eduard's set and I very pleased with the results. Eduard's printed instrument panel and placards are just outstanding. The new seats and seat belts just bring the model up another notch. Again, plan you painting and assembly. One part missed by HK is the gun sight for the pilot. You may want to add one from your parts spares.
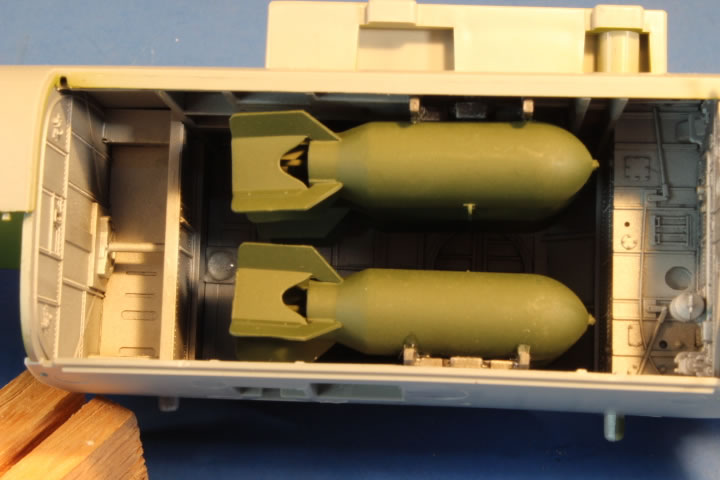
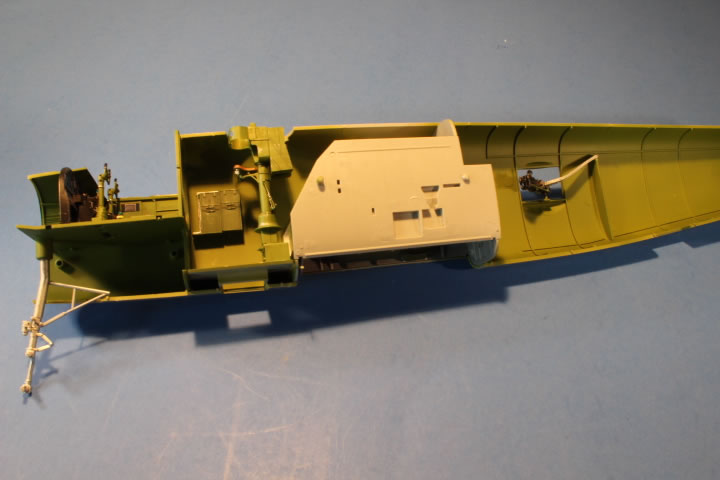
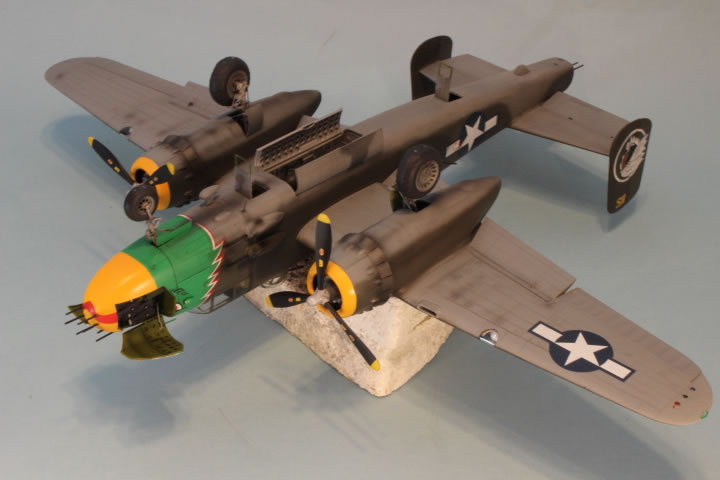
The Bomb Bay is the next step. One of the things I dread most is sanding the seams on bombs. These were no exception. Thank goodness there were only six to sand. I painted and decaled the bombs before mounting them on their rack (only makes sense). Then painted and weathered the entire bomb bay before assembly. Otherwise it is too tight of a space to try to get too. It goes together without too much trouble.
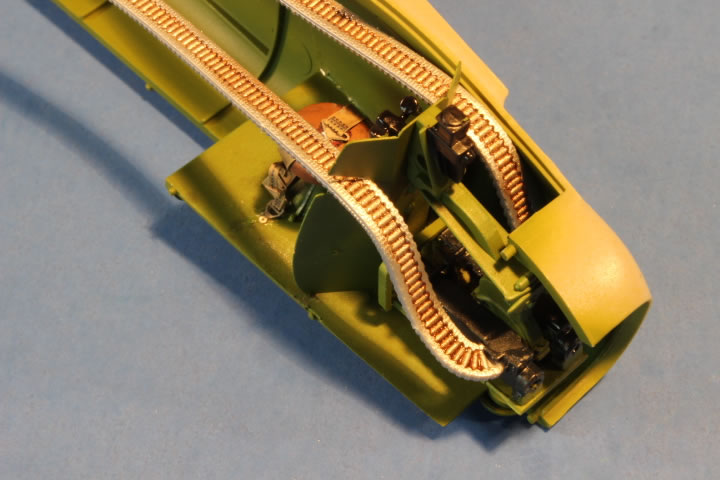
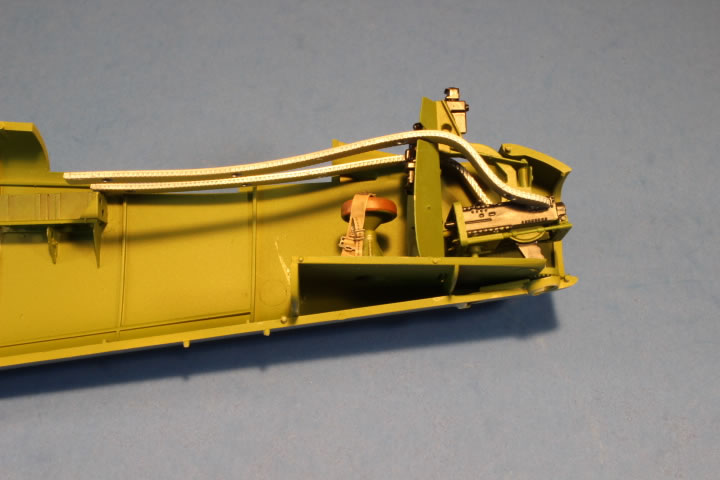
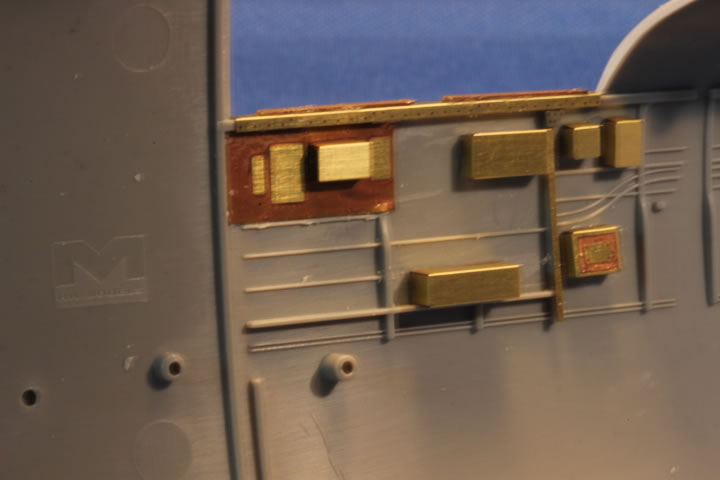
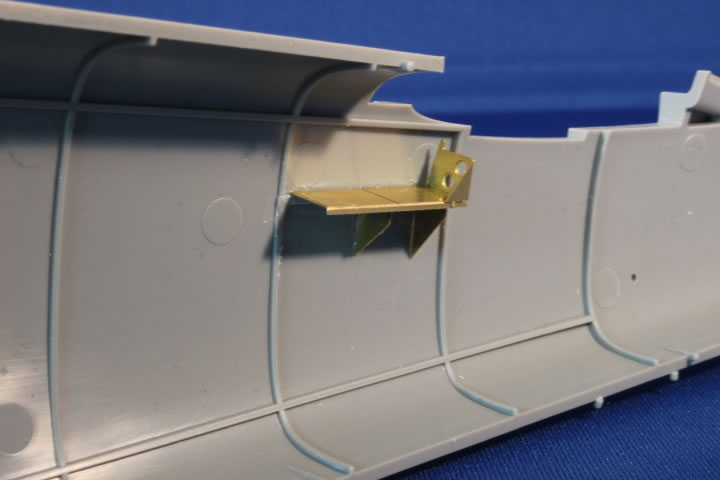
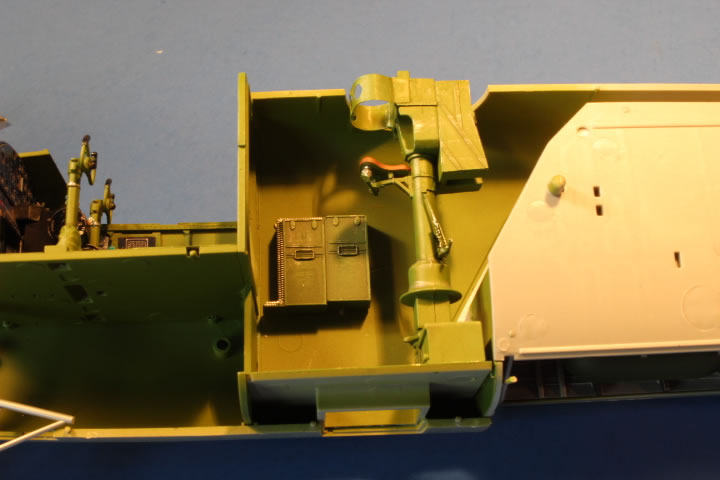
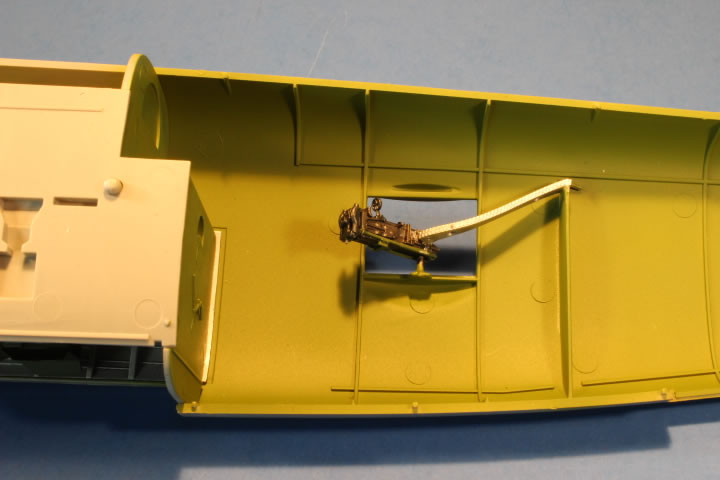
Your next step is to start applying parts to the interior of the fuselage. Again pre-painting before attaching is a must. Putting the ammunition belts on the waist guns is a little tricky. Make sure you pre-drill the holes for the side exterior 50s next to the pilot and co-pilot.
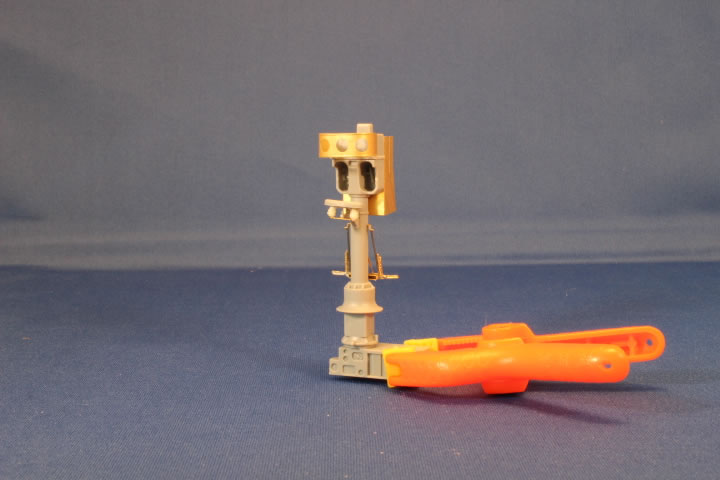
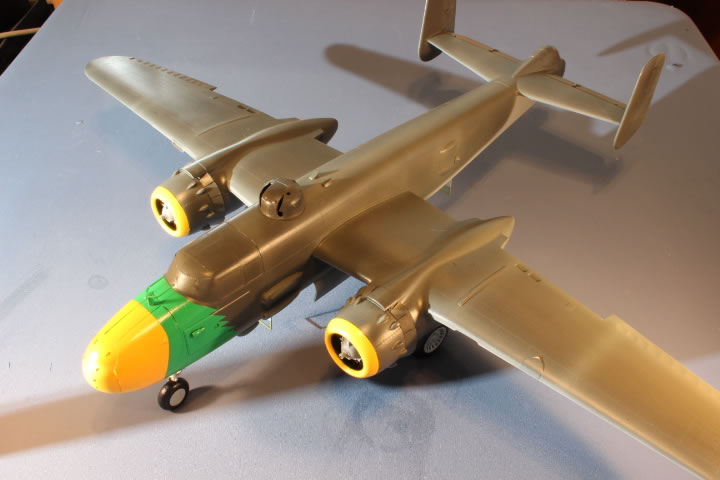
Now comes the fun part, putting all the sub assemblies in place and mating the two fuselage sides together. A couple notes to remember: install the nose gear and think REAL hard on where you are going to place the 8.5 ounces of weight required to keep the nose wheel on the ground. I used 1 and 1.5 ounce fishing weights for my ballast. Fortunately, HK provides a lot of space to place these weights. I placed mine in the nose gear area. You can't see anything in the nose wheel well and this makes the perfect place (in my opinion). Everything lined up very nicely and gluing the two halves together went very well. A lot of rubber bands and tape always helps.
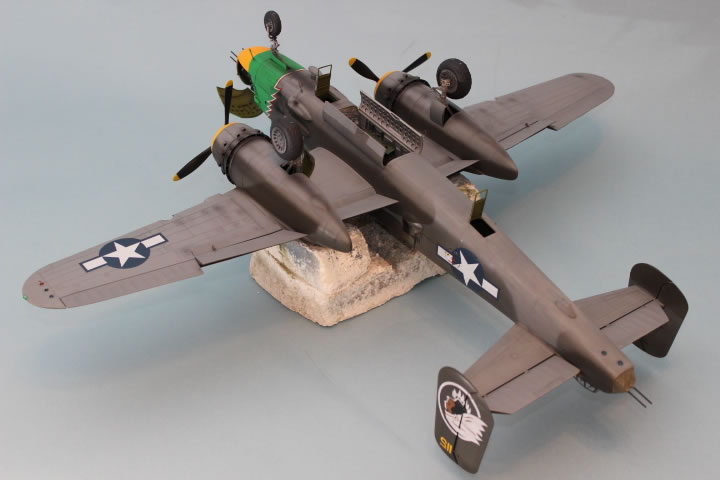
The tail section is the next step in the assembly instructions. I glued the vertical sections together and attached this to the fuselage. I left off the moving surfaces and the horizontal tails until final painting was completed.
Exterior fuselage parts are next. I glued the canopy and rear gunner glass using clear part cement. I did leave off the upper turret until final painting was completed. I found an exhaust nozzle from a 1/32nd, Revel, F-4 Phantom, made an outstanding plug to fill the turret hole and act as a mask. The underside details are next. I left the access ladders and bomb bay doors off until final painting was completed.
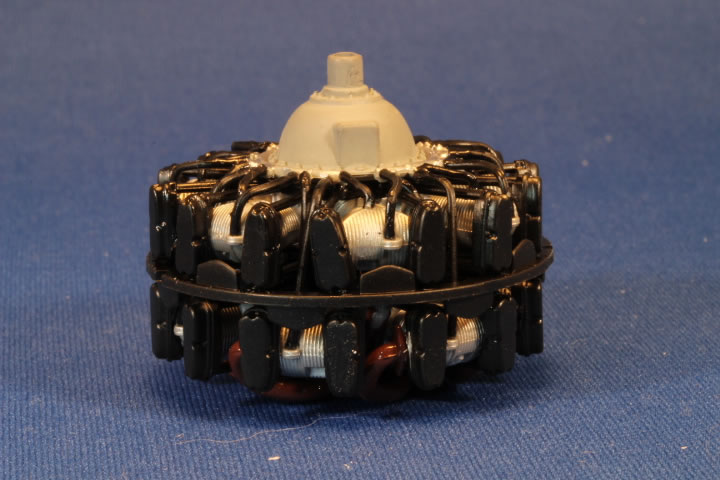
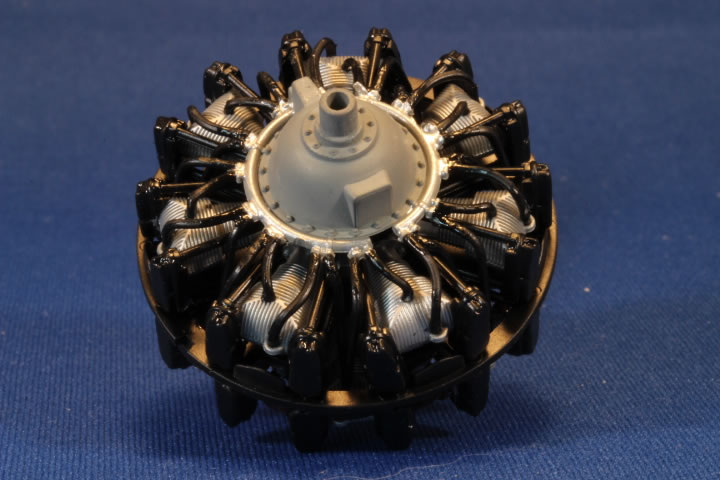
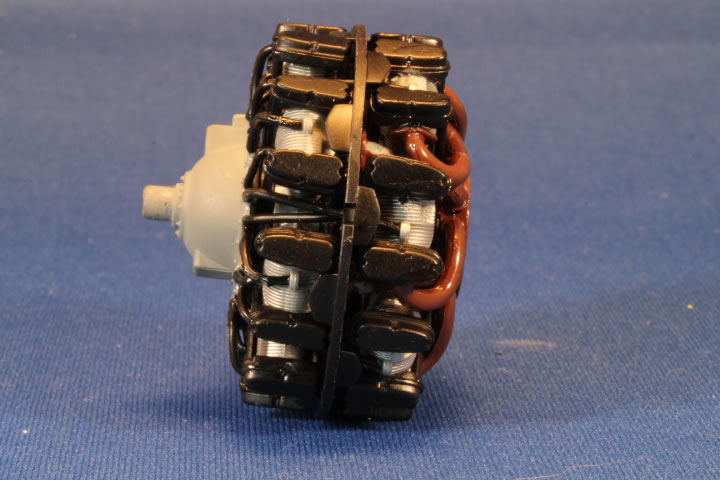
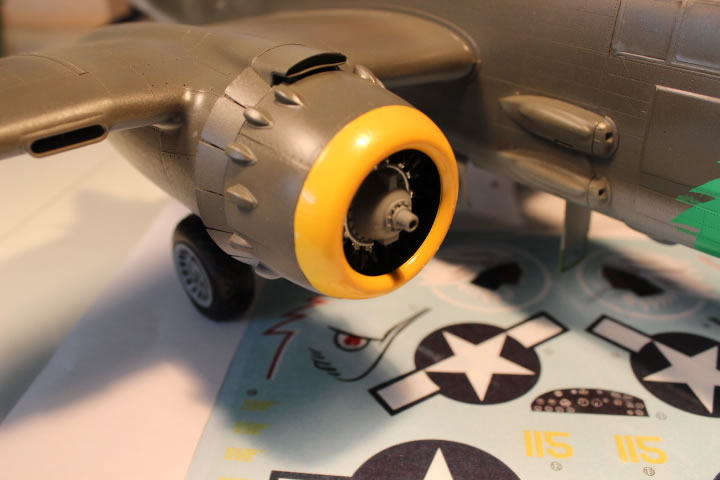
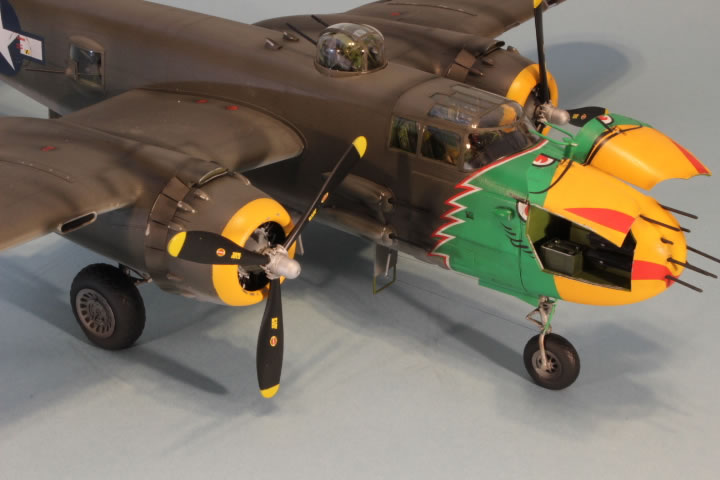
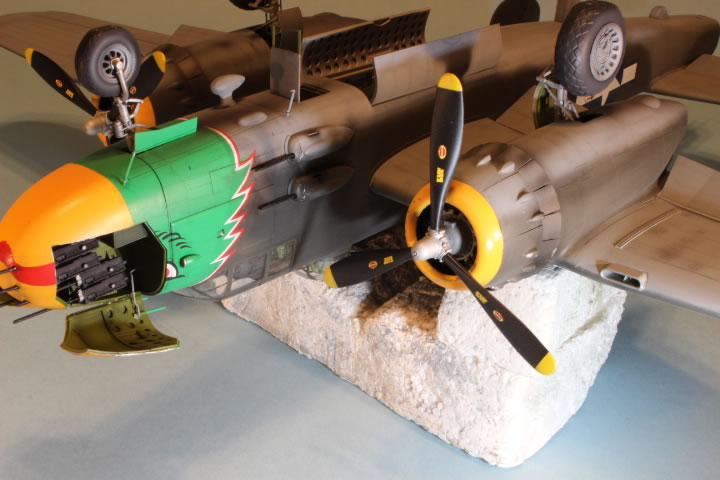
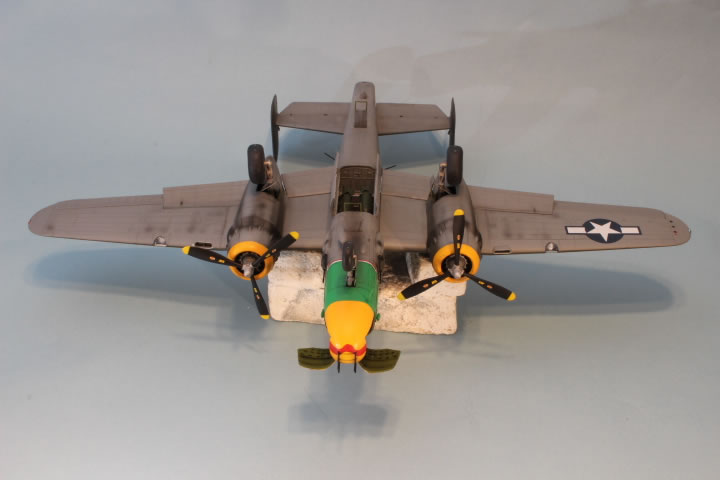
I skipped step 18 (left wing assembly) and saved that until I was ready to do both wings together. Step 19 through 32, you start building the engines. Pre-plan your painting before your assembly. These engines go together real nice, if you take your time and follow the instructions. Especially with the push rod covers. These go on one way only and are a little tricky figuring them out. The exhaust stacks are another area that will require following the instructions very carefully. I assembled and painted the propellers but waiting till last to put them on. They simply push on. The engines are little jewels and would be nice to display on their own stand to show the details off.
I went back to step 18 and combined this with steps 33, 34 and 35 to assemble the wings and engine nacelles. I left off the engine's until final assembly to ease in the painting. Make sure you paint the landing lights before placing them in the wing leading edge. I used some jewels for the lights and they really enhanced the light fixture.
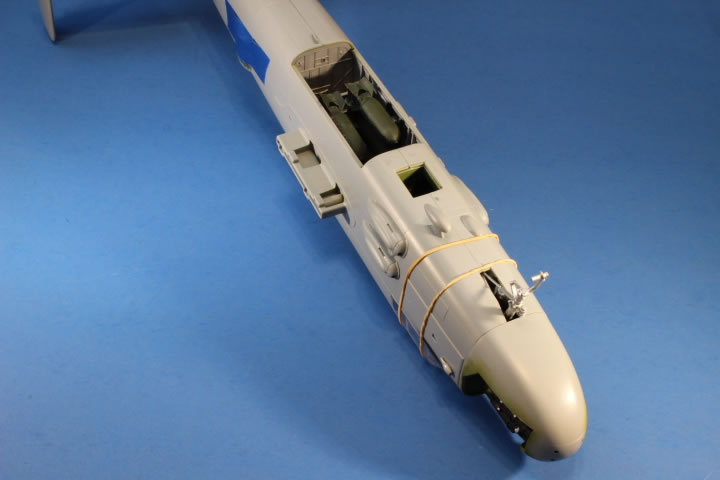
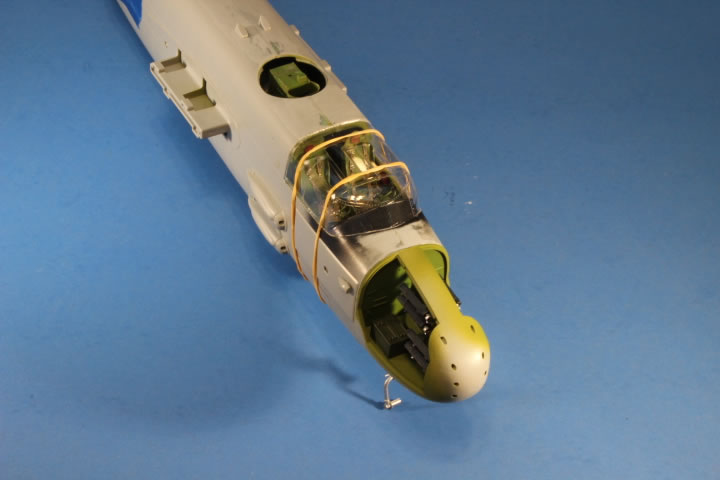
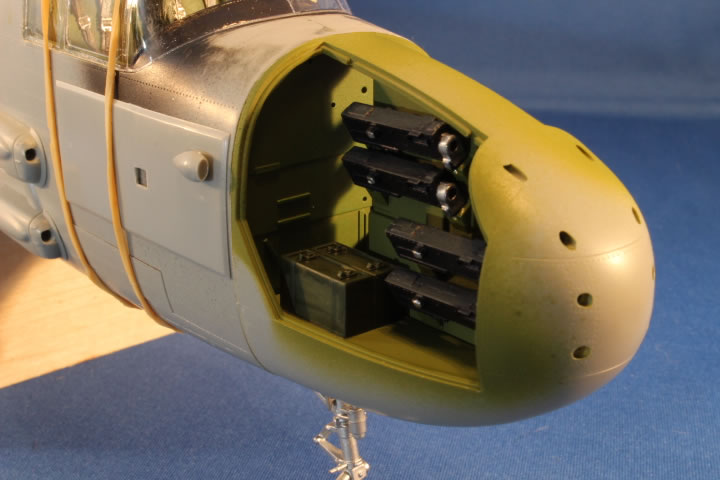
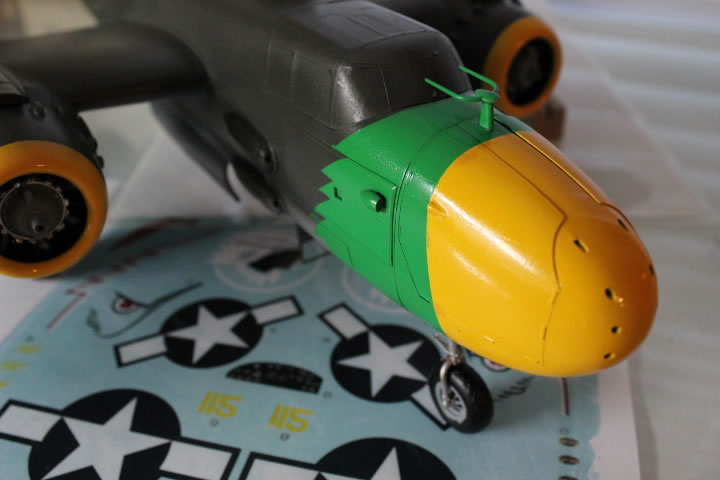
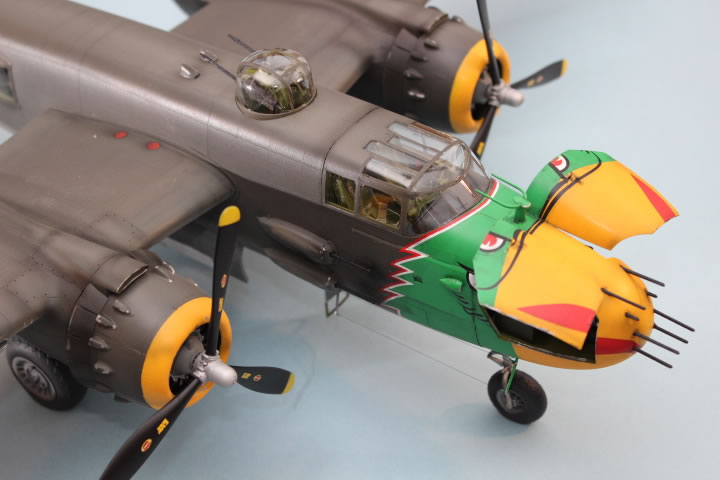
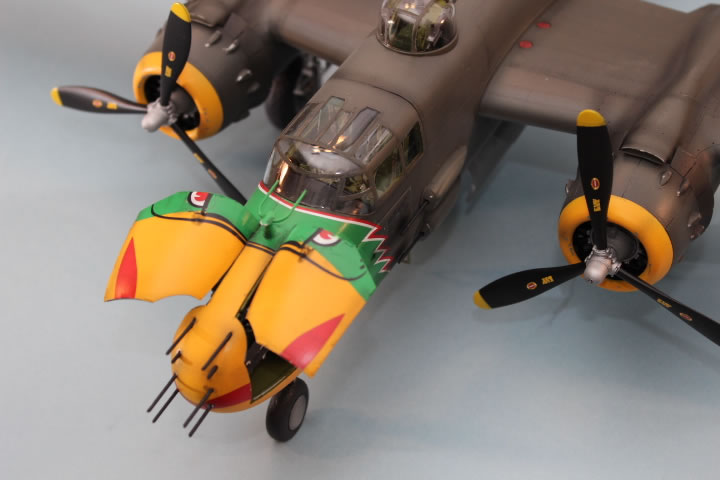
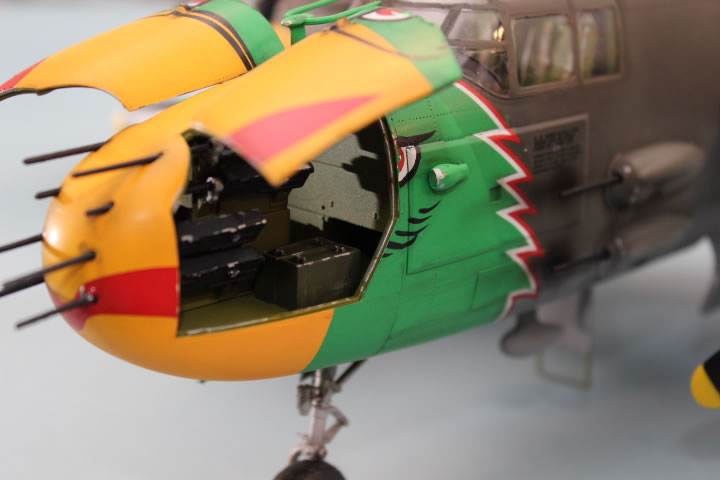
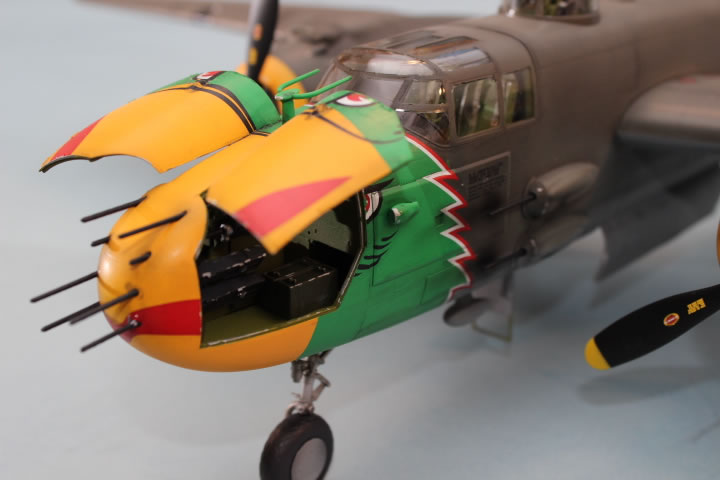
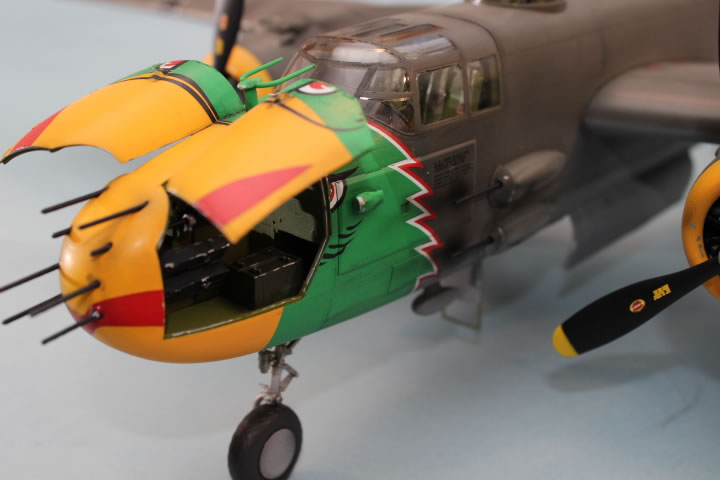
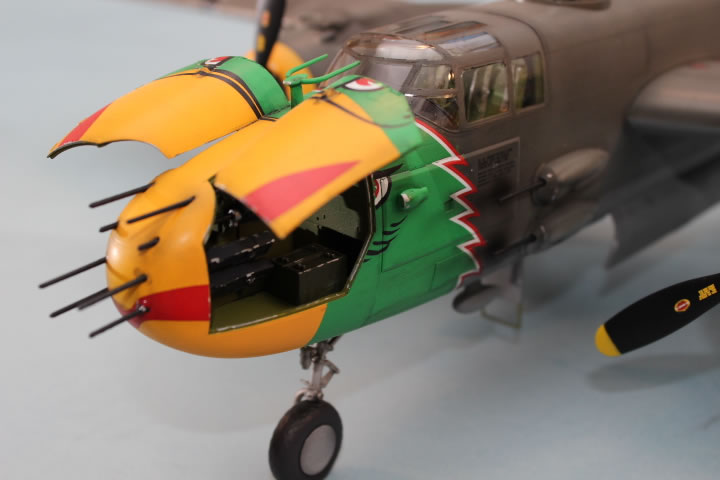
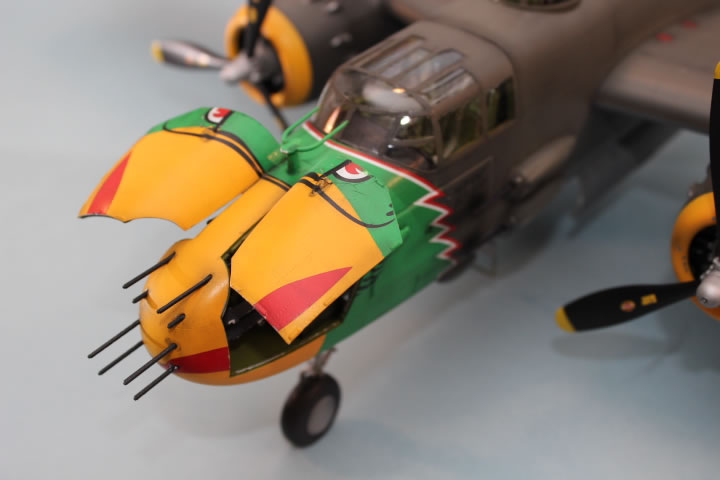
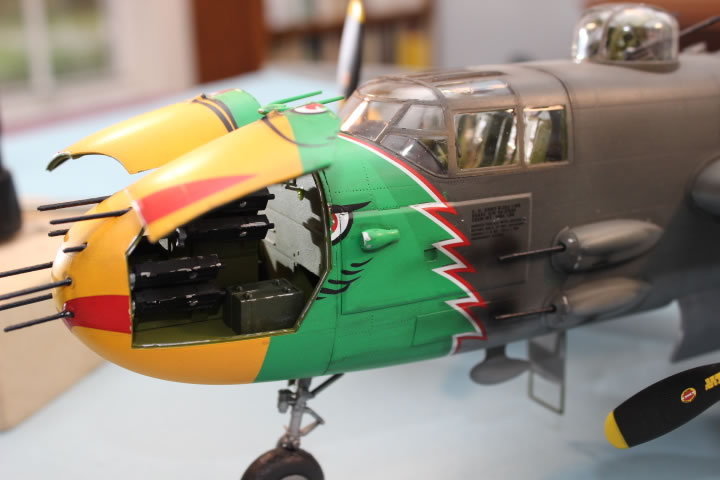
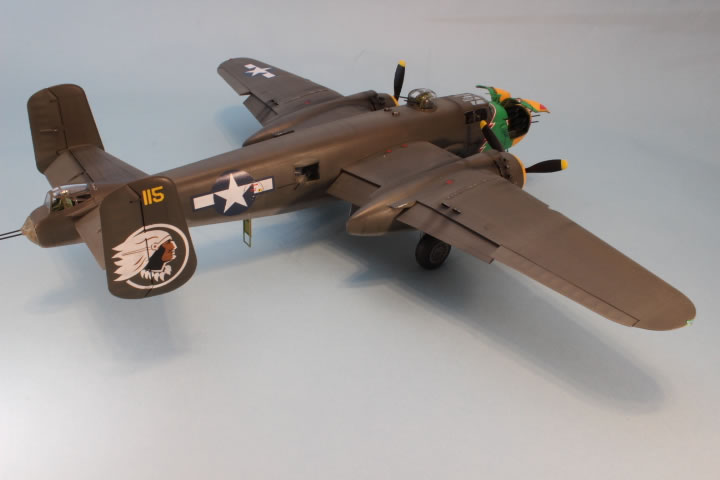
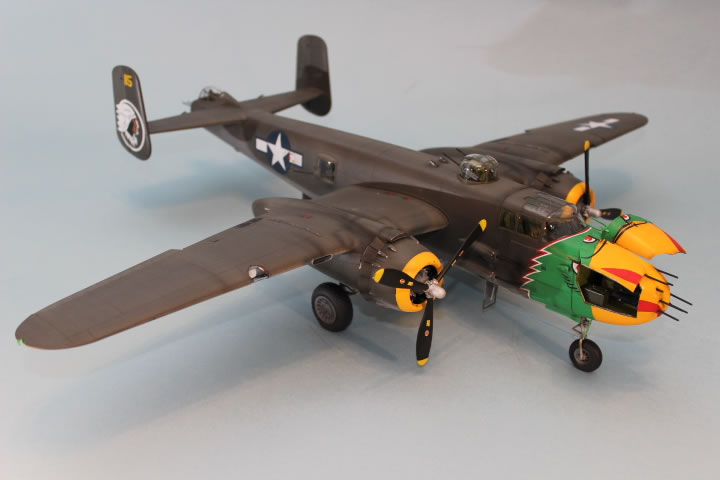
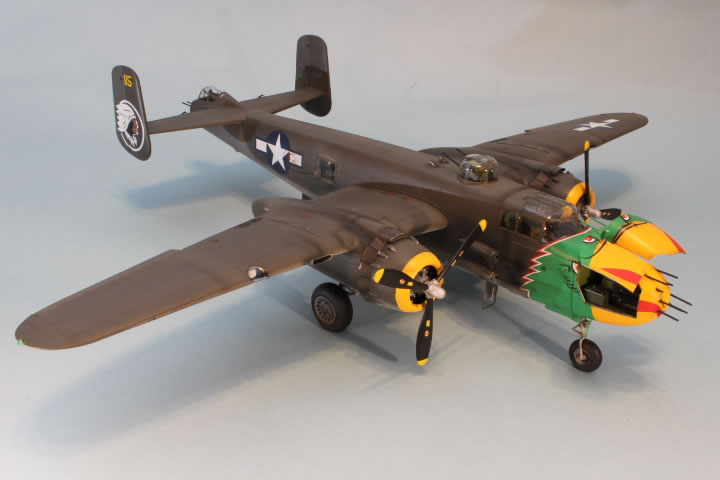
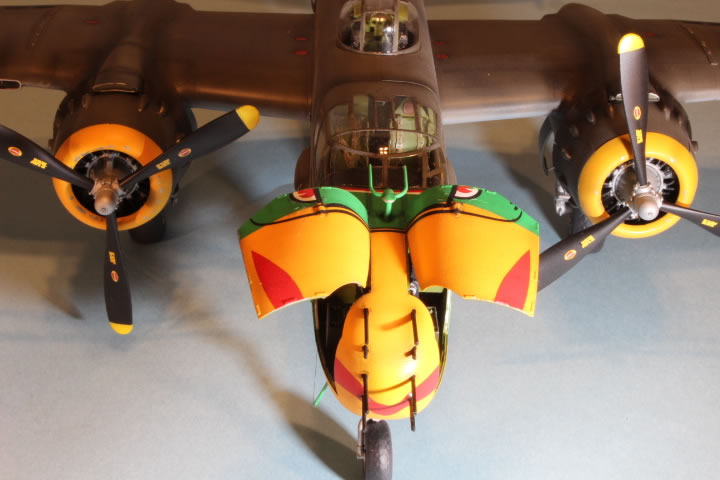
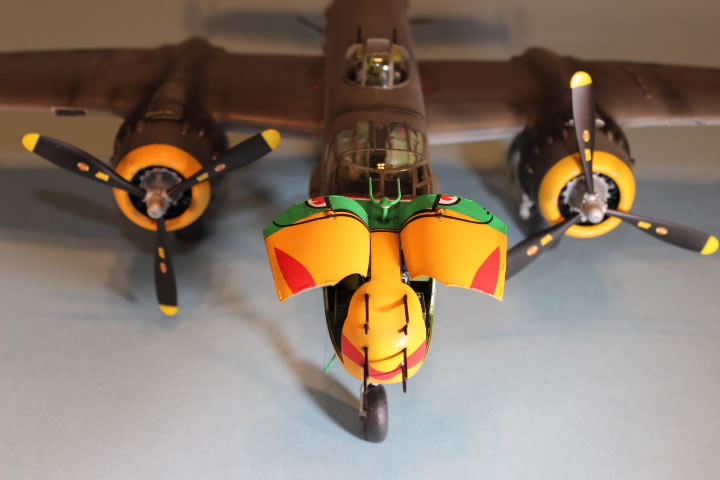
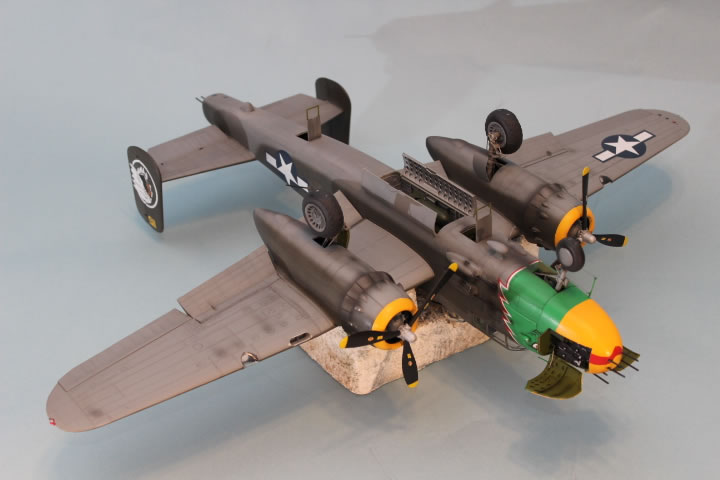
In step 36 you build the business end for "The Strafer". Again pre-plan your painting and assembly. I temporarily attached the access doors closed to help in painting and decaling. I left off all the small parts until final assembly. I still ended up breaking most of these at least once due to the size and handling of the model. Glue the nose on and you have a mostly complete plane to start the final finishing and painting process.
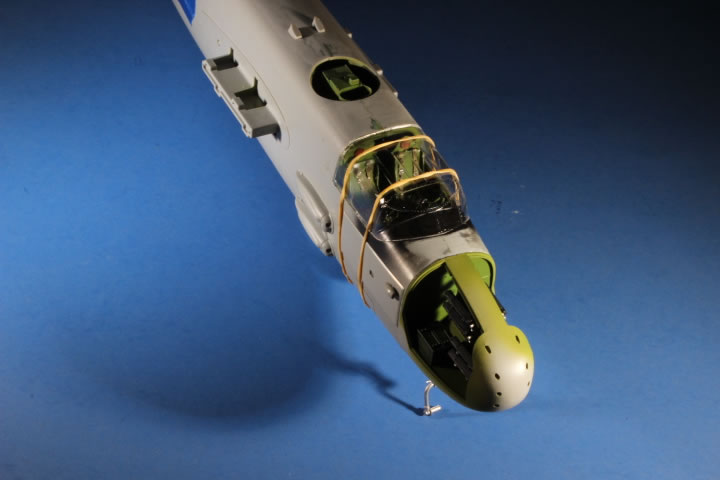
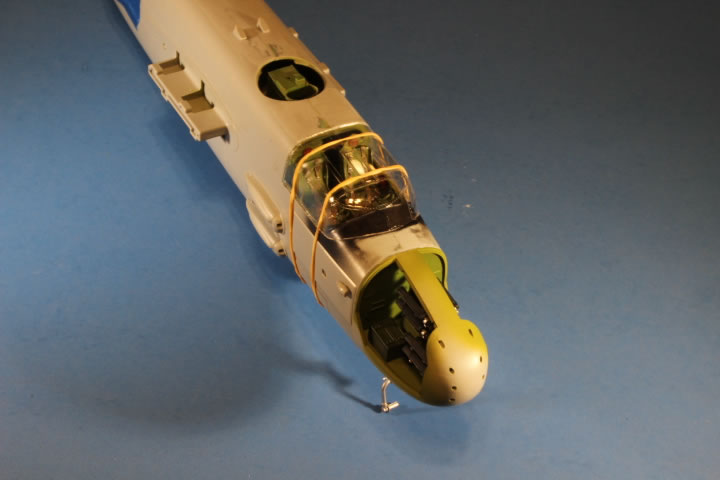
I masked all the clear parts as required using the Profimodeller mask set. This set is made for the glass nose version but worked just as well for this plane. It is a real nice set and a definite time saver. You get masks for everything required even the landing lights on the wings.
If you careful in the assembly stages and line thing up there will be very little seam work to fill. I used thick ACC and Squadron Green putty for most of the seams. Seam work was done during different stages of the model build.
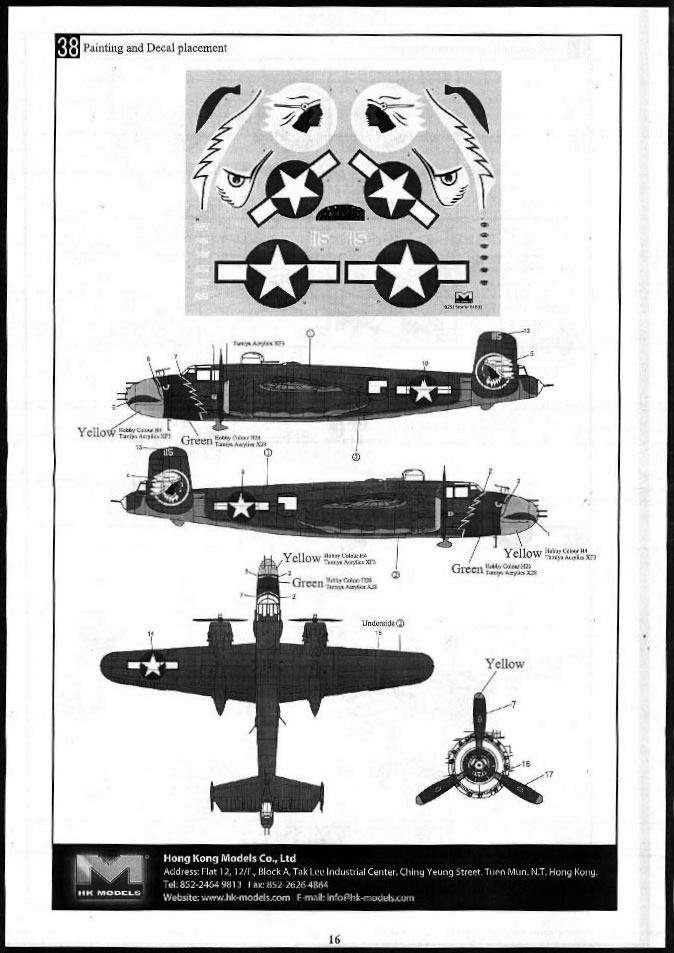
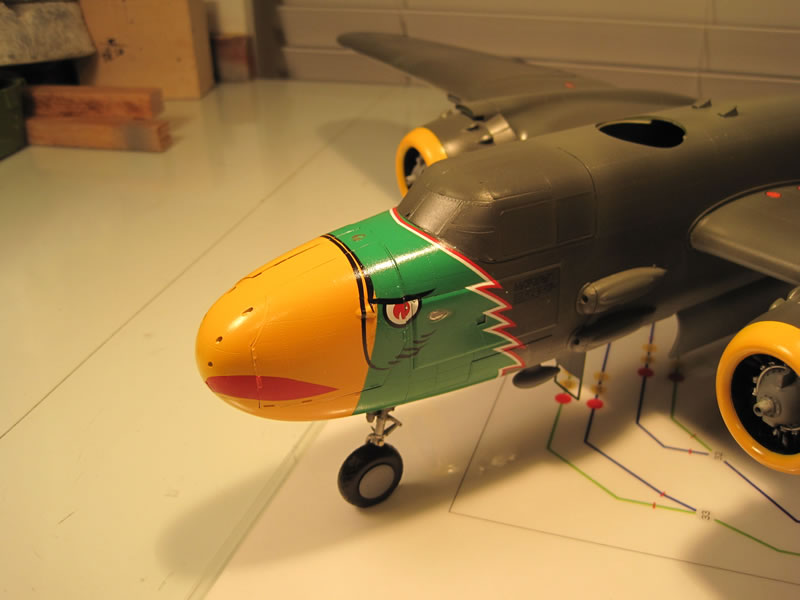
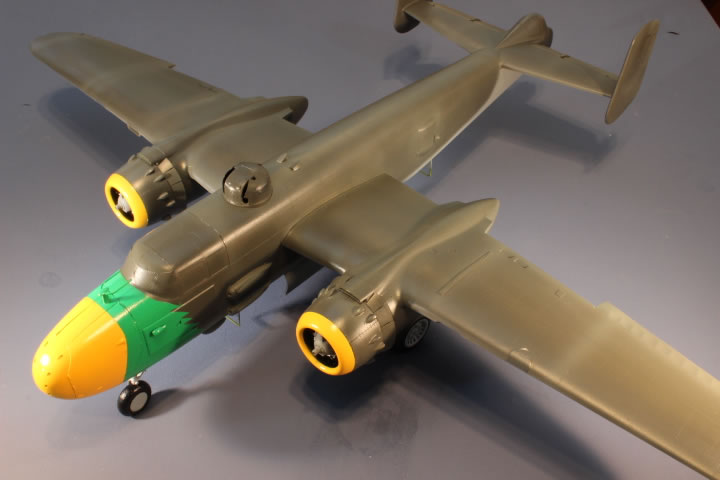
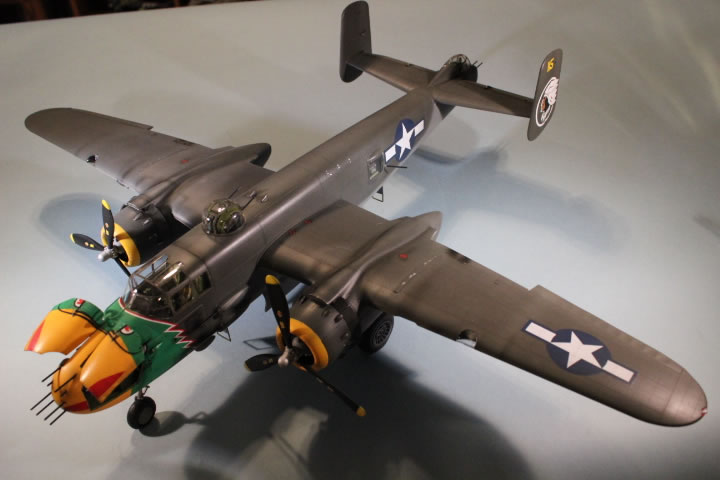
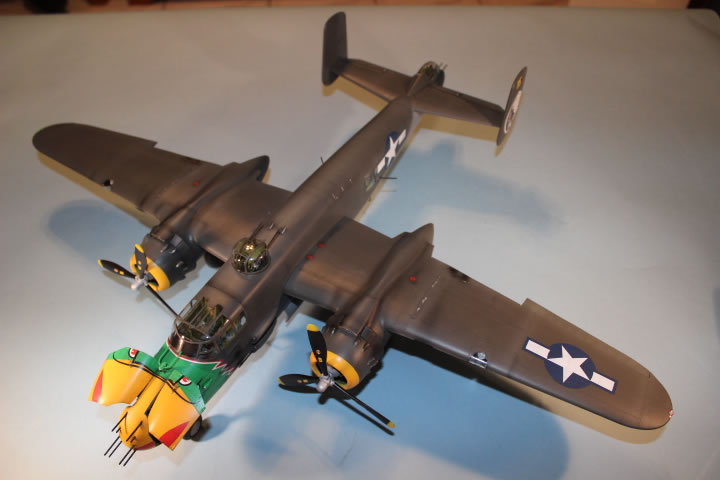
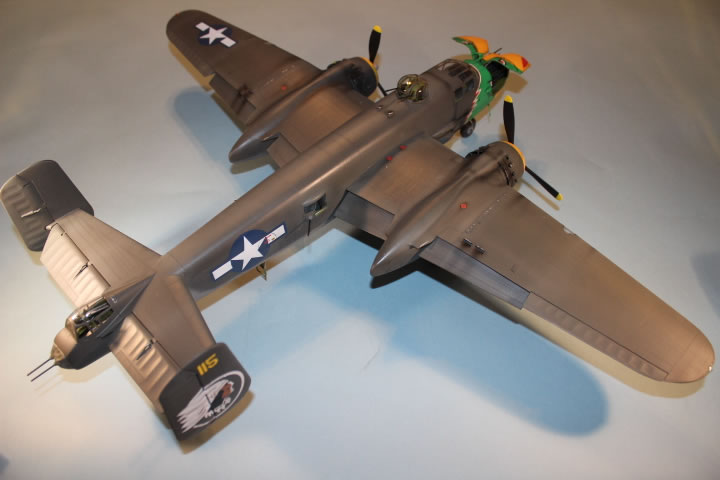
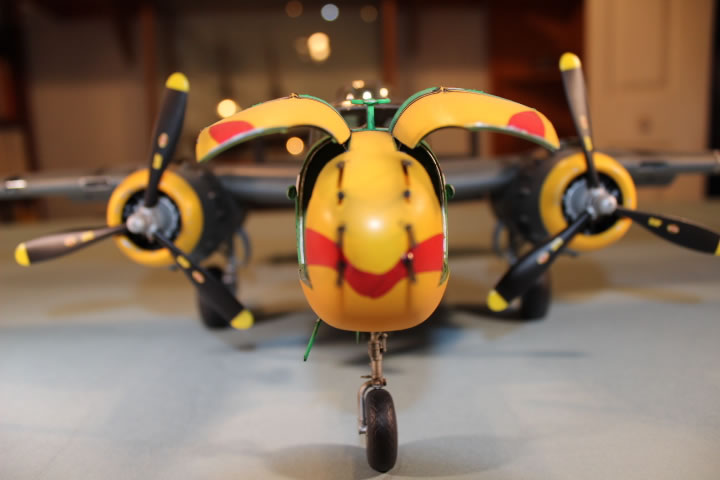
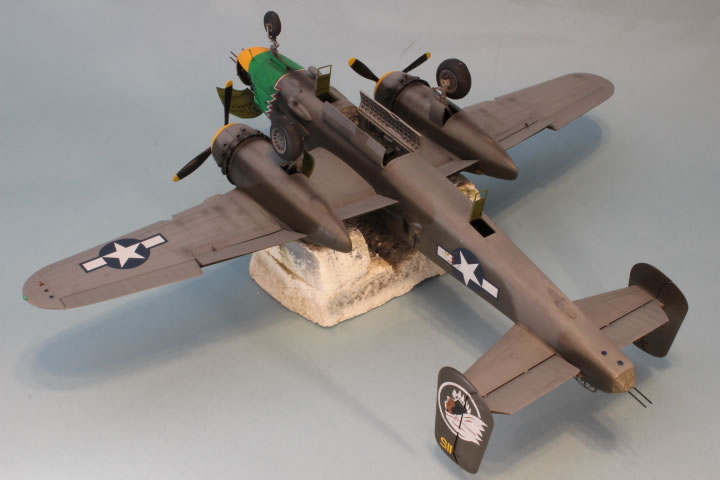
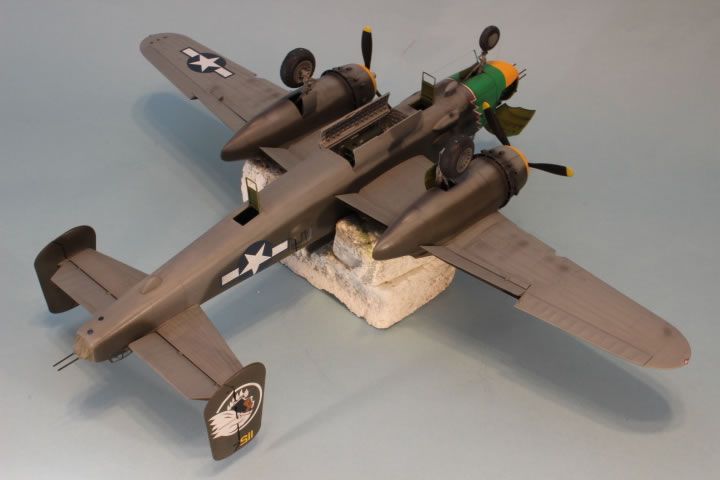
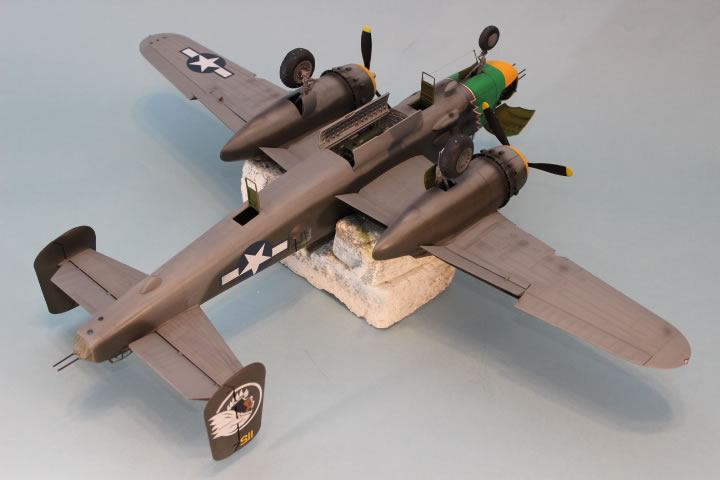
I painted the fuselage and wings separately and waited till final assembly before attaching them together. I used Model Masters Olive Drab Green ANA 613 for the topside and Neutral Grey for the underside. I made photo copies of the decal sheet to make a mask for the Eagles Head. Then used drafting tape to lay out the Eagles Head. I used the paint color suggested in the instruction sheet for the head. After the primary painting was completed I sanded, yes sanded the entire model with 4000 wet/dry paper to get the smooth surface required for decaling. I attached all the fiddly parts and control surfaces. The wings literally SNAPPED in place and required NO glue or putty! Good job HK Models.
The model was then sprayed with Alclad II Aqua Kleer Kote Gloss. This is an Acrylic paint and the best gloss coat paint I have found. Two light coats and the model was ready for decaling. I decaled per instructions using HK decals for the nose and tail and the rest (stars and bars) from the Authentic Decal set. Solvaset was used to settle the decals down. I waited a day then scrubbed the model with liquid detergent and water to get the decal film off. I weathered the plane using dark washes and drybrushing.
I attached the wheels and propellers and anything else I saved until last. One word of caution, there are NOT enough gun barrels provided in the kit to fit all the guns. HK provides 3 sprues but I think there should be 4. I ended up cutting some of the unused barrels to fit the missing parts.
Scale Coat Flat Paint was used for the flat finish on the final coat. I like this paint due to (in my opinion) it being the flattest finish paint I have found. It can be found in most Model Railroading Hobby Shops. A little weathering with Alclad II engine exhaust and remove the clear parts mask and voilà it's finished.
Well there you have it. With the exception of the missing gun barrels, one VERY NICE, LARGE and HEAVY B-25. I would highly recommend this kit to those who have built large models before. Hope you enjoy the photos and I hope they explain more in detail than I wrote.
Many thanks go out to IPMS USA for giving me to opportunity to review this detail set and to HK Models for providing the kit for us to review.


© Rick Bellanger 2012
This product is available from the following LSP sponsors

This review was published on Thursday, November 08 2012; Last modified on Wednesday, May 18 2016