
Hasegawa | 1/16 Sopwith Camel (Part Two)
Reviewed by Mike Swinburne
In part two of the Camel review, we look at some of the moldings in more detail.
To see the overall parts layout, general sprue shots, etc, go to part one of the Sopwith Camel review.
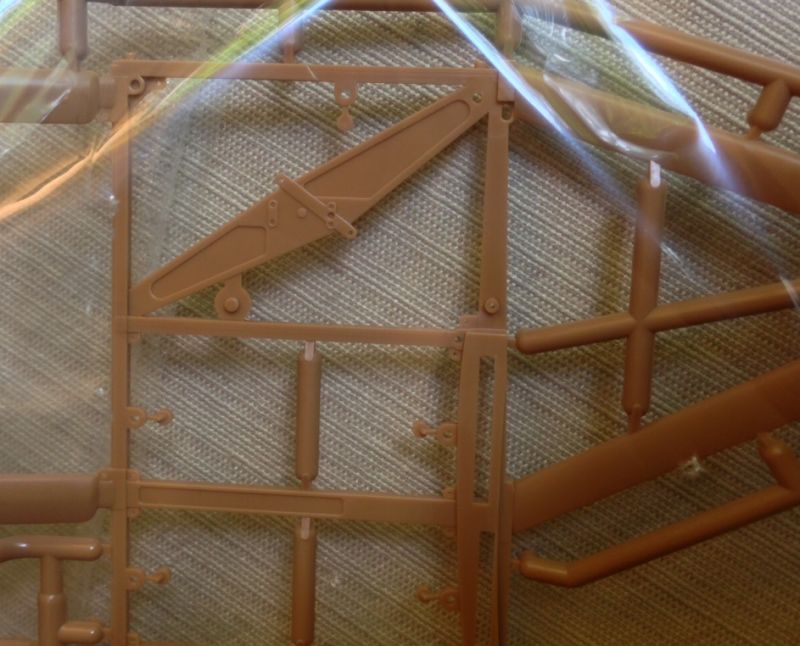
Control surfaces are all moveable and linked to the stick and pedals. The ailerons are rigged to move the same way the real plane was, with the stick only controlling the lower ailerons and the uppers being moved vie the cable system from the lowers. There are provisions in the parts to have non-moveable surfaces if you prefer.
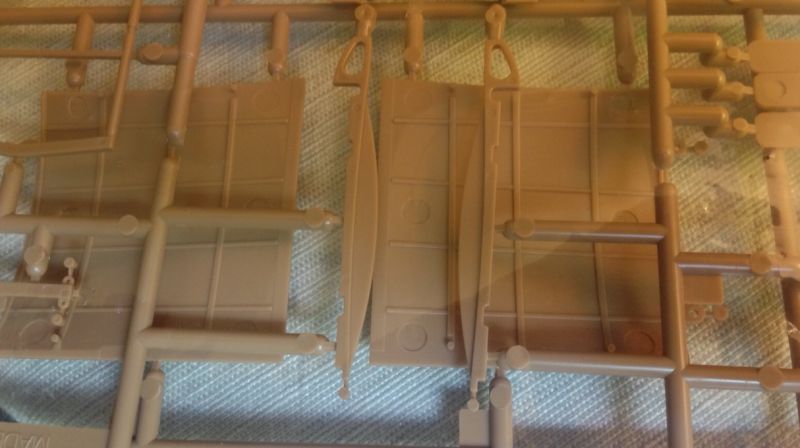
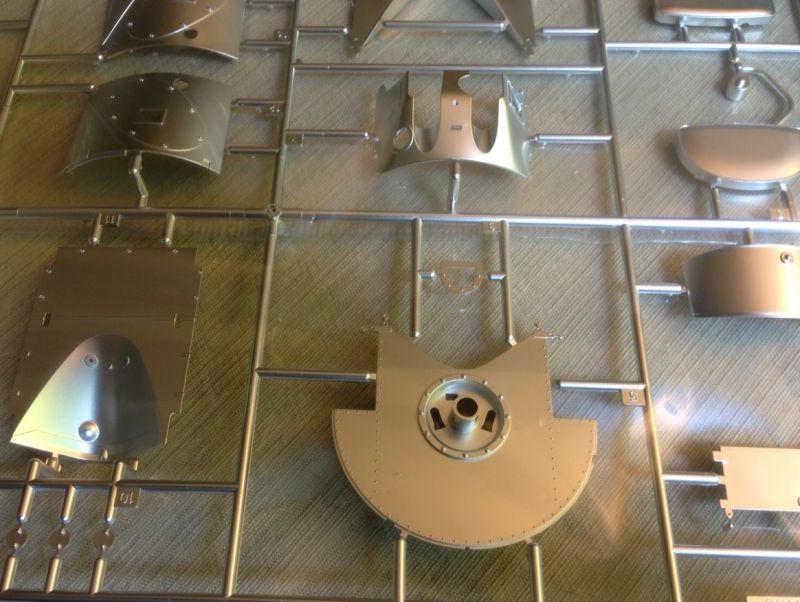
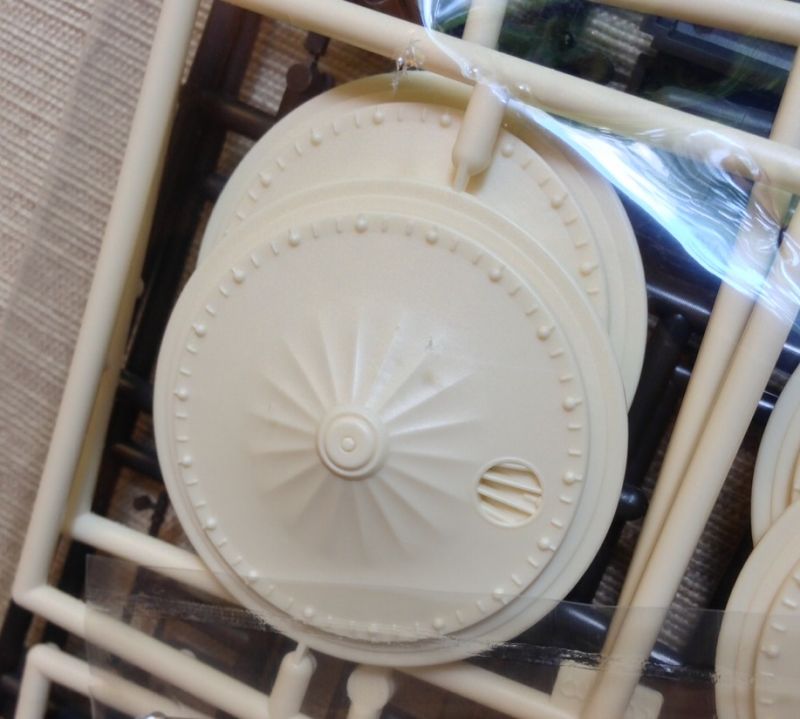
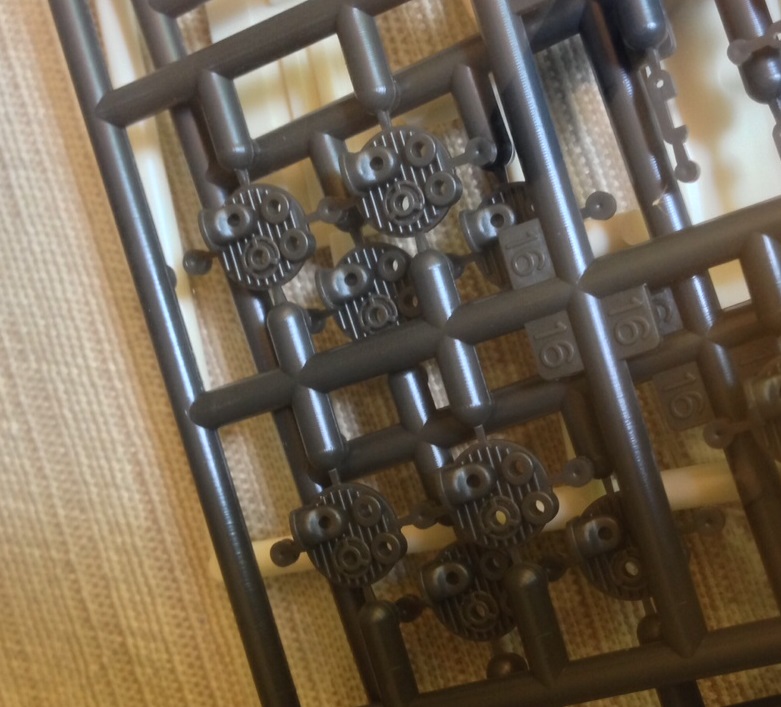
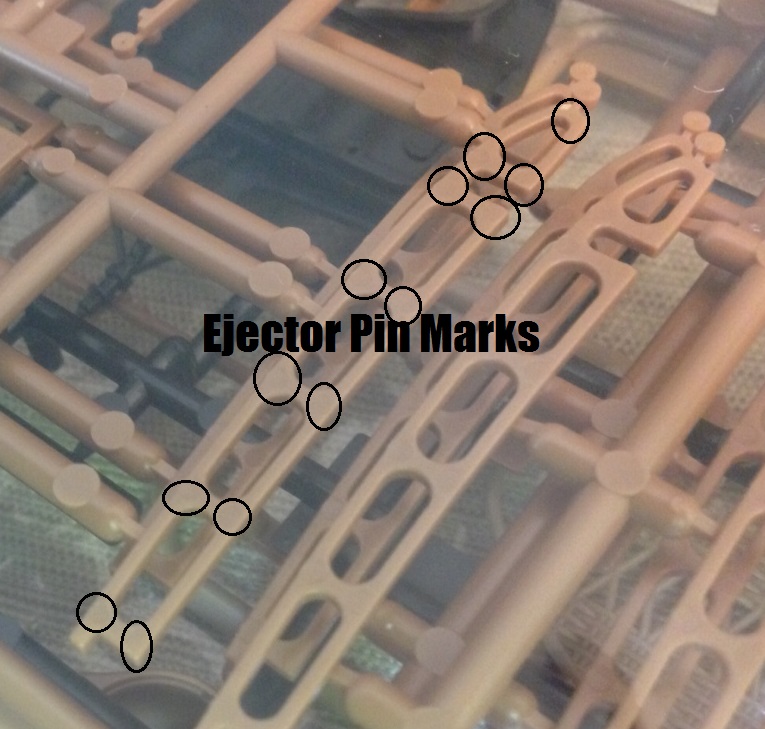
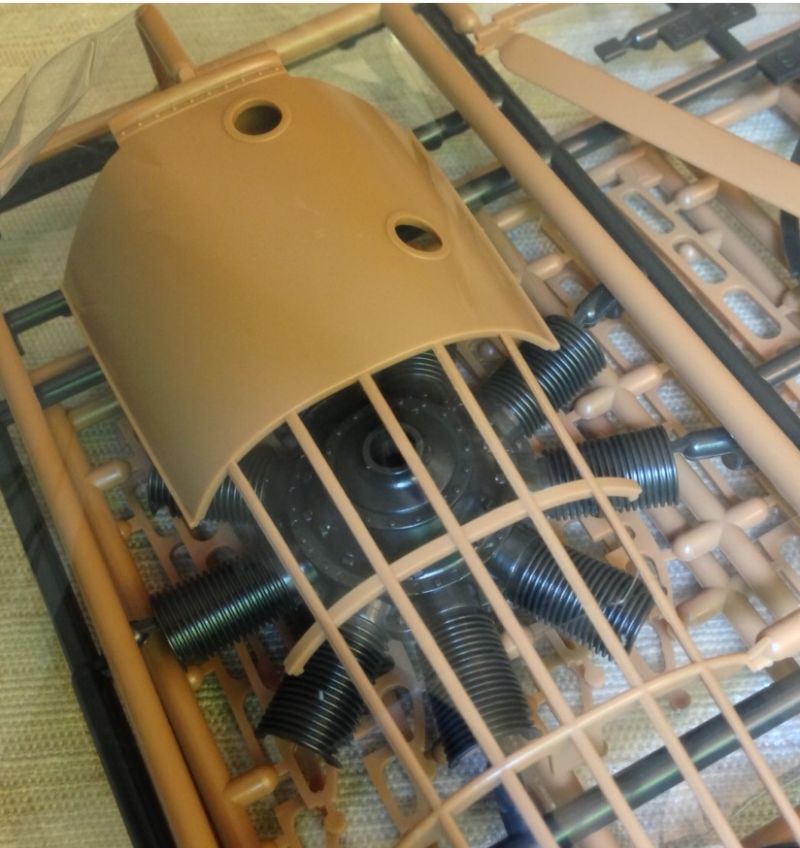
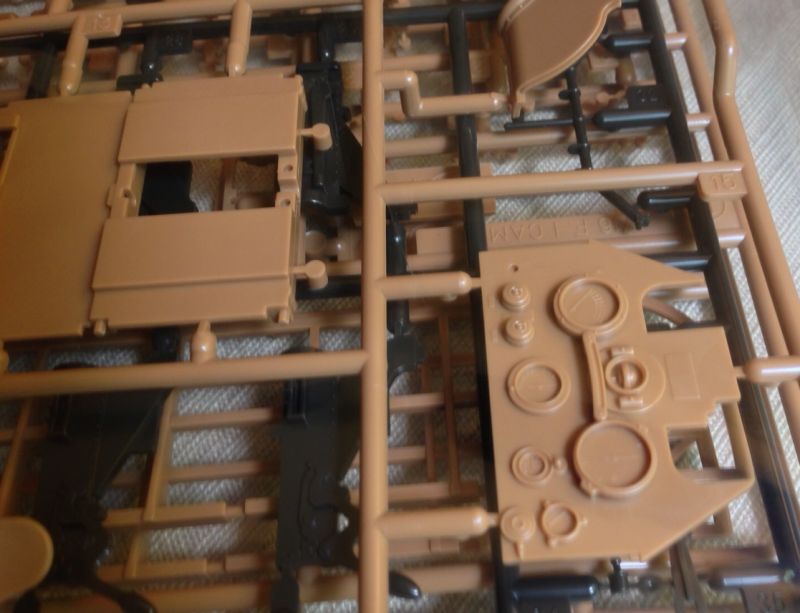
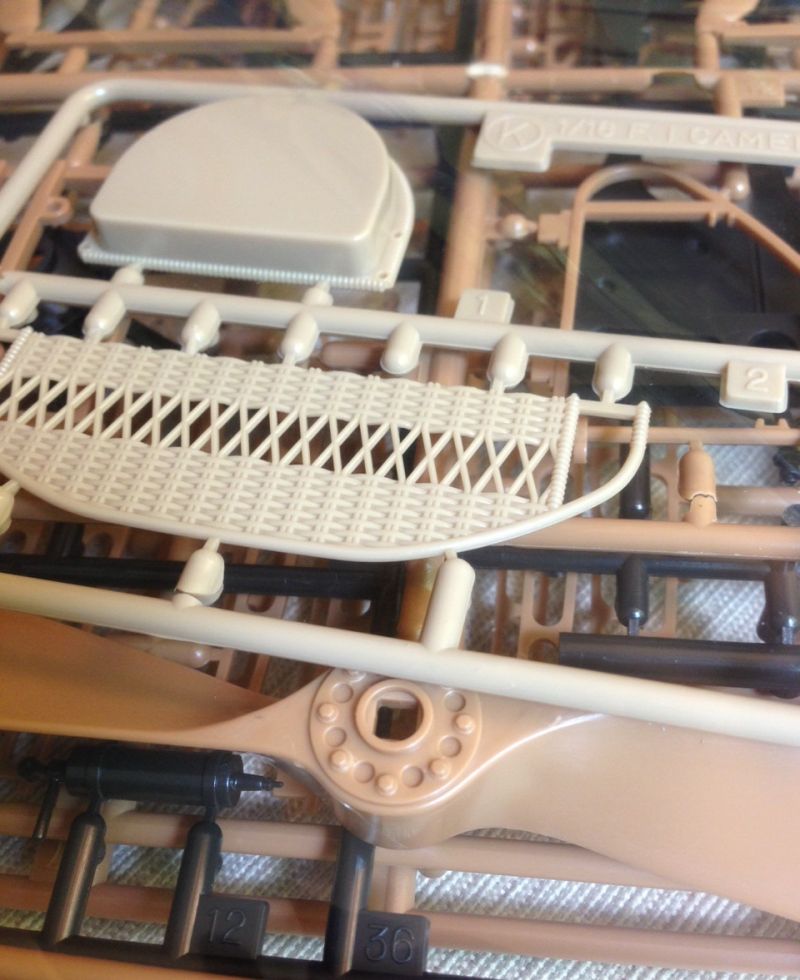
Unfortunately I see a LOT of ejector pin marks on one side of all of the ribs and wing parts, inside of the fuselage side sprues, etc. They are, on the plus side, fairly shallow ejector marks for the most part, but the number will still be frustrating. Overall detail looks great, and the control panel has extremely fine details inside the instrument faces. One nit pic I did come up with was that the propeller hub is molded on the propeller. It seems that it would have been easy to mold it as a separate part to ease painting. Guns barrels and breaches are both molded in two halves but I didn't look closely to see how much of an impact that would have.

© Mike Swinburne 2013
This review was published on Monday, June 24 2013; Last modified on Monday, June 24 2013