
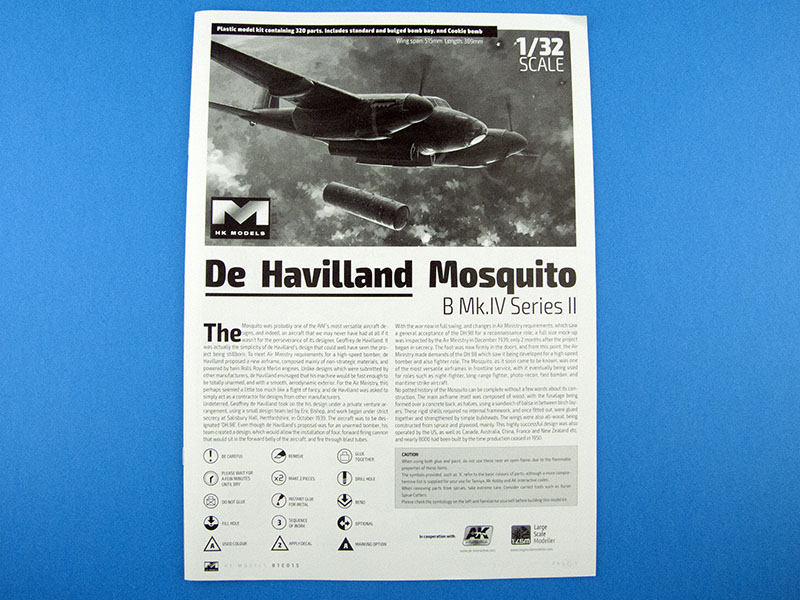
HK Models | 1/32 de Havilland Mosquito B Mk IV Series II
Reviewed by Kevin Futter
Revell first released a 1/32 scale Mosquito kit in 1971. It has been re-released several times since then, most recently in 2014, but remains the same outdated kit from days of yore. Mosquito fans have been clamouring for a new-tool replacement for Revell's antiquated effort since the dawn of the LSP renaissance, some 15 years ago. This yearning was heightened by the release in 2009 of the 1/24 scale Airfix Mosquito, which, while a magnificent kit, did little to alleviate the frustrations of those modellers preferring to build in 1/32 scale.
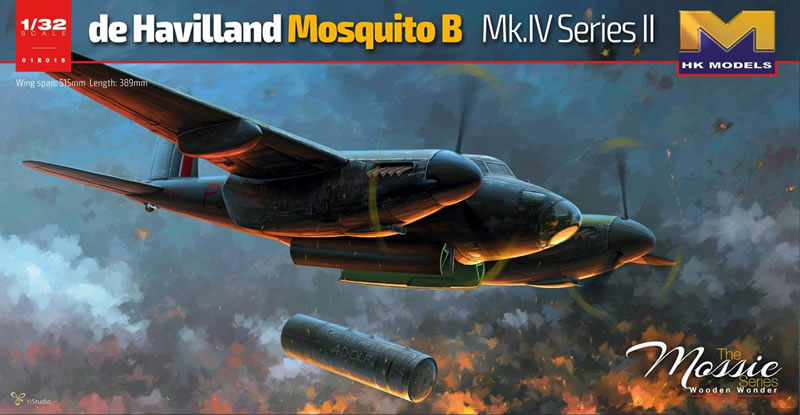
And now, thanks to HK Models, the wait is finally over. This release is, like the Revell kit of old, a Mk IV bomber, and as such, can be considered a direct replacement for its ancient predecessor. The first thing you notice about this kit is the gorgeous artwork on the box top. It's striking and evocative, and very nicely done. HK is definitely improving in this area, and this is one of their best yet.
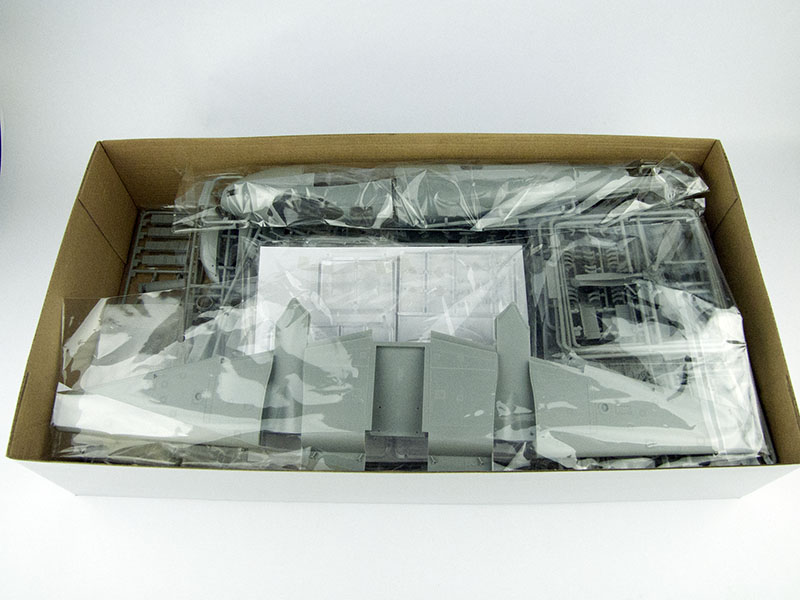
Inside, the box is brimming with sprues:
The kit contents comprise the following:
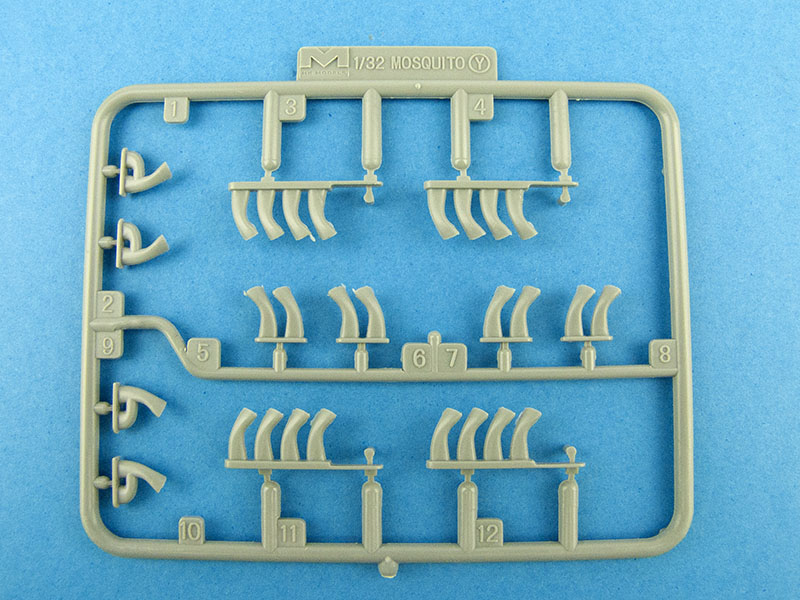
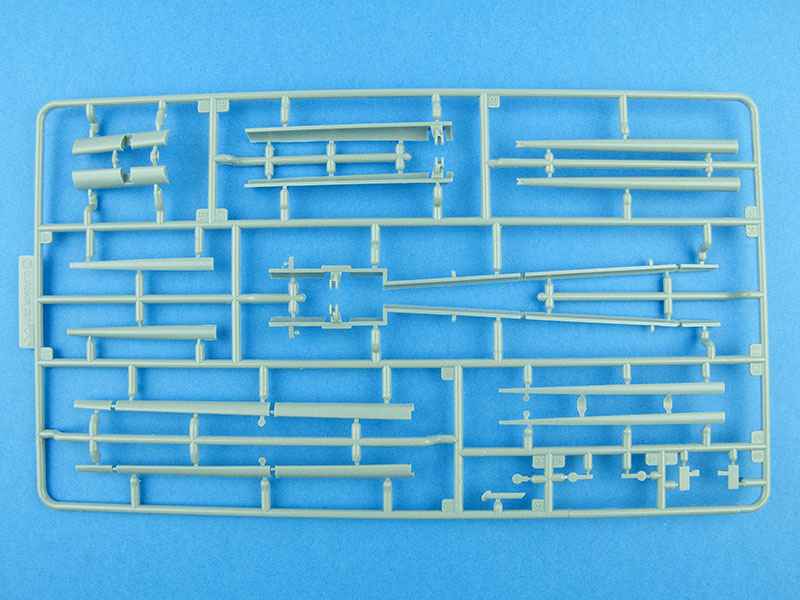
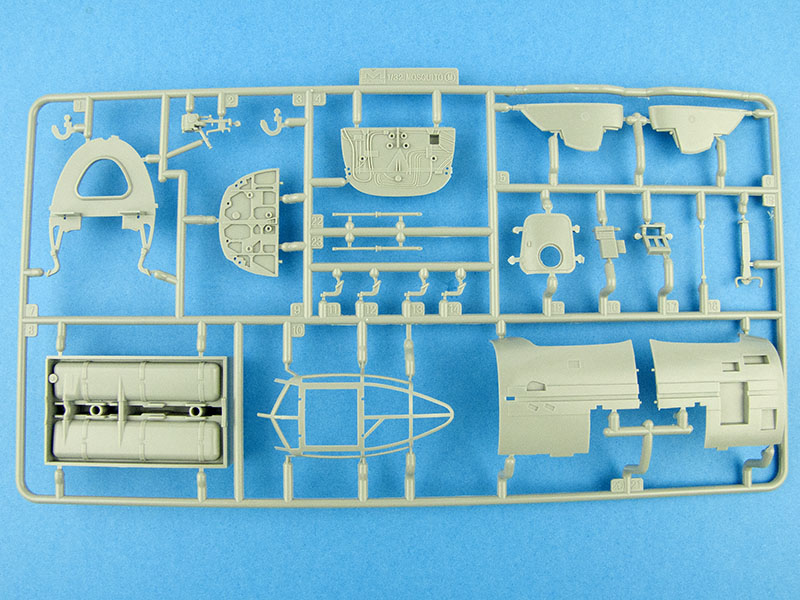
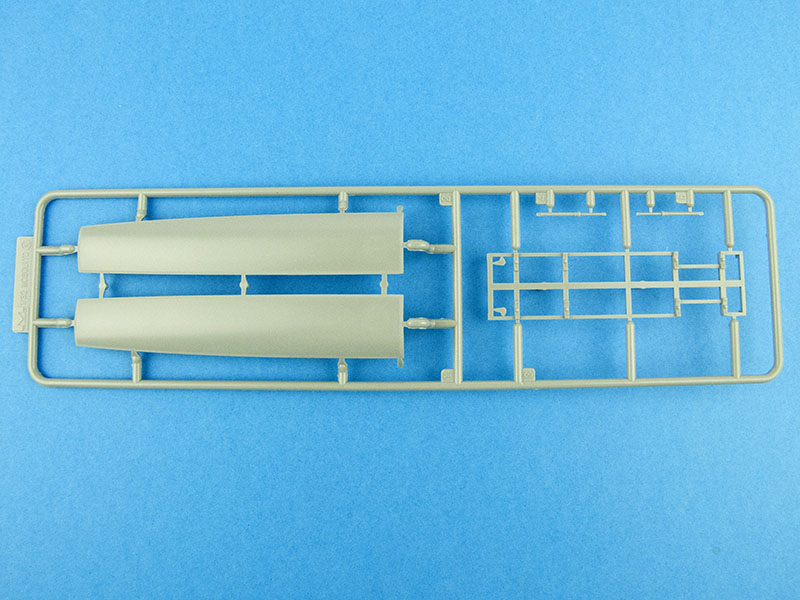
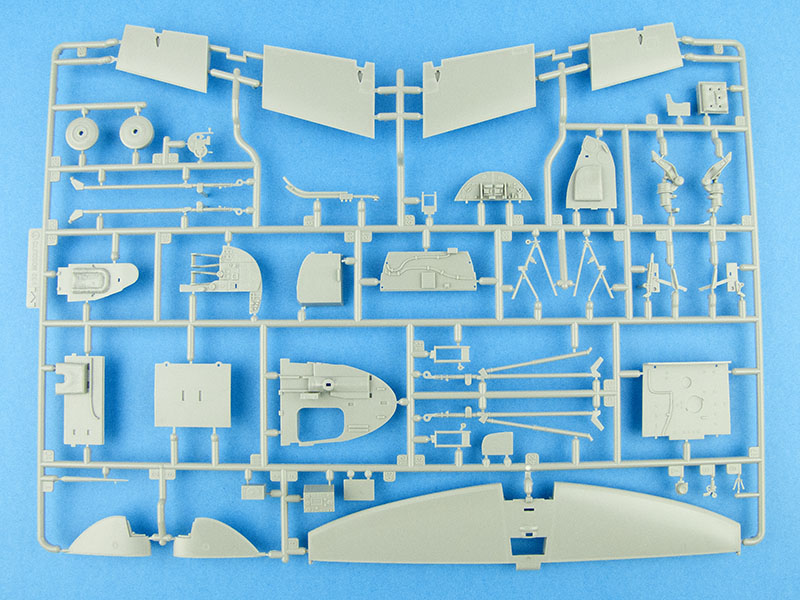
- 22 grey plastic sprues
- 1 single-piece wing
- 4 clear plastic sprues
- 2 resin crew figures
- 1 decal sheet
- 1 instruction booklet
- 4 paint colour guide
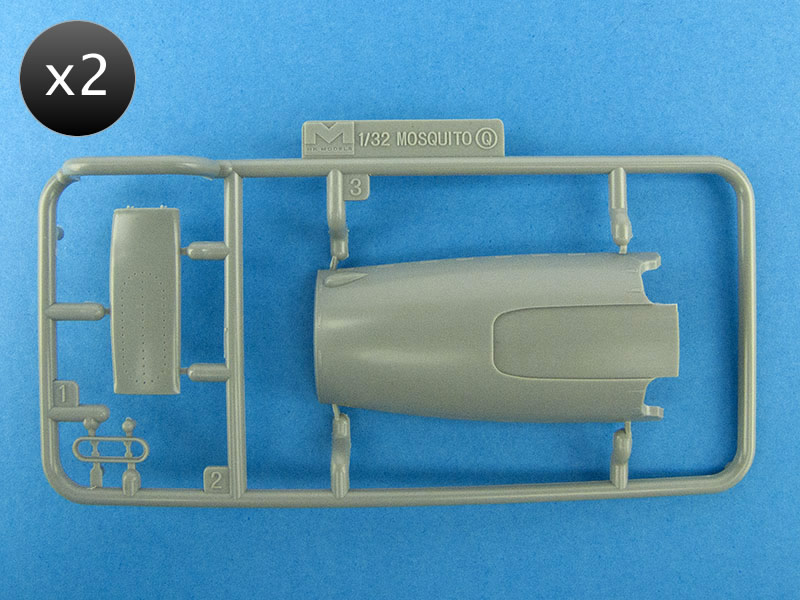
The Plastic Sprues
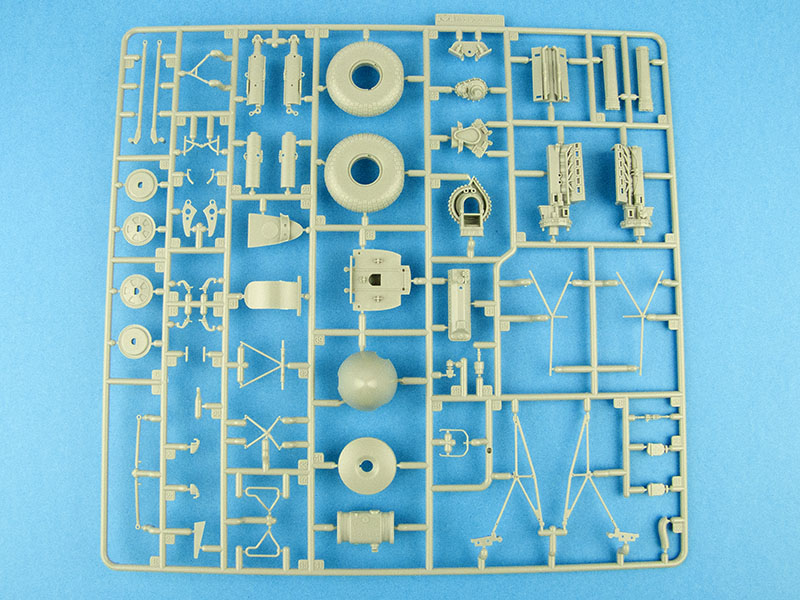
Everything is housed in protective plastic bags, though many of the smaller sprues are bundled together and bagged in groups. A feature of previous kits from HK Models has been the inclusion of some very large sprues, which of course makes sense given the large size of many of the company's chosen subjects. In this case, however, there is really only one that fills the box; most of the rest have been broken into much smaller, less unwieldy sprues. This certainly eases their handling! It also means many of the sprues are duplicated.
You'll notice that none of the sprues in the photos above feature wing or fuselage parts. This is due to quite an amazing feat of kit engineering and mould tooling: the wing is a single piece, and the fuselage is divided into front and rear sections, each of which is a single piece. Amazing.
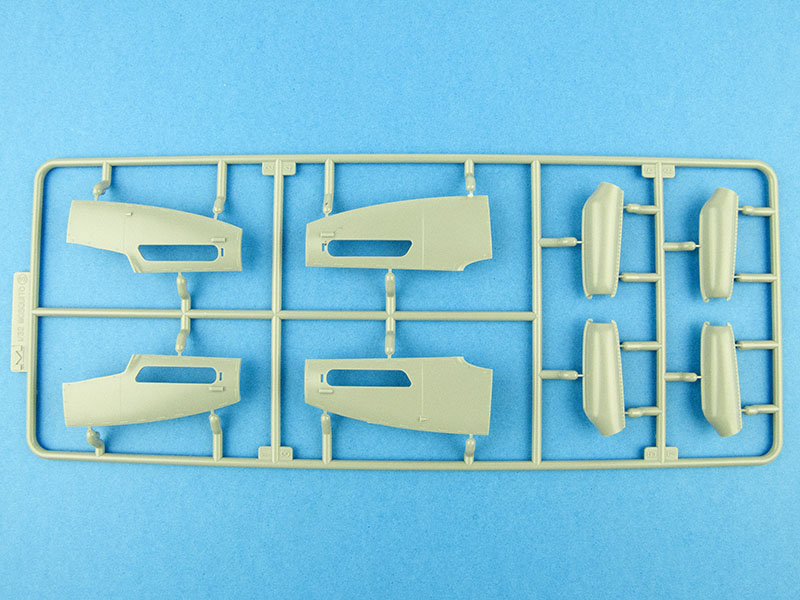
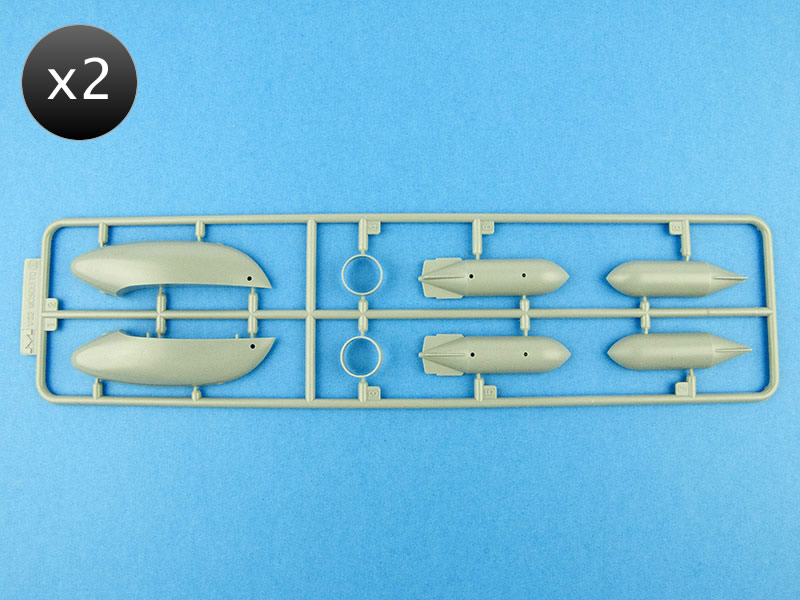
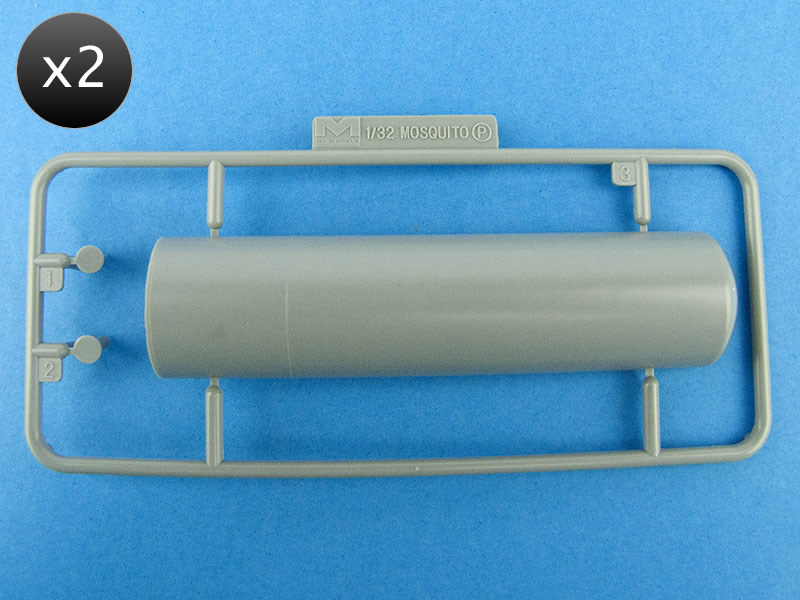
The kit also includes the necessary parts to accommodate a standard bomb load of four 500lb bombs, or the large, 4000lb "cookie" bomb. The latter utilises a pair of fairings fore and aft of the bomb bay to convert it to the bulged configuration, and an alternative set of bomb bay doors.
The instructions note that there are 320 parts in all.
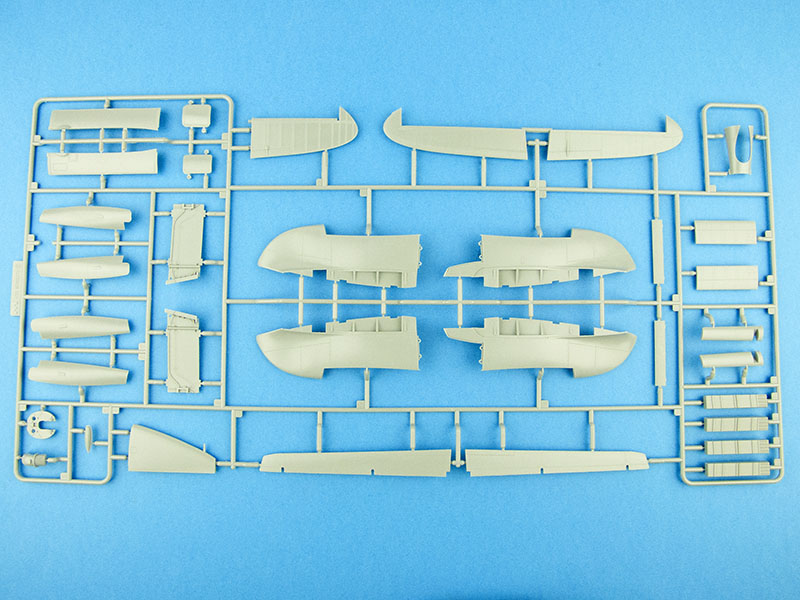
The Wing
As mentioned above, the wing is moulded as a large, single piece (minus the flaps, ailerons, engine nacelles and wing tips). It's actually difficult to comprehend until you see it:
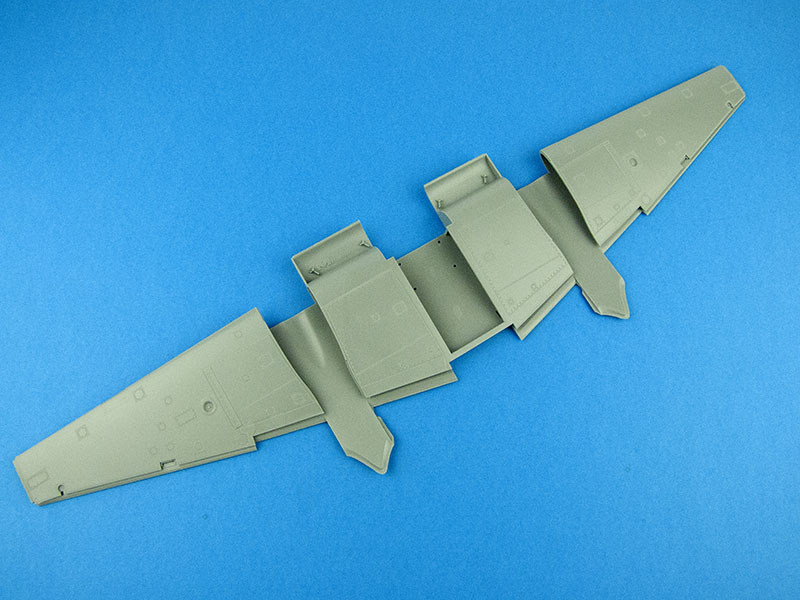
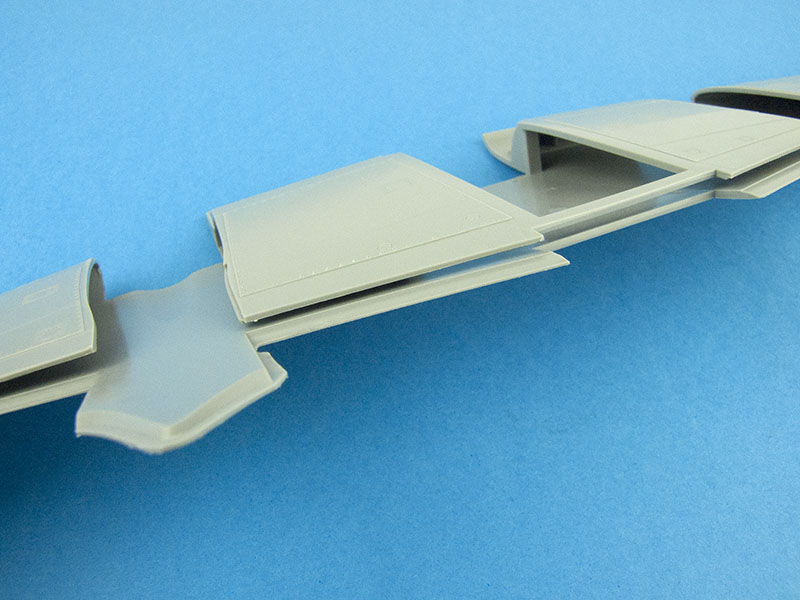
It's not a solid piece, however, with the trailing sections open, awaiting the insertion of the necessary parts to build out the flaps and ailerons:
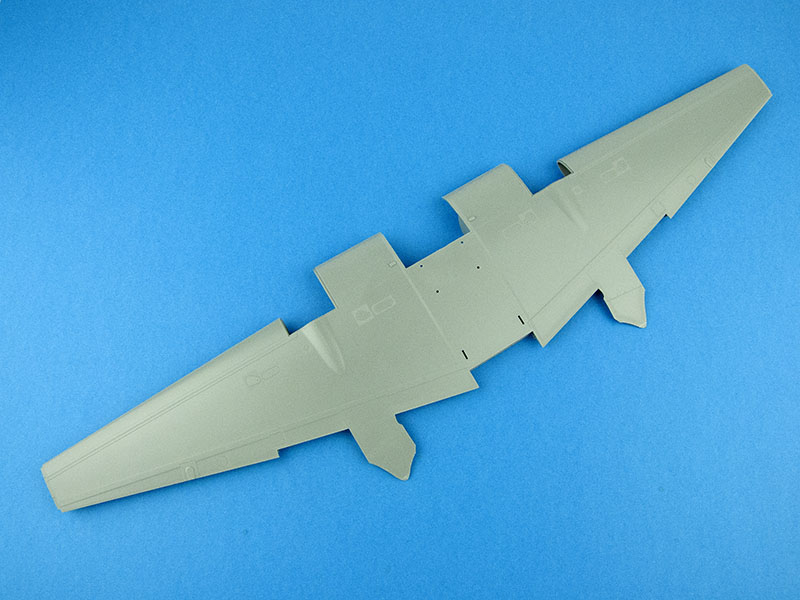
The leading edges are moulded closed, and the entire wing resembles something that has simply been folded back on itself:
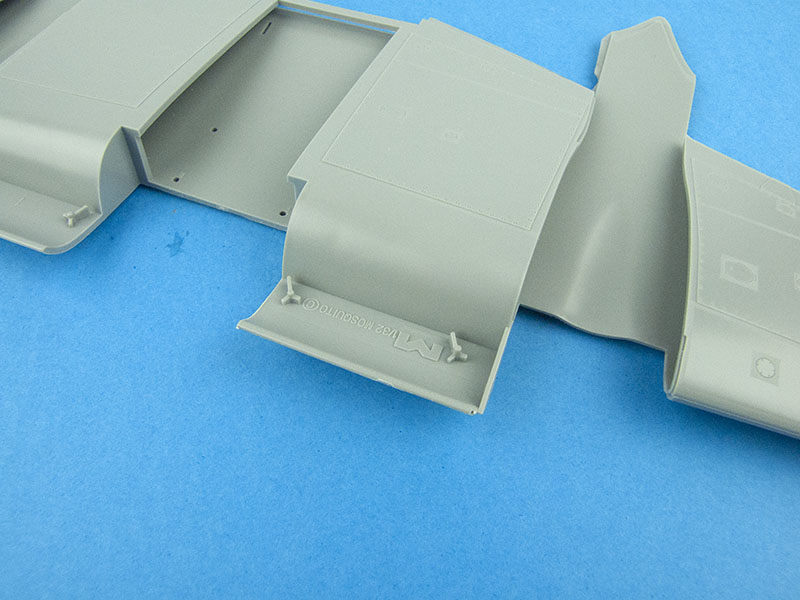
There is still a mould seam along the leading edge where the two halves have been fused together, so some clean up will still be required.
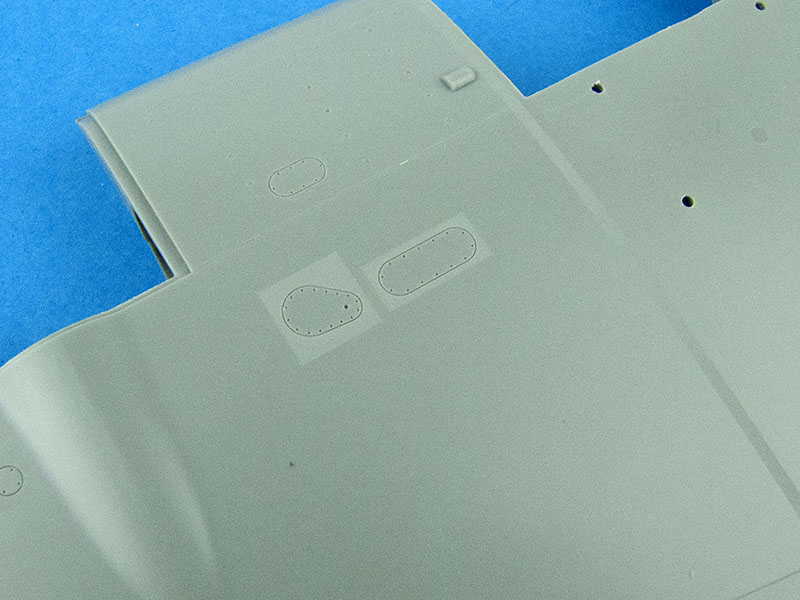
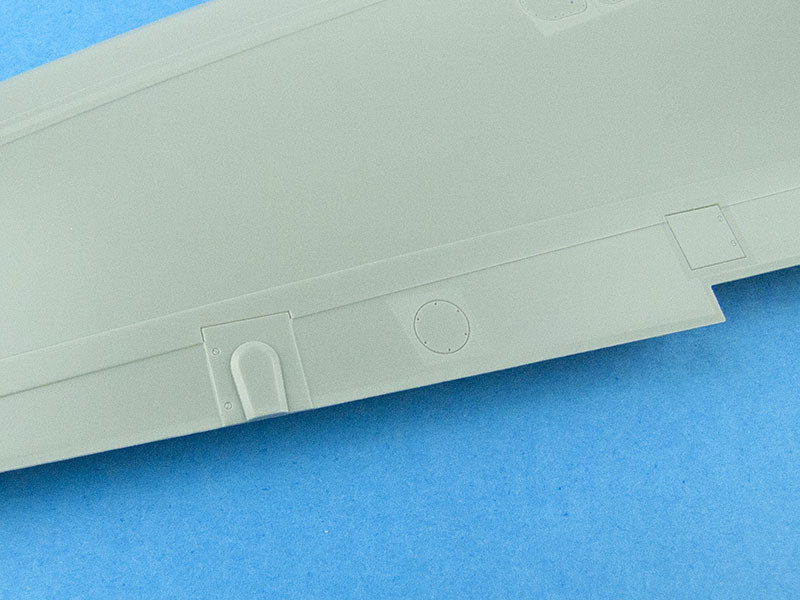
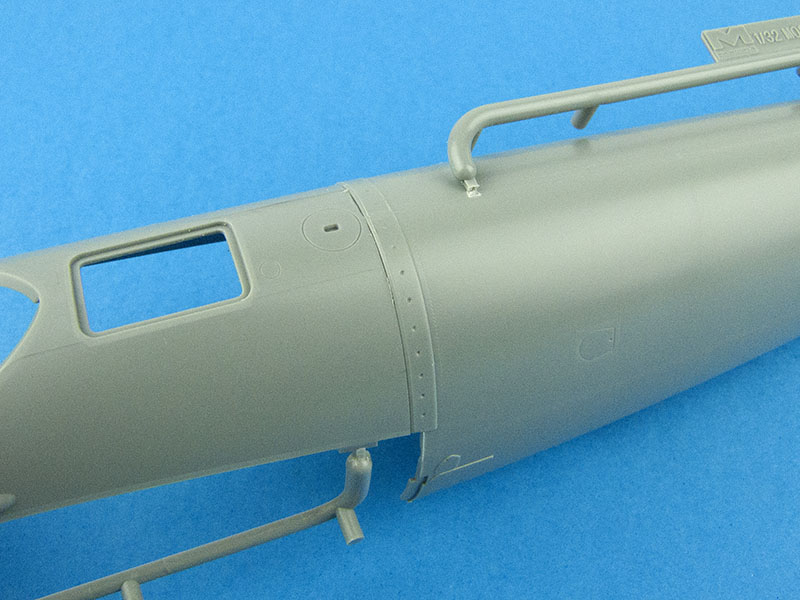
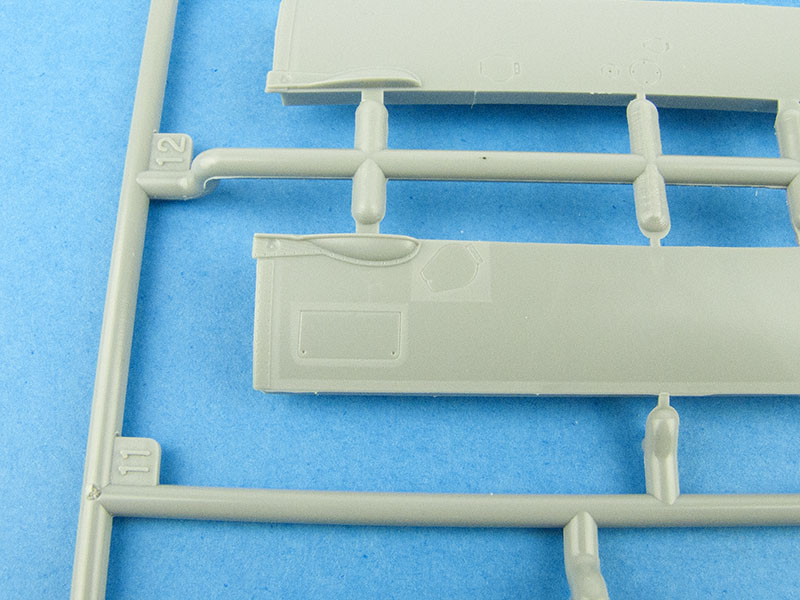
The surface detail is excellent, but obviously limited to those elements that were not wooden, such as hatches, access panels, and the like:
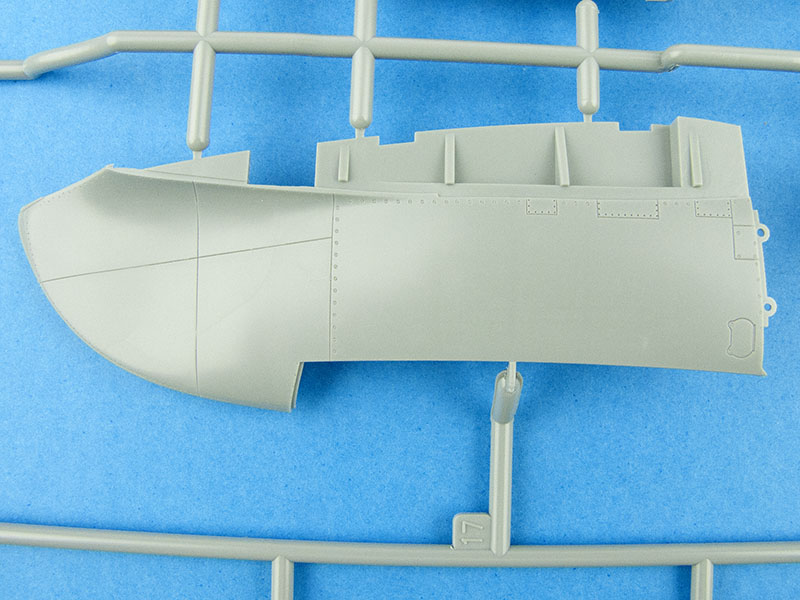
The Fuselage
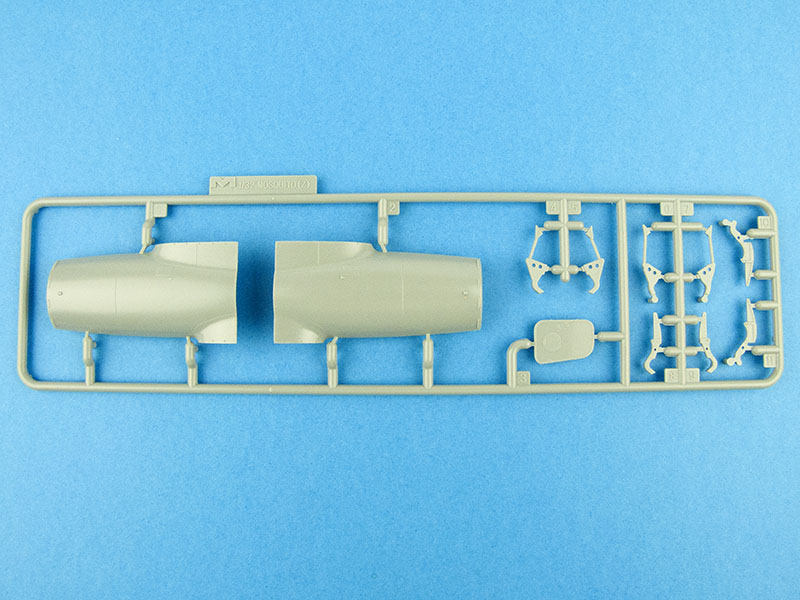
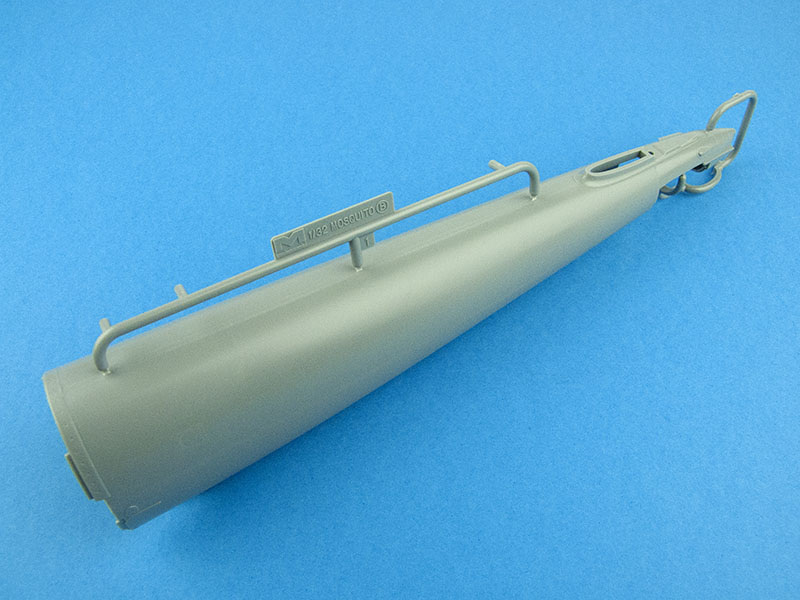
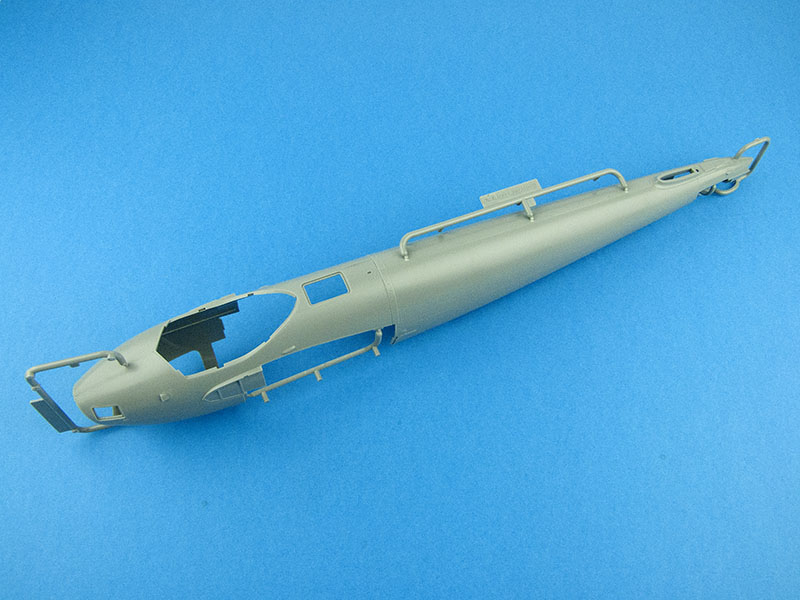
In a similar vein to the wing, the fuselage is moulded in just two pieces: the nose section, and the rear fuselage. These are bundled together in their own plastic bag:
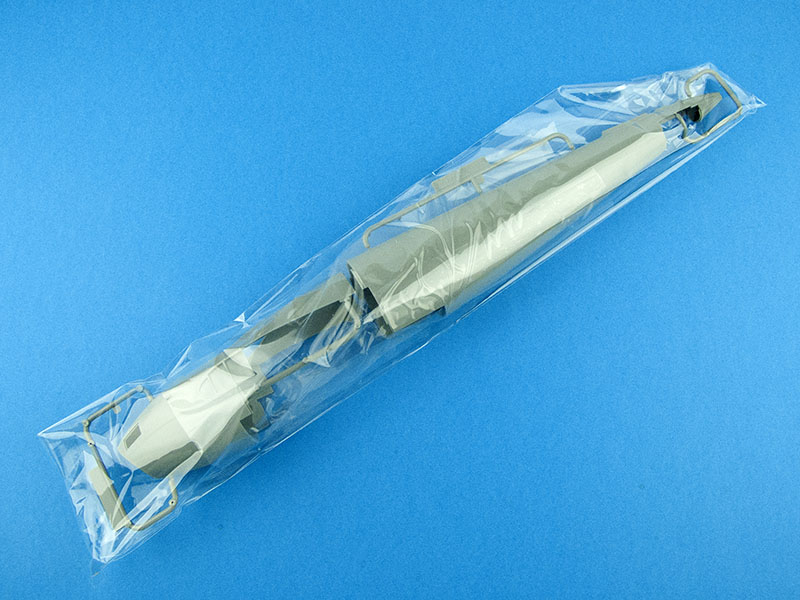
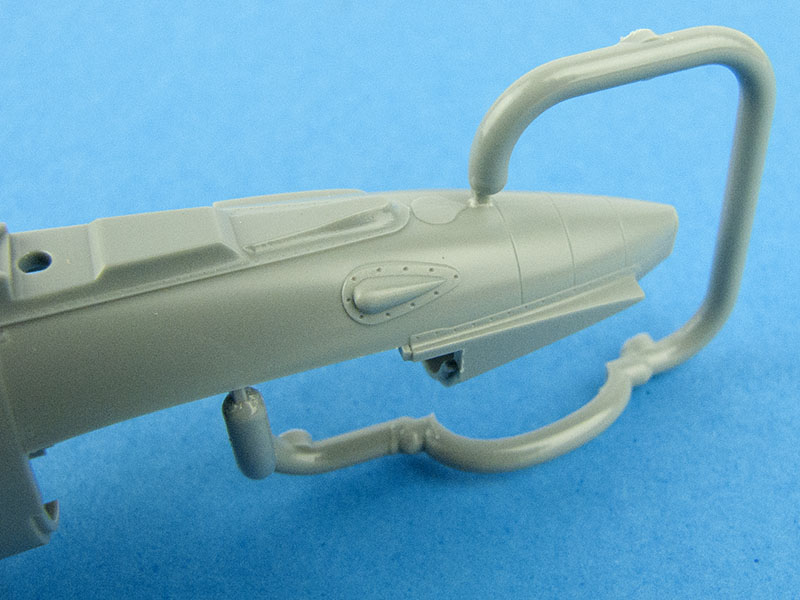
Let's have a closer look. Firstly, the nose section:
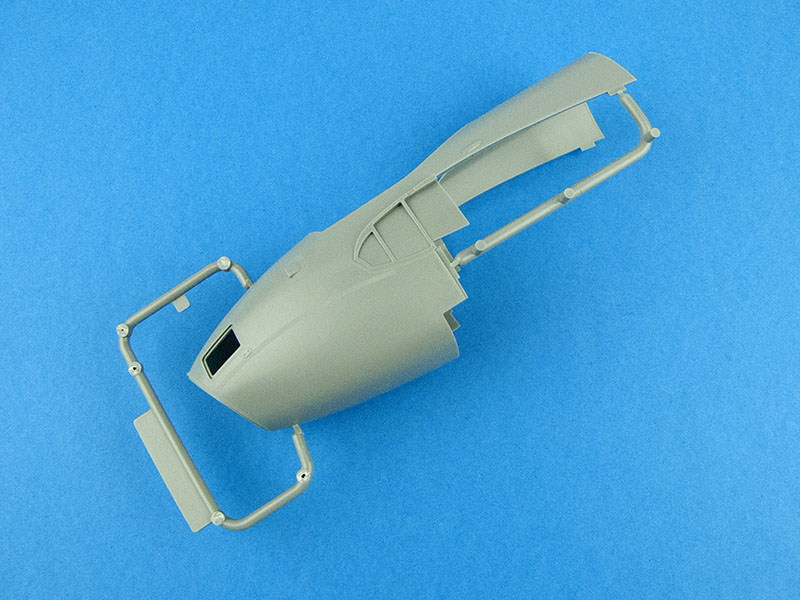
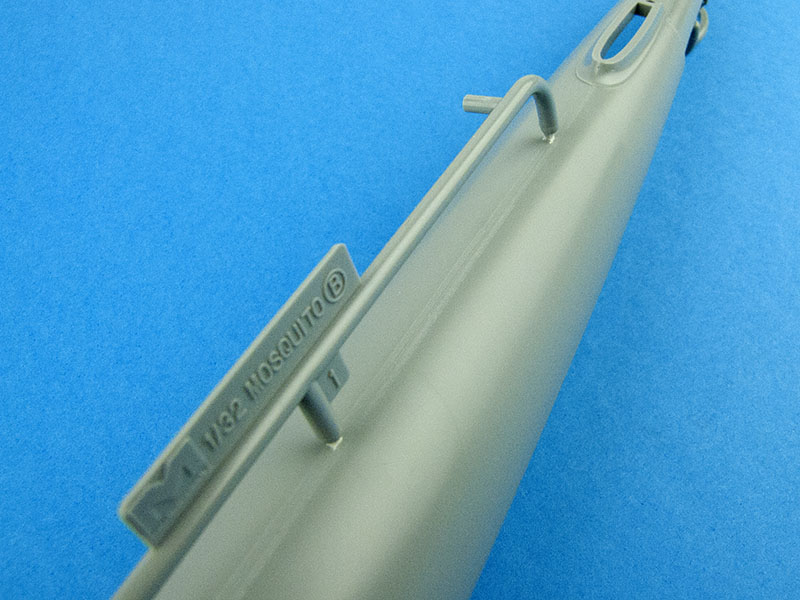
As you can see, it's a single piece, though mine featured a slight moulding flaw at the very front:
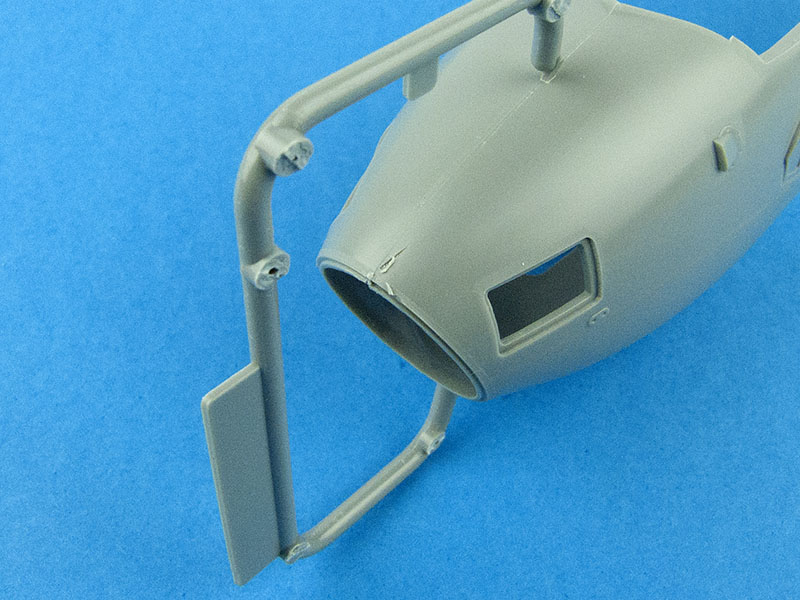
Also notice that, just like the wing, there is still a seam line where the original halves have been brought together in the mould. This will require some clean up prior to the painting stage.
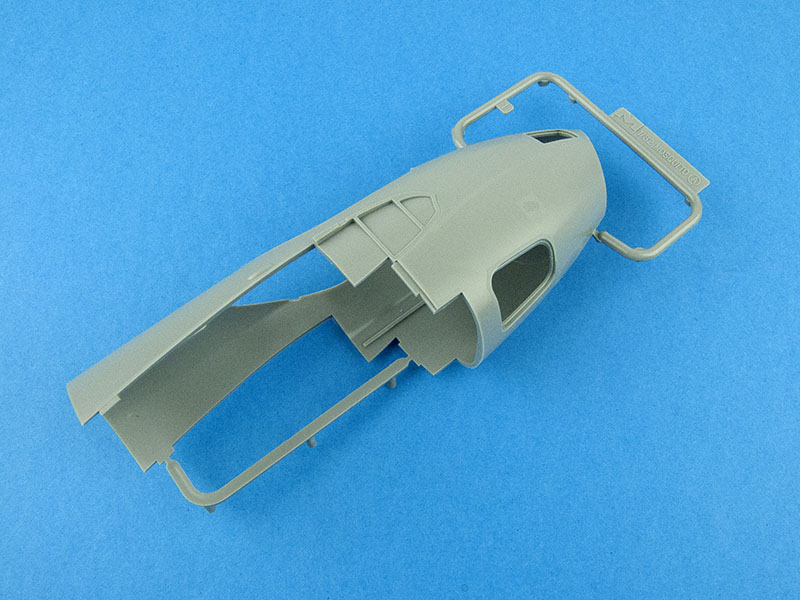
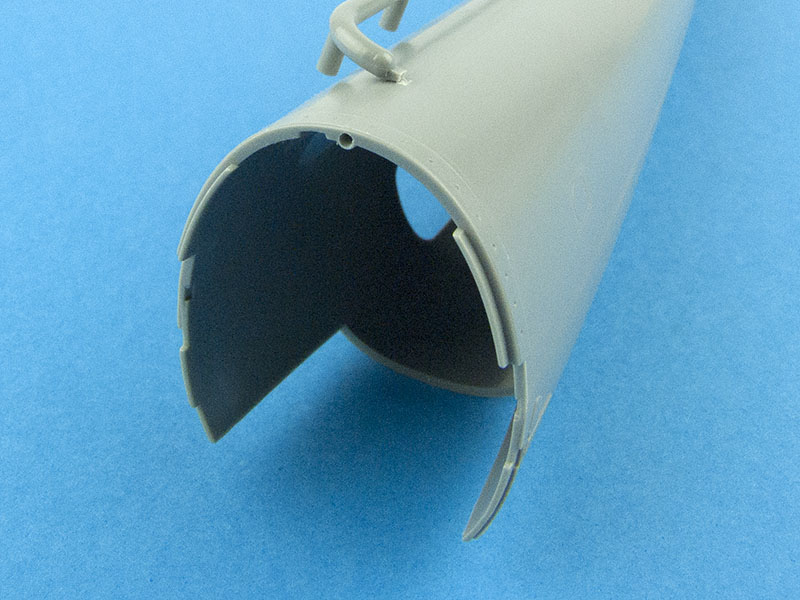
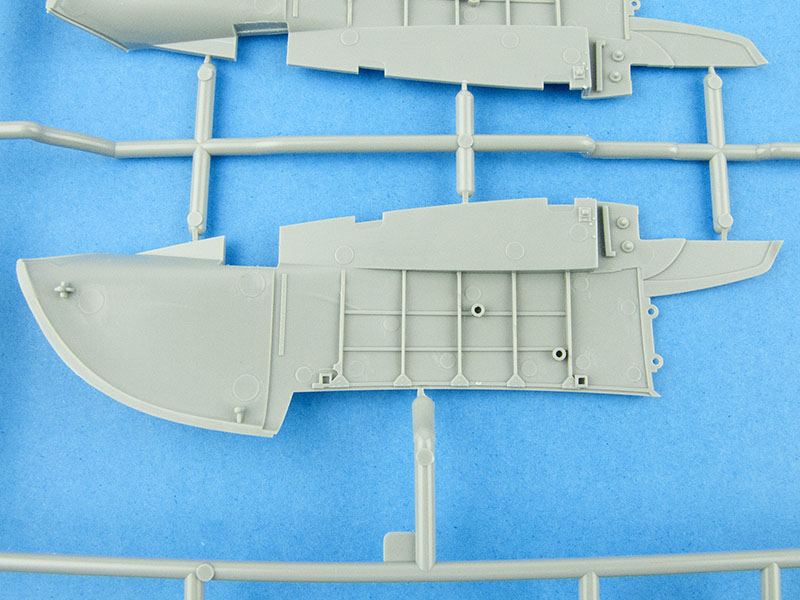
The rear fuselage section is obviously a much larger piece:
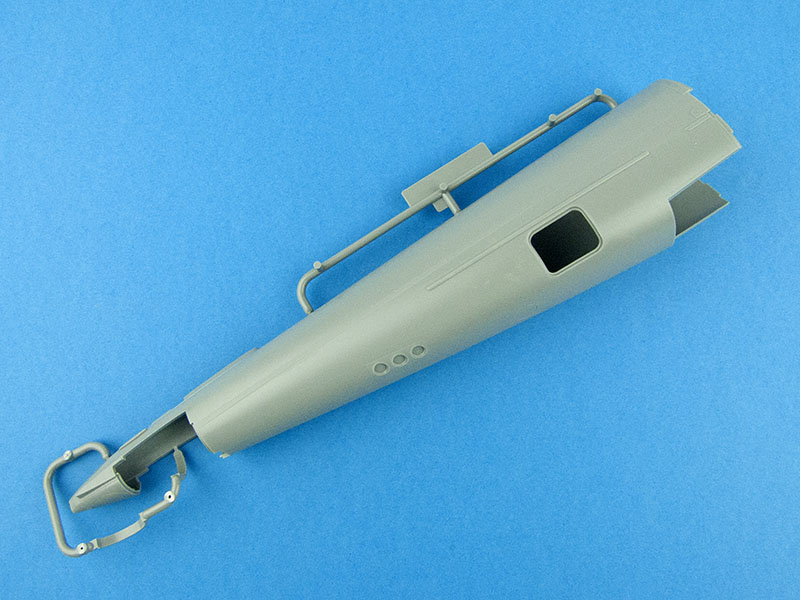
The now familiar seam line is also present:
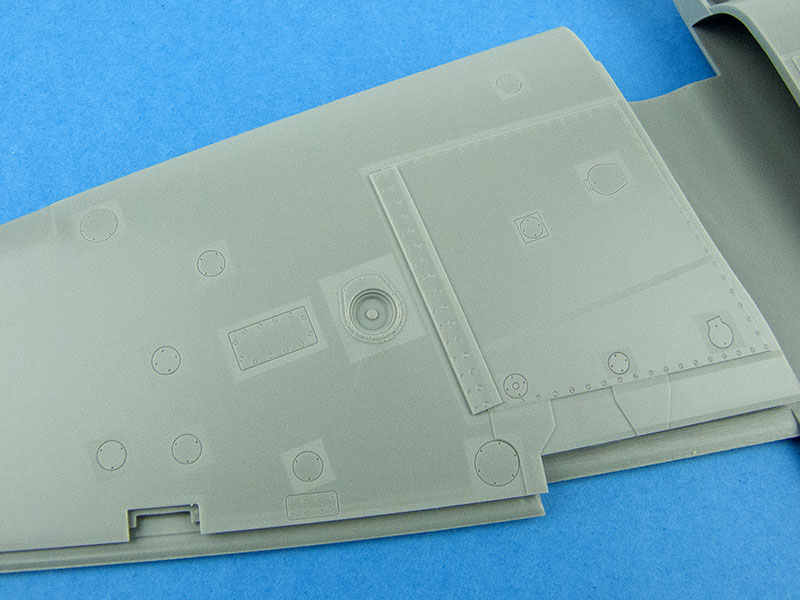
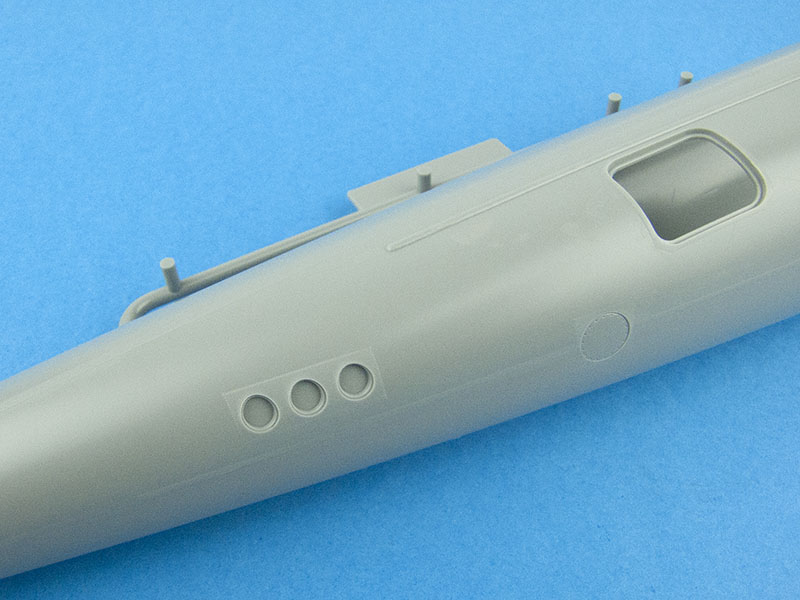
As you would expect for a mostly wooden aircraft, there isn't much in the way of surface detail on the fuselage, but what's there is just as nicely done as on the wings:
How Does It Fit?
With the main wing and fuselage assembly able to be built from just three pieces, I couldn't resist the temptation to clean up the parts and tape them together. The two fuselage sections mate via a pair of tabs and a locating pin. The corresponding hole for said pin was a little small in my sample, so I opened it up with the tip of a #11 blade:
This allowed for quite an impressive fit between the two sections, even though there is no glue involved:
From here, it was a simple matter of sliding the wing into position, and slotting the alignment tabs on the fuselage into their respective slots on the top of the wing:
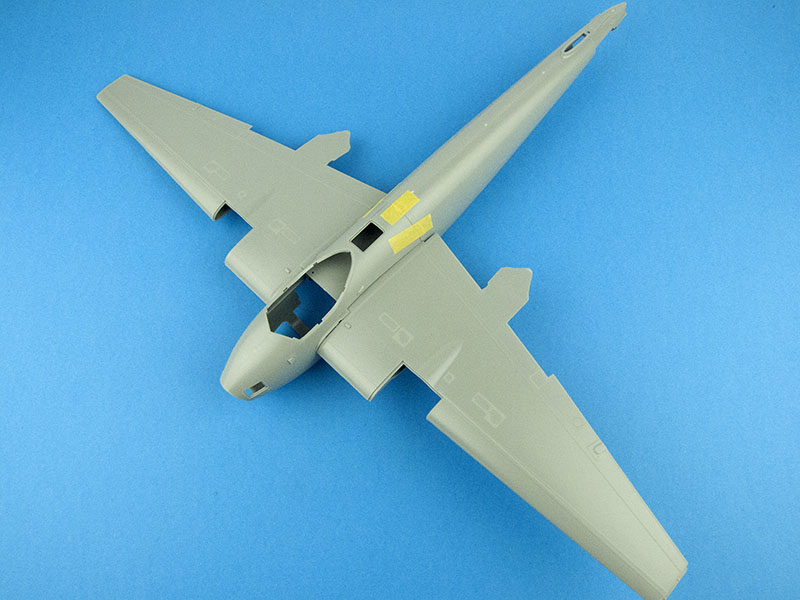
I had to keep telling myself that this assembly was made up of only three separate parts! The fit of the wing to the fuselage was decent, but wanted to fall away a bit when not being held in position:
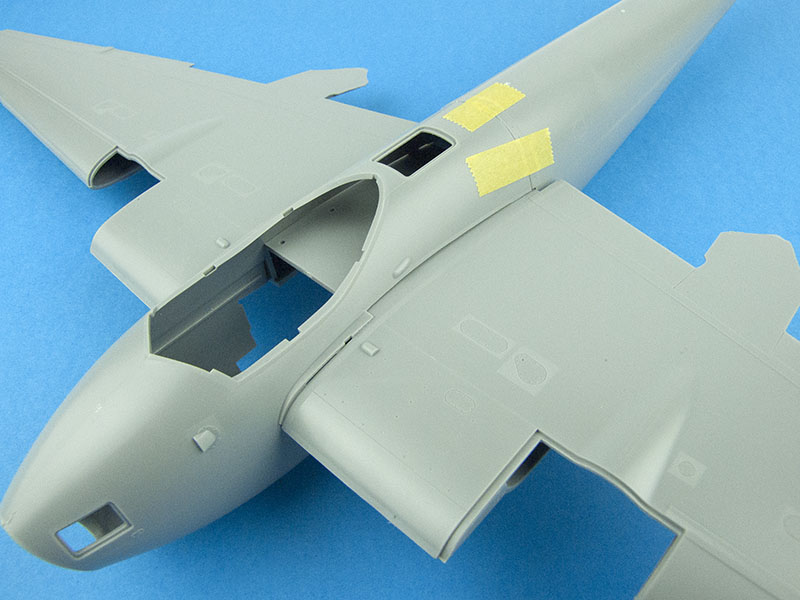
I think the fit will be rather good when executed as a part of the proper assembly sequence, but it's difficult to judge it definitively without actually building it.
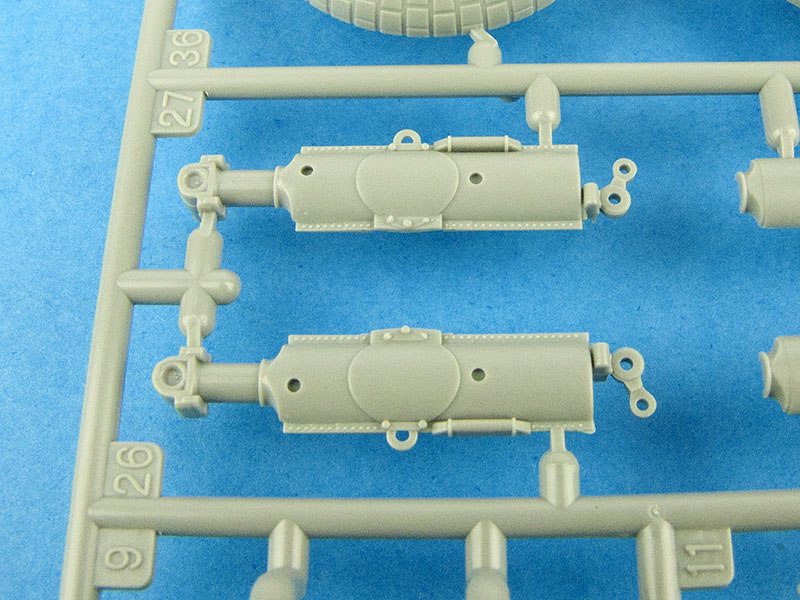
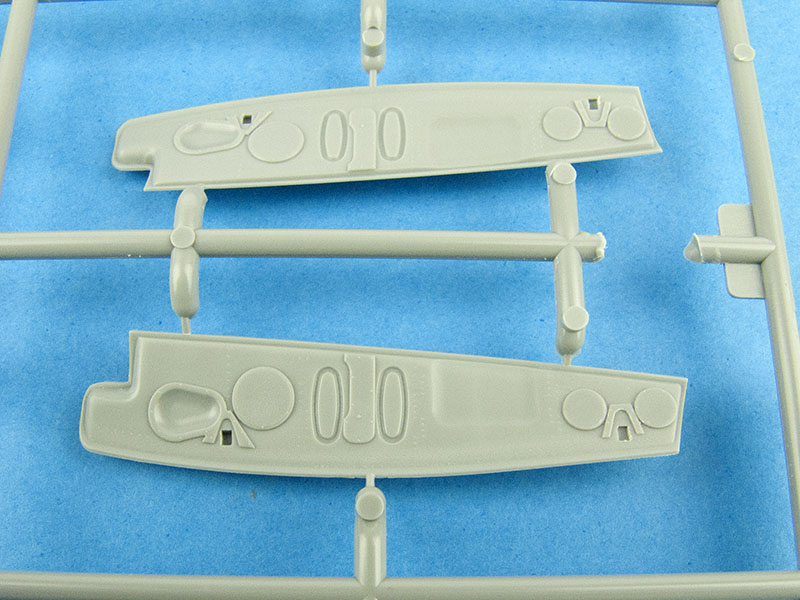
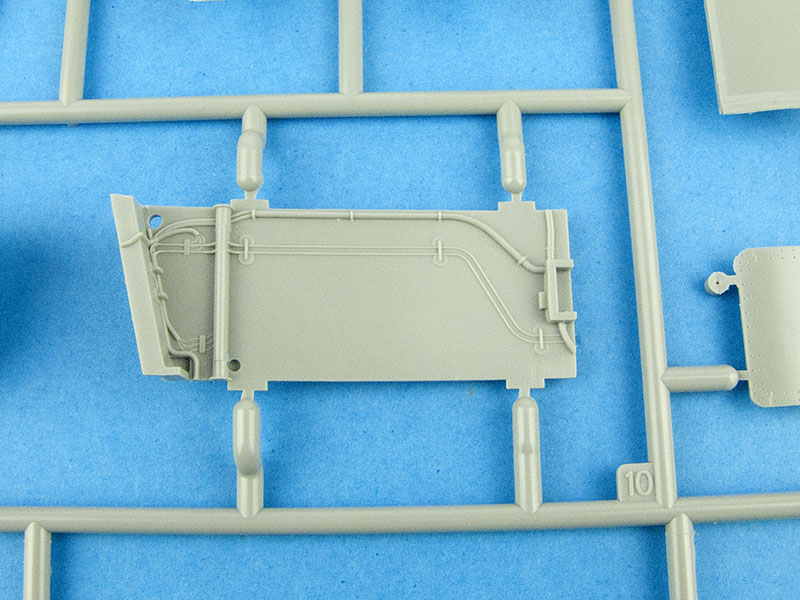
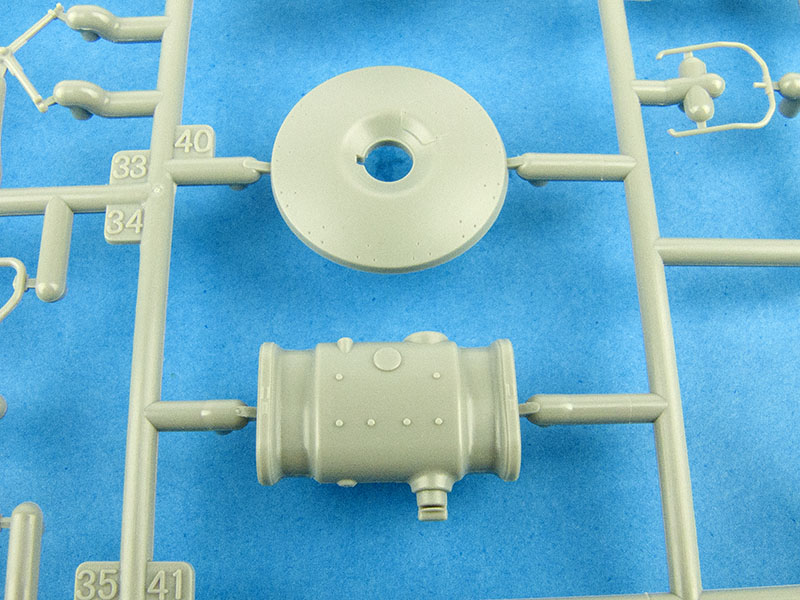
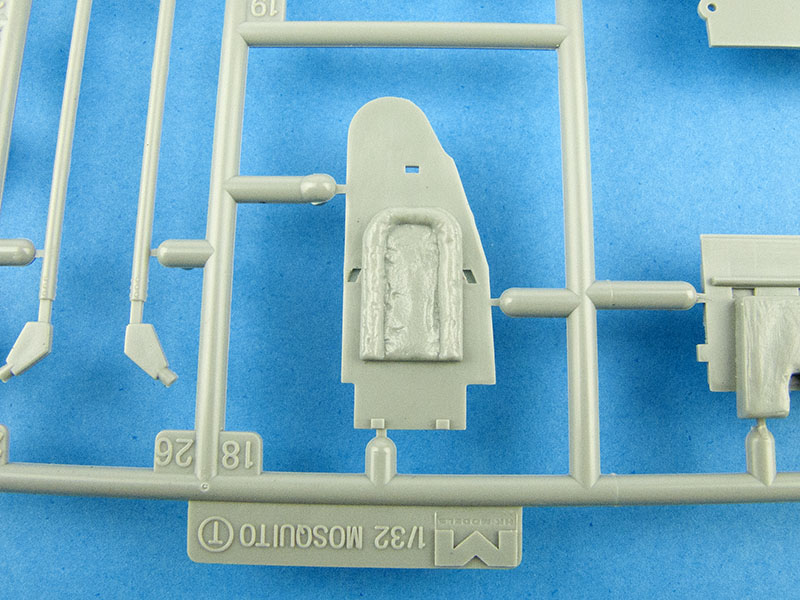
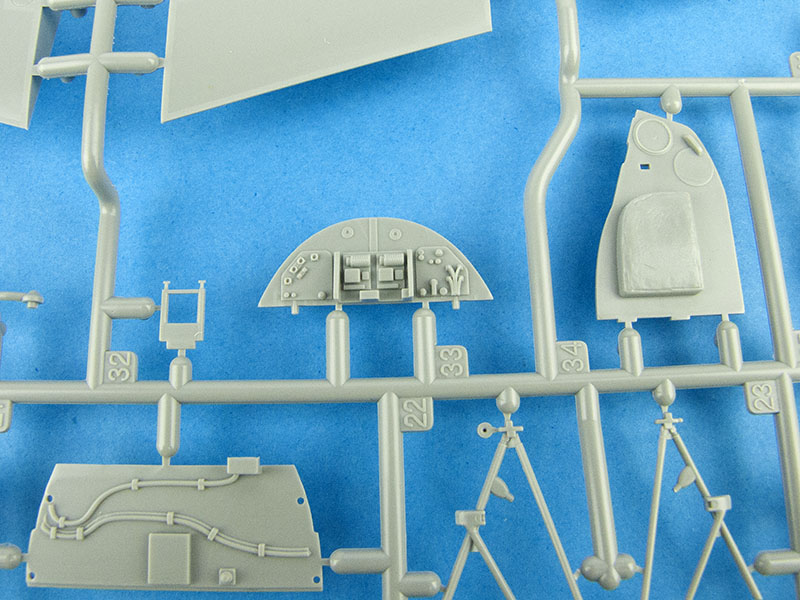
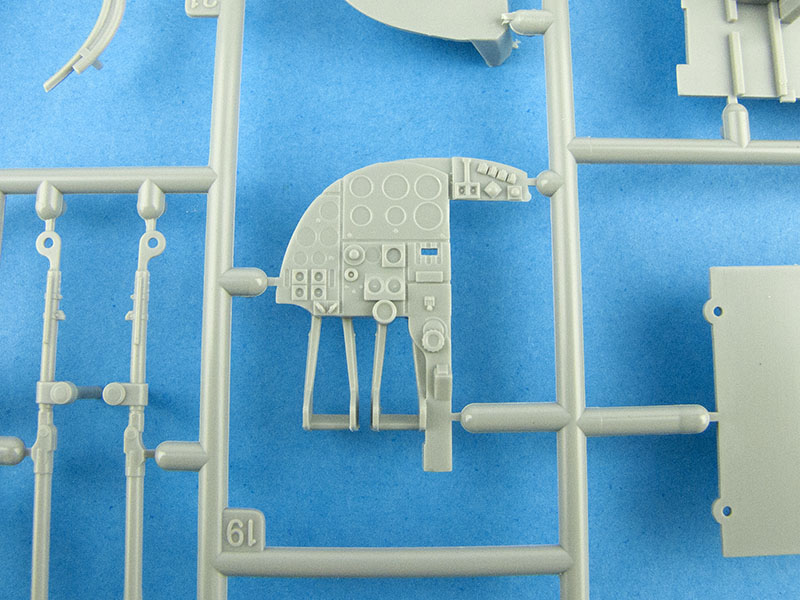
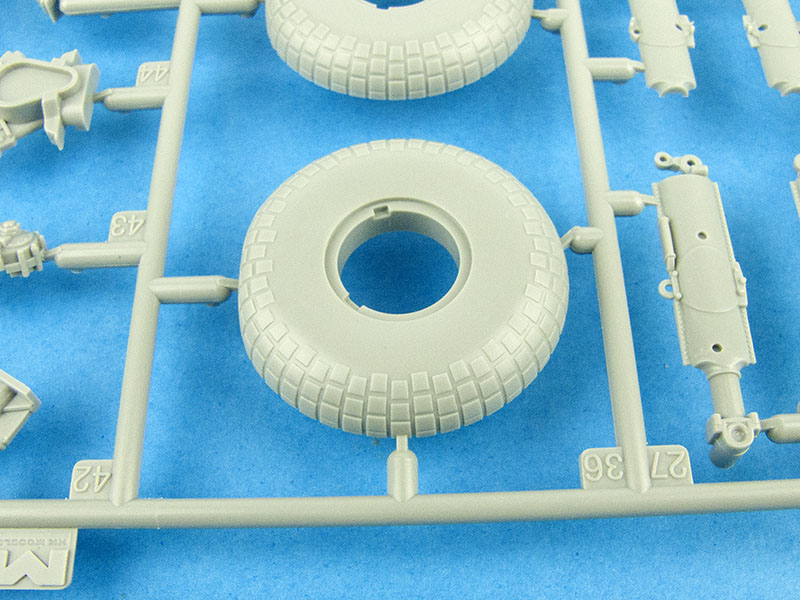
Detail Photos
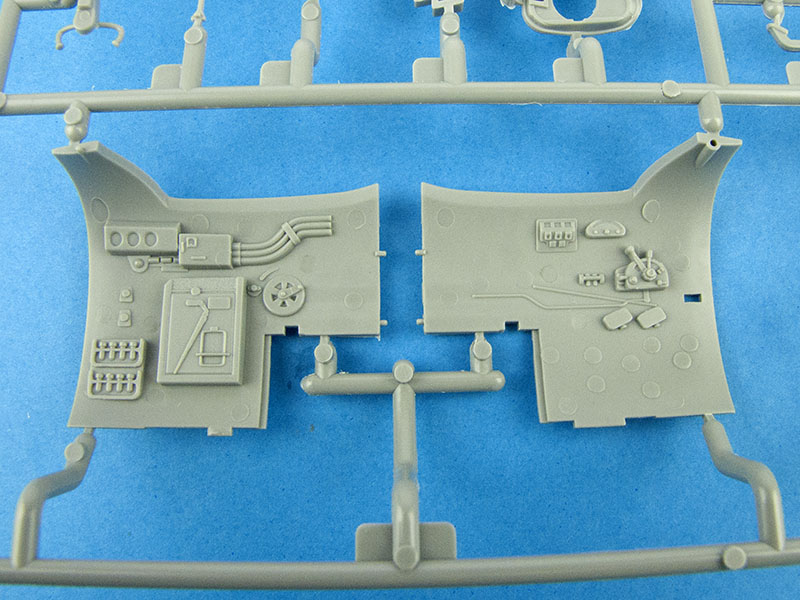
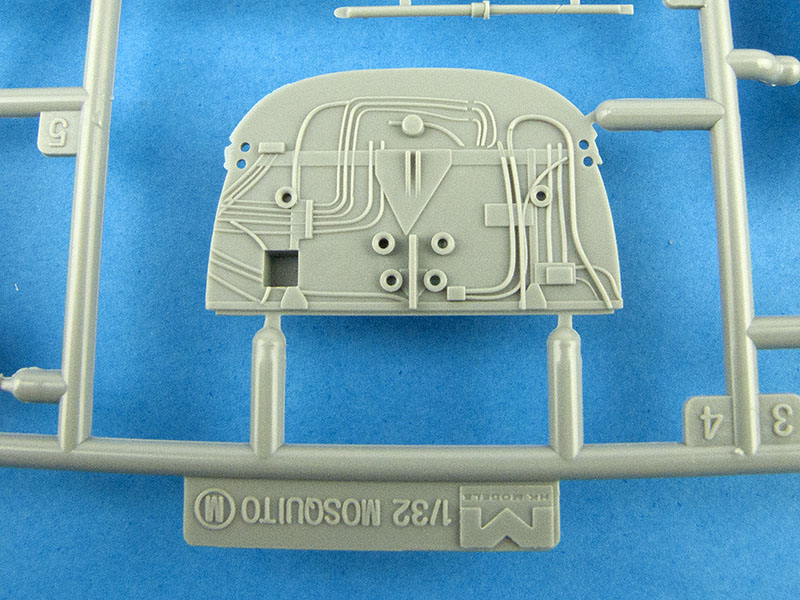
Below is a selection of close-up photos showing the level of detail moulded in to the kit parts:

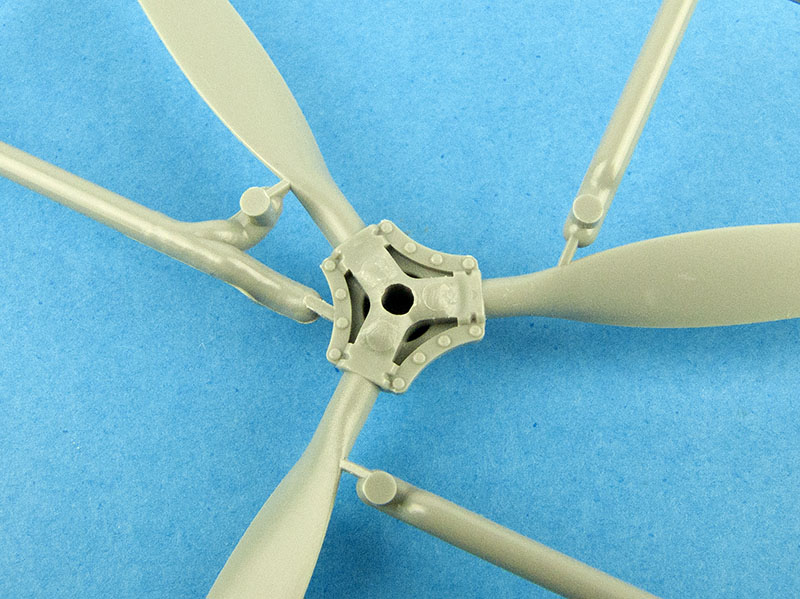
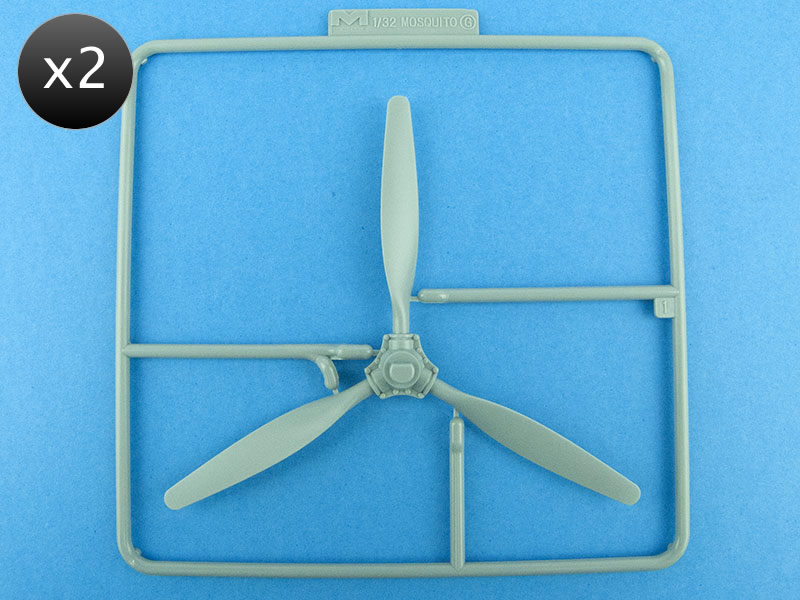
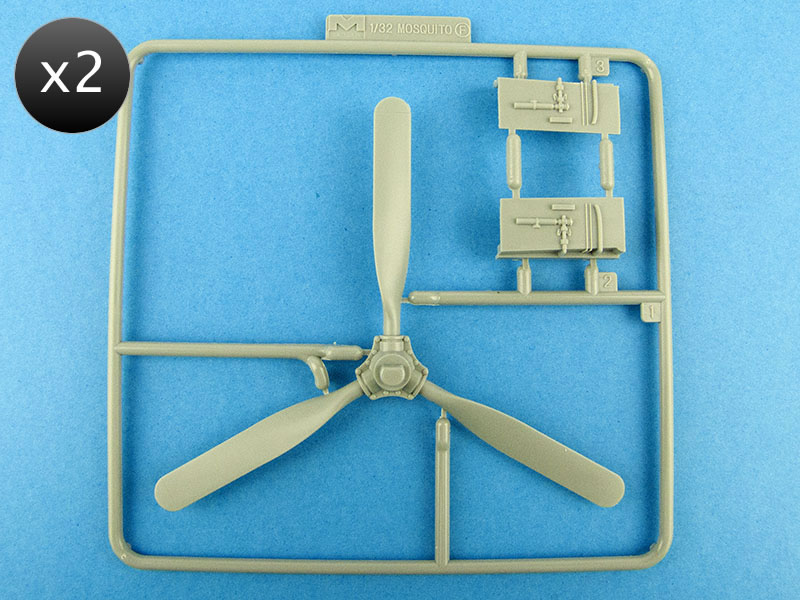
Two types of propeller are included: a broad-chord pair (Hamilton Standard?) and a narrow-chord pair (de Havilland hydromatic?). Oddly, both types feature scribed lines near each blade tip, presumably to demarcate the area to be painted yellow:
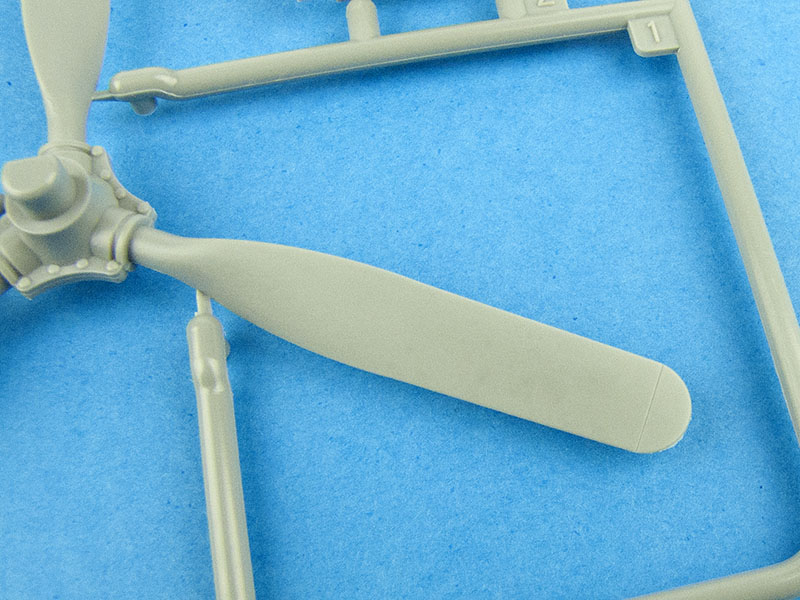
Given the quality of the rest of the kit, and the state-of-the-art nature of the tooling, this seems an anachronistic feature. Note that there is a tiny amount of flash present here, too, which I also found to be out-of-sync with the rest of the kit. It's nothing a swipe or two with a sanding stick can't deal with, however.
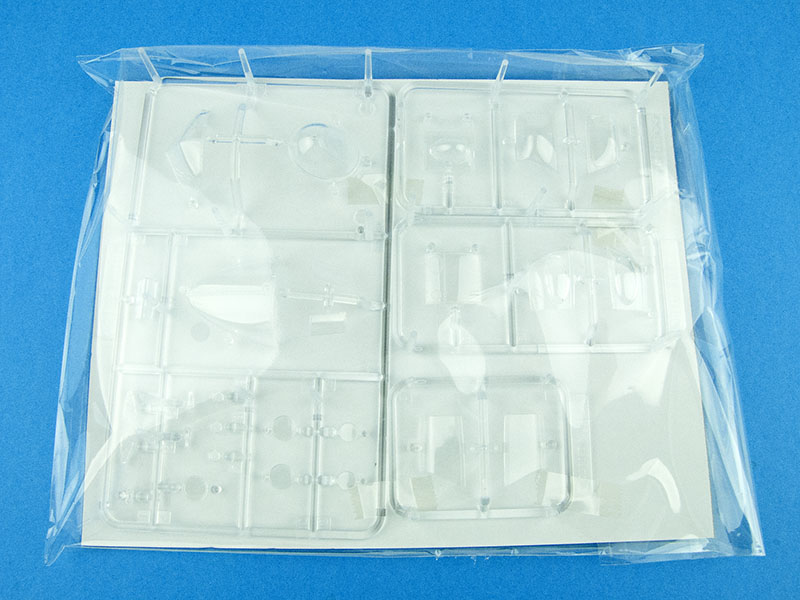
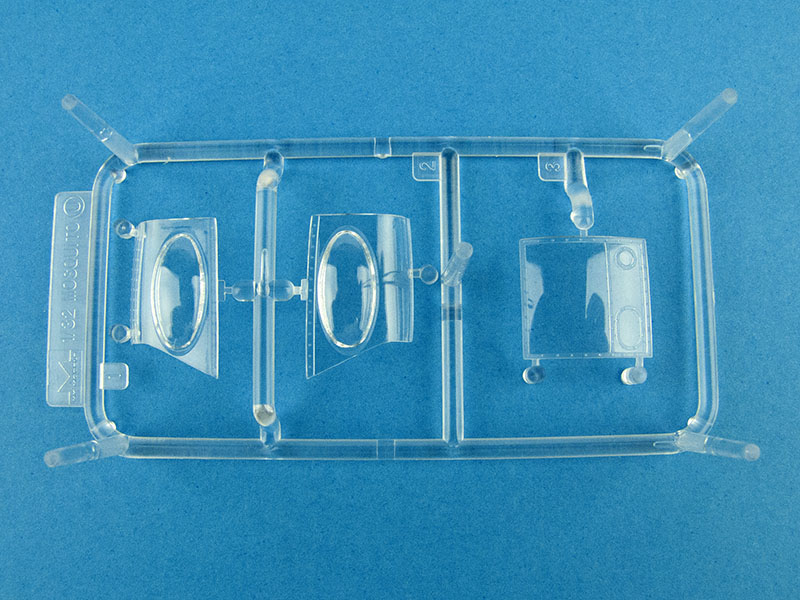
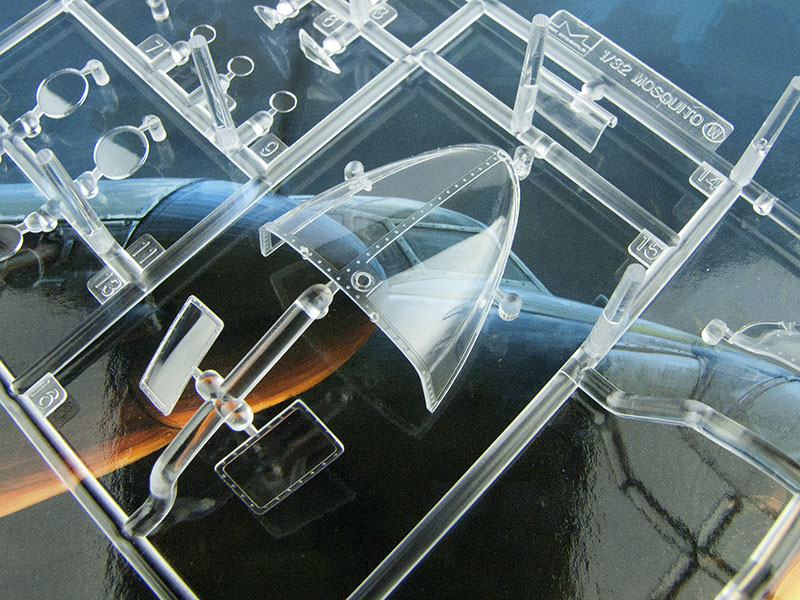
The Clear Parts
The clear parts are distributed across four separate sprues, arrayed together on a card backing, and collectively ensconced in a clear protective bag:
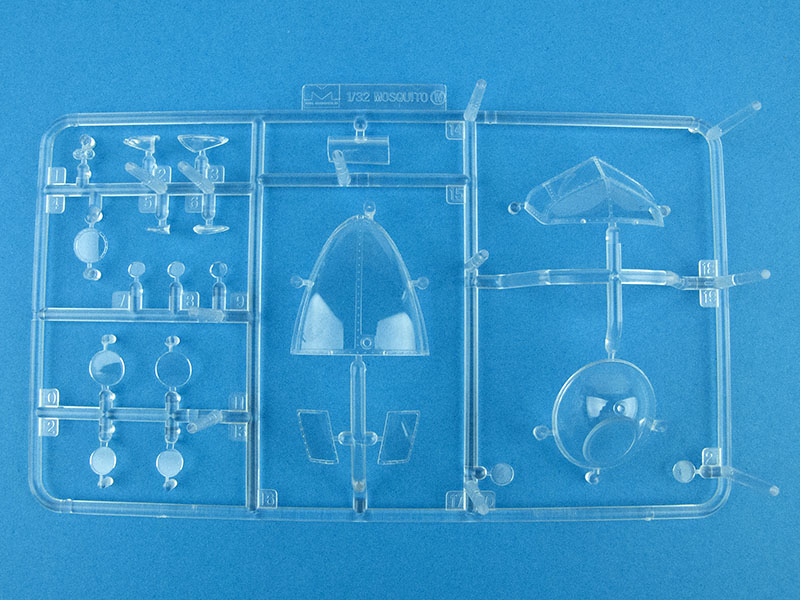
Note the large vertical pillars moulded on to each clear sprue; these appear to be designed to limit the ability of other elements in the box to come into contact with the clear parts, and are a very nice touch indeed!
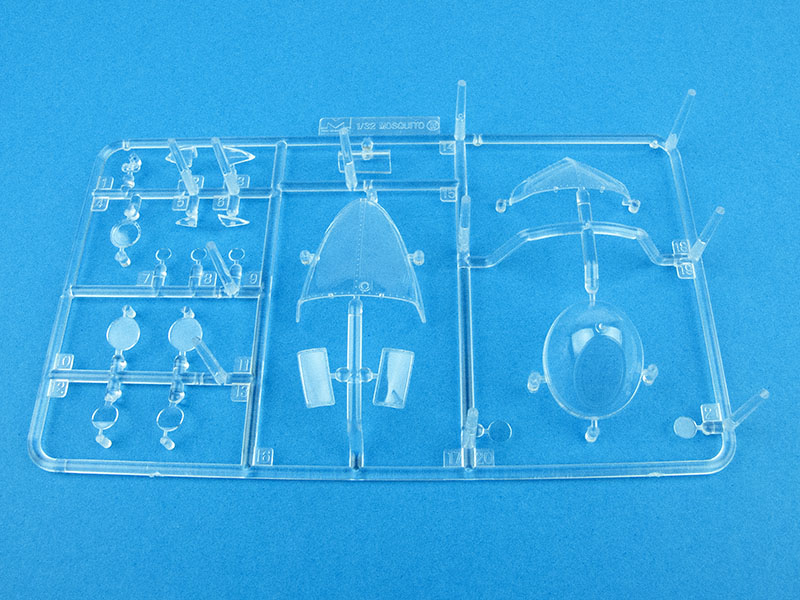
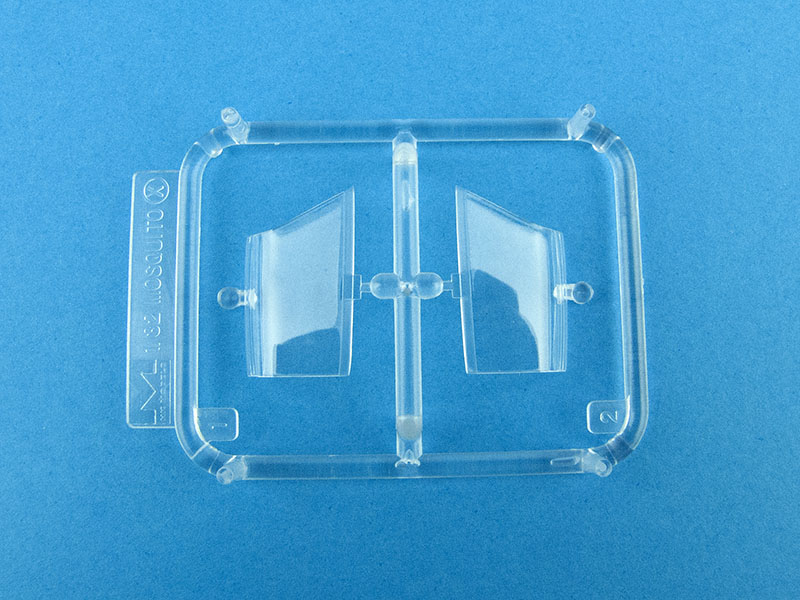
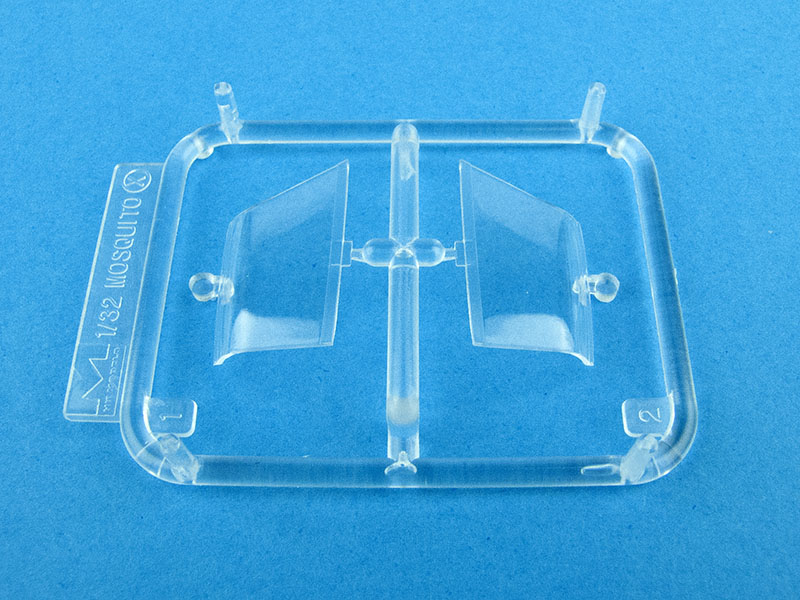
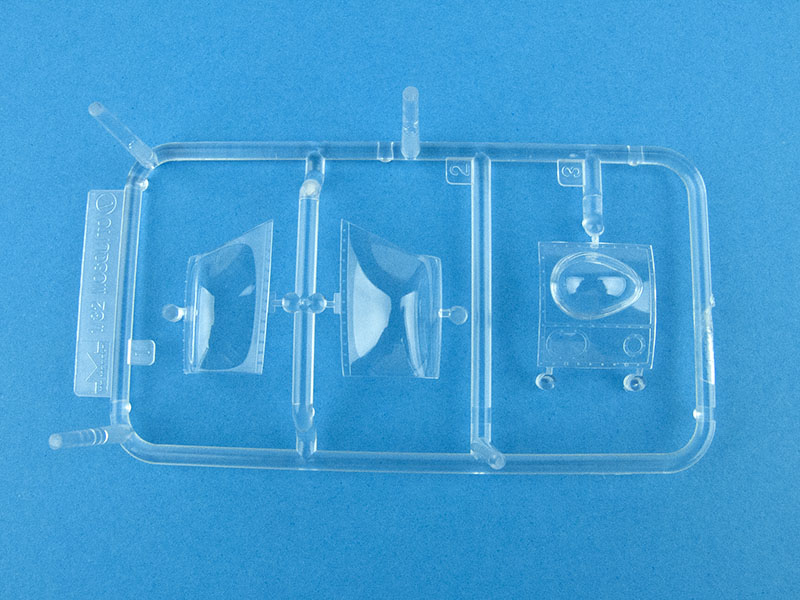
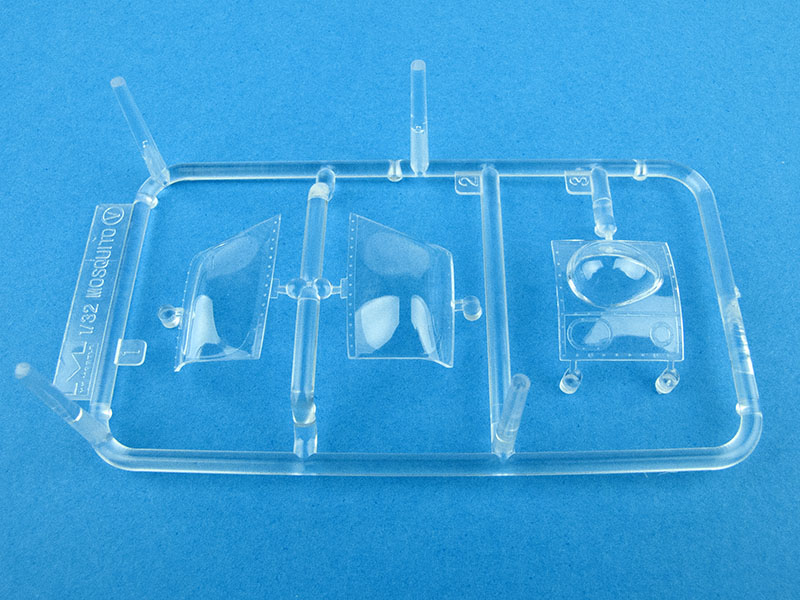
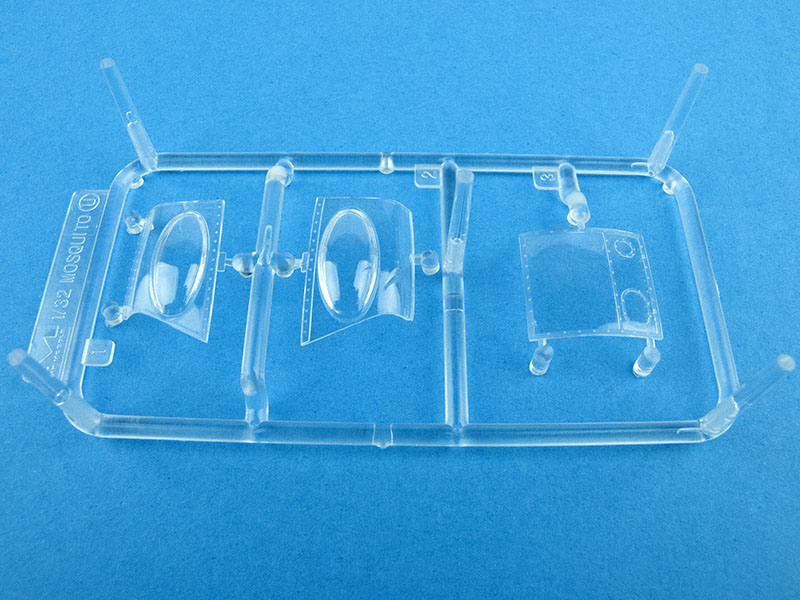
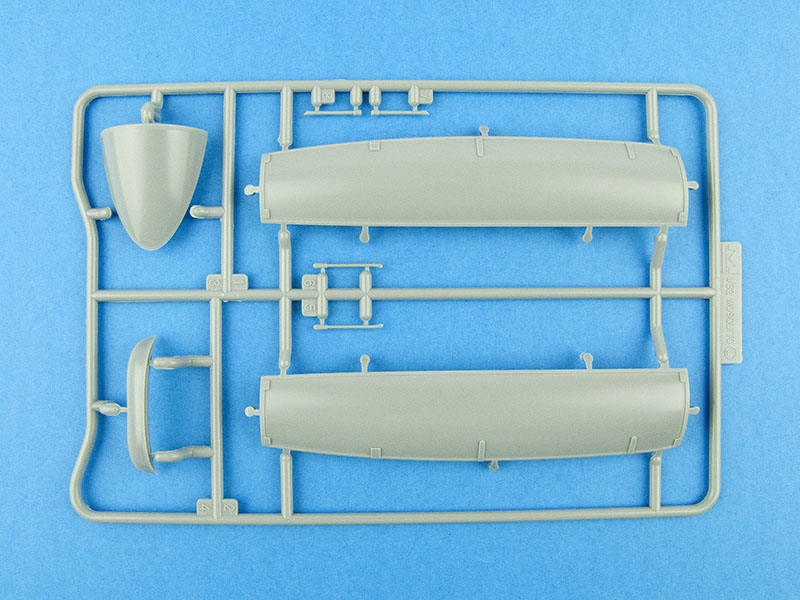
Two types of side panels are included: with and without blisters. All of the markings options shown in the instructions feature the type with the blister, though this may simply be a result of the same drawing being used for each option, and not an accurate reflection of their respective features.
The parts themselves are very clear and largely free of blemishes or extraneous distortion:
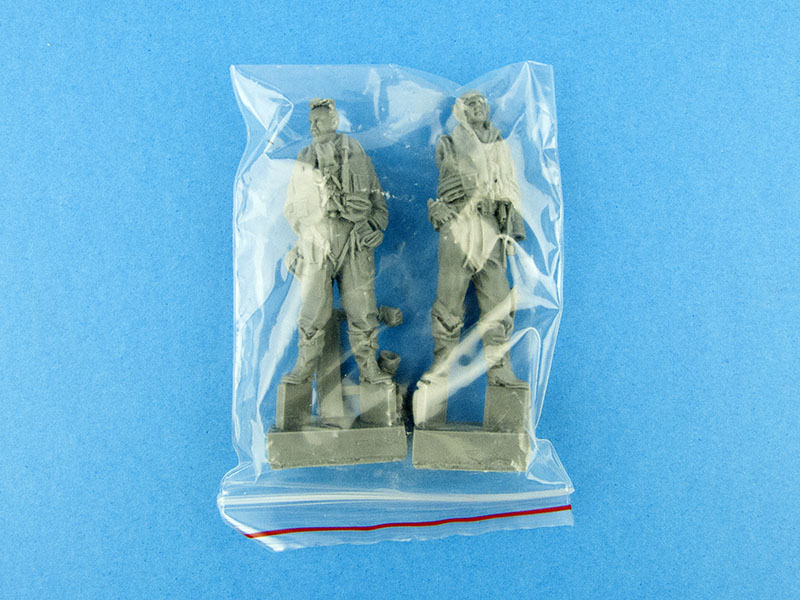
Bonus Resin Figures
I was quite surprised when I opened this kit to find the following packet, containing a pair of resin crew figures:
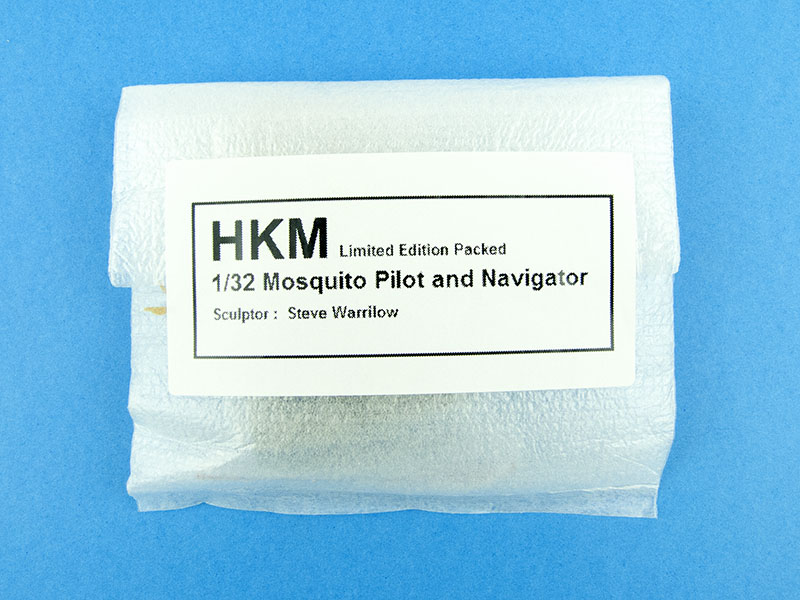
These are labelled as "limited edition", understandably, and have been sculpted by Steve Warrilow. They consist of a pilot and a navigator, and are really quite exquisite:
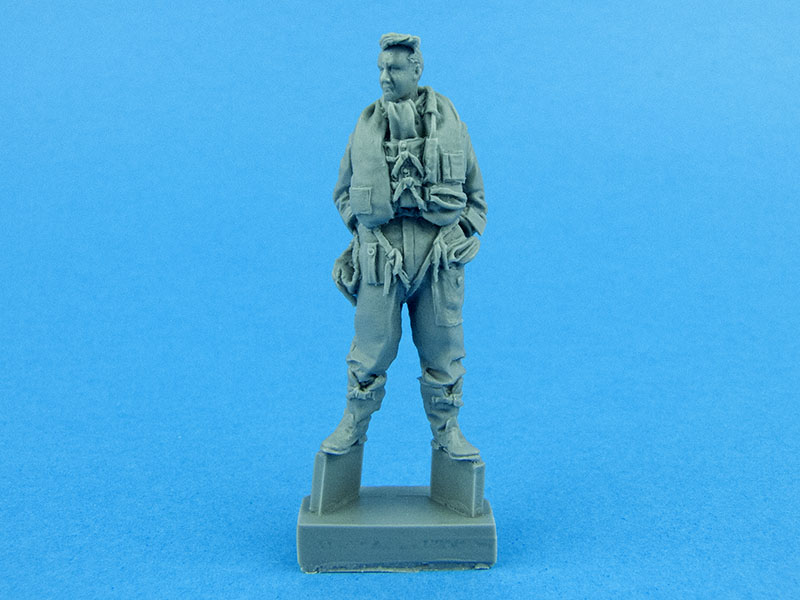
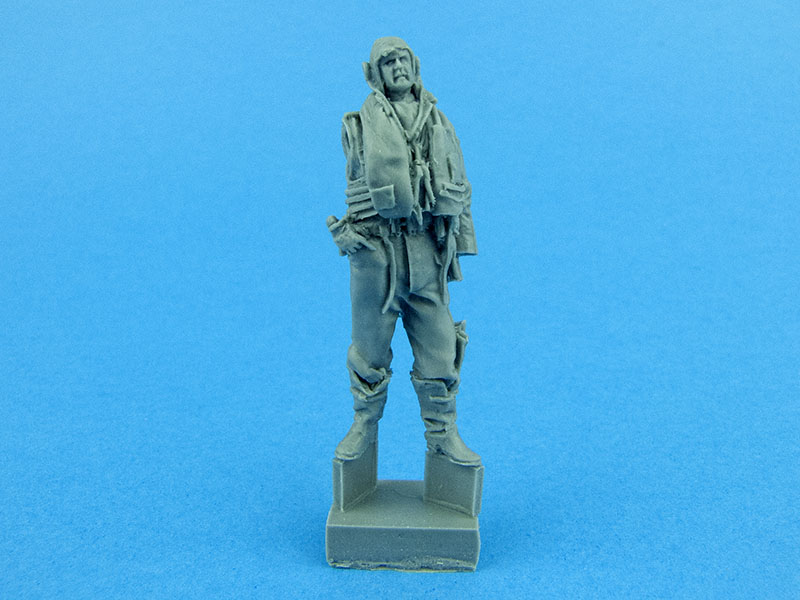
To be honest, I couldn't tell which figure was meant to be which crew member, but the one sporting a flying helmet has a separate right arm and left hand. Casting is flawless, and the moulded-in detail is excellent. Interestingly, these two figures are significantly larger than the plastic pilot figure included with Tamiya's A6M5 kit, but I haven't bothered to verify what each one scales out to, as there are significant variations in the dimensions of actual people too.
This pair of figures is a great inclusion, even if we aircraft modellers traditionally struggle with figure painting!
Photo-etched Fret
The kit provides a small photo-etched fret containing seat belts, and a pair of intake grills:
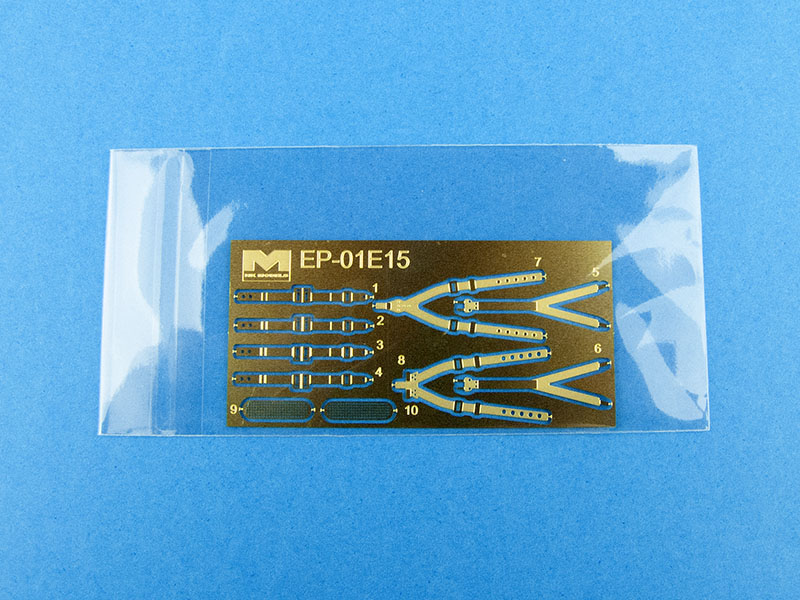
The seat belts are certainly a nice inclusion, allowing you to finish the model out-of-the-box without having to manufacture seat belts out of tape, but I intend to replace them with an aftermarket faux-fabric set once they're available.
Decals and Markings
The decals in early kits from HK Models were not that great, but the company's recent Do 335 kit came with decals printed by Cartograf, and so too does the Mosquito. These are basically aftermarket-quality decals, far surpassing what you get from most other mainstream kit manufacturers.
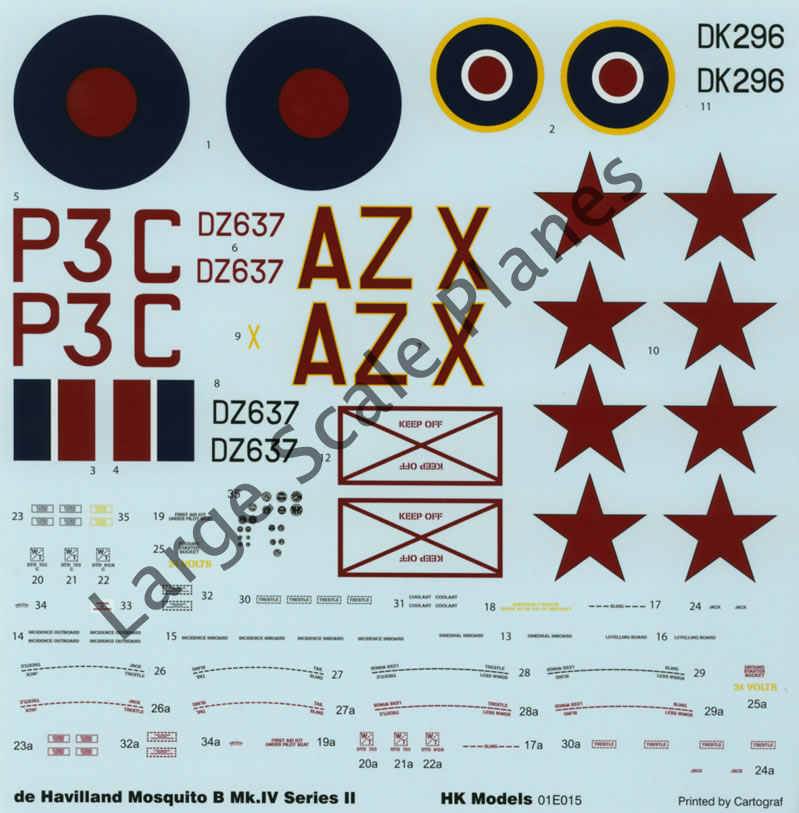
Three markings options are included:
- DK296, No.305 FTU, Errol, Autumn 1943
- This aircraft features Russian national markings over painted-out RAF insignia
- Colours are Ocean Grey and Dark Green uppers over Medium Sea Grey lower surfaces
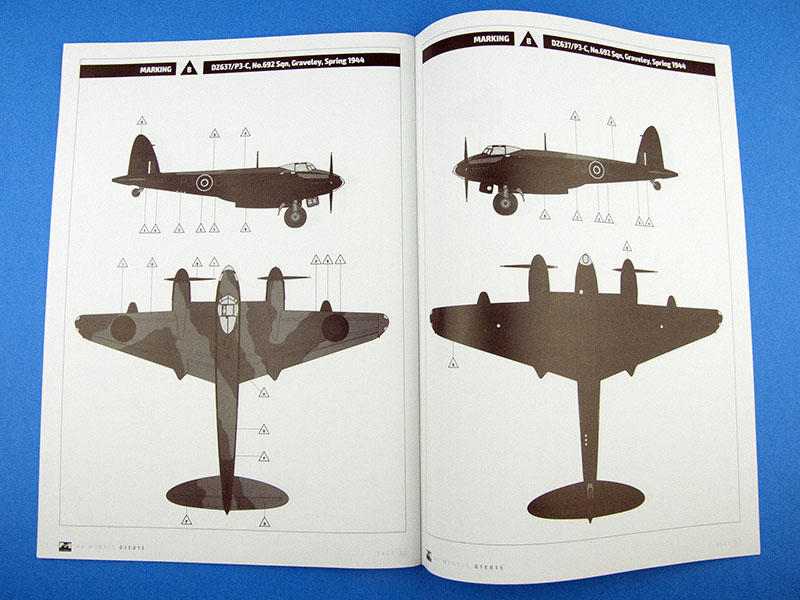
- DZ637/PC-3, No.692 Sqn, Graveley, Spring 1944
- Colours are Ocean Grey and Dark Green uppers over Flat Black lower surfaces
- DZ637/AZ-X, No.627 Sqn, Woodhall Spa, Summer 1944
- This aircraft features yellow-outlines code letters and invasion stripes on the lower half of the fuselage
- Colours are Ocean Grey and Dark Green uppers over Medium Sea Grey lower surfaces
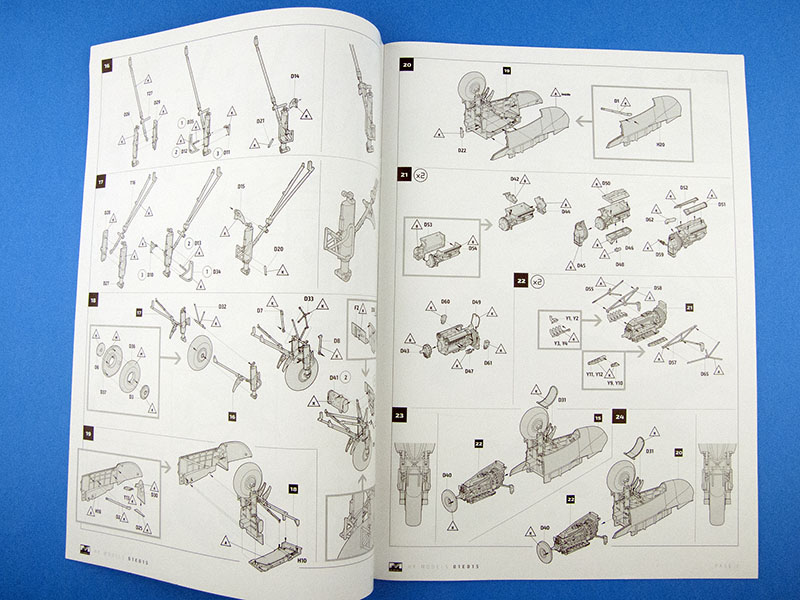
Instructions
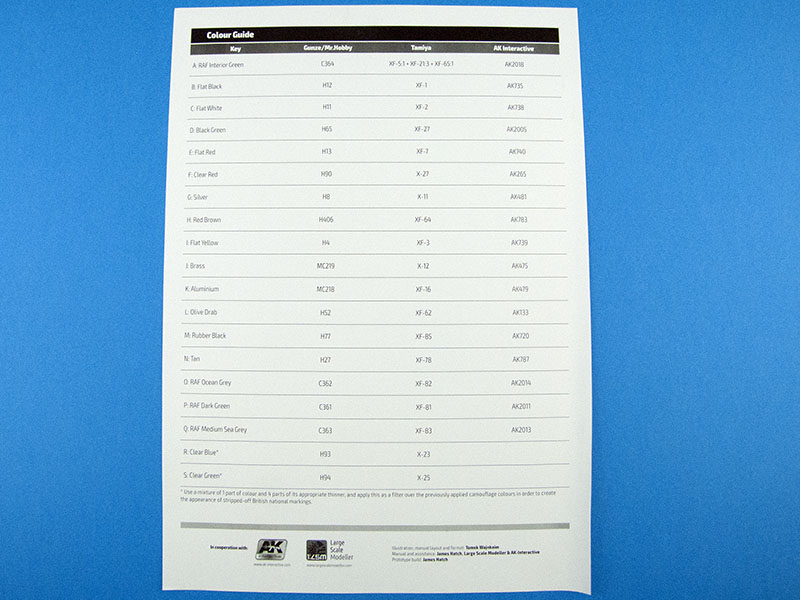
Having previously dealt only with test shots and pre-production samples, this is actually my first encounter with a full set of production-quality instructions in a kit from HK Models. They consist of a large-format, saddle-stitched, 28-page booklet, and a separate Colour Guide sheet that lists the paint call-out codes, and their respective options in each of the Gunze, Tamiya and AK Interactive paint ranges. The pages are quality glossy stock, and the print quality is excellent.
The instructions themselves are nicely done, featuring greyscale isometric line drawings and exploded views. The large page format allows the assembly sequence to be rendered in a far less crowded fashion than those from Revell, for example. The painting guide is rendered in greyscale too.
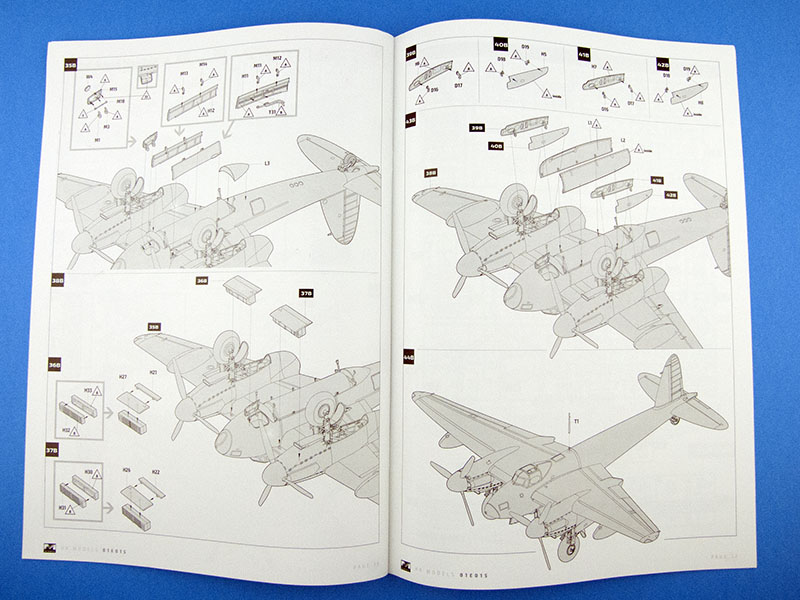
The last section of the instruction booklet contains a full, 2-page stencil placement guide.
Conclusion
This is a terrific kit, featuring innovative engineering and an ingenious parts breakdown. It will be interesting to see how all this cutting-edge tooling actually goes together in practice. The inclusion of two full engines gives you plenty of scope for a superdetailed, open-cowling display, or even a full maintenance diorama. There's plenty of detail here, while still leaving some room for aftermarket companies to dress it up. The decals are also excellent, and the included schemes should provide something for everyone. The surprise inclusion of two excellent resin crew figures is a really nice bonus. It's a great release, and is highly recommended!
Thanks to HK Models for the review sample.
© Kevin Futter 2015
This review was published on Sunday, June 14 2015; Last modified on Saturday, March 26 2016