
Wingnut Wings | 32701: Albatros D.V / D.Va "Jasta 5" Green Tail Trilogy
Reviewed by Mike Swinburne
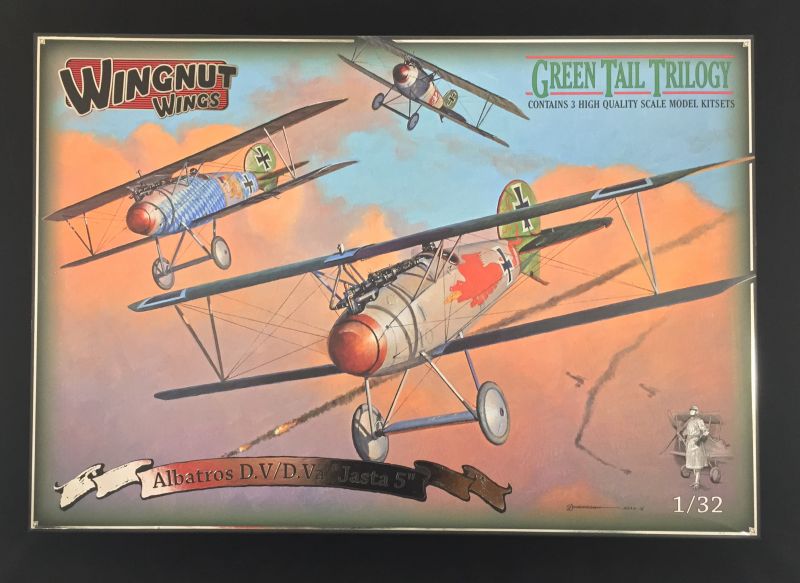
Wingnut Wings' latest release is their first release featuring a common theme with similar aircraft. This is the Green Tail Trilogy, a collection of three Albatros D.V and D.Va from the Royal Prussian Jagdstaffel 5, or Jasta 5 for short. The Albatros D.V and D.Va are arguably the best known non-Fokker German aircraft of the Great War and their history has been covered widely in print and online. These Albatros aircraft, in addition to the OAW-built D.Va, have all been released as single kits in recent years by Wingnut Wings, and all have since sold out. A number of builds with these earlier WNW Albatros kits have been featured on Large Scale Planes and can be seen at this LSP index.
The D.V scout was reportedly little improvement over the earlier D.III; the aircraft shared the same basic wing structure and other details although the D.V fuselage was much more oval in cross section. The lower wing of the Albatros D.V (and D.III) was a known weak point with it's single spar and failures were not uncommon. Despite the flaws, the aircraft performed well and were still in service with some Jastas at the end of the war.
Green Tails?
Before mid-1917, the markings on Jasta 5's aircraft were relatively standard and nothing to make them easily stand out from other squadrons. The squadron was based at Boistrancourt in France from March 1917 through March 1918, and when Richard Flashar took command in June of 1917, it was under his leadership that the aircraft began to become standardized with their now-famous green tail surfaces with red trim. Sources report that the unique paint schemes allowed under his command were originally to help boost morale following the loss of the Jasta's two prior commanding officers in relatively quick succession.
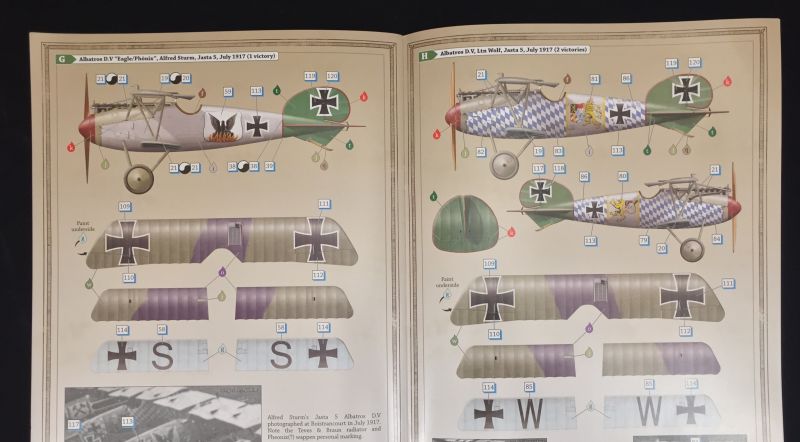
Whatever the reason, by the time the squadron was photographed in July of 1917, all of the Albatros D.Vs and all but one or two of the earlier Albatros D.IIIs featured the green tail with red trim, and most with gray fuselages adorned with custom markings. Many of the individual aircraft included in the WNW Green Tail Trilogy were photographed in these July 1917 photos, but some do not appear in the squadron history until later that year or early-mid 1918.
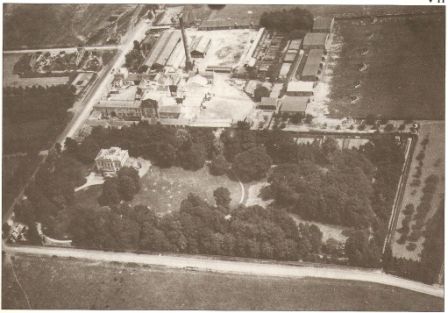
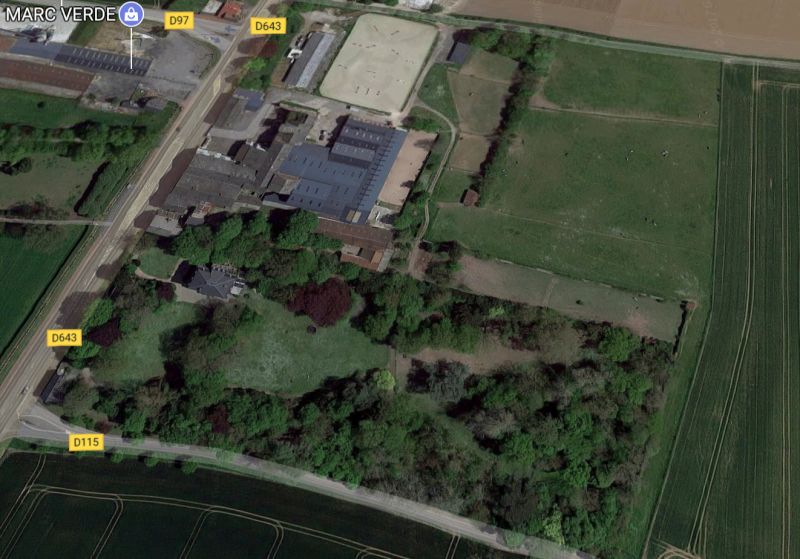
The Boistrancourt estate can still be seen on Google Maps, clearly showing the chateau, the field that was utilized as the airstrip, and the beet factory appearing in the background of some photos. The hangars stretched along the line where the diagonal row of trees is located in the top center of this screenshot.
In The Box
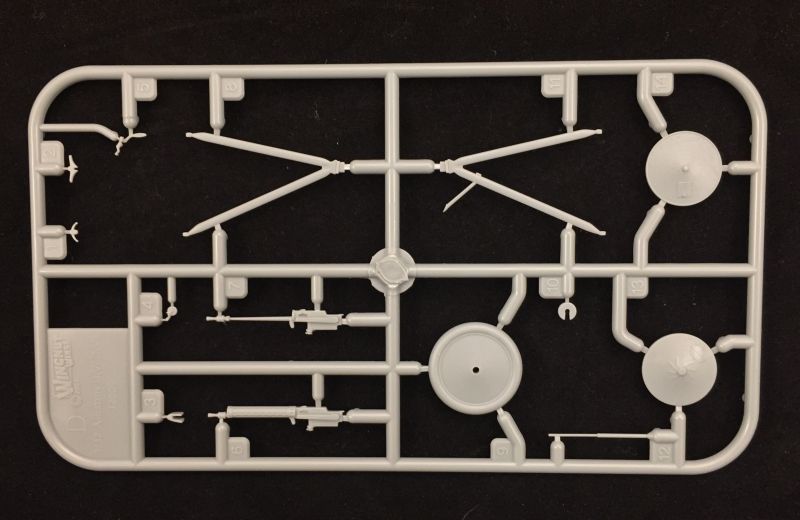
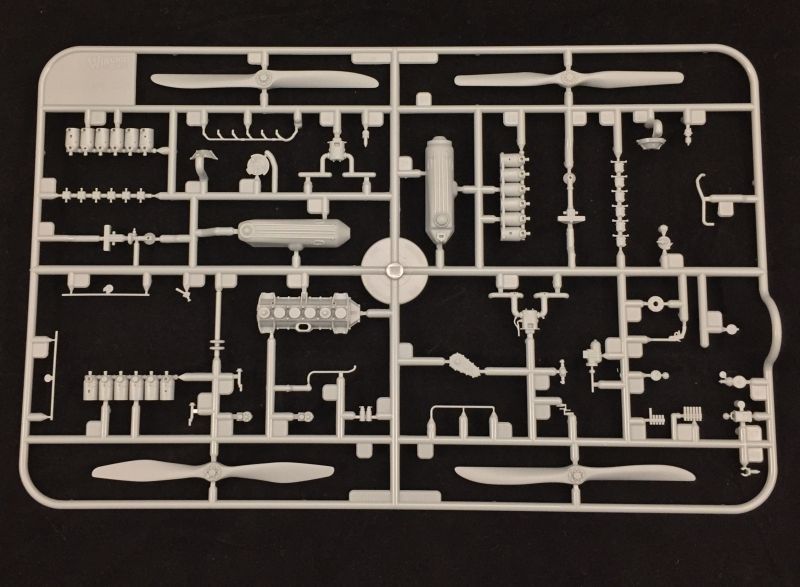
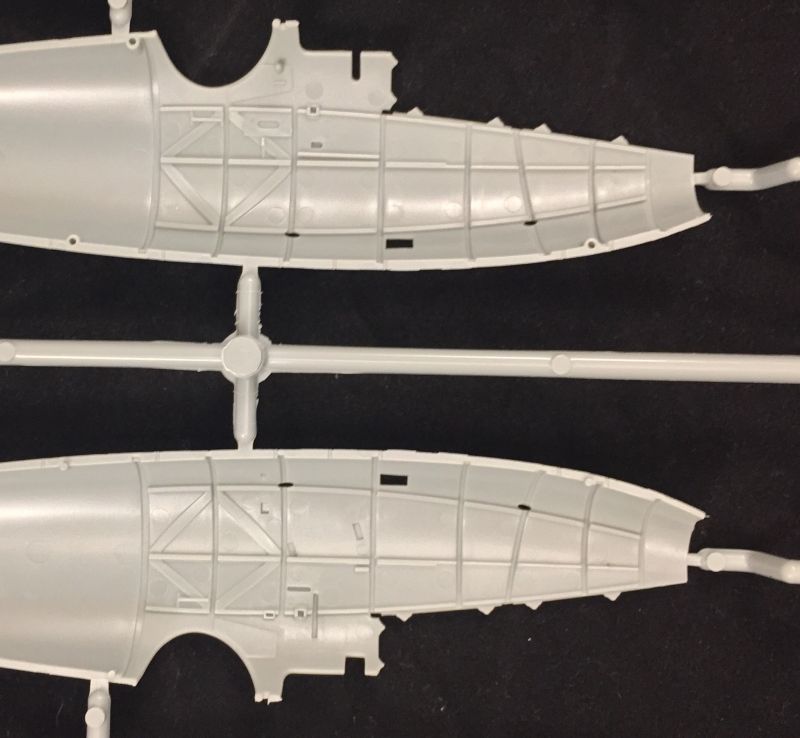
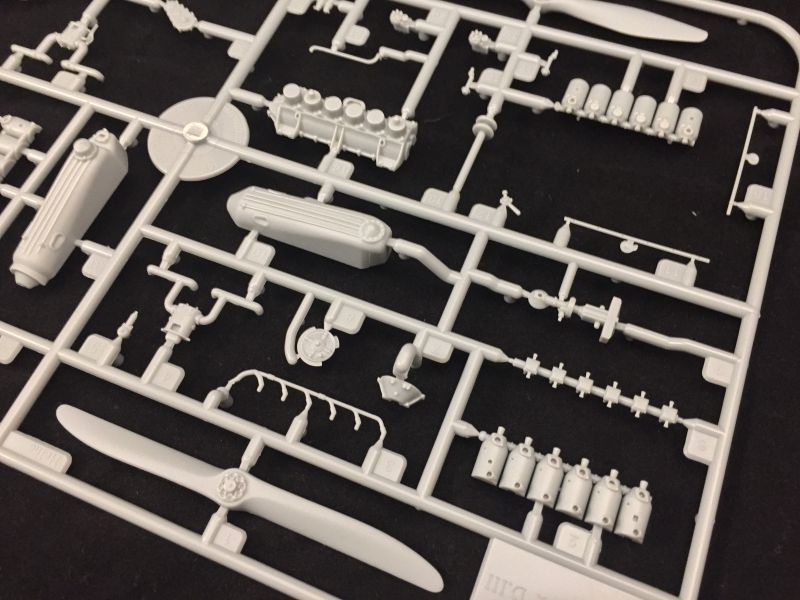
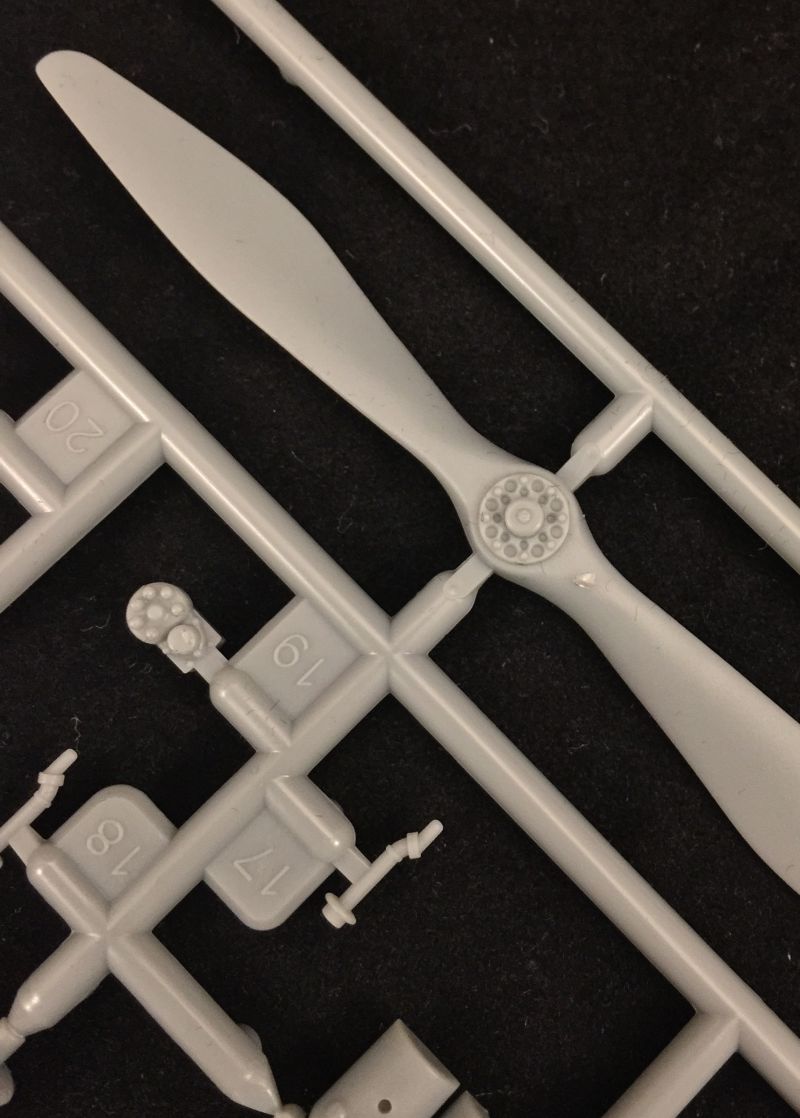
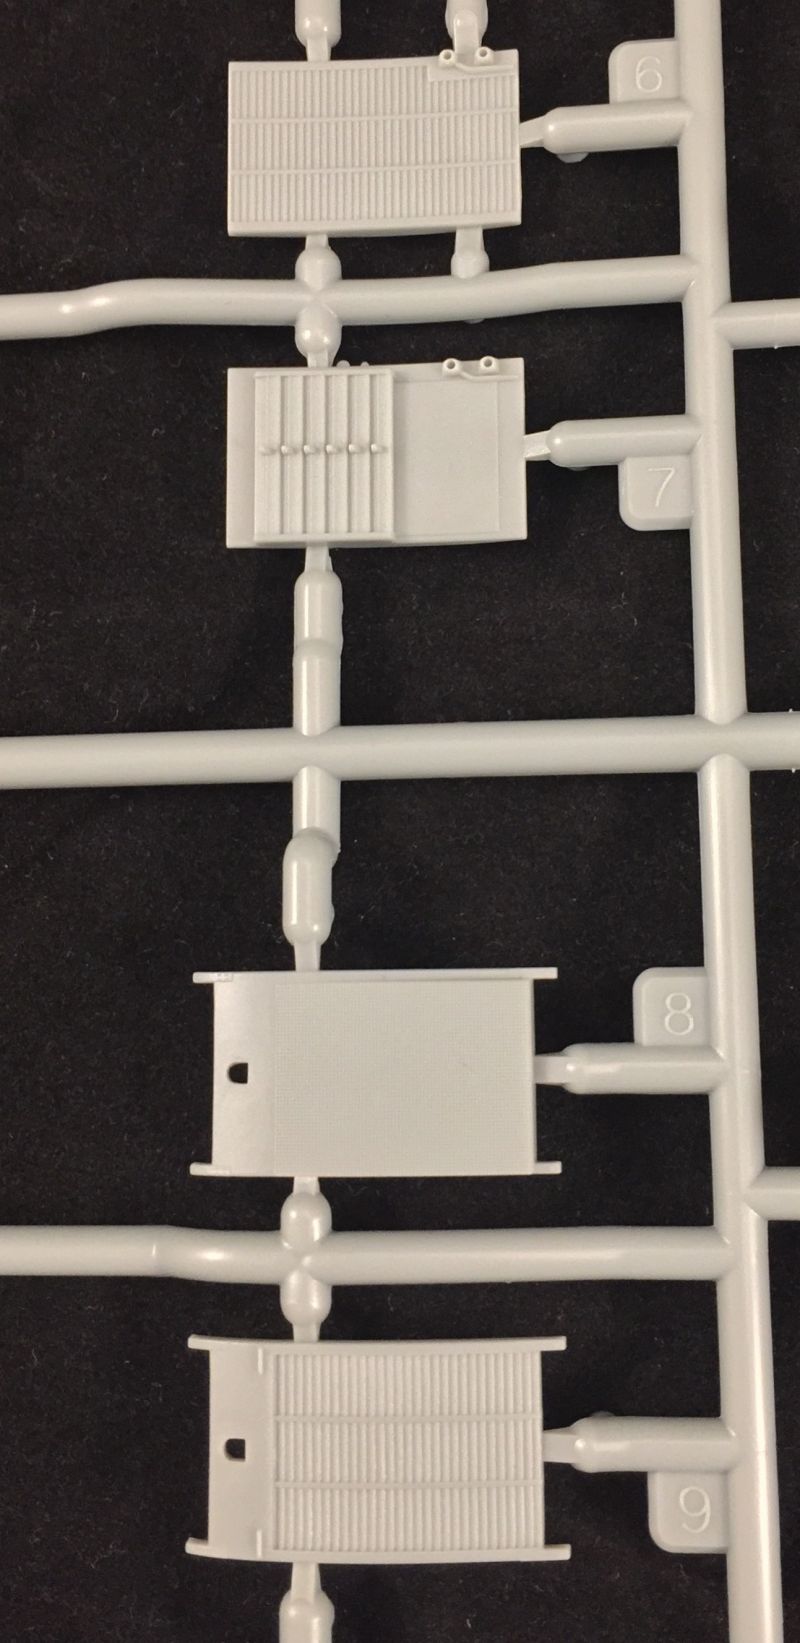
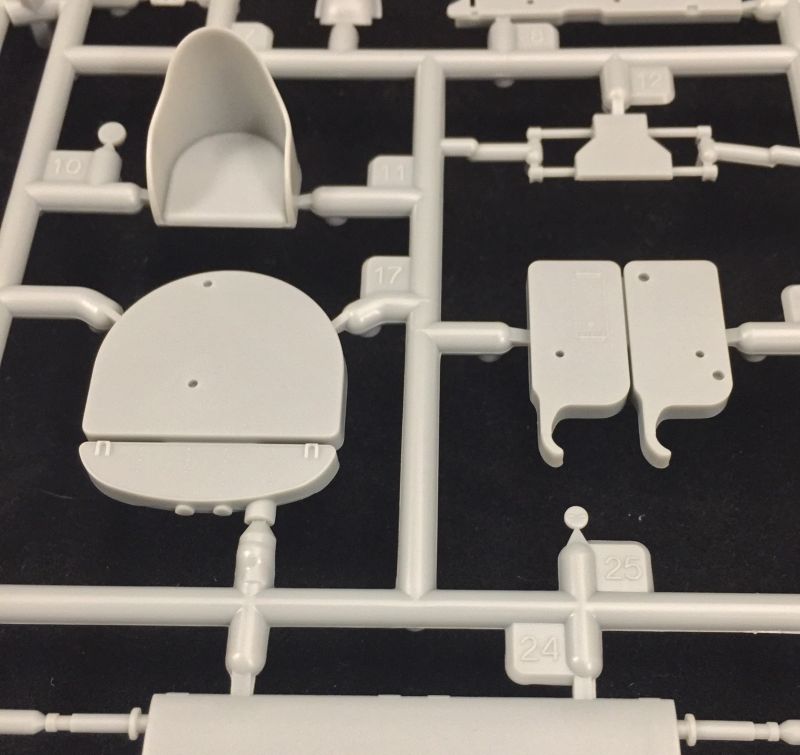
This is a large box - about the same width and height as the Felixstowe F.2a kits, but thankfully not as deep. Sprues are included to build three complete aircraft out of the box - six unique sprues, twenty one in total (sprue D is used twice for each aircraft). Three identical photo-etch frets are also included, each one containing the seat harness, Spandau barrels, and other pieces specific to the Albatros D.V and D.Va. What is included with this release and has not been seen in earlier Albatros releases is both the D.V and D.Va unique parts on the A sprue. What feels like a a metric tonne of decal sheets are also included, more on these below.
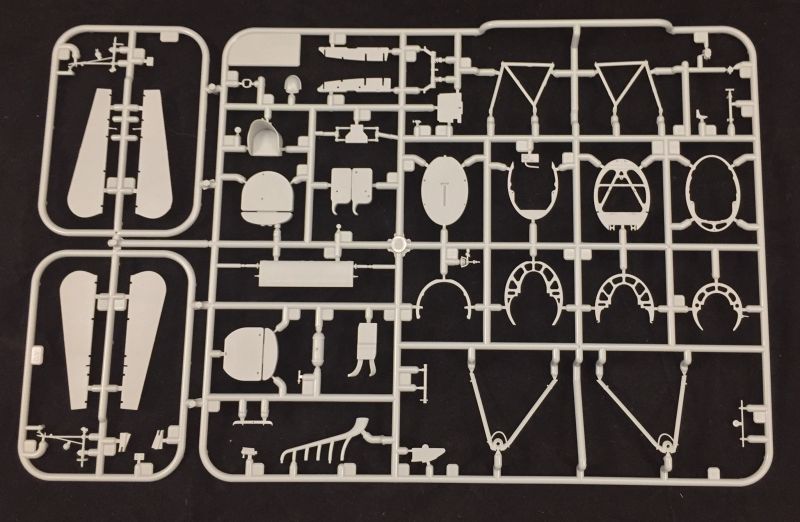
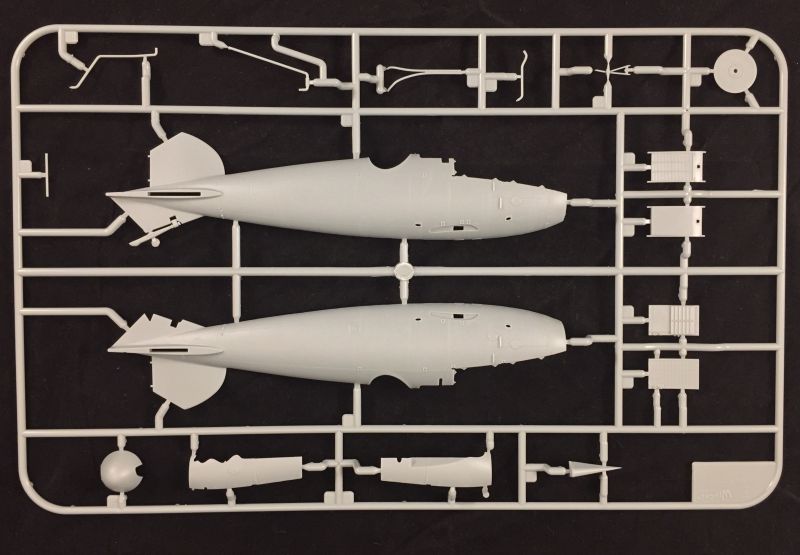
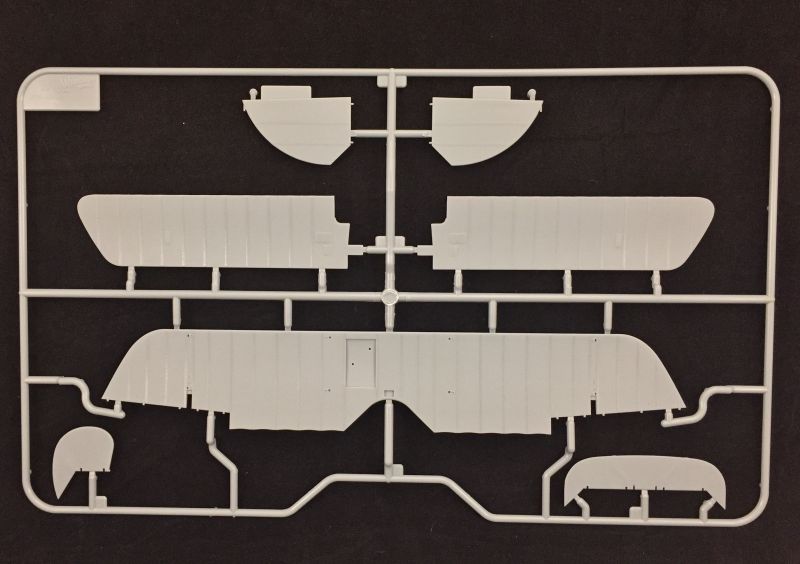
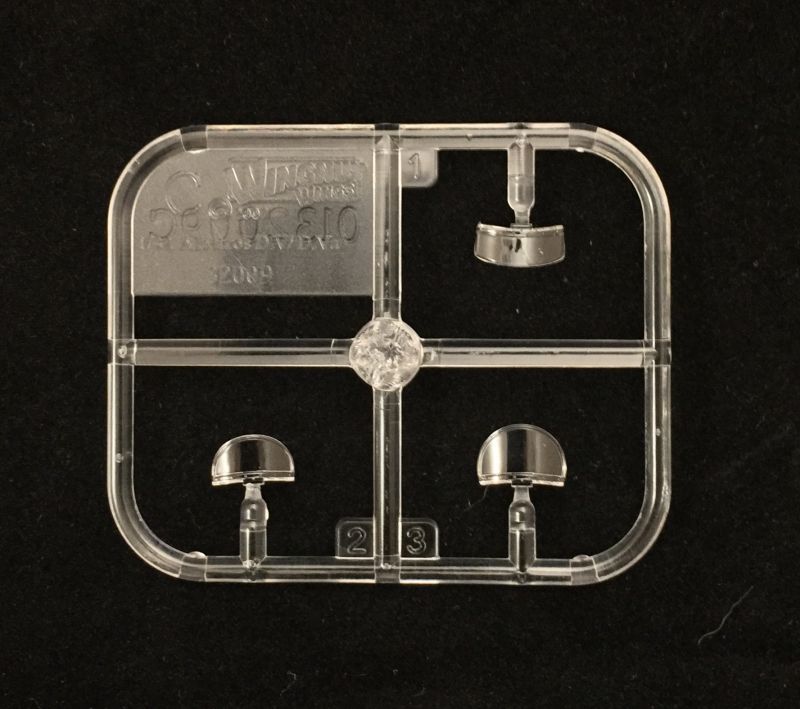
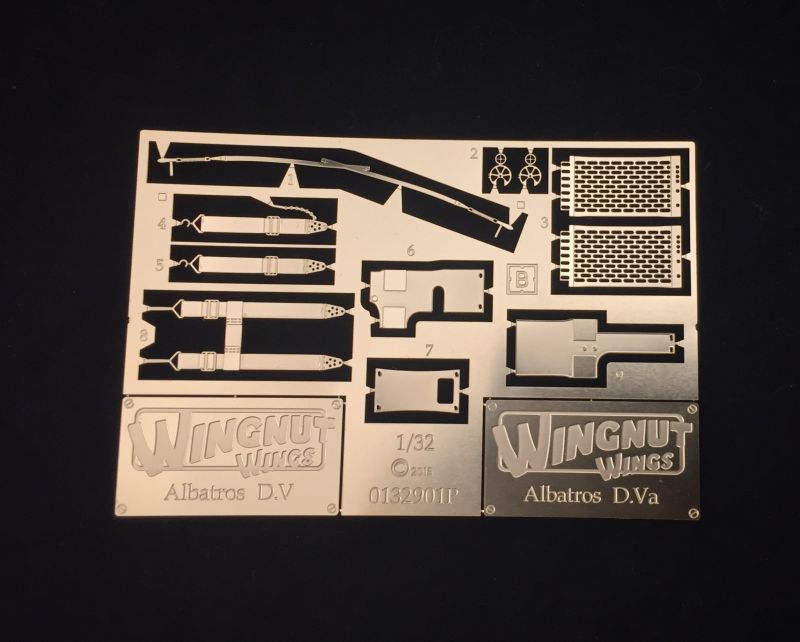
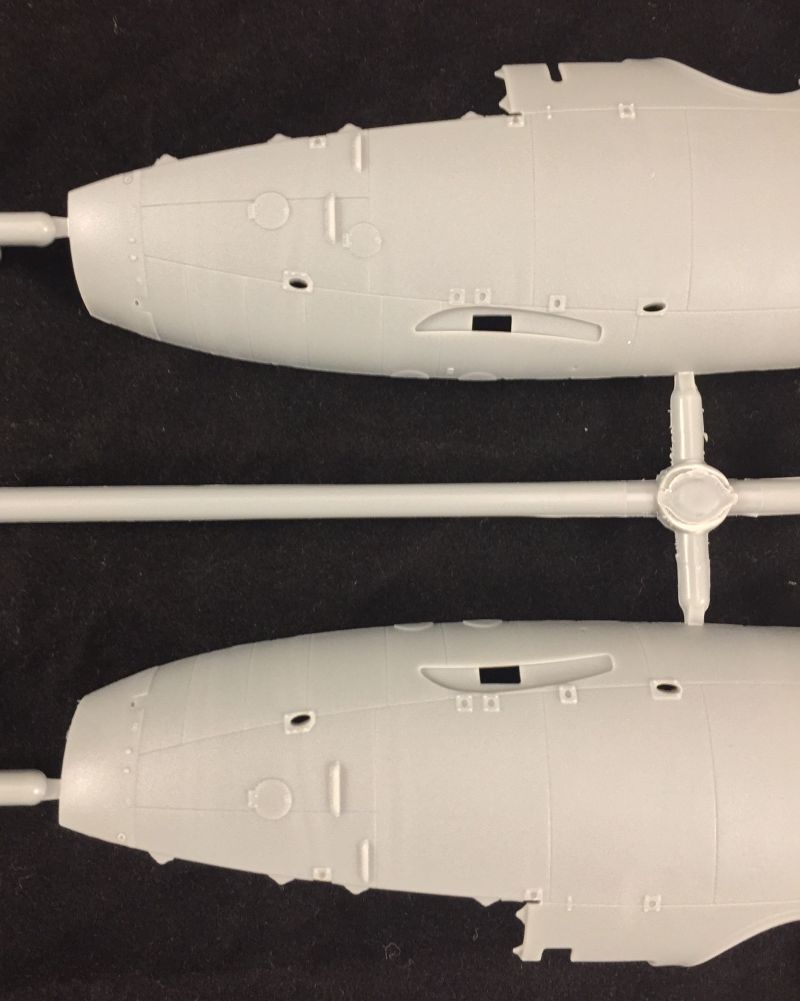
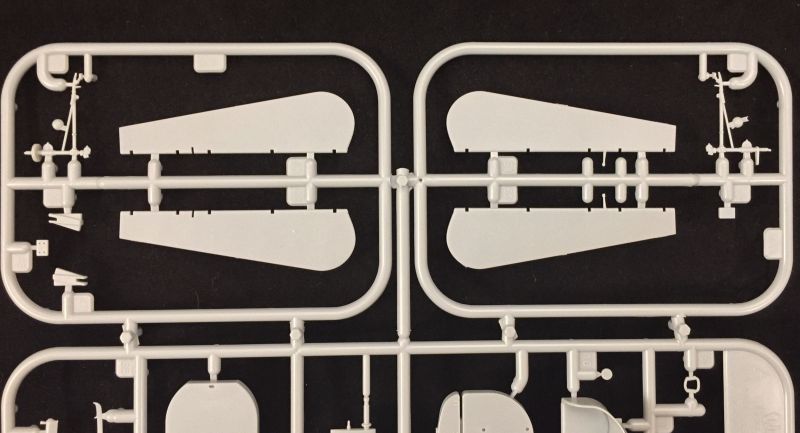
Examining the sprues, the quality of the moldings appears to remain at the same high standard of the earlier single Albatros releases. I do not see any signs of mold deterioration, and no short-shot or damaged parts. There are the thin mold release lines around the wing and some other parts that will need to be sanded off, but this is not anything that can be avoided with injection molded plastic. Still present are several ejector pin marks that need to be addressed on the interior of the fuselage sides. Some of these won't be visible with the fuselage assembled, but others will be very visible through the cockpit opening and need to be filled and sanded to achieve the best look.
Instruction Manual
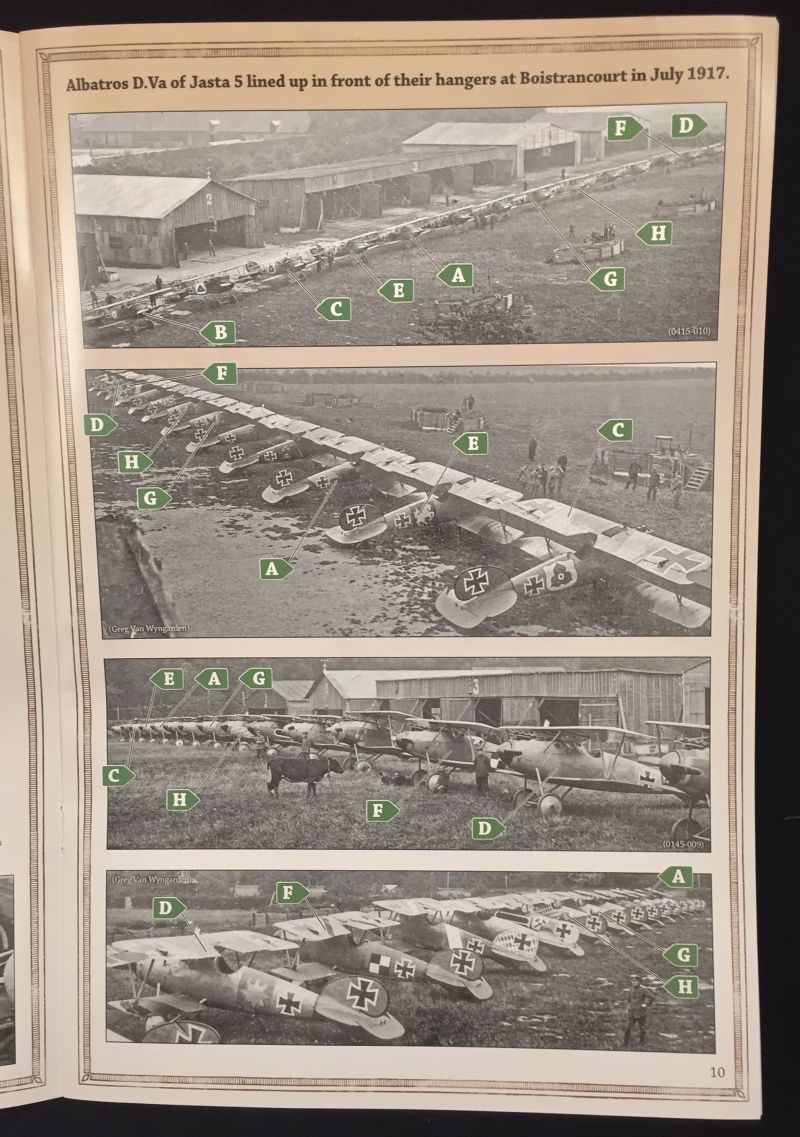
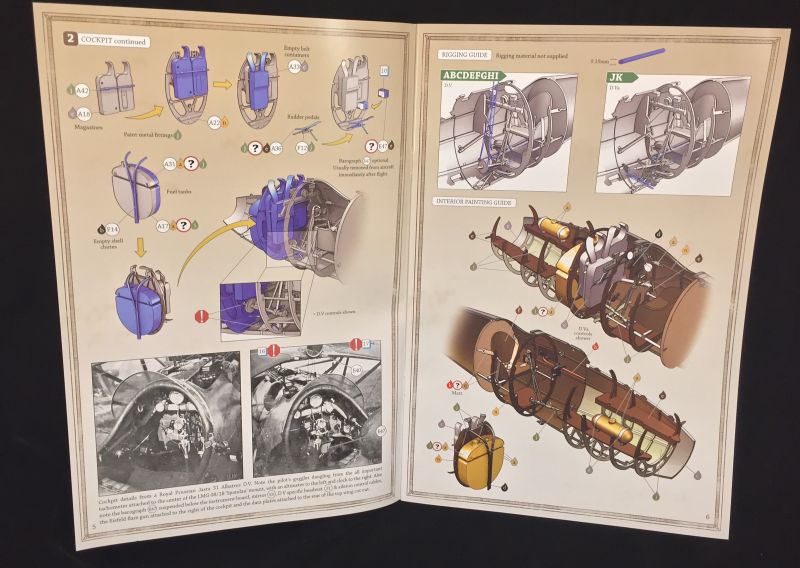
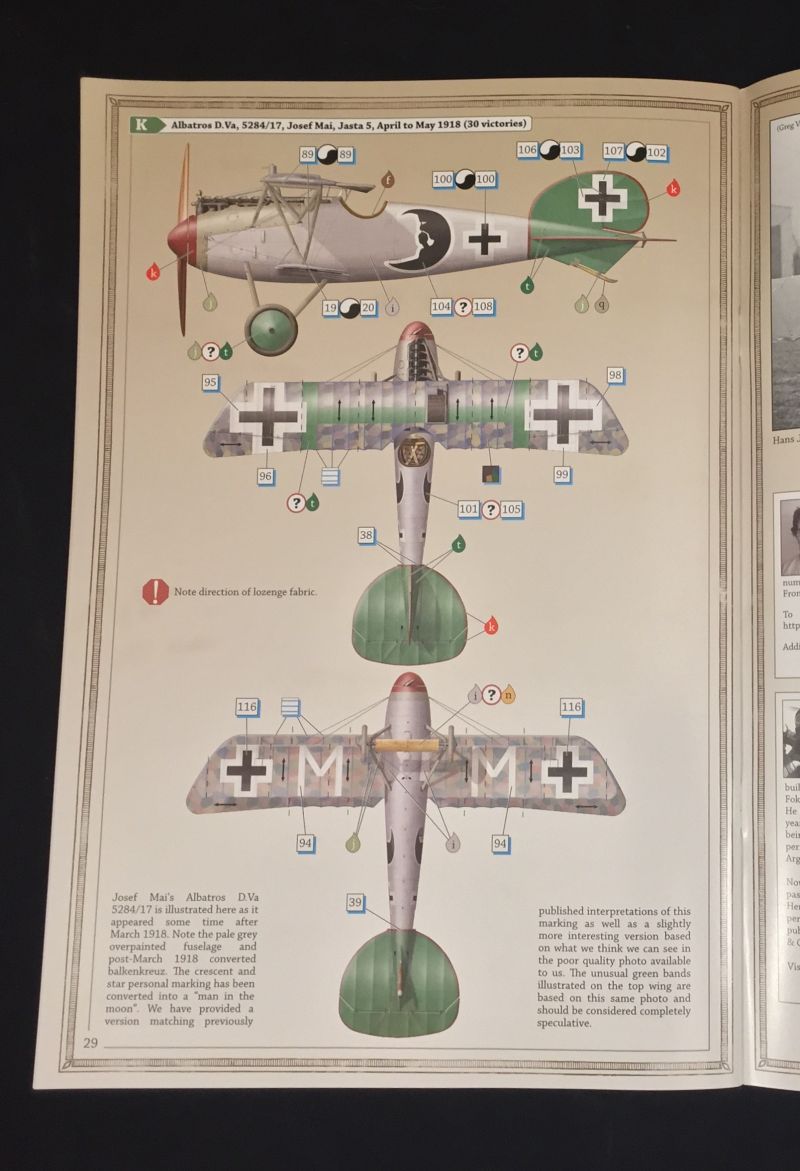
Assembly is well laid out in a 32-page instruction booklet, printed on the Wingnut-standard heavy glossy paper. Separate exploded diagrams are included throughout for steps specific to the D.V or D.Va, in the usual gray and blue 3d drawings with color diagrams as needed throughout the build. Along with the various historical detail photos throughout the manual, the four known photos of the July 1917 Jasta 5 lineup at Boistrancourt are featured on their own page, pointing out many of the decal options in the Trilogy. Portions of these photos are also reproduced zoomed-in on many of the paint and decal diagram pages to more clearly show the aircraft being represented.
As with the earlier Albatros D.V/D.Va releases, the instructions would have you assemble the engine mount assembly with engine before attaching this completed subassembly into the nose of the plane. I've found the hard way from previous builds that if you plan to add the engine to the plane after the fuselage is glued together, it can be easy to glue the bulkheads crooked and leave you with an engine leaning off to the side. Either follow the instructions verbatim here, or glue the individual bulkheads into the engine bay after the fuselage has been glued together. It won't be a bad idea to remove paint from the surfaces to be glued together in the cockpit also. The Albatros kit was engineered with such precision that it only takes a bit of paint in a bulkhead-to-fuselage join to necessitate use of filler putty later in the build. Unless you sand down the sides of the radiator, you likely won't need glue - do not put glue in the wing recess before adding the radiator as you will almost certainly have it spill out and ruin your paint job.
Paint Schemes
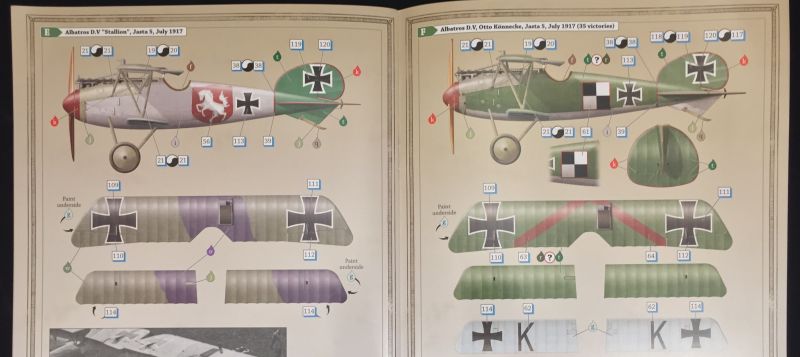
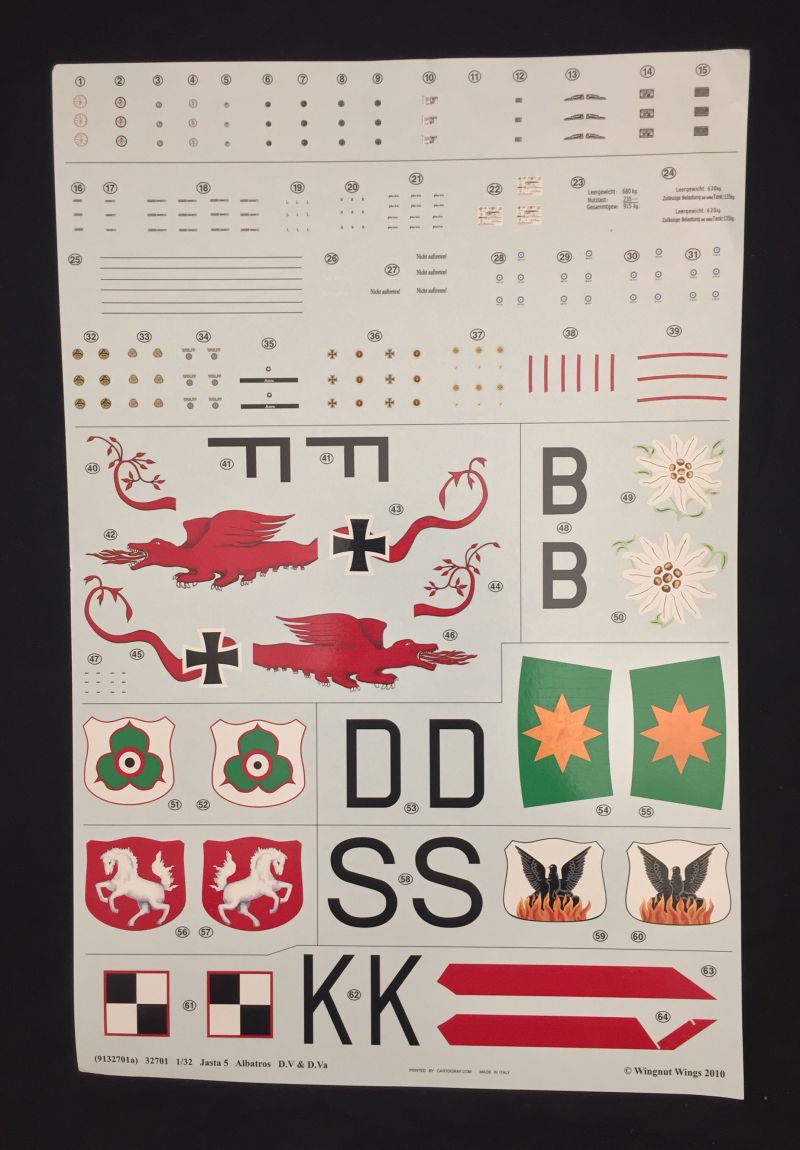
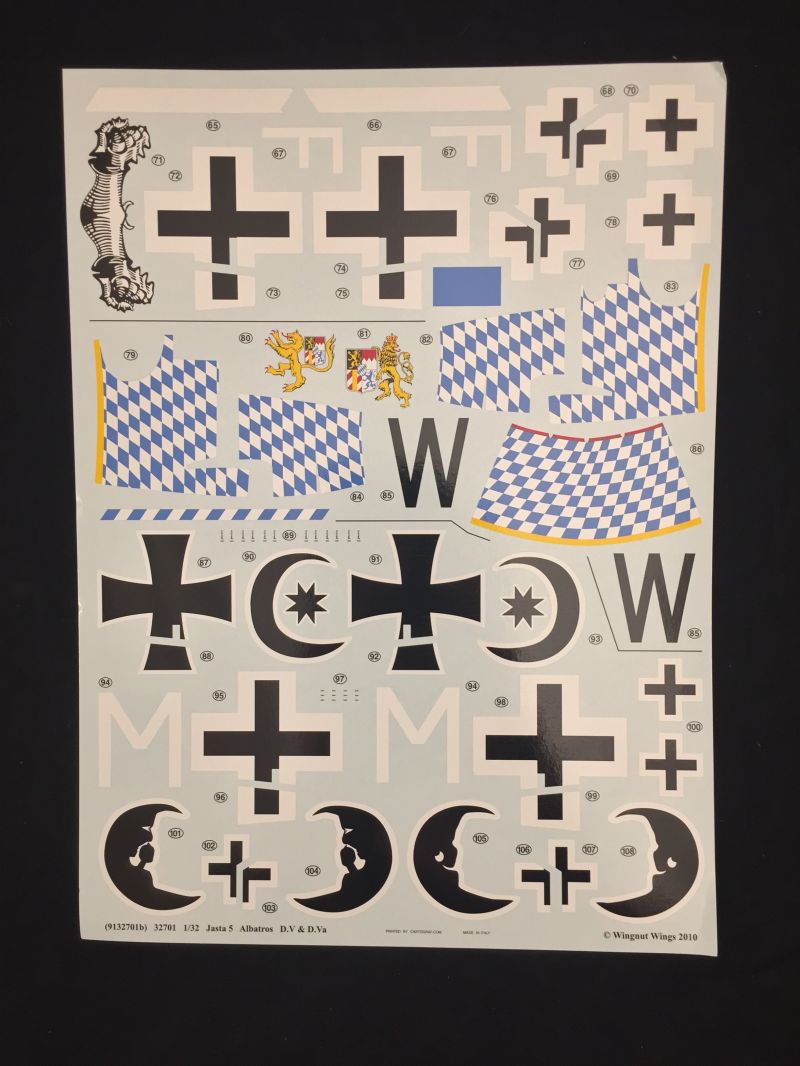
Stock up on paint to tackle the lot; there are eleven unique paint schemes included in the Green Tail Trio covering ten aircraft. Nine aircraft are Albatros D.Vs, and the tenth is Josef Mai's D.Va #5284/17 depicted at two different points in time, one with varnished wood fuselage with moon and star, and a later option with the fuselage repainted grey with man-in-the-moon on the sides. I find it interesting that Wingnut has chosen to include Koennecke's all-green mount with the black and white observer badge in the decal options, as this aircraft is also featured on Wingnut's "Flying Circus" aftermarket Albatros decal set.
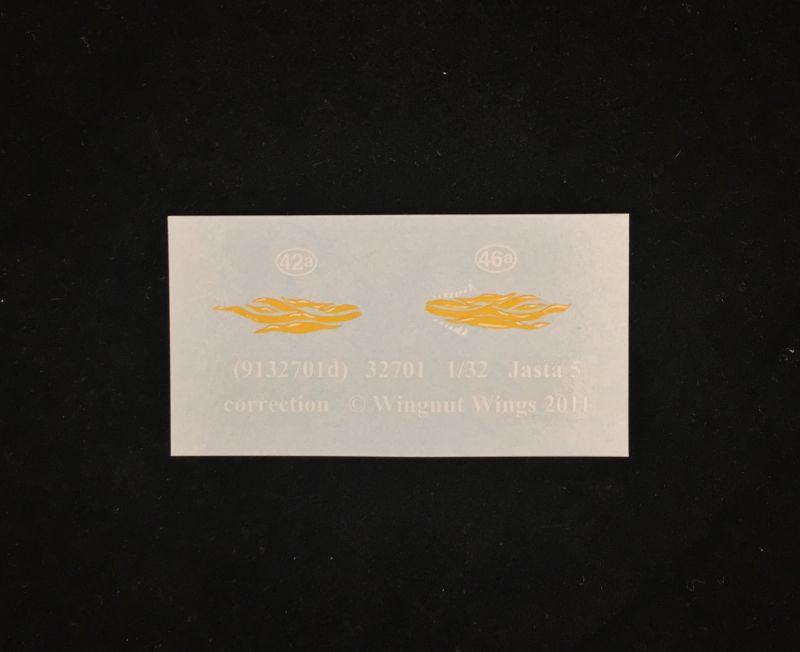
Flashar's dragon is a personal favourite:
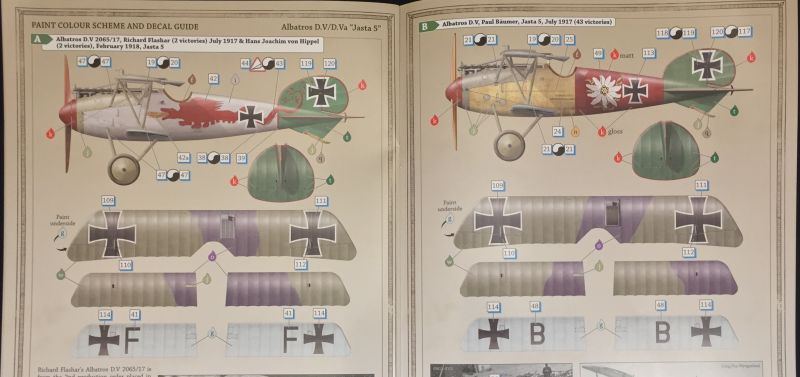

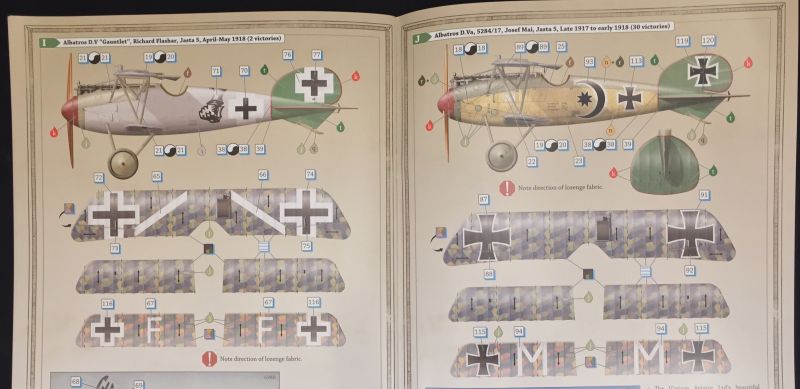
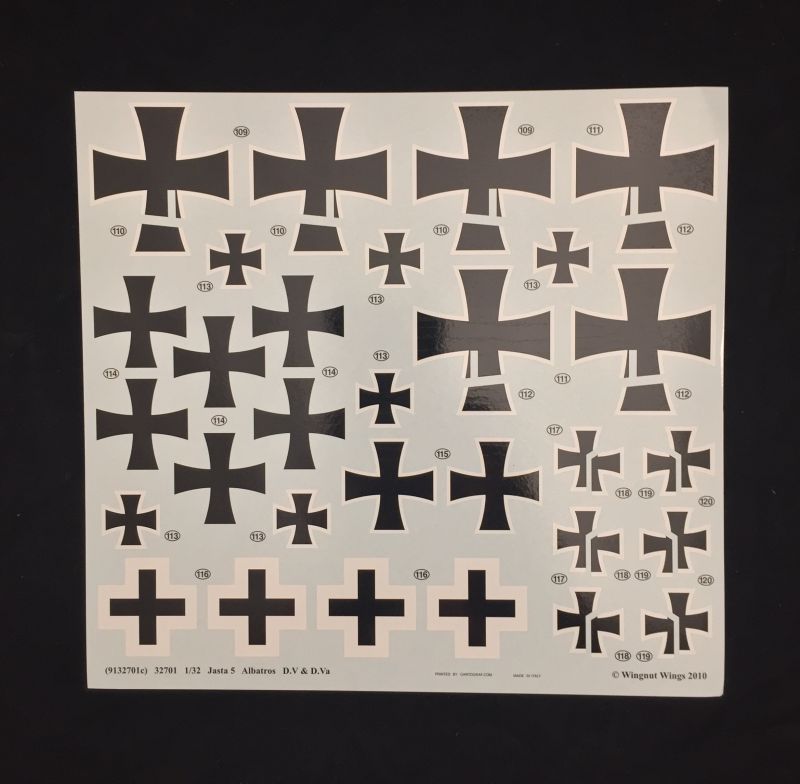
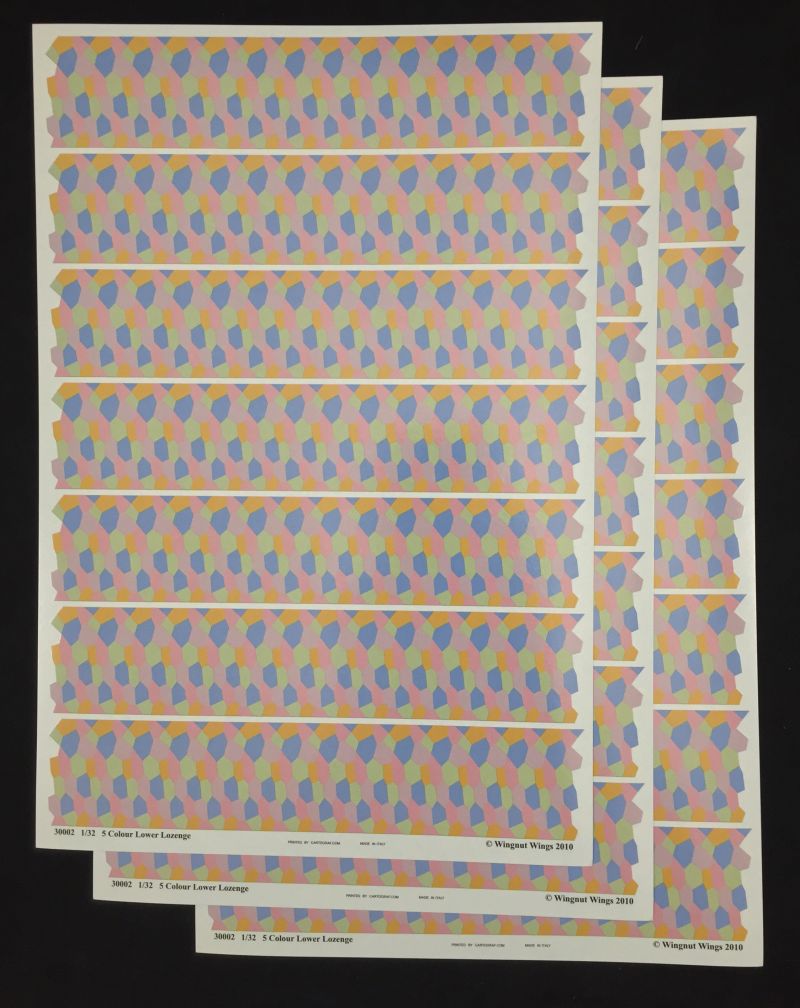
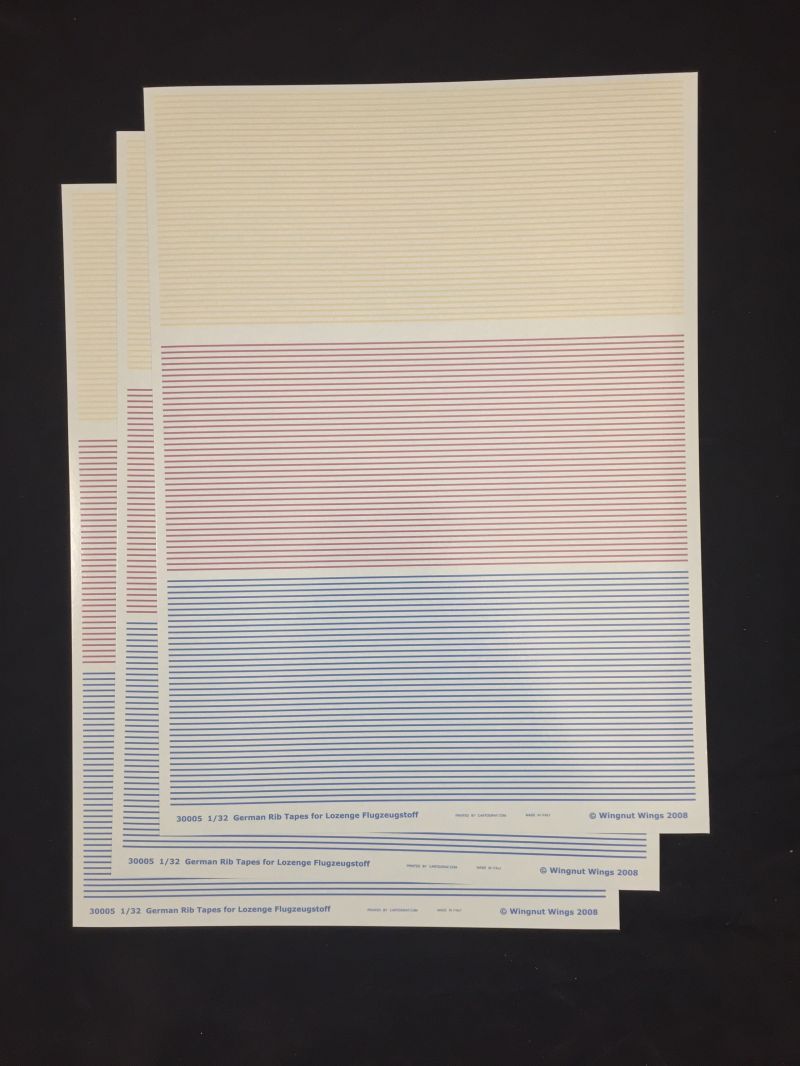
There are twelve (!) full-sized decal sheets and a small additional sheet included in the Trio. Three each are upper and lower 5-colour lozenge strips, three are colored rib tapes for the lozenge wings, and the remaining 3.5 are dedicated to the unique markings of the eleven options. Mai's aircraft and only one other (Flashar's "Gauntlet") have 5-color lozenge on the wings, others are all the standard two-tone camouflage wings. The decals are of the usual quality we've come to expect from Wingnut and Cartograf, though I still find the lozenge colors used to not look quite right to my eye. I find that colors used for markings in Wingnut kits tend to match the recommended Tamiya paint colors perfectly, so have a few of these on hand if you're like me and have a habit of occasionally damaging your decals after they're on the model.

Rig It!
The modelling gods were smiling with this release, as few builders are likely to want to rig a trio of Fe.2s. So far as rigged biplanes go, the Albatros D.V has one of the simplest rigging wire arrangements. If you are reading this and hesitating to buy a Wingnut kit out of fear of rigging, I urge you to try it. Grab a cheap old 1/28 or 1/32 plane and drill a few holes to practice rigging attachments, or glue up some scrap plastic to resemble a wing and go that route. Just take your time, and use EZ Line or similar elastic as it gives you a huge margin for error if you knock a line while working on another. You may well surprise yourself with how easy this part of your WNW build is if you don't rush it.
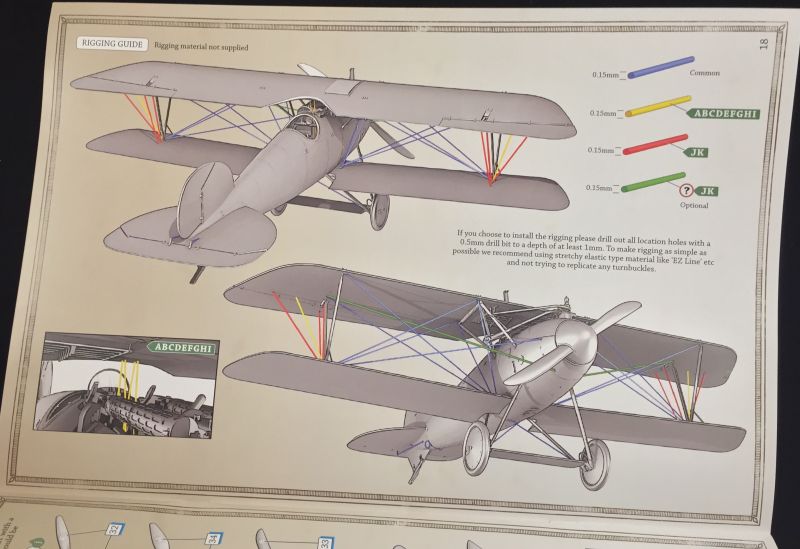
The parts have holes molded sharply for rigging lines to glue into. Take a few minutes with a #80 or similarly-sized drill bit to deepen the holes as it will help you when rigging. Be careful not to drill all the way through the plastic and work slowly so you don't snap off your micro drill bit in the hole!

Additional Detail and References
There are a number of Albatros D.V-specific books out there; I find the best to be in the best to be available from Albatros Publications (coincidence with the name?) including their Windsock Datafiles. For a great history of Jasta 5 including a lot of color side profiles and photographs that didn't make it into the Wingnut instruction manual, grab the two volumes of Glen K. Merrill's Jagdstaffel 5 book from Albatros.
For those who find the lozenge colors not to their liking, or simply don't want to lay and line up individual lozenge strips, Aviattic has just released several sets of lozenge decals designed to fit the Wingnut kit. There are re-released Jasta 5 red tail trim decals available from Pheon Decals also; these are available individually or in sets of three. If eleven unique paint schemes from one squadron aren't enough, additional Jasta 5 Albatrosse are available on multiple aftermarket decal sheets as well as Rumey's "barber pole" in the now OOP Wingnut Albatros D.V kit. Ask around and surely you'll find someone who can part with those decals from the kit. Pheon Decals produces two decal collections specific to Jasta 5 aircraft as well as their now sold-out "Rumey's Devil" sheet. There are also Jasta 5 schemes available on some FCM decal sets. In all, I count at least fifteen additional Jasta 5 aircraft possible in 1/32 that are not included in this Wingnut release, and there are additional Green Tail paint schemes that have not yet been produced in large scale.
There are of course the "standard" enhancements to an already well-detailed kit such as HGW harnesses, Gaspatch Spandaus or Master's metal Spandau barrels, and engine details from Taurus. Also available are 3d-printed pieces available through Shapeways from Bo Monroe's Flugzeugwerke store to either replace or detail additional items such as the radiator, magnetos, compass, and fuel tank, as well as tireless wheels, fuel valves that mount behind the control panel, gun synchronization gear, and a "corrected" spinner for aircraft using the Axial propeller. I don't have info handy to verify if these spinners had a different shape around the propeller blades, so check your references if considering this particular item. None of these items are necessarily needed as it's very easy to build beautifully-detailed aircraft our of the box, but for those who want to display the engine panels open or work partially-assembled airframes into a diorama, some of these may be worth the investment. If you want the ultimate in realism for the engine exhaust, pick up the hollow metal exhaust from REXX - these are akin to the old Moskit style pre-"weathered" exhausts that are extremely thin and realistic.
Recommendation
Any model builder who hasn't been living on a deserted island for the last decade knows where this is going - as with every Wingnut Wings kit released to date, it's hard to go wrong. The Albatros D.V / D.Va kits are wonderful in nearly every respect, but you do need to remember to take your time with the engine mount alignment and to remove paint from your interior glue surfaces to minimize the need for putty afterwards due to the right fit. I feel I can confidently recommend this set to everyone wanting to add a few colorful green tails to their collection. Review copy is courtesy of my wallet, pick one up directly from Wingnut Wings or from hobby shops worldwide before these too sell out!

© Mike Swinburne 2017
This review was published on Thursday, September 07 2017; Last modified on Friday, September 08 2017