
LEM Kits | 32022: Yak-25M
Reviewed by Ray Peterson
Introduction
A recent release from LEM Kits is the Yak-25M, an early Soviet post-war twin-seat, twin engine jet interceptor.
Summarized From Wikipedia: "Yak-25s were built at Factory No. 292 in Saratov, with the first aircraft completed in September 1954. Due to slight modifications, the radar of these aircraft was known as the RP-1D. However, very few aircraft were built to the original standards, due to the fact that the RP-6 had been fully developed by the end of 1953. In April 1954, a Yak-120 prototype with the RP-6 passed its state acceptance trials, and on 13 May the Council of Ministers approved the production of the modified version with the designation Yak-25M. In addition to the radar, this version also incorporated several changes – the AM-5A Srs 1 turbojets were replaced with RD-5A (AM-5A) Srs 2 engines with the same rating, the wheelbase was increased by moving the nose gear unit 33 cm forward to improve directional stability during takeoff and landing, and the cannons were fitted with muzzle brakes. 406 Yak-25Ms were built at the Saratov factory, with deliveries beginning in January 1955. RAF RPF ELINT flights from October 1956 indicated that the Yak-25M had entered service, but that height-finding by ground-based radars was poor and so interception was ineffective above 35,000 feet.
The Yak-25 was first displayed at Tushino Airfield in July 1955, and received the NATO reporting name Flashlight. They started to equip air defence units from 1955. They were considered easy to fly and popular among the crews. Quite common were engine breakdowns, mostly due to the low engine position when on the ground, which demanded clean airfields, but thanks to twin-engine arrangement, few such failures were fatal. Due to its twin engines and radar intercept operator, pilots gained more confidence on long missions in the remote northern and eastern areas of the Soviet Union.
As it was intended for low-altitude flying, the Yak-25's service ceiling was too low to intercept the American RB-47 Stratojet, which often flew reconnaissance missions over Soviet territory. Their withdrawal started in 1963. The last Yak-25 interceptors were retired by 1967; the 'Mandrake' reconnaissance version soldiered on in various roles through the late 1970s. Like many other PVO interceptors of the Cold War era, the Yak-25M was not exported to the Warsaw Pact or other nations."
The Kit
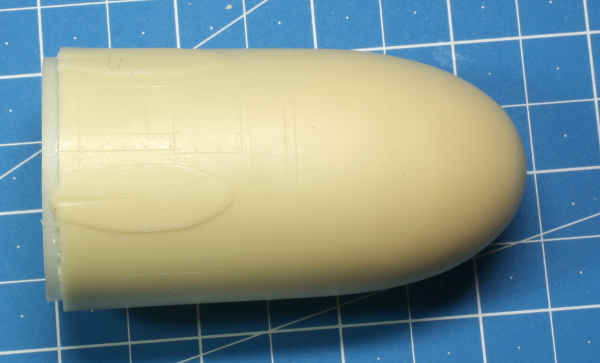
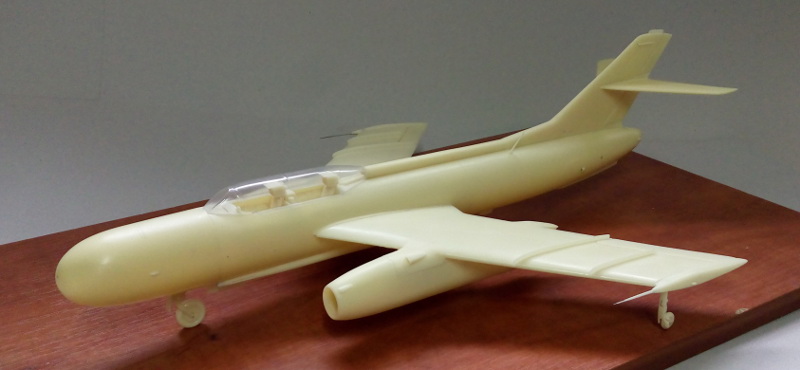
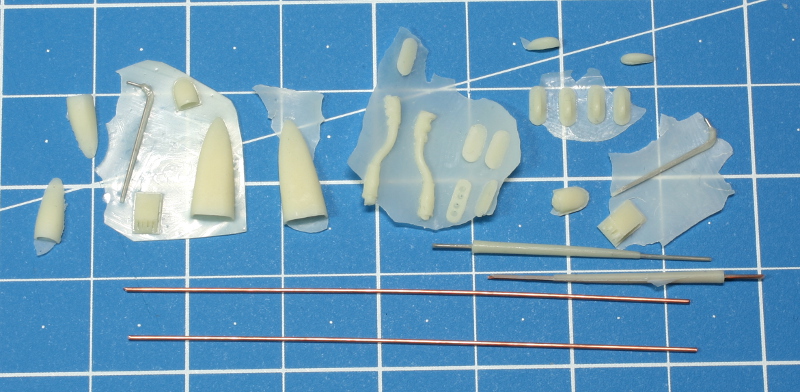
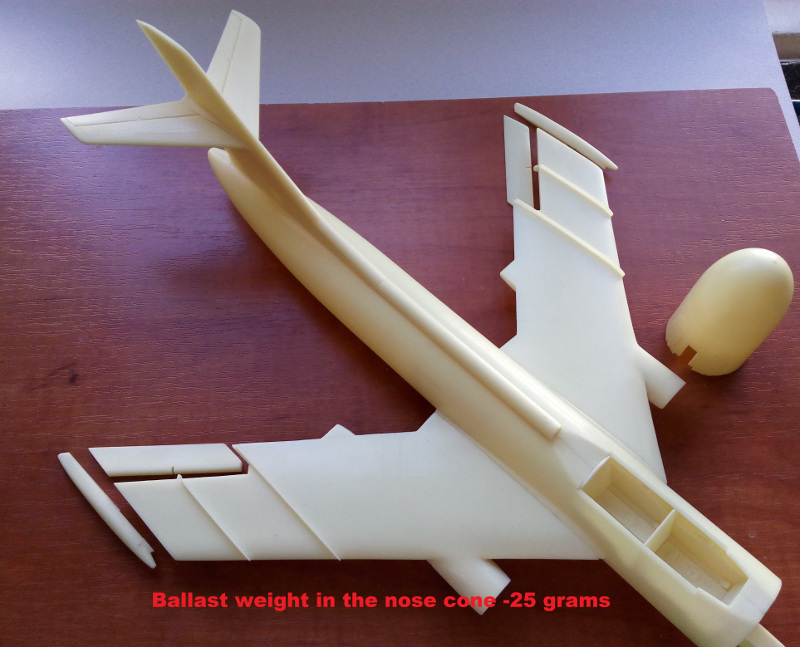
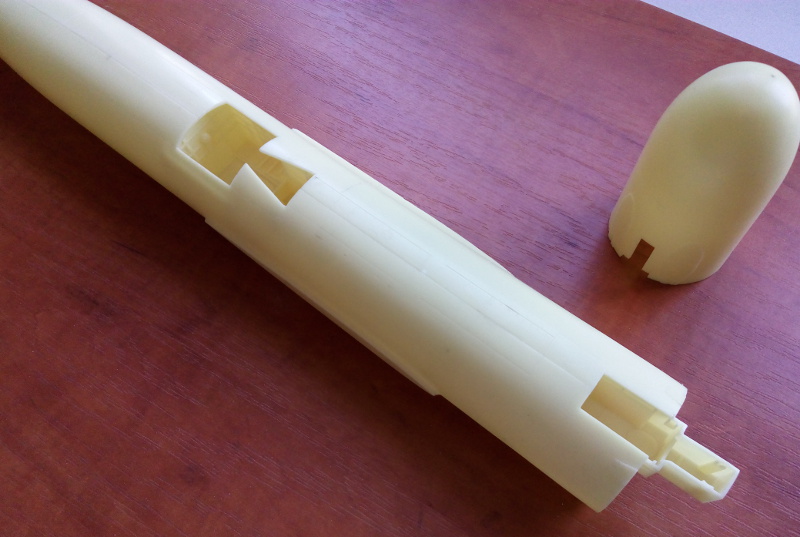
Primarily a resin kit, it is composed of about 112 (by my count) resin parts, a few lengths of brass rod, a pair of vacu-form canopies, two films with the instrument dials, and a small sheet of decals. No nose weight is included but the instructions suggest 25 grams. With the bulbous nose, there is plenty of room for weight.
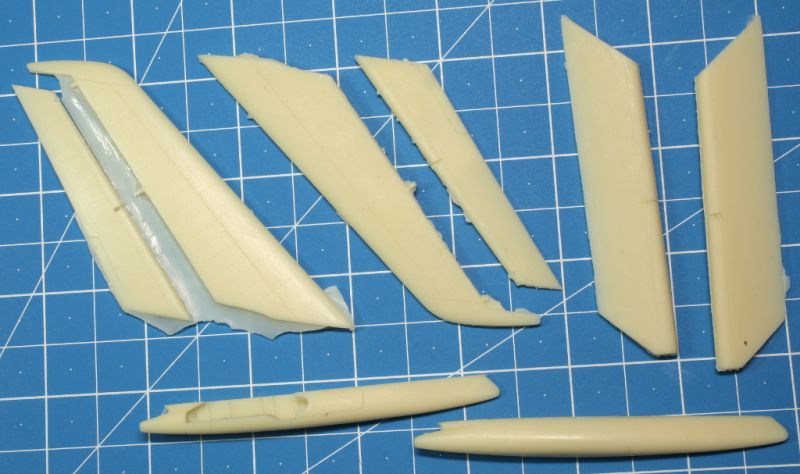
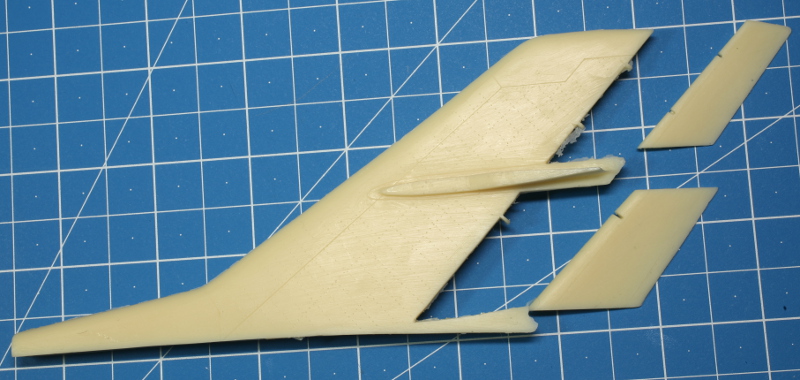
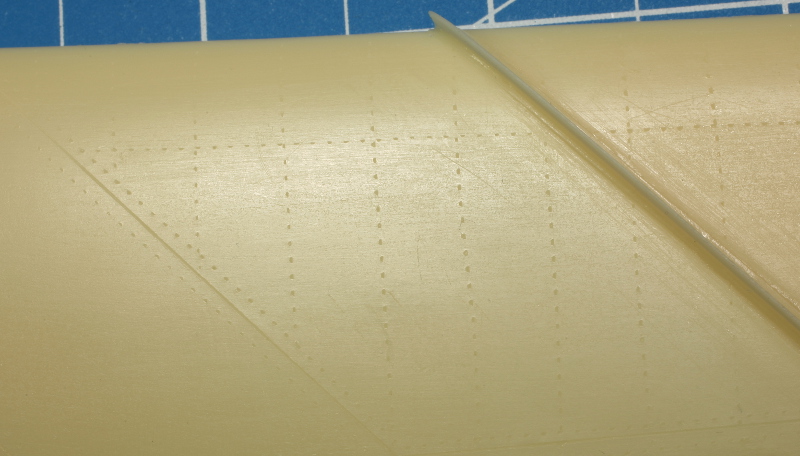
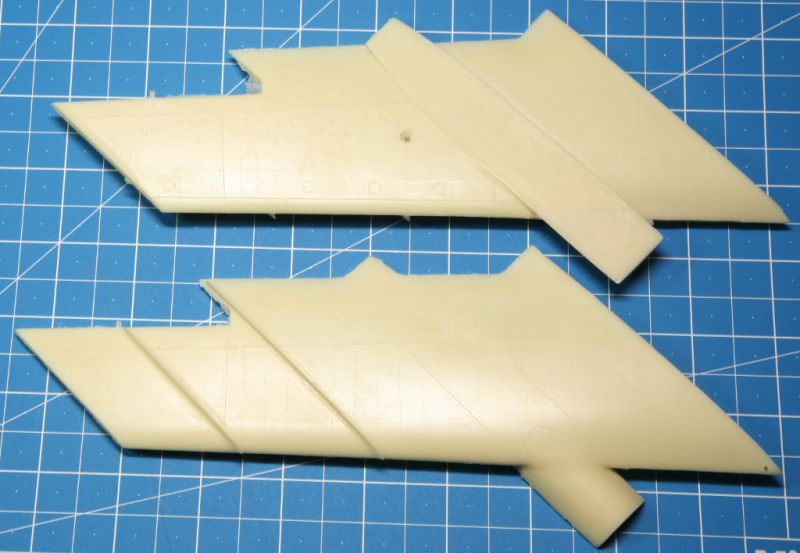
The resin is well cast, just requiring the usual cleanup of flash and seams, plus the removal of a few casting blocks and a wafer-thin film. The wings are cast as single pieces with just over the first half hollow. Details look good for the most part though some repair of the odd bubble (not many in my example), small details, and panel lines may be required. In fact, the panel lines and riveting may be a little too faint as it can barely be seen. Maybe under a metal finish they will stand out. Separate flaps, aerilons, and elevators are provided.
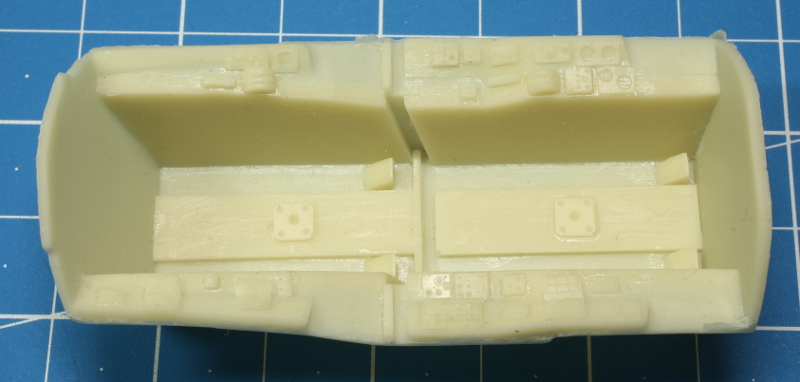
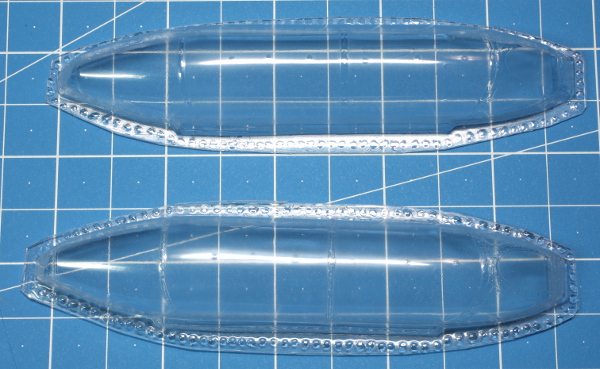
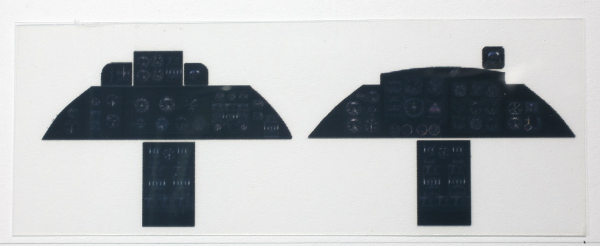
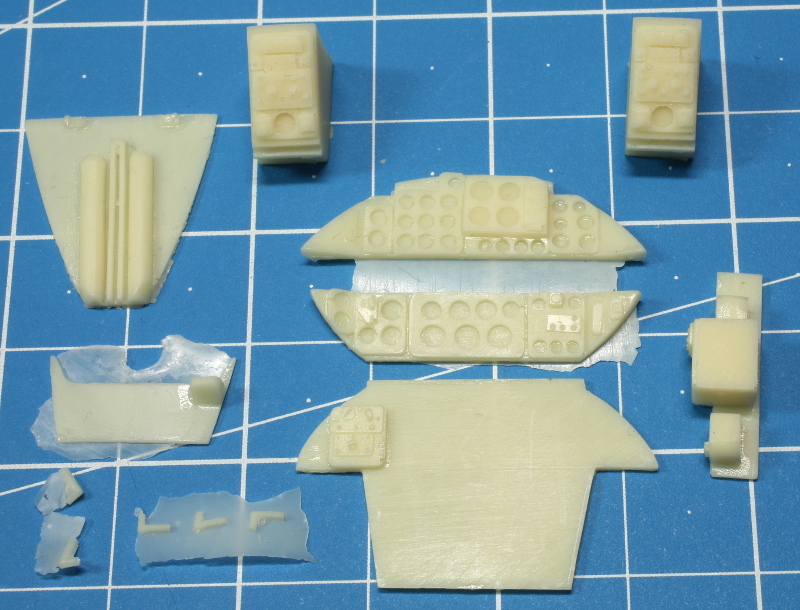
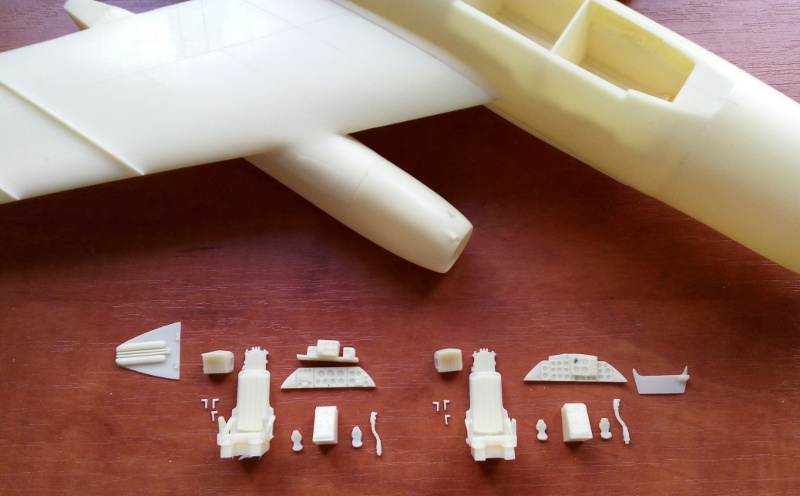
The cockpit is pretty well done, with about 24 parts, including two-part bang seats which look pretty good. The instrument panels are in resin and are puddle cast so you will have to sand down the back of the panels till the instrument holes open up. Then the films can be glued behind them. After painting the back of the film white, or gluing to a white backing material, the instruments will show, though on my example they are pretty faint. An alternative would be to use Airscale’s early Soviet jet decals, as long as you don't thin the panels. The two vac canopies look quite clear and should really sparkle with a dunk in Future. As usual, you may want to add some wiring and other odds and ends, depending on your taste for detailing, assuming you can find decent pictures of this esoteric aircraft besides what is in the CD. You will also need to add your own seatbelts.
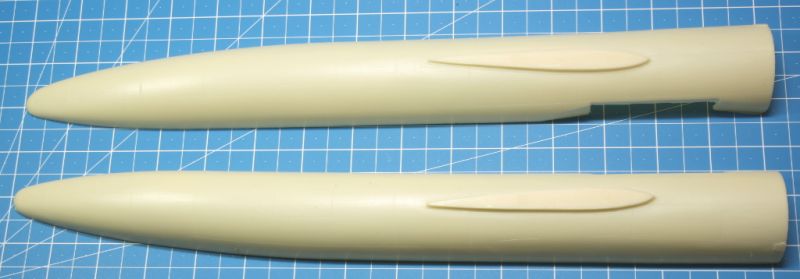
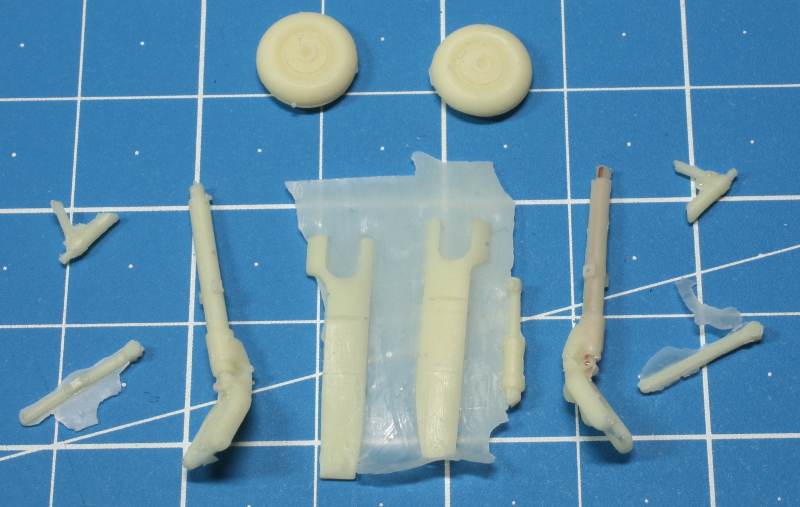
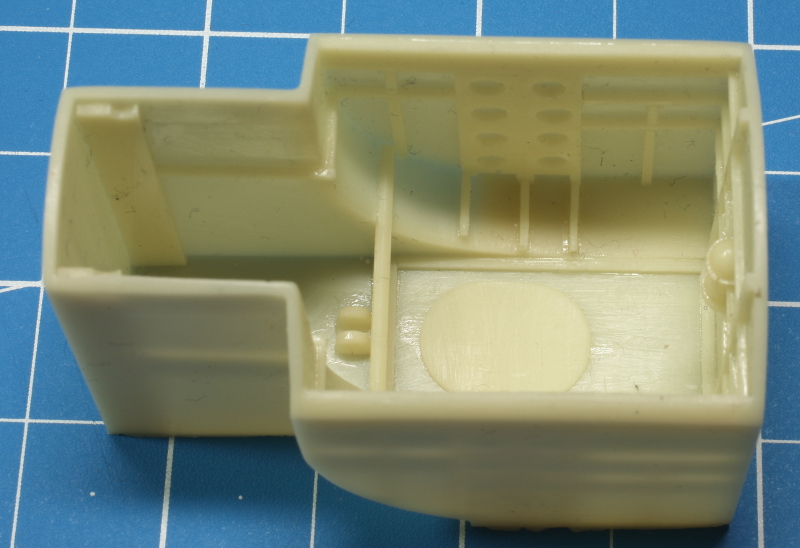
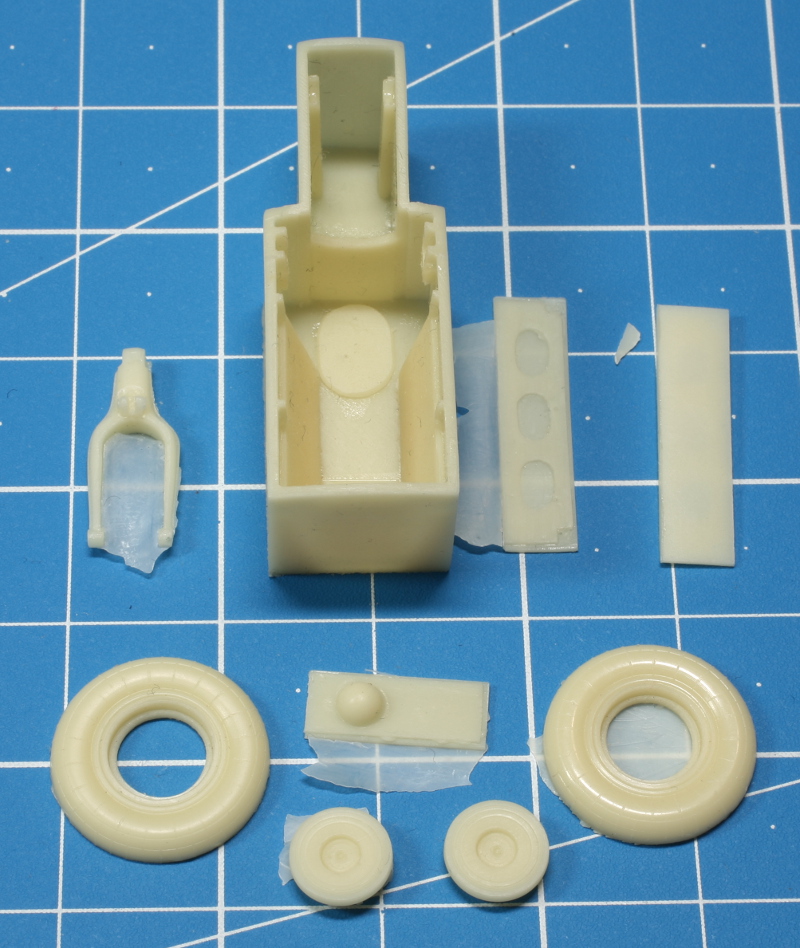
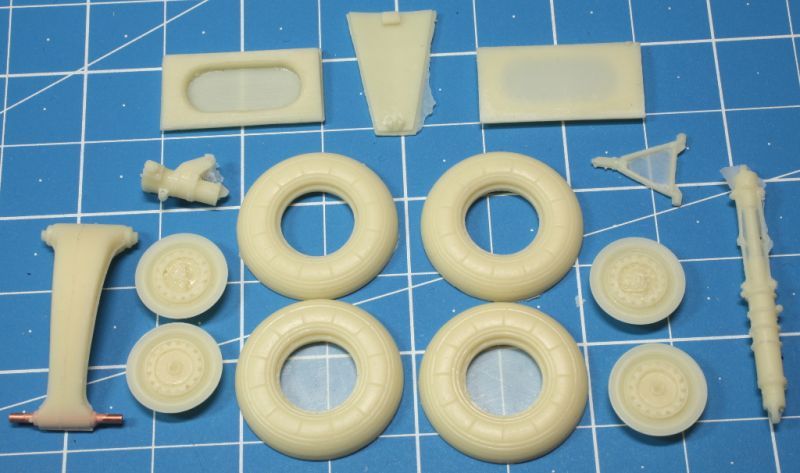
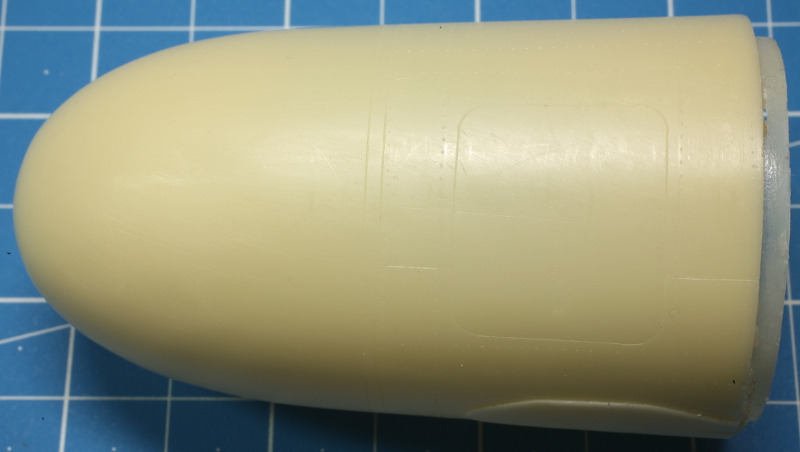
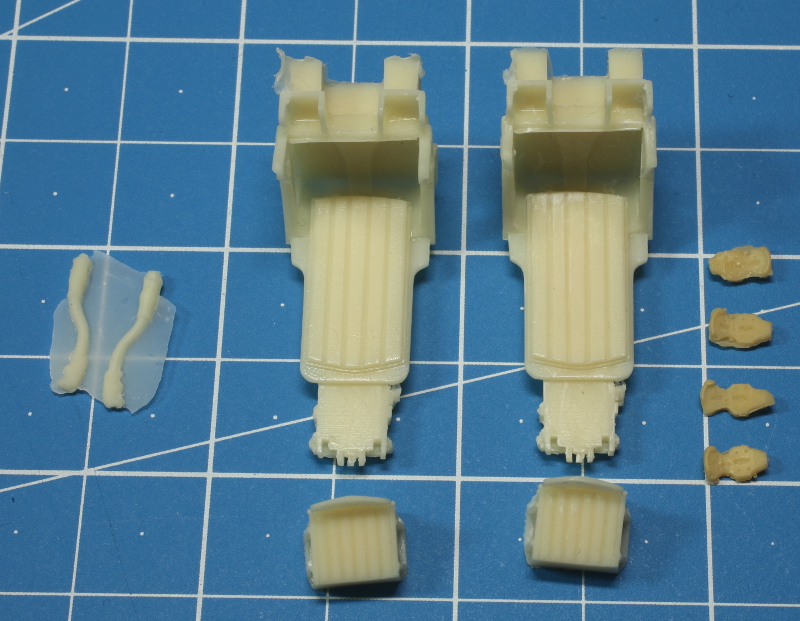
The fuselage is long! At fifteen inches, plus add three inches for the one-piece nose radome, this will be a very long model! The tail plane are built up from solid cast parts and are simply butt-joined to the fuselage. I recommend adding pins as reinforcement when assembling these parts. Gear wells are also provided separately, and well detailed; just add some wiring. Note there is only a single well for the main gear wheels, with wingtip gear for stability, a la the B-52. This gives it an unique, Cold War look. The gear itself is resin with metal wires cast inside for strength, and axles are to be made from some of the included wire lengths. The nose and main wheels are molded in halves, which I hate, but they do have nice detail. The small wingtip wheels are in one piece. There are several actuators provided that add to the detail.
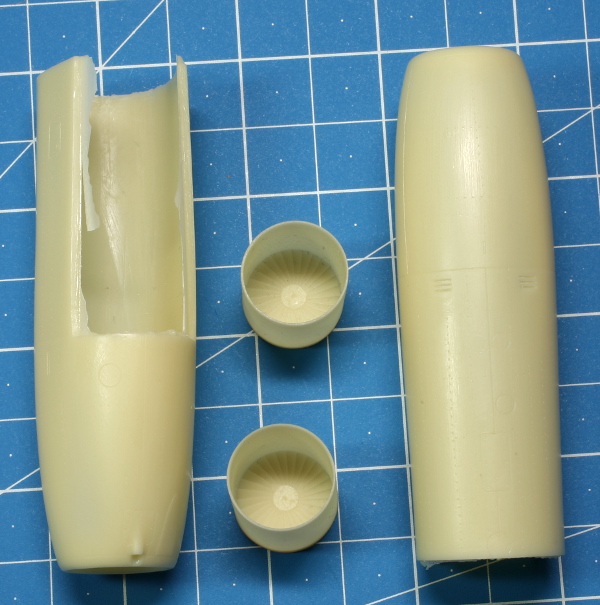
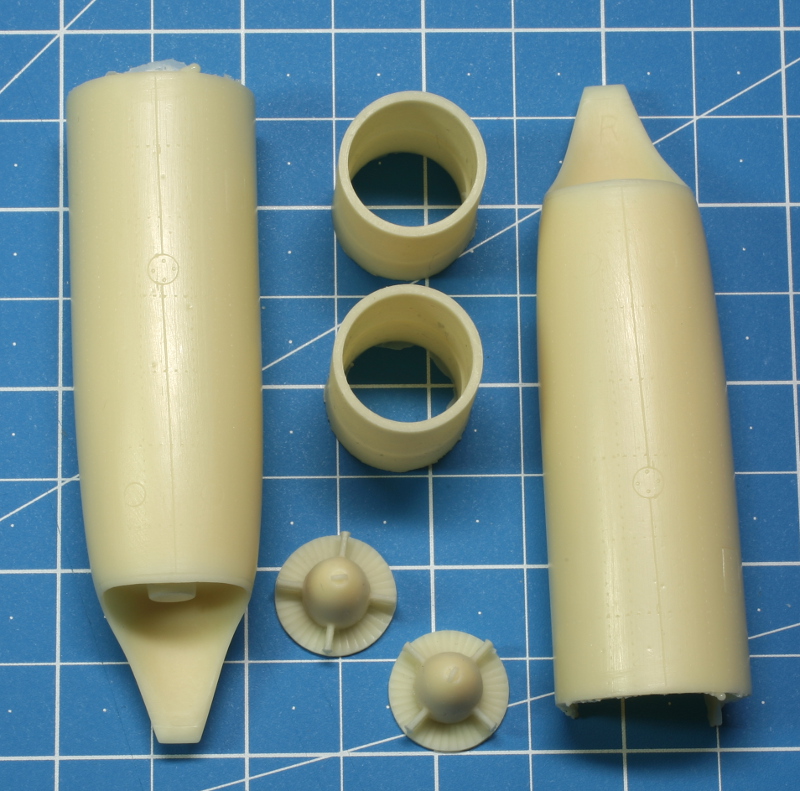
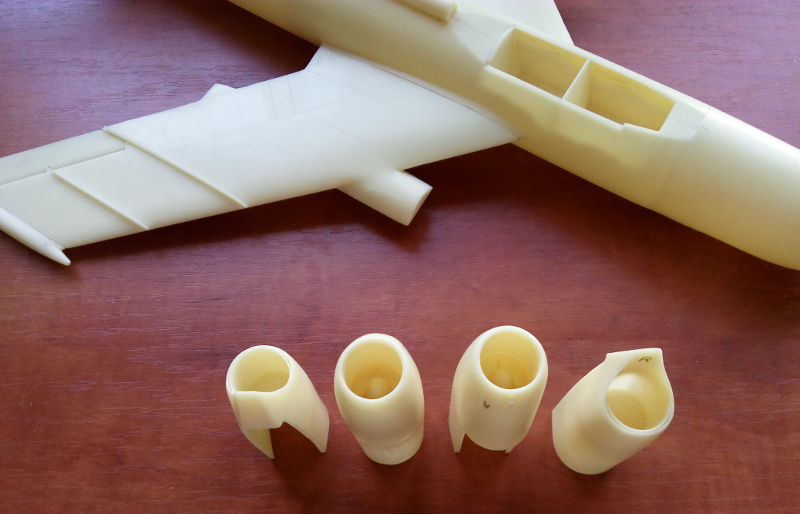
The engines are made up of ten parts. Intakes, intake fans, exhaust cones and housings, added to the upper halves of the modules molded with the wings.
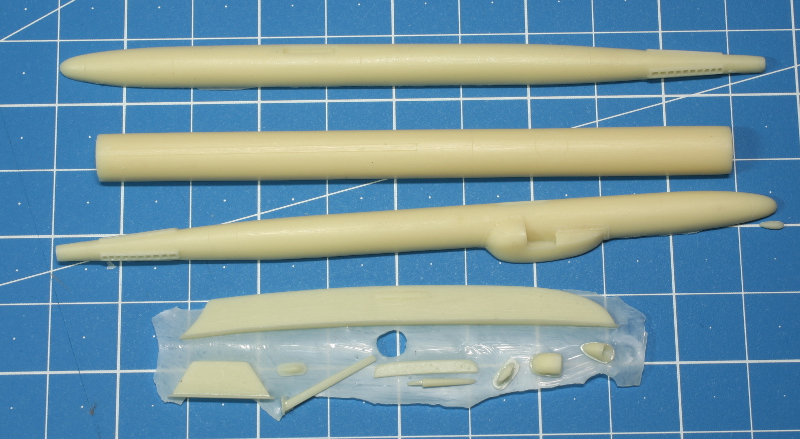
Smaller parts include the two cannons for each side of the nose, as well as several individual scoops for the fuselage, and antenna as well as pitot tubes.

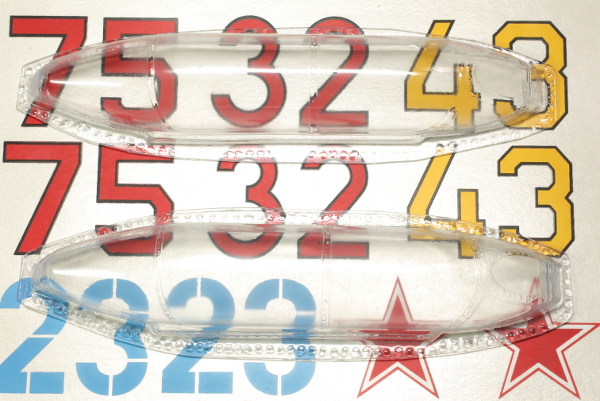
Instructions are provided as a series of color photos on a CD. No written instructions are included, but the photos are pretty self-explanatory (there is a few notes on the photos) and with the relatively low parts count any experienced modeler should be able to negotiate assembly. A Small decal set is provided with stars and Soviet-style numbers drawn from the CD pics. No paint schemes or colors are given. The main finish is natural metal finish, but there appears to be different colors used on the radome nose and numbers. No stenciling is provided.
References
There are not too many references out there I am aware of; the CD includes several photos of Soviet aircraft, with a few walkaround photos of surviving airframes. This reference material on its own will help a little with construction and detailing, and give an idea of colors needed. They include a couple of color photos of the cockpit of a pretty stripped airframe that won't be much help in detailing, but might help with picking a cockpit color (grey-green?). I will not show any samples for copyright reasons.
Summary
It is nice to see some love given to these early Soviet jets. The odds of seeing these large-scale offerings in injection plastic must be close to nil. So kudos to LEM Kits for taking them on.
Highly Recommended for Soviet aircraft fans!
You can find LEM kits on eBay by searching for seller ruporator, or from their website at http://lemkits.com.
© Ray Peterson 2020
This review was published on Saturday, March 28 2020; Last modified on Saturday, March 28 2020