
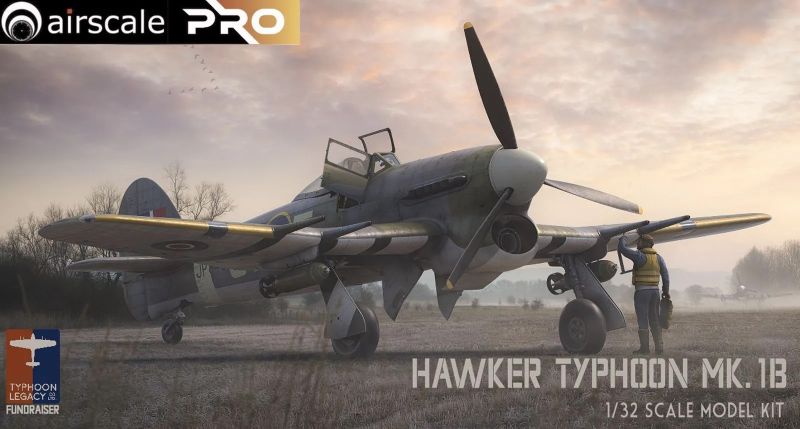
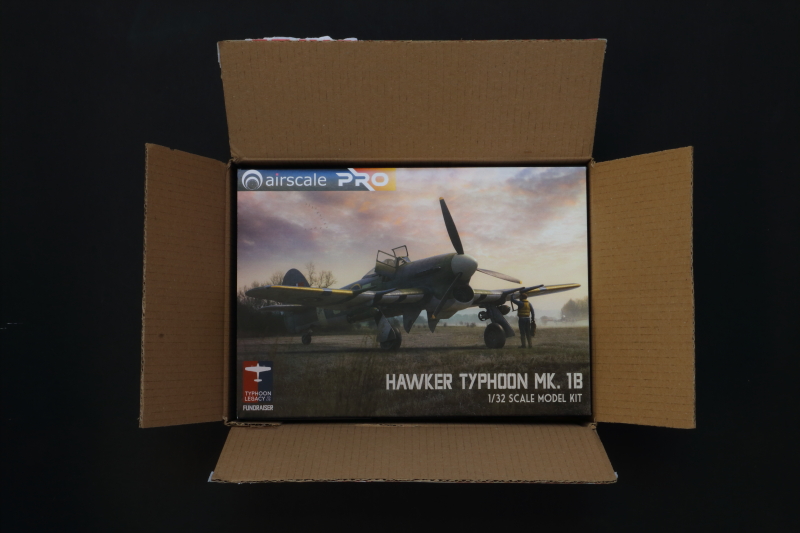
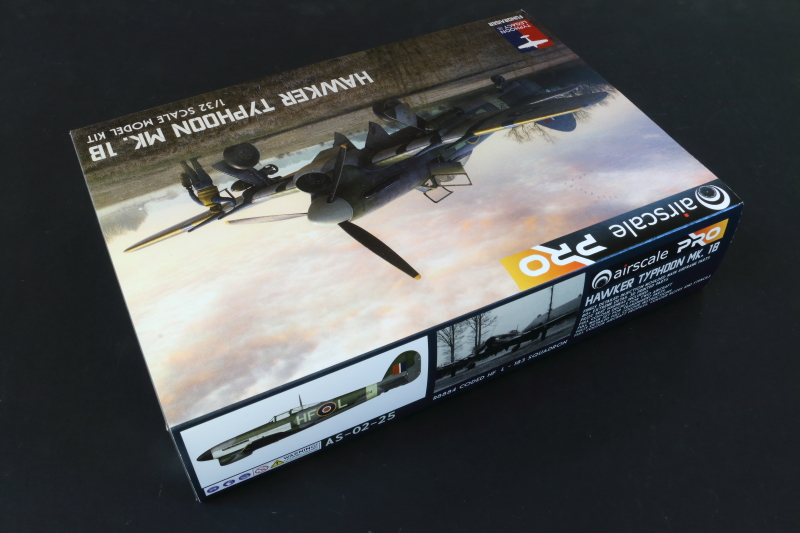
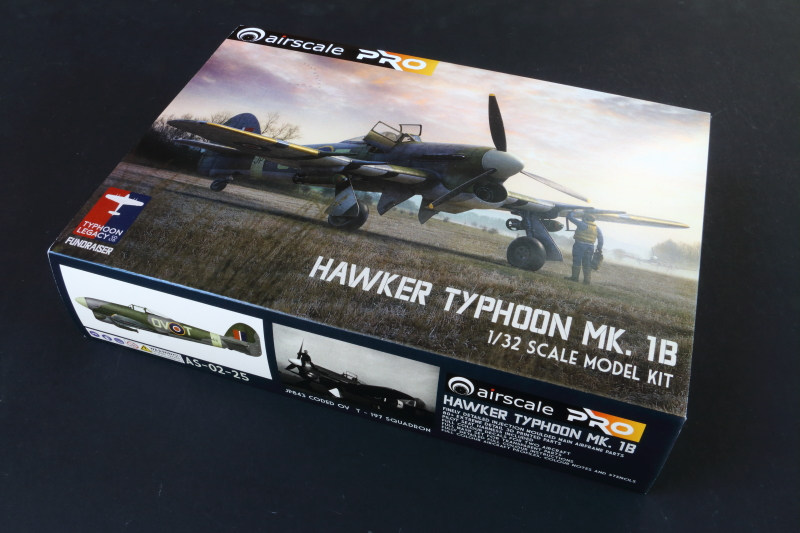
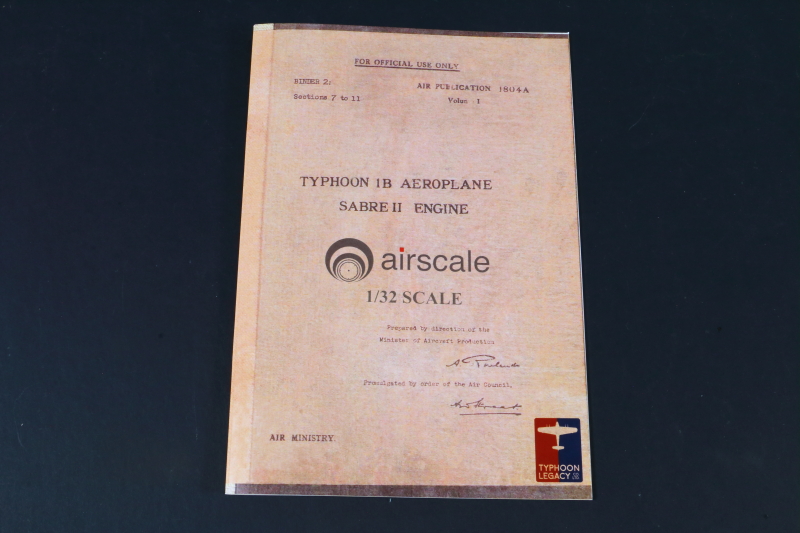
airscale | AS-02-25 Hawker Typhoon Mk.1B
Reviewed by Iain Ogilvie
Background
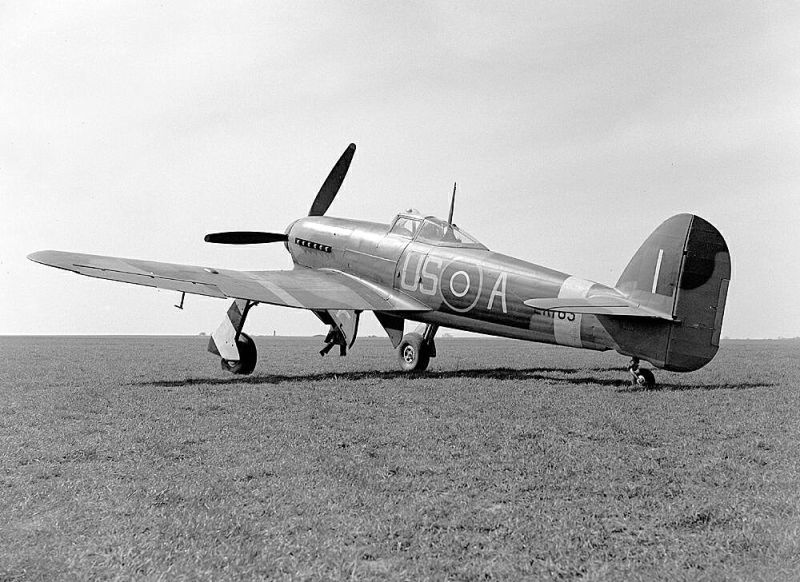
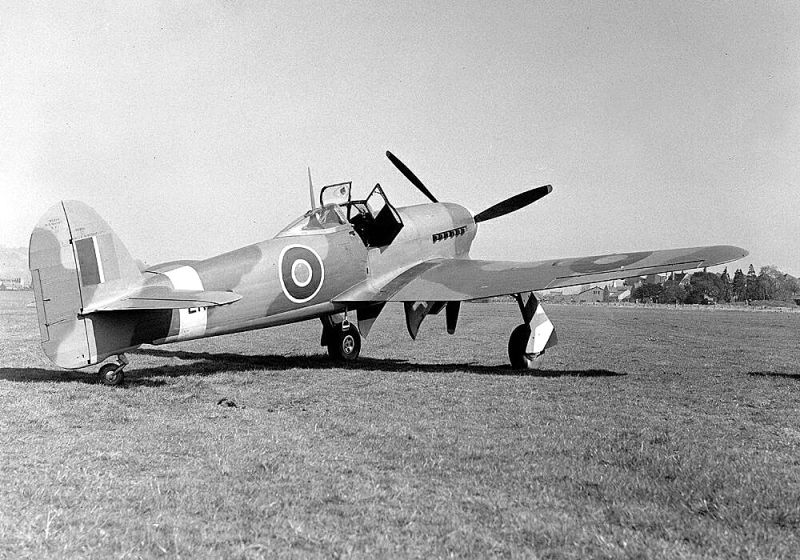
Sydney Camm's design was ambitious - the Typhoon needed to be faster and more heavily armed than the Hurricane and Spitfire. It featured four 20mm Hispano cannons (later some carried 12 .303 machine guns), representing formidable firepower. The thick wing section was optimized for speed rather than maneuverability, and the large chin radiator for the Sabre engine gave it a distinctive, somewhat brutal appearance. The car door canopy, hinged on the right side, was topped by a heavily framed greenhouse-style transparency that provided poor visibility compared to later bubble canopies.
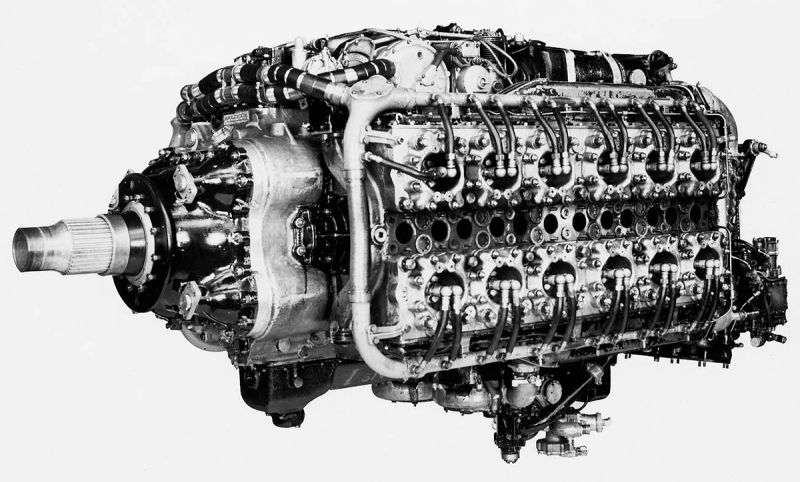
The Napier Sabre was a technological marvel but an engineering headache - a liquid-cooled H-24 configuration (essentially two flat-12 engines joined together) producing around 2,200 hp. Early examples suffered chronic problems: sleeve valve failures, oil leaks, connecting rod failures, and inadequate cooling. Engine changes were frequent, with some Typhoons going through multiple engines in their first months of service. The complex engine also required extensive maintenance, straining ground crews.
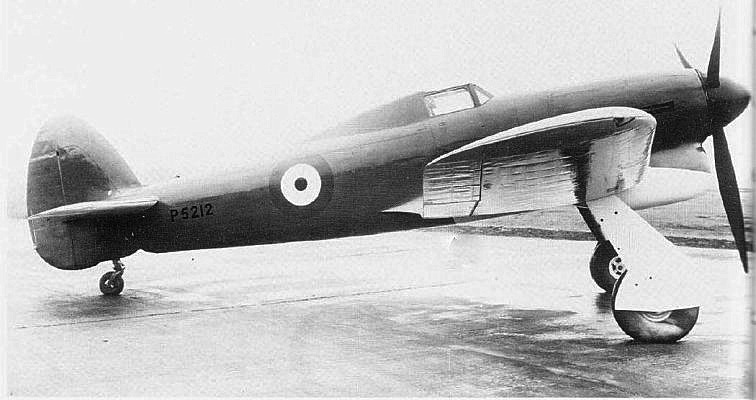
Between late 1941 and mid-1942, several Typhoons literally broke apart in flight when their rear fuselages separated just behind the cockpit. Investigations revealed inadequate structural strength in the tail joint, exacerbated by vibration and stress. Hawker implemented reinforcement straps and fishplates around the joint, and eventually redesigned the entire rear fuselage section. All aircraft had to be modified, a major undertaking.
No. 56 Squadron became the first operational Typhoon unit in September 1941, but squadrons struggled with the reliability issues. Pilots nicknamed it the "Tiffy" - sometimes affectionately, often in frustration. The aircraft's poor high-altitude performance meant it couldn't effectively intercept high-flying Luftwaffe bombers as intended.
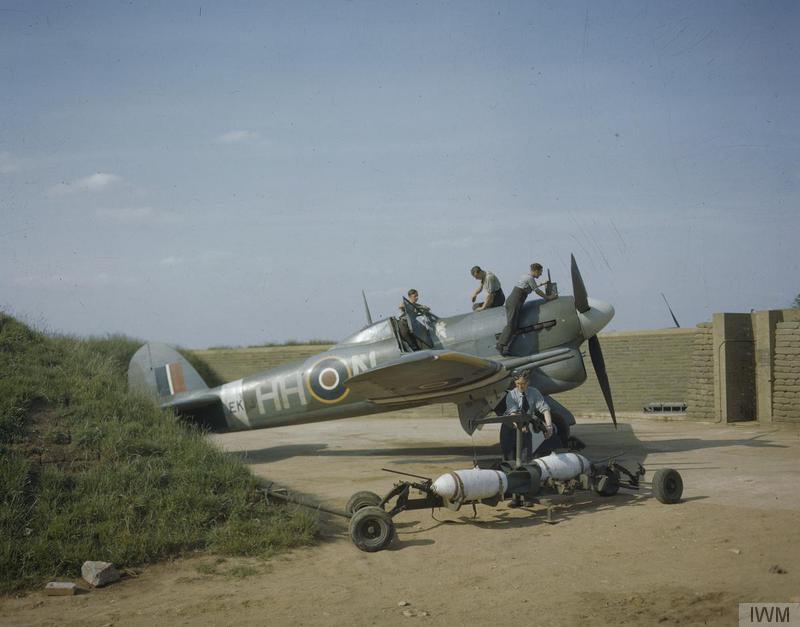
The turning point came when Typhoons proved exceptionally fast at low level - around 400 mph below 10,000 feet, making them ideal for catching Focke-Wulf Fw 190s conducting hit-and-run raids on English coastal towns in 1942-43. The Typhoon could match the Fw 190's speed and climb rate at low altitude, finally giving it a mission it could excel at.
By 1943, with engines more reliable and structural problems resolved, the Typhoon began transitioning to ground attack, carrying bombs and rockets. This would become its legendary role in 1944, but those early car door variants had nearly been consigned to the scrapheap before proving their worth.
Anyone for a new Large Scale Car Door Typhoon?
I'm old enough to remember the original Revell kit of the 'Car Door' Typhoon being released in the 1970's, in fact it holds a special place for me as my very first 1:32 aircraft kit! For it's time it was a great kit - but time and technology have moved on greatly over the last 50 odd years, as well as the expectations we have these days as modellers...
Before I dive in...
In all photos I've deliberately upped the contrast a little to show details - and surface finish. I've also been in a bit of a hurry to take the photos, as the kit is needed elsewhere, and noticed there's some dust on the sensor - something that using a stopped down lens for greater depth of field can bring into sharp relief - so please ignore any dust marks in the images!
Any 'flaws' you may see in the 3D printed parts are purely surface marks - and the printed surfaces really are superb. As with the Defiant, Peter hasn't cut any corners with higher layer heights that would reduce printing times; he's very much gone for quality of prints, rather than speed/lower costs. Any surface imperfections that may be there will disappear under a layer of paint - or a very quick swipe over with some fine wet and dry paper (1200 plus).
Apart from that caveat, the pictures will, hopefully, do most of the talking!
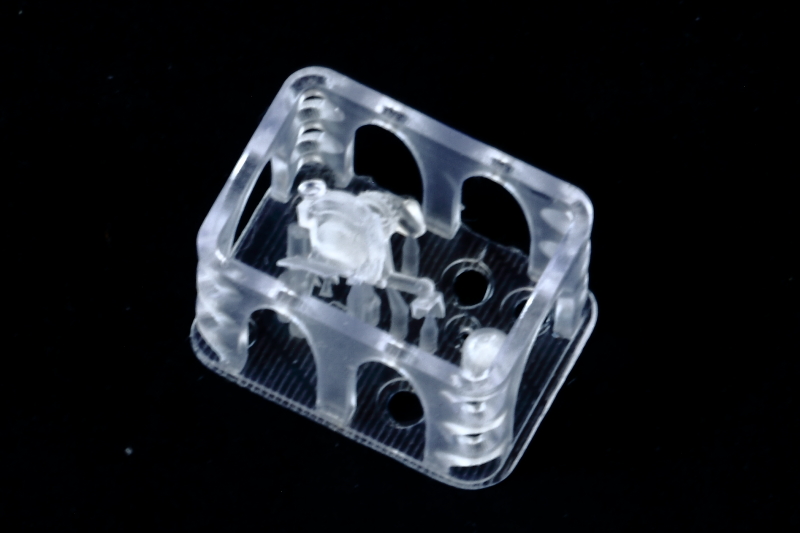
This is very much an 'in-box' review covering what's included and the quality of those parts, I won't comment on the fit of parts, or accuracy, until I work through a build. Unfortunately I'm not able to remove the print 'curtains' around each set of 3D Printed parts just now as the kit needs to be used elsewhere - as a result some parts are difficult to see clearly, but I've tried to give as clear a coverage as I can.
The detail is just phenomenal!
What's in the Box?
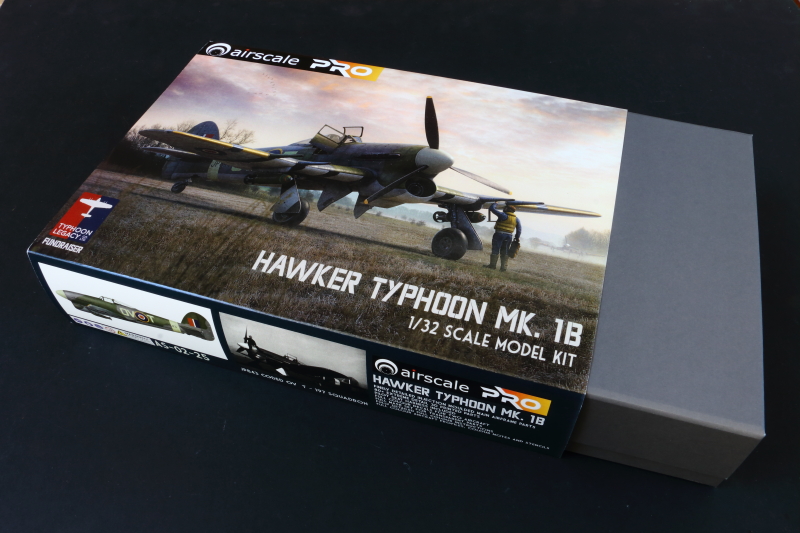
There's often something about the way a kit is packaged that gives an idea of the thought and care that has gone into the contents. In this instance that is absolutely the case.

The artwork forms a slip cover over a very sturdy grey box - with a magnetic lid.
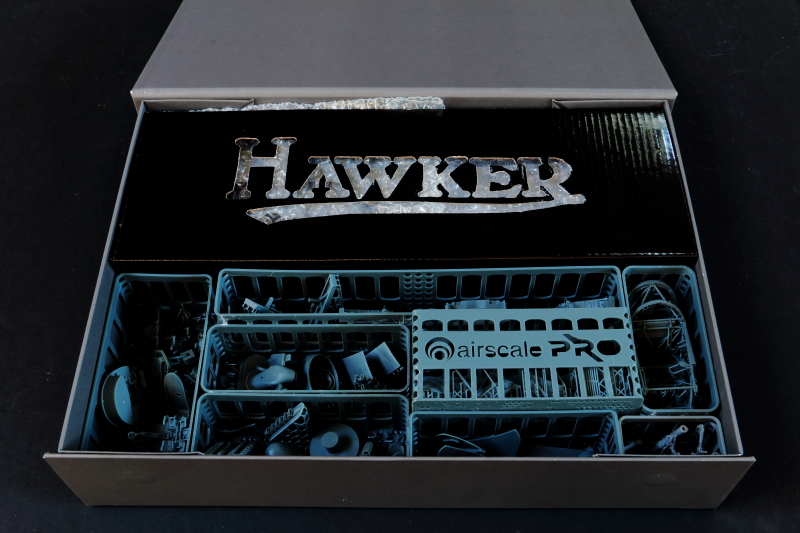
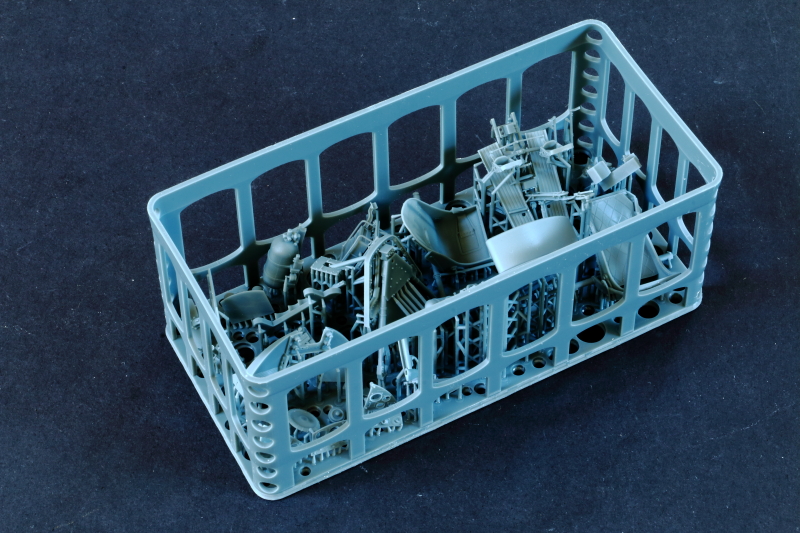
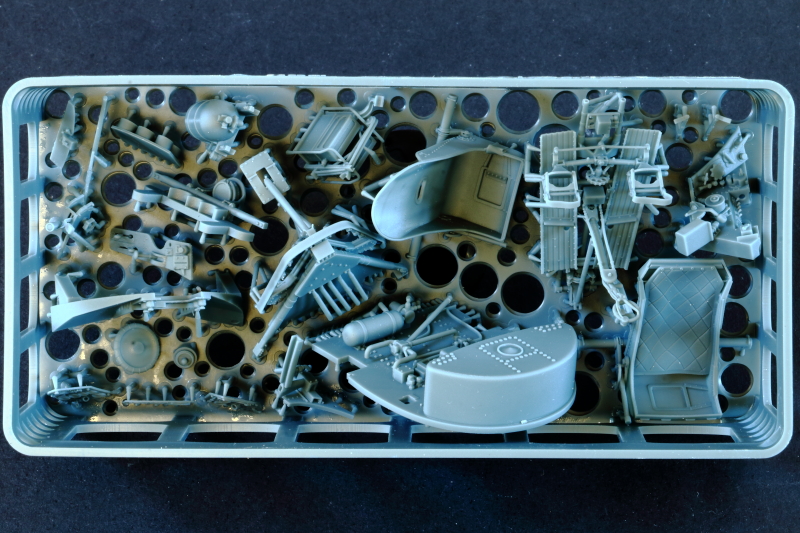
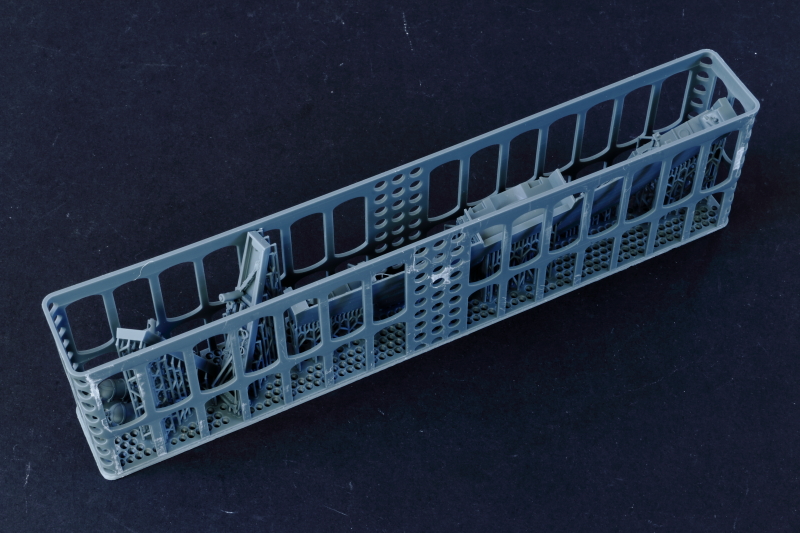
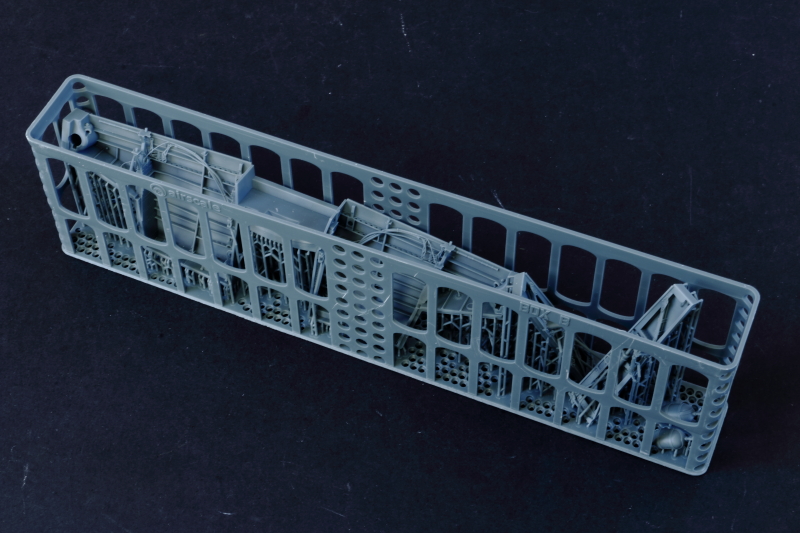
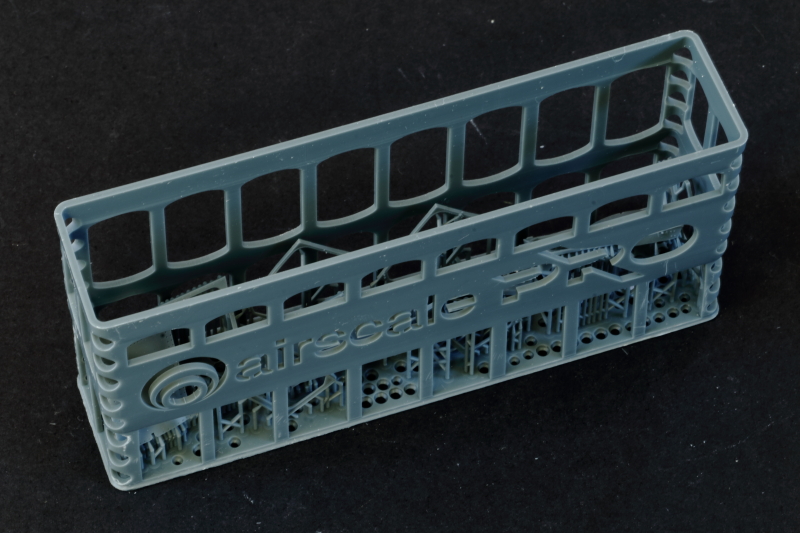
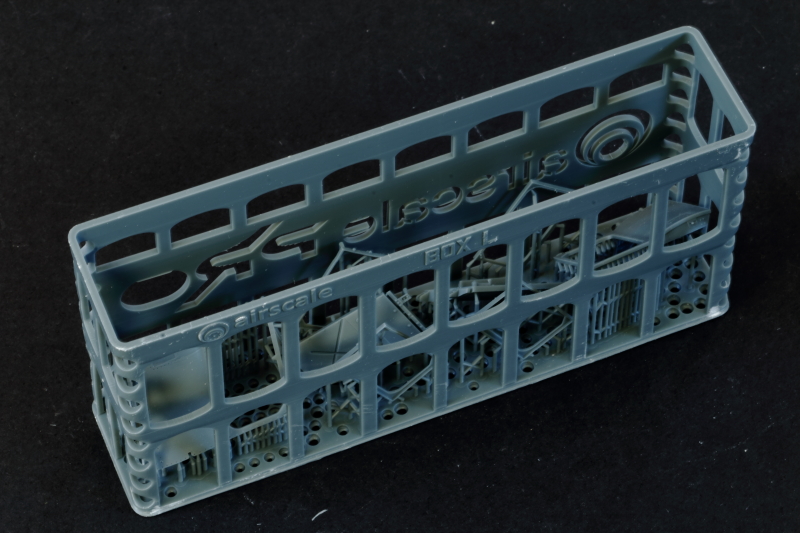
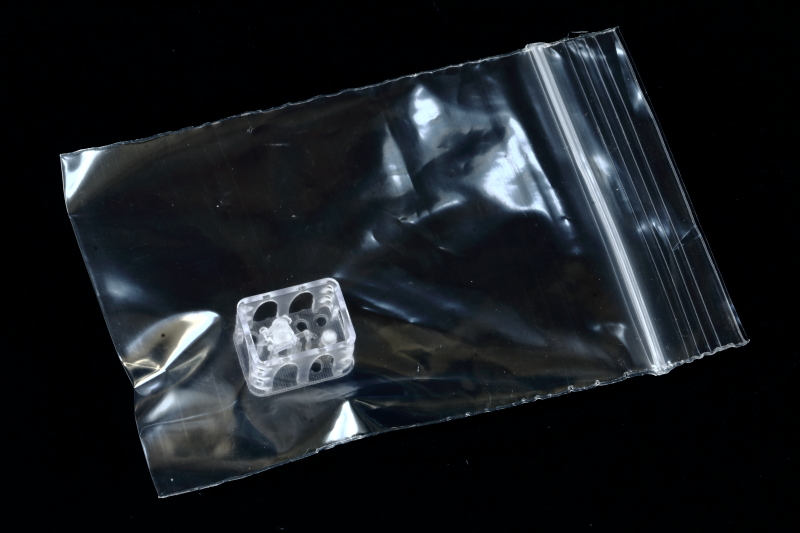
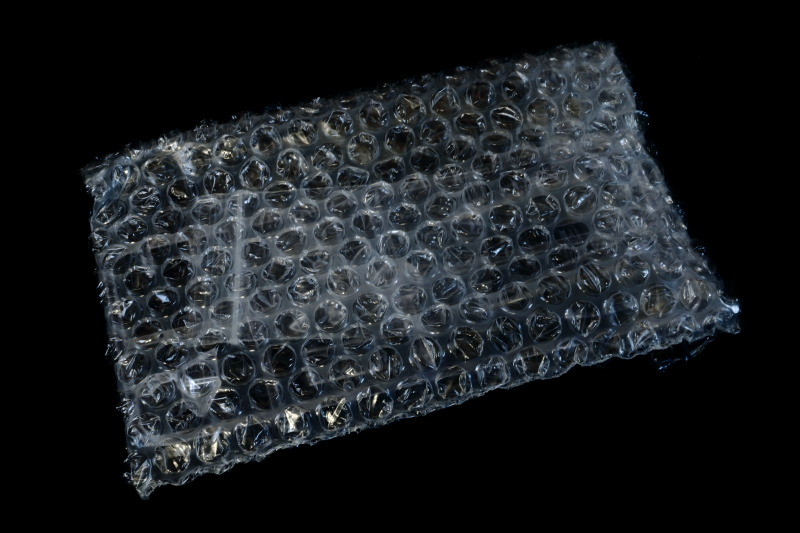
This should provide a lot of postal protection in addition to the bubble wrap and corrugated card shipping box, but each group of delicate detail parts is also printed in its own resin 'safety' box, as you'll see as we go through the review.
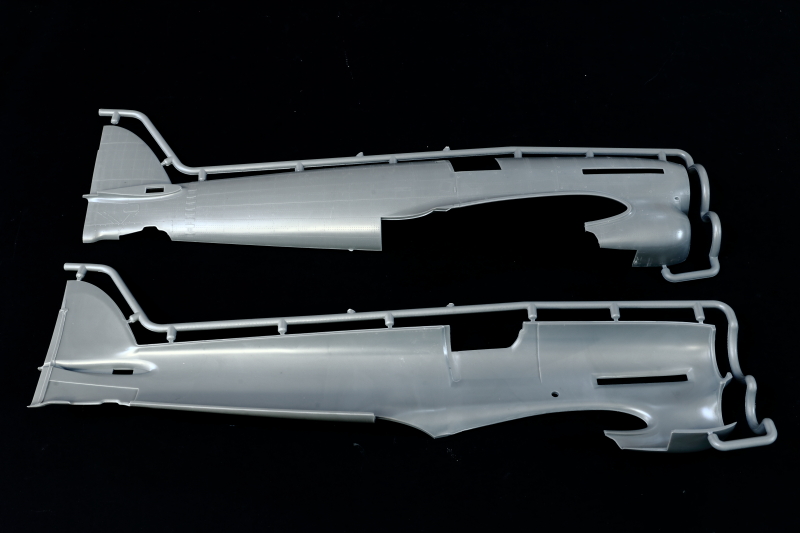
Injection Moulded Parts
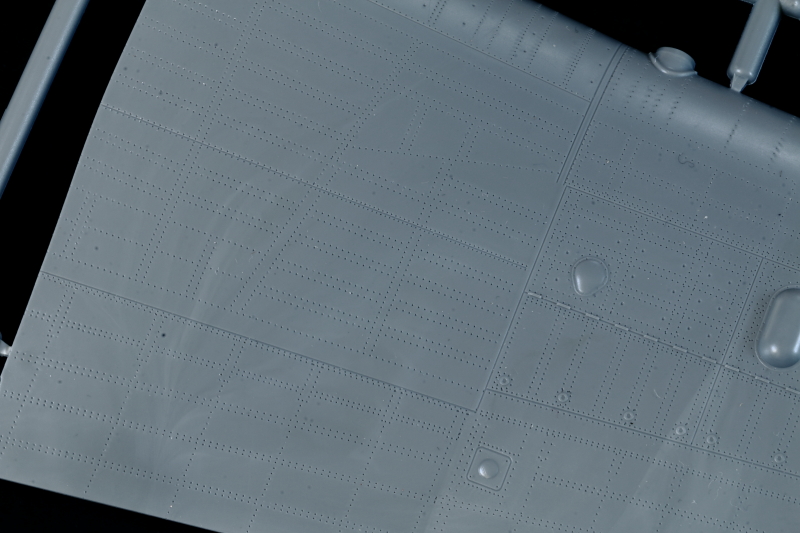
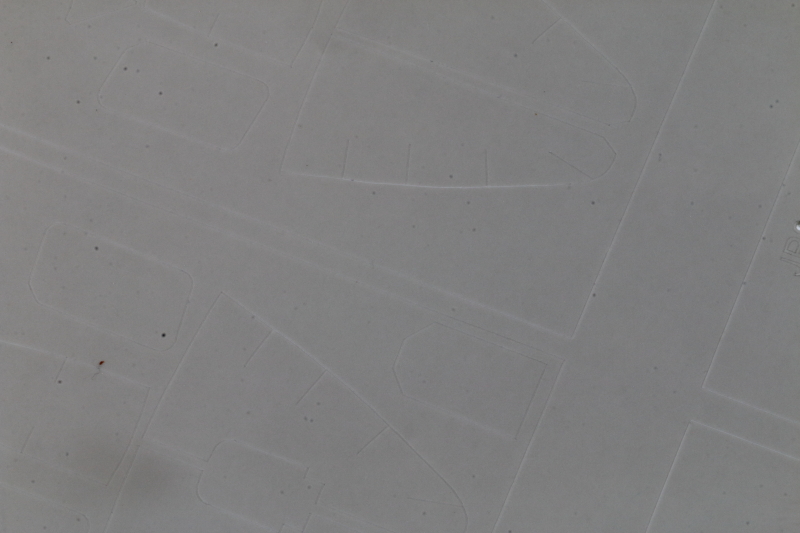
Compared to the Defiant that was released earlier this year, where the main components are all 3D printed, with just the clear parts injection-moulded, this kit takes a big step forward in sophistication (and costs to airscale) with the main airframe components provided as injection-moulded parts. These parts look excellent in the box - and, although I believe the parts in this particular reviewers box are test shots, they exhibit really fine surface detailing - and clean moulding. The rivet detail is really fine and, as I've found building the Defiant, will look superb on the completed model.
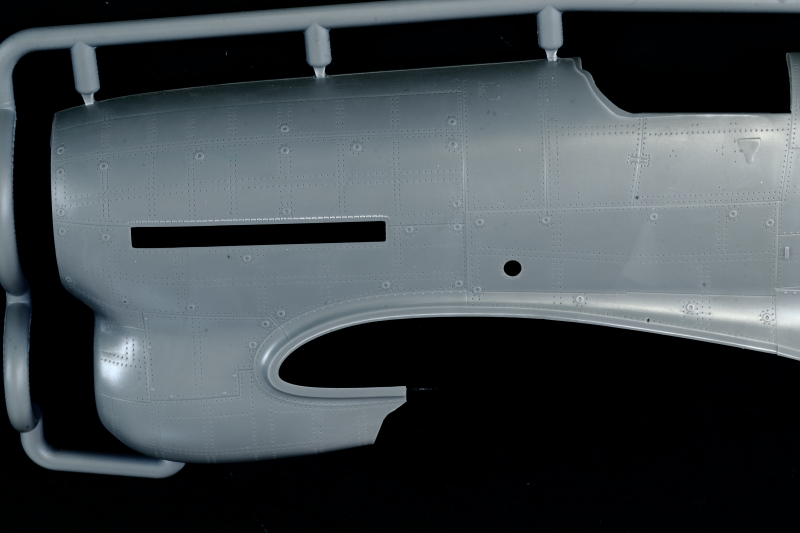
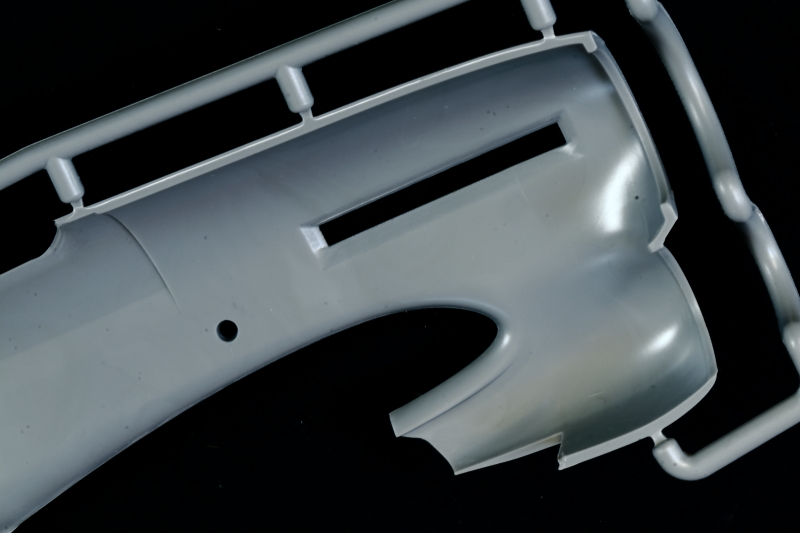
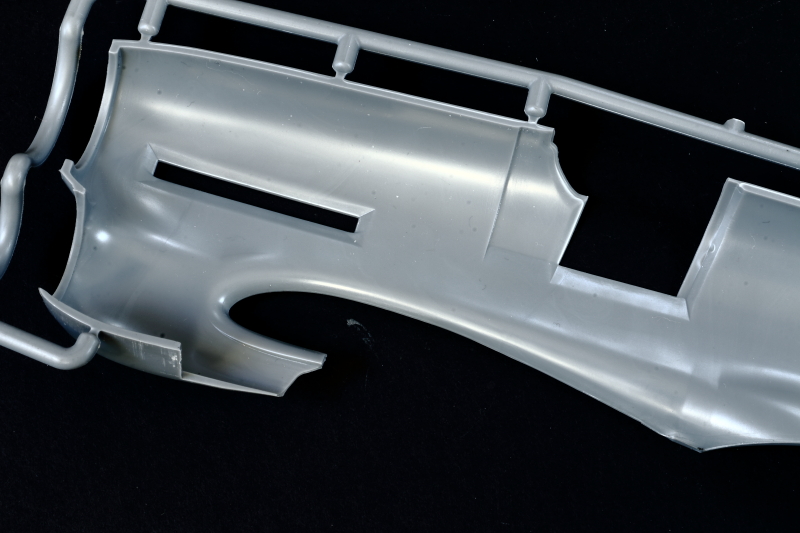
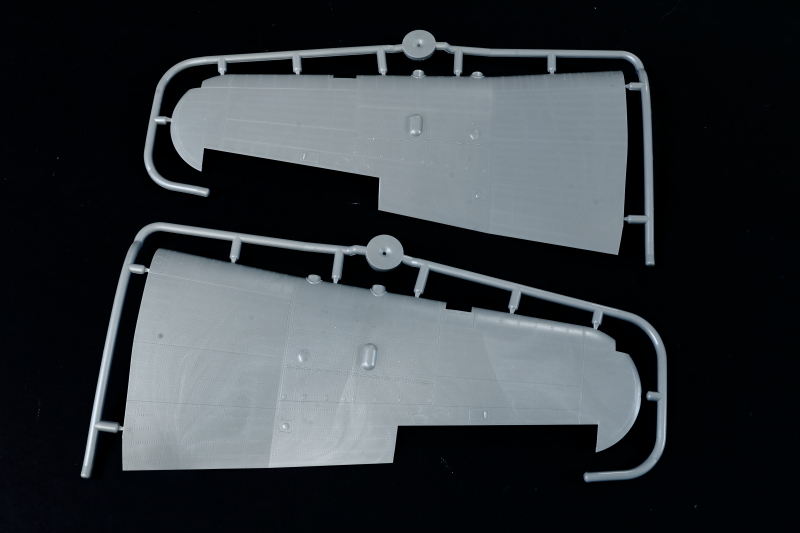
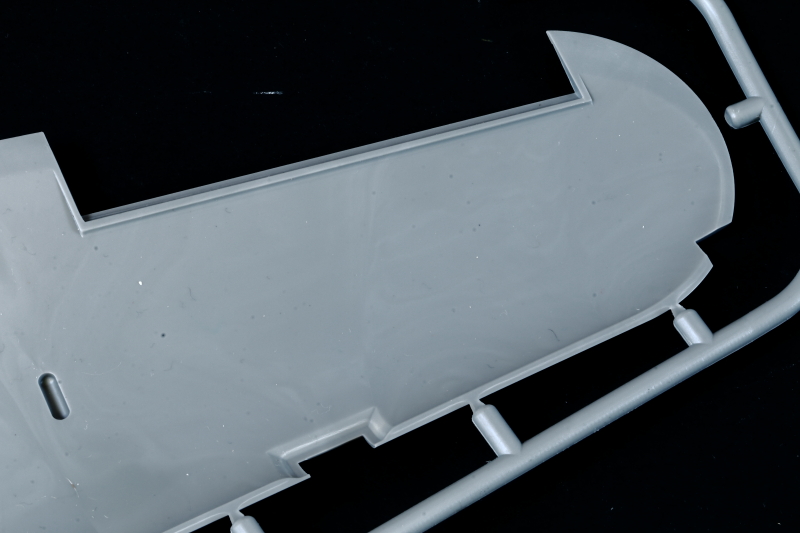
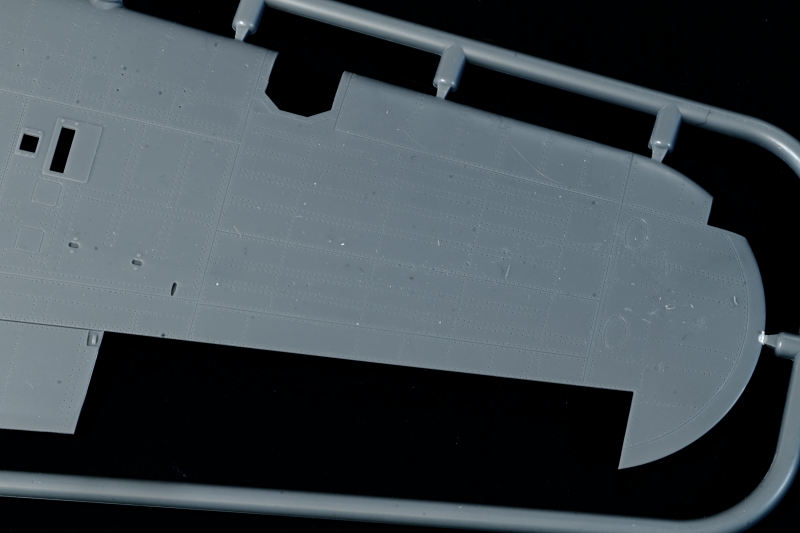
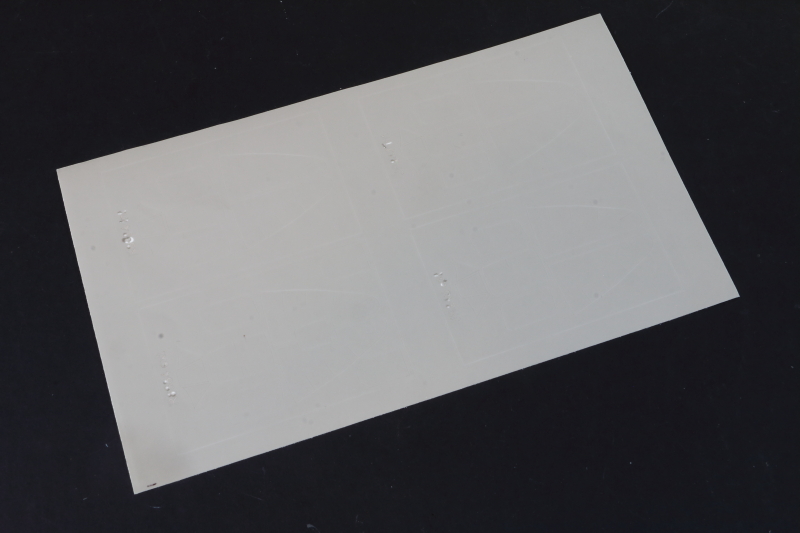
Fuselage Halves
Surface detail is sharp and clean - and the shapes look excellent.
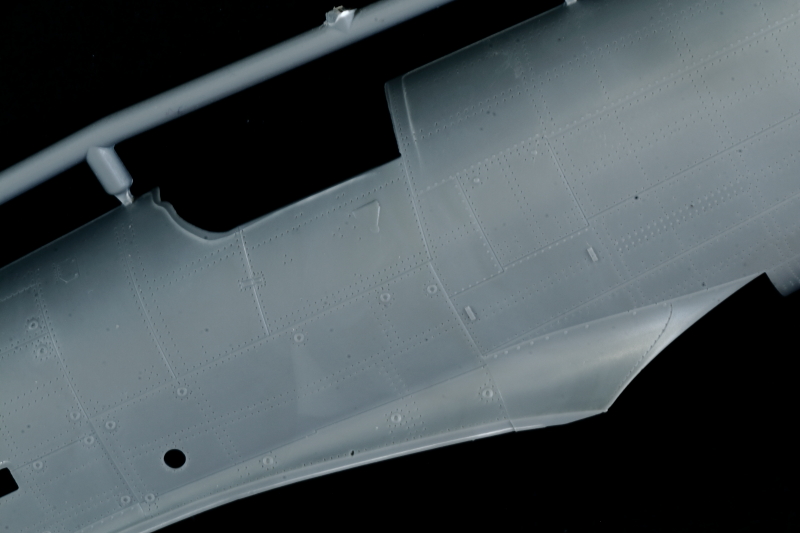

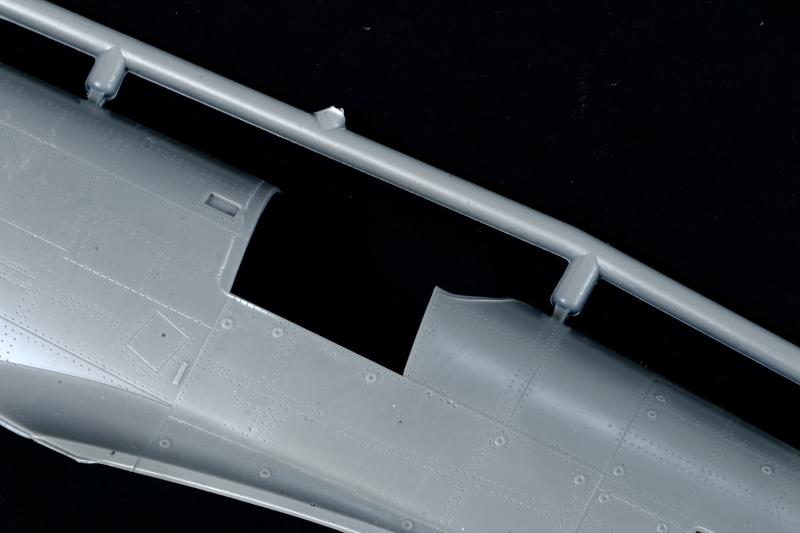
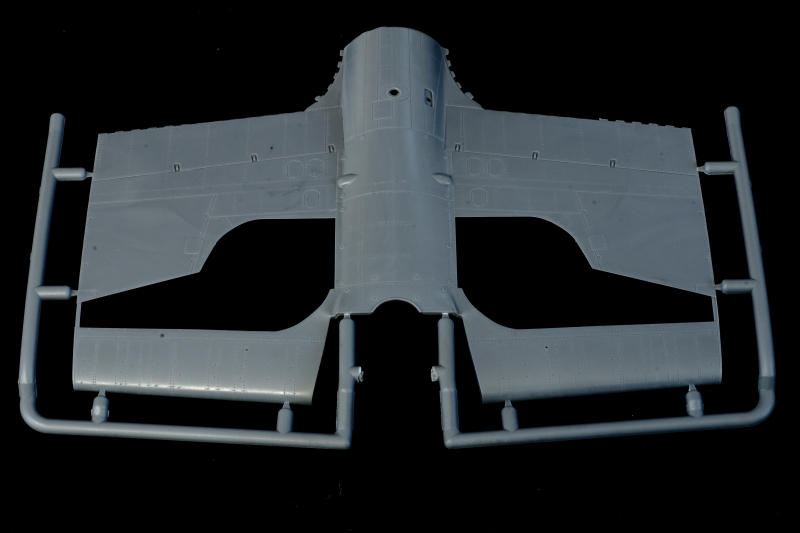
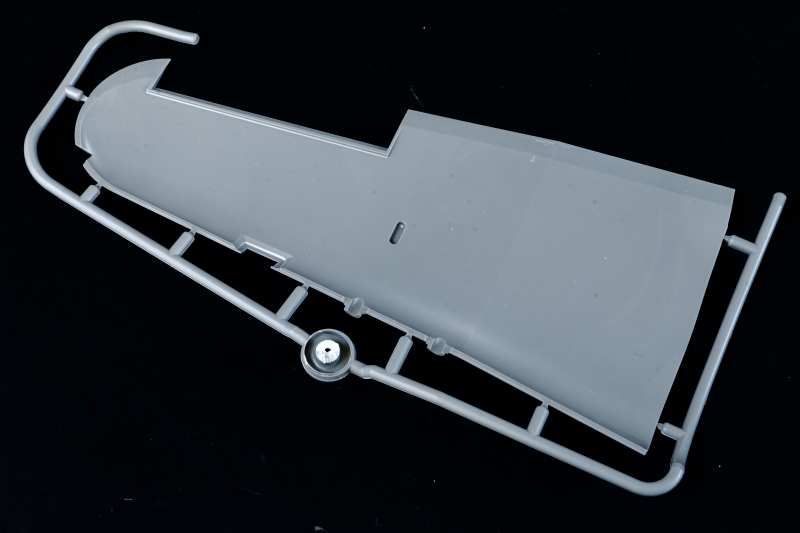
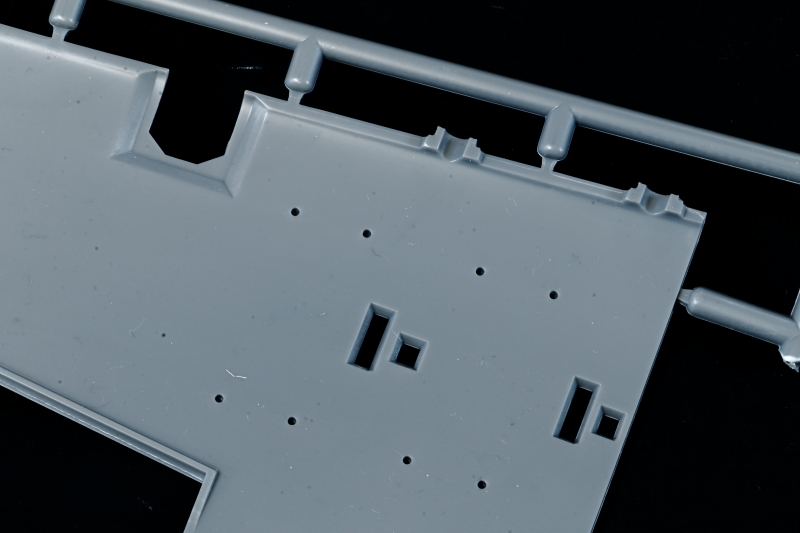
Wing Lower Centre
Again surface detail is very good - only a little cleanup needed on the rear edges of the test shot part here. There is a very neat recess into which the finely detailed, 3D Printed, undercarriage bay is bonded - which should give a very solid central wing structure.

Tailplanes
Left and right, upper and lower halves. Used in conjunction with 3D printed elevators.
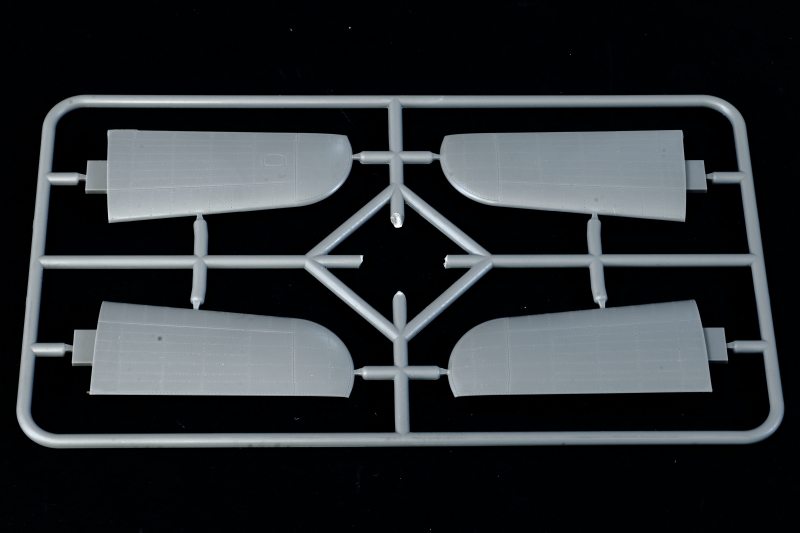
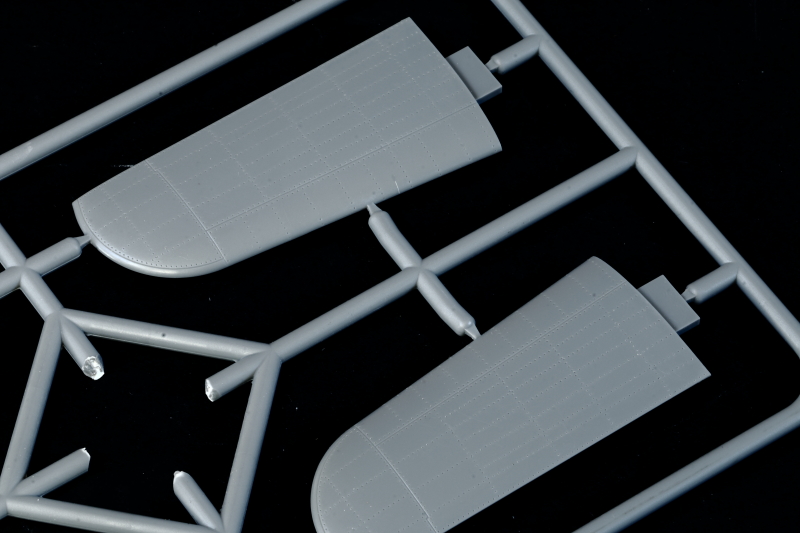
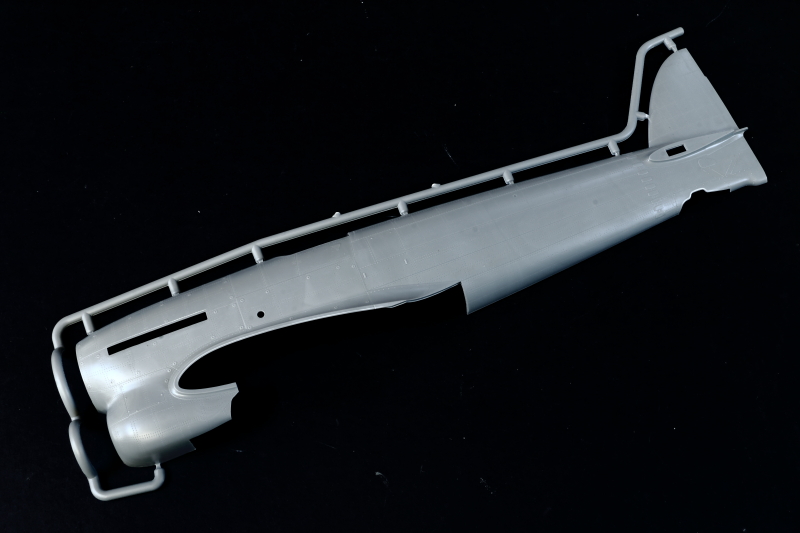
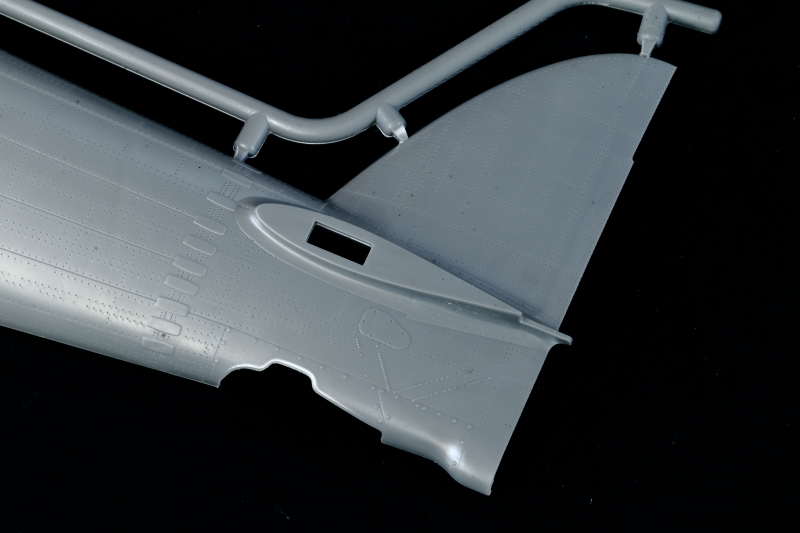
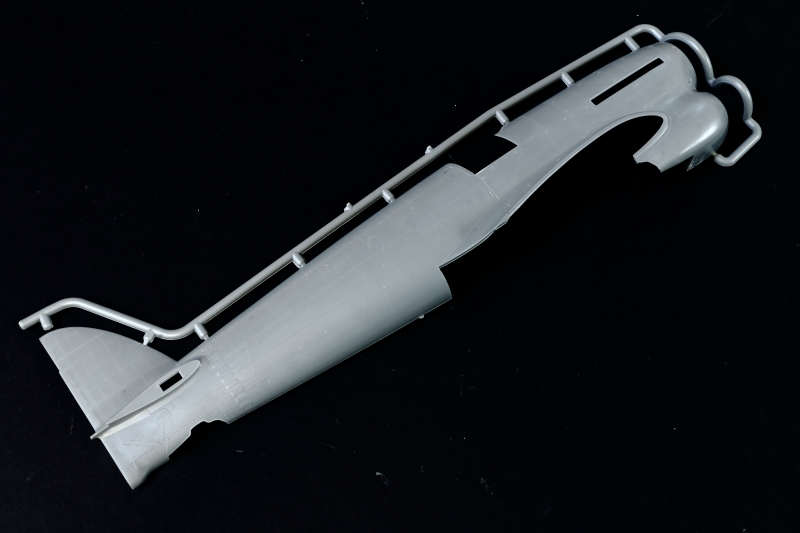
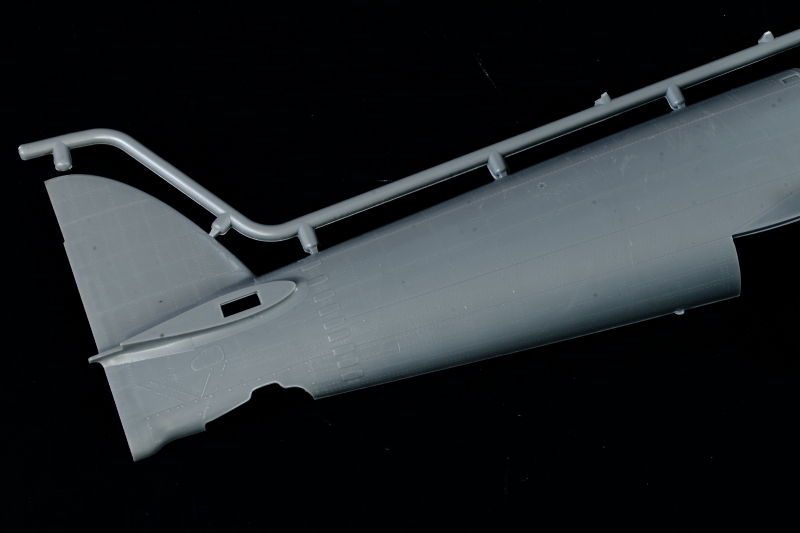
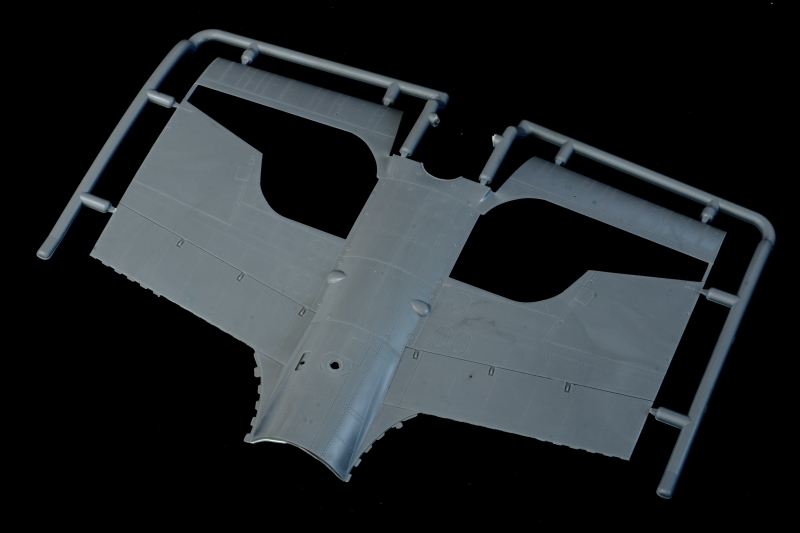
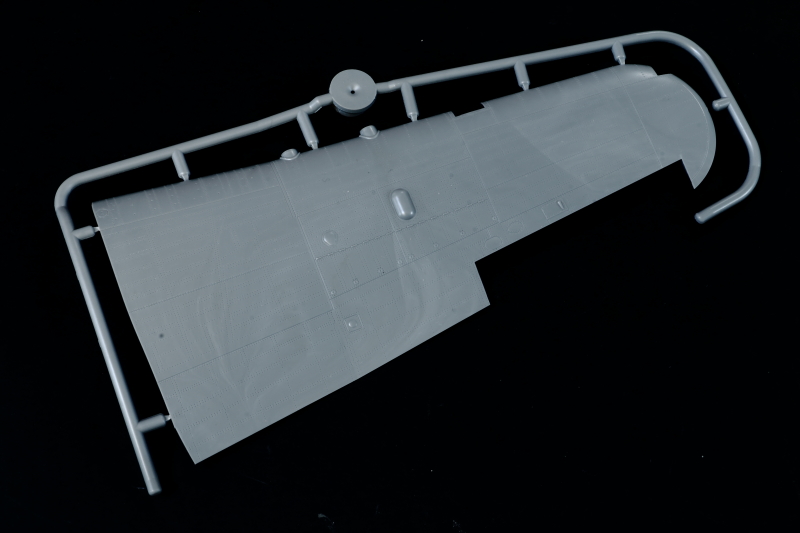
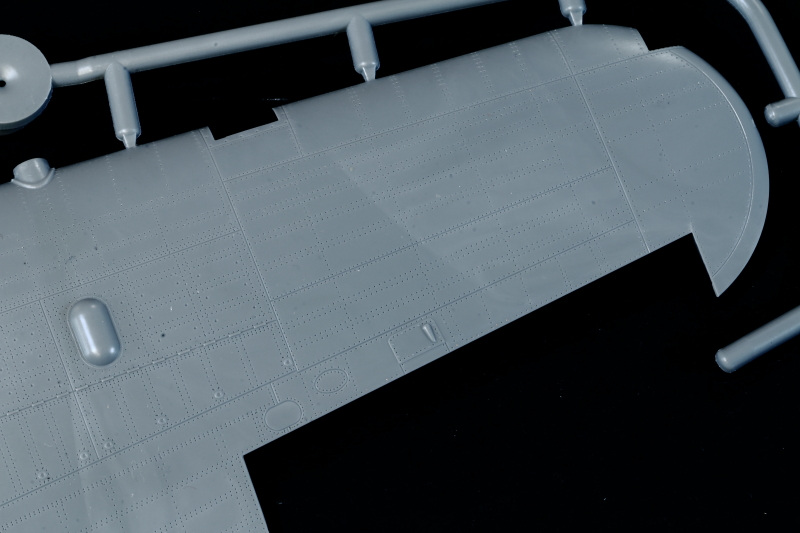
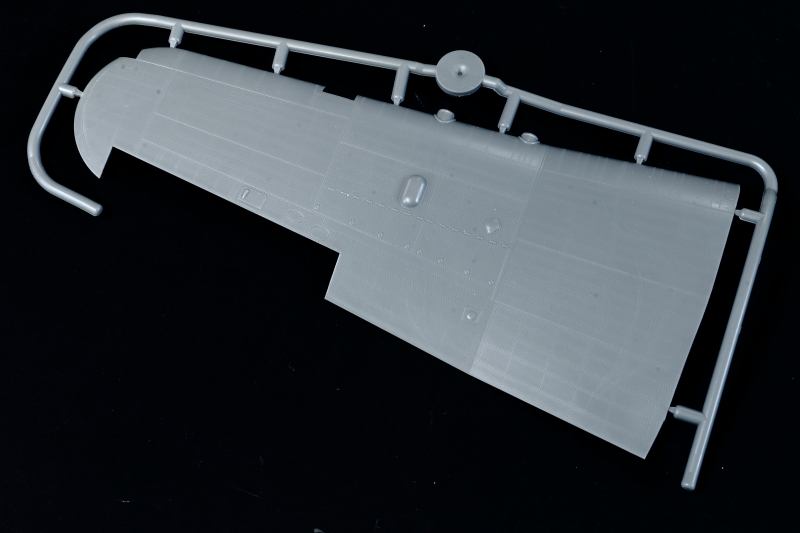
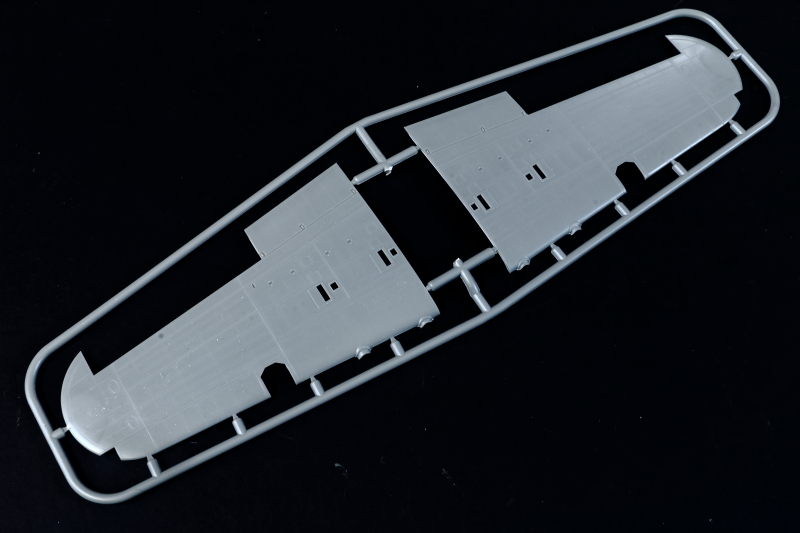
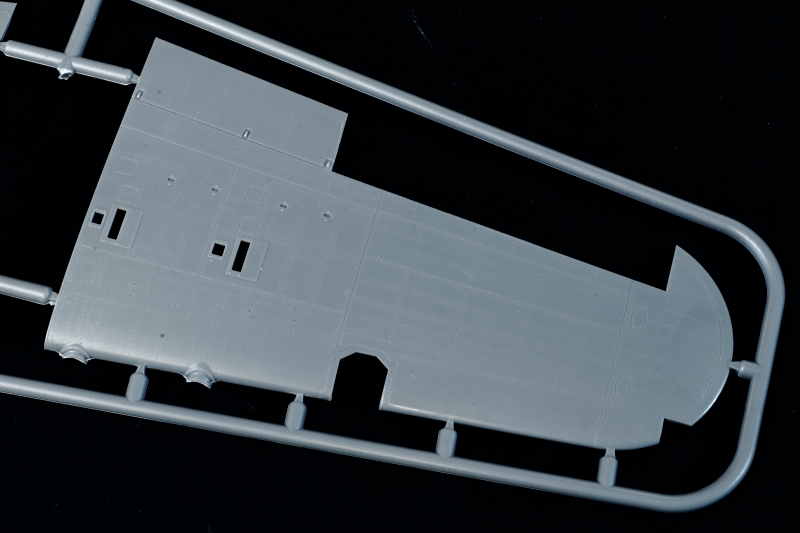
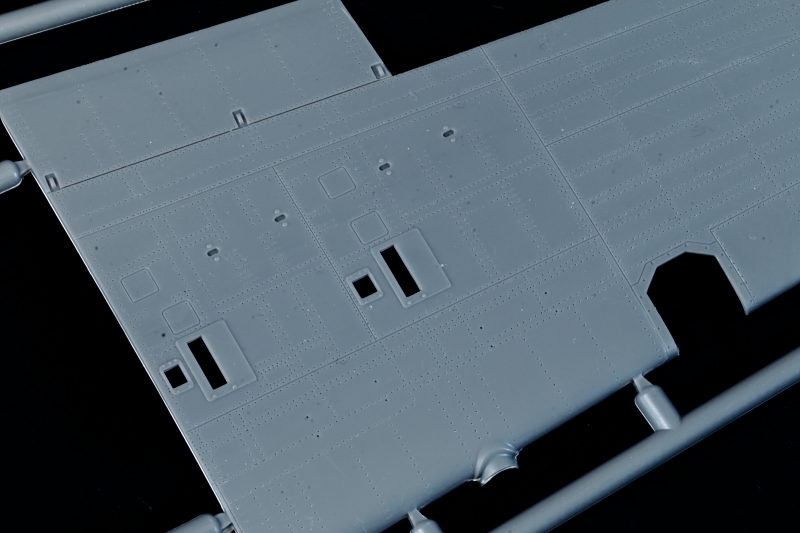
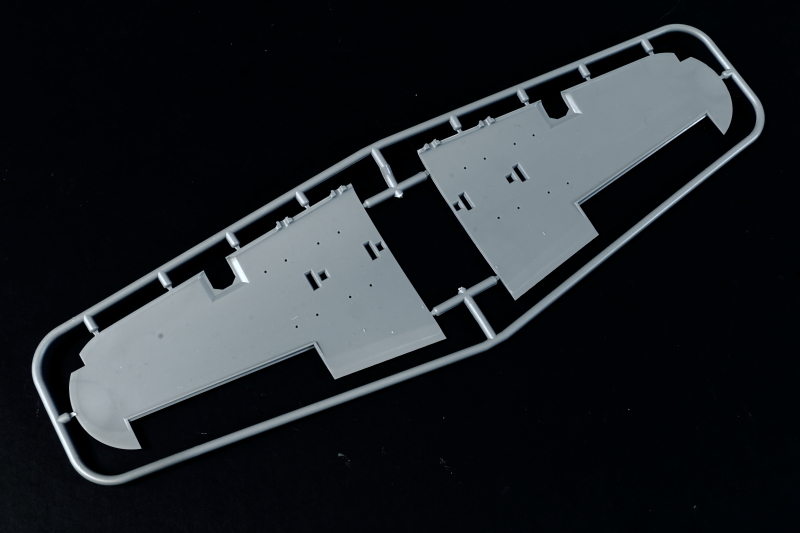
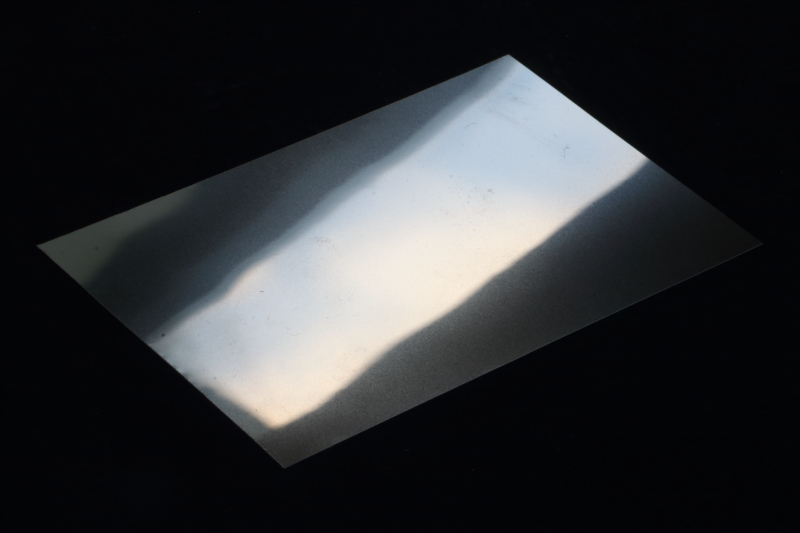
Upper Wings
As cleanly moulded as the other styrene parts, these parts form the wing upper surface from root to tip.
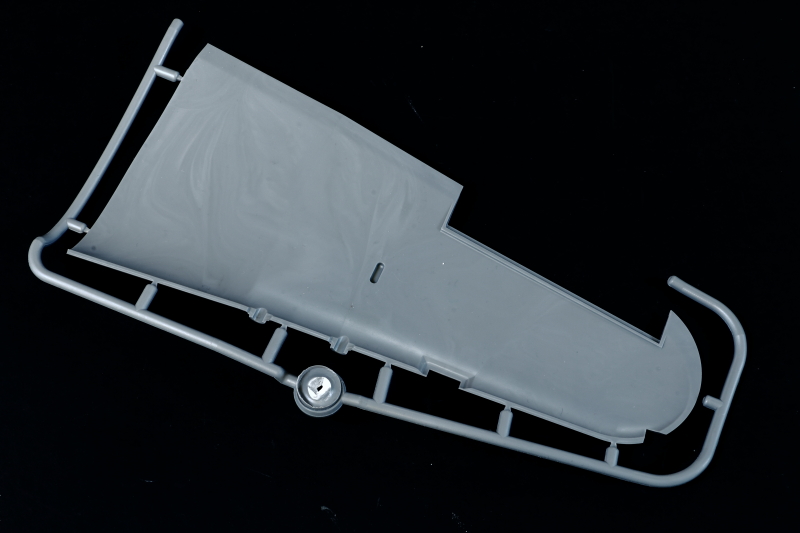
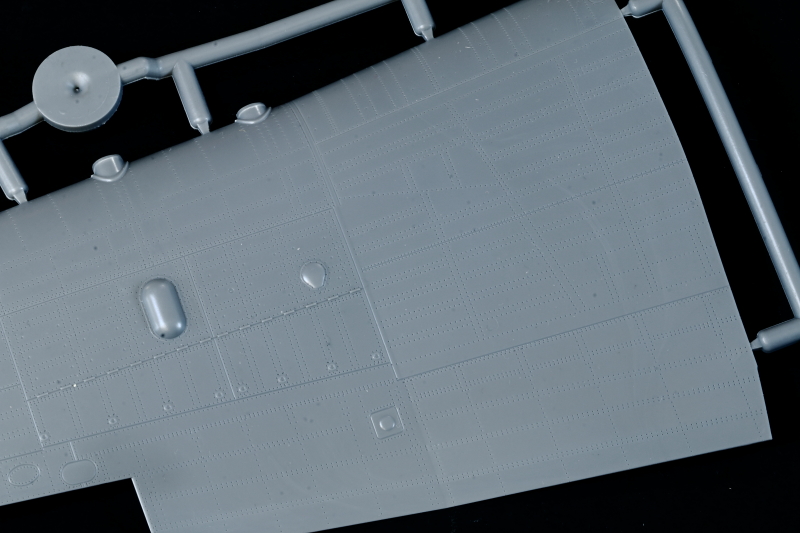

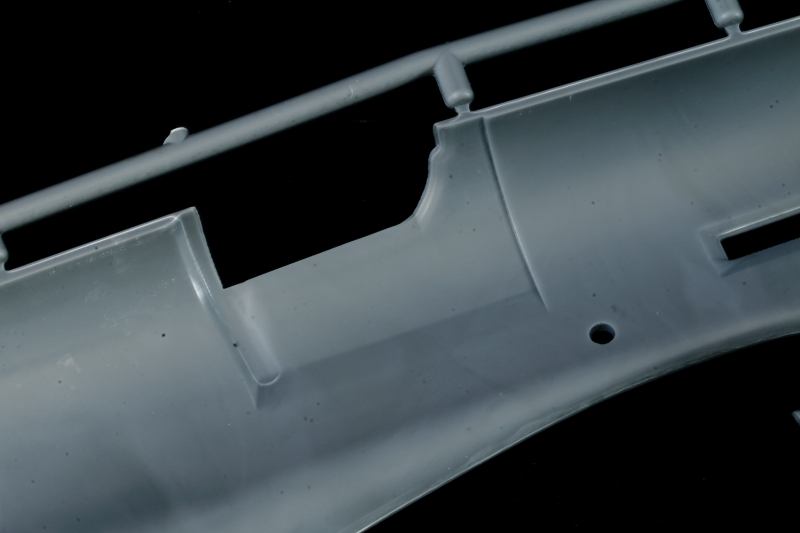
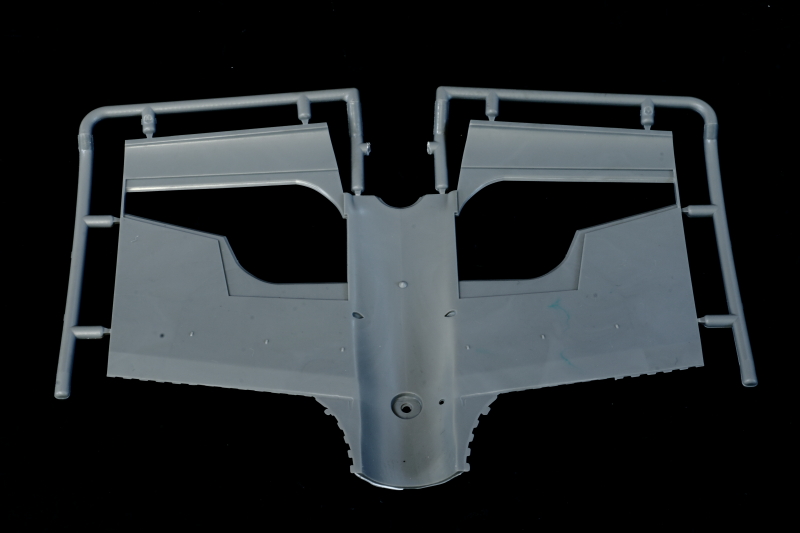
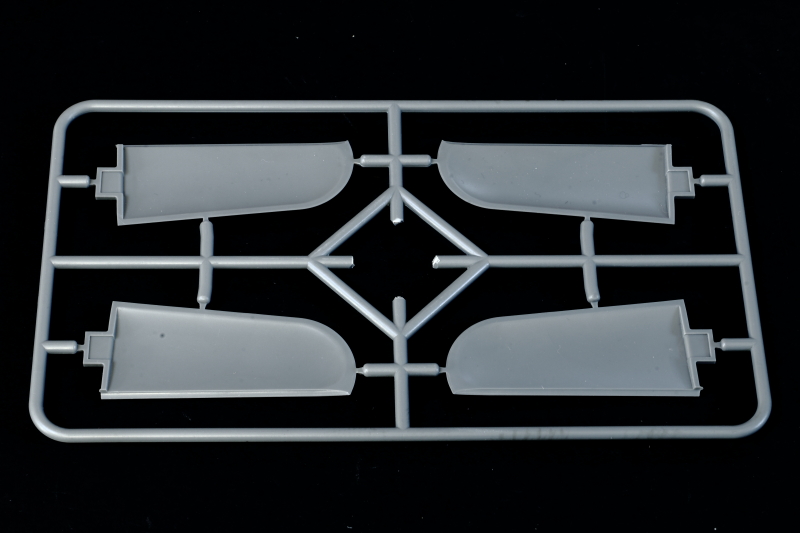
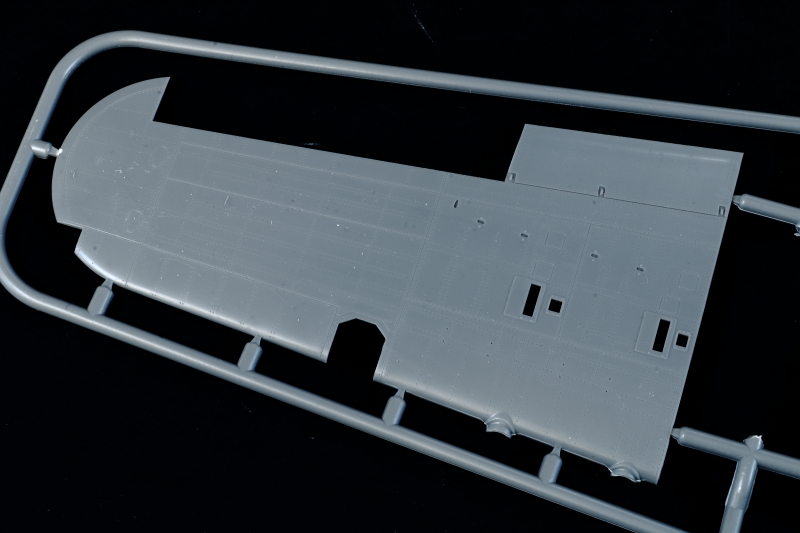
Lower Wings
Taking the wing from the inner section, to the wing tip:
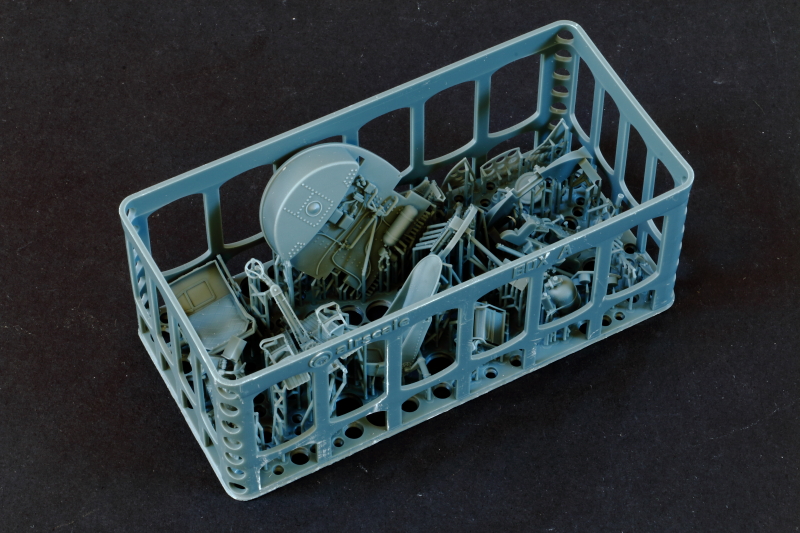
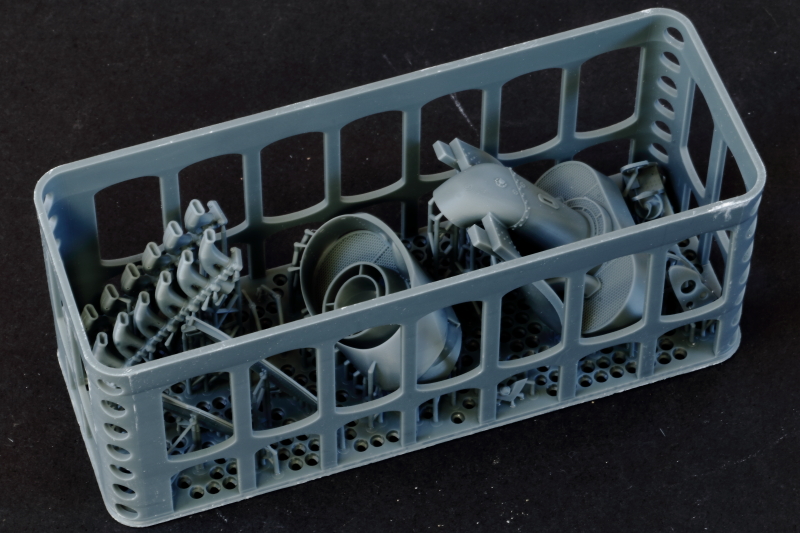
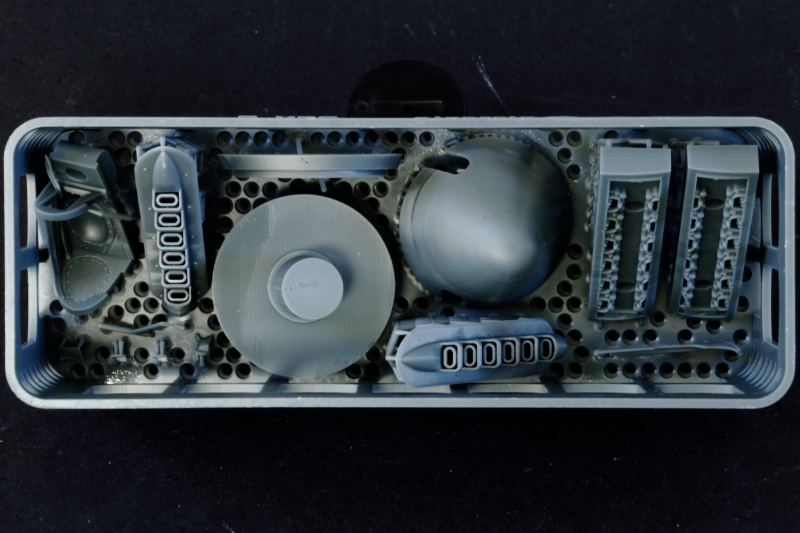
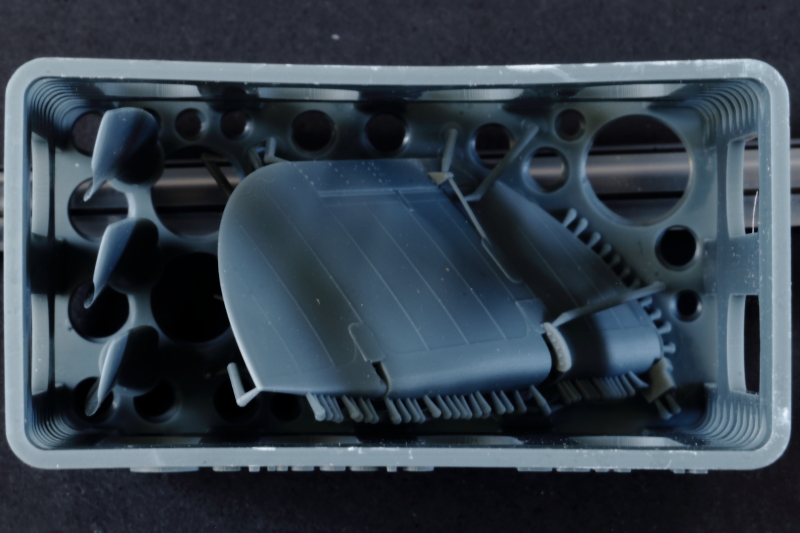
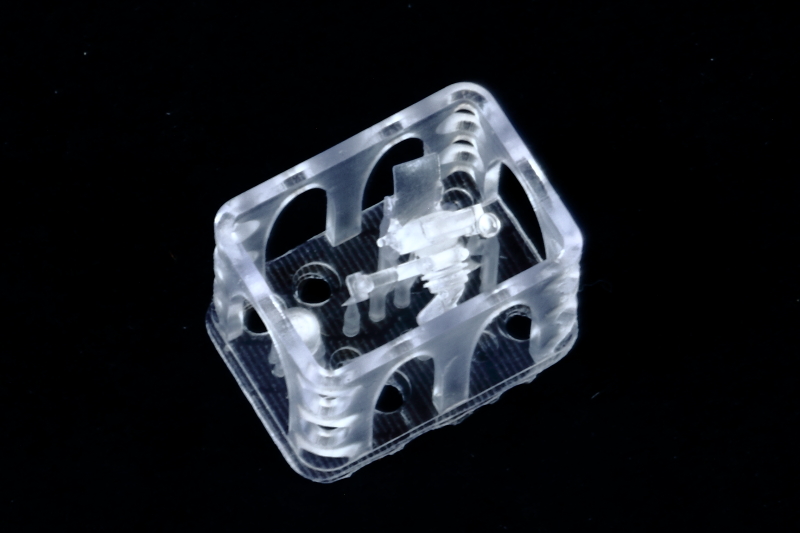
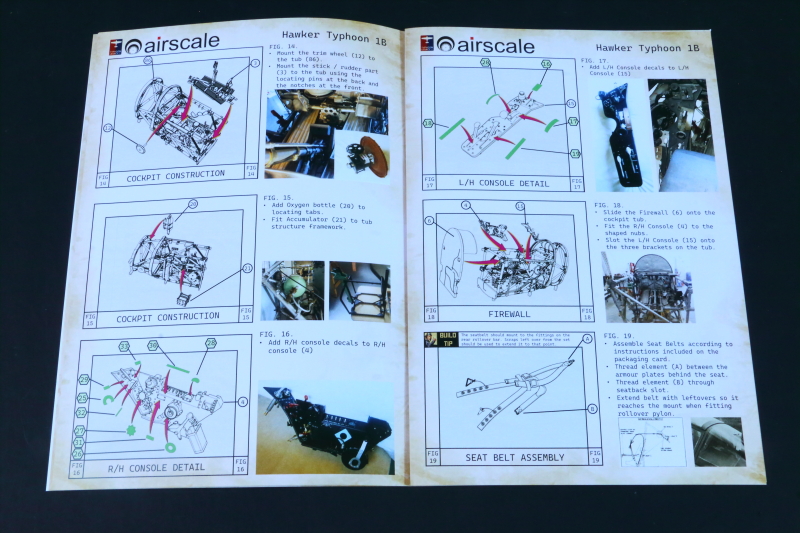
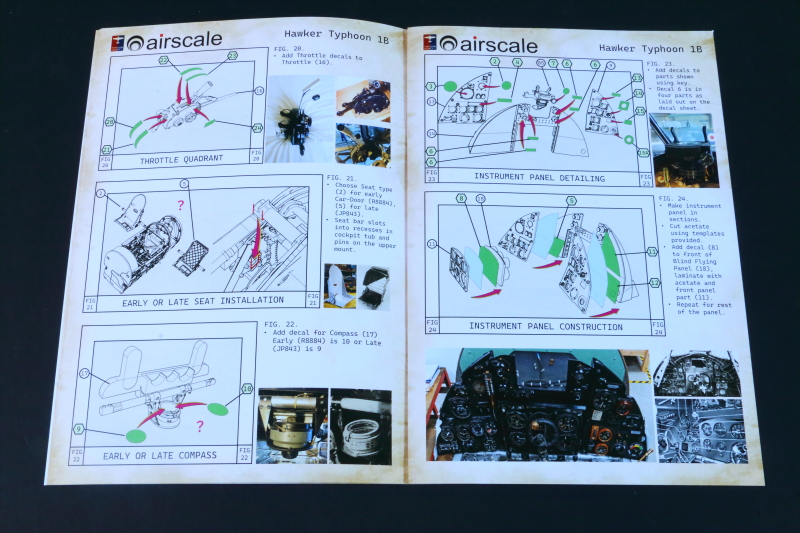
3D Print - Box A Cockpit
Cockpit detail parts: firewall, two seat options, oxygen bottle, heel-boards and rudder pedals, instrument panel sections, accumulator etc.. This is a beautifully done print - print quality is at least the equal of those found in the Defiant kit.
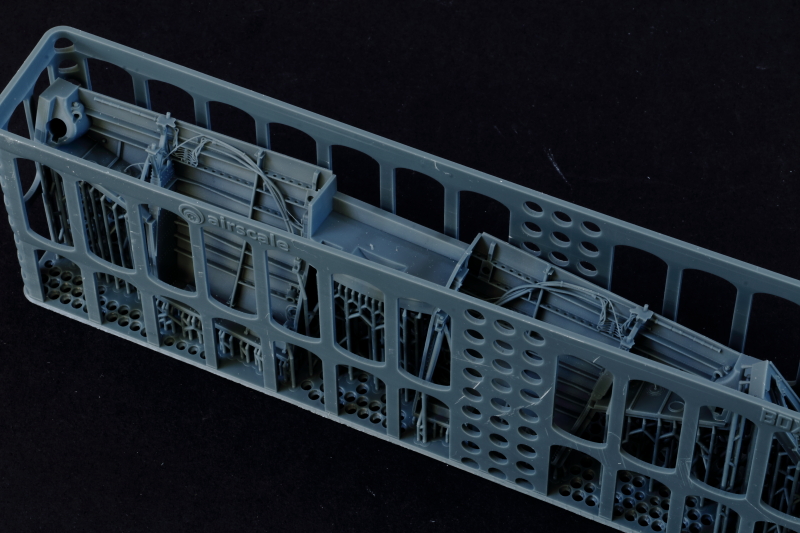
3D Print - Box B Undercarriage Bay
The main undercarriage bay is quite a substantial print that contains a lot of fine detail - as well as providing core strength to the wing. The detail is absolutely exquisite!
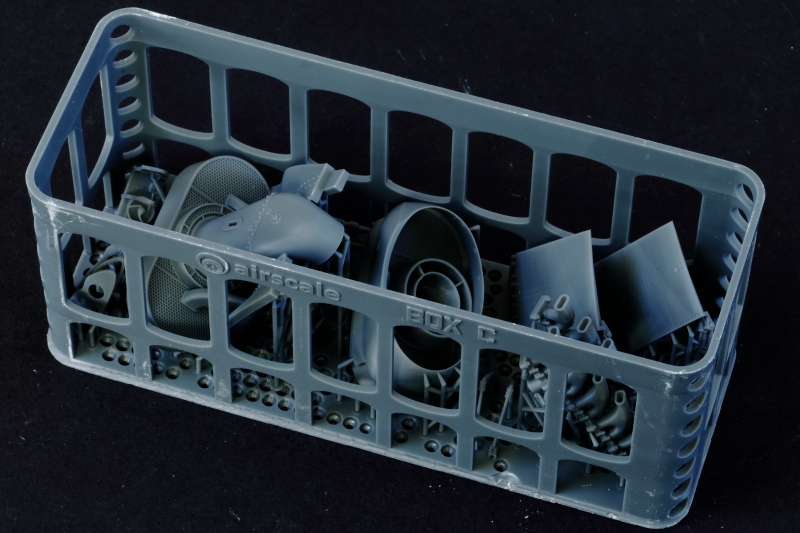
3D Print - Box C Radiators
These are fabulously detailed, just like the rest of the kit. The Typhoon radiator is a substantial component, and Airscale have done a beautiful job with the shapes, capturing the complex detail perfectly. No photo-etch needed here...
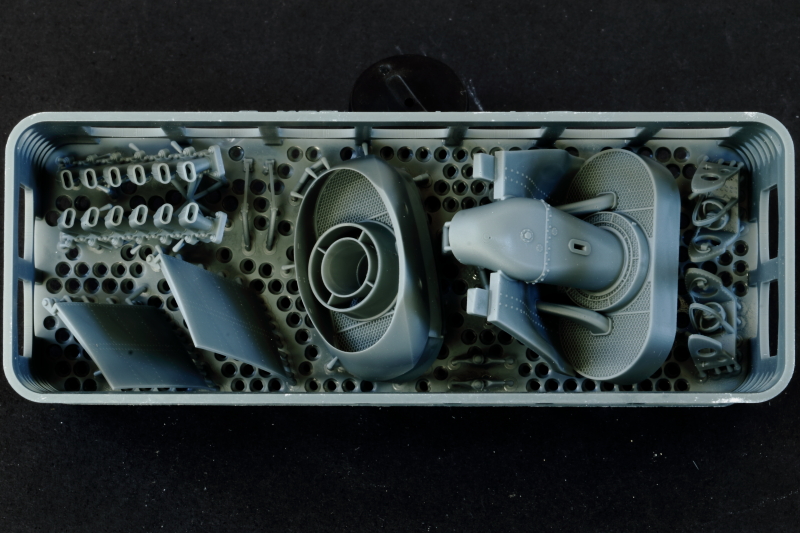
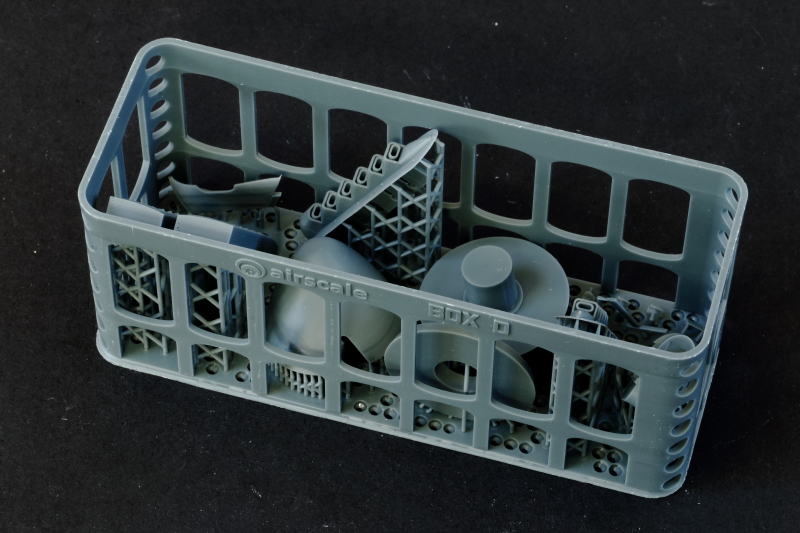
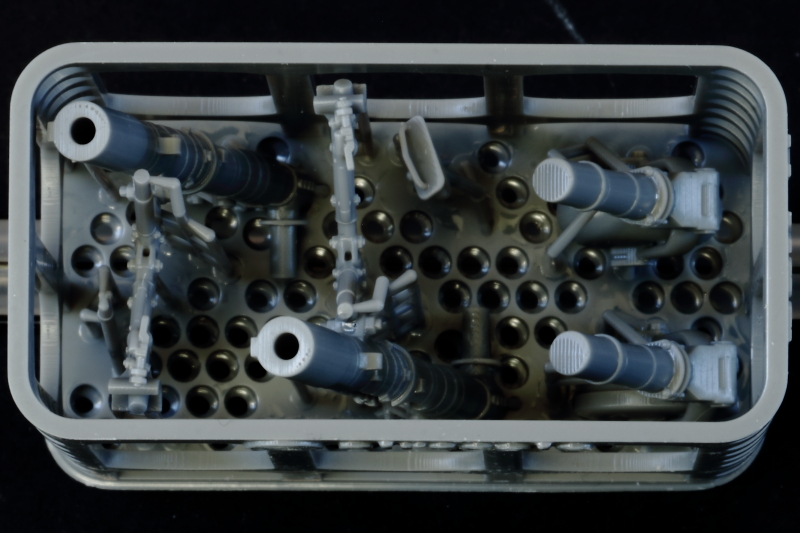
3D Print - Box D Nose Parts
Spinner, exhausts, cylinder heads and tail-wheel compartment - all to the same high quality as the other prints.

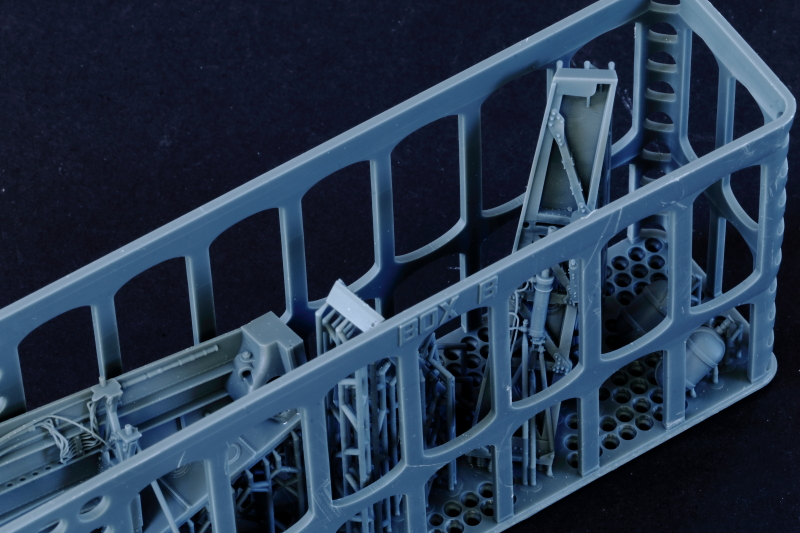
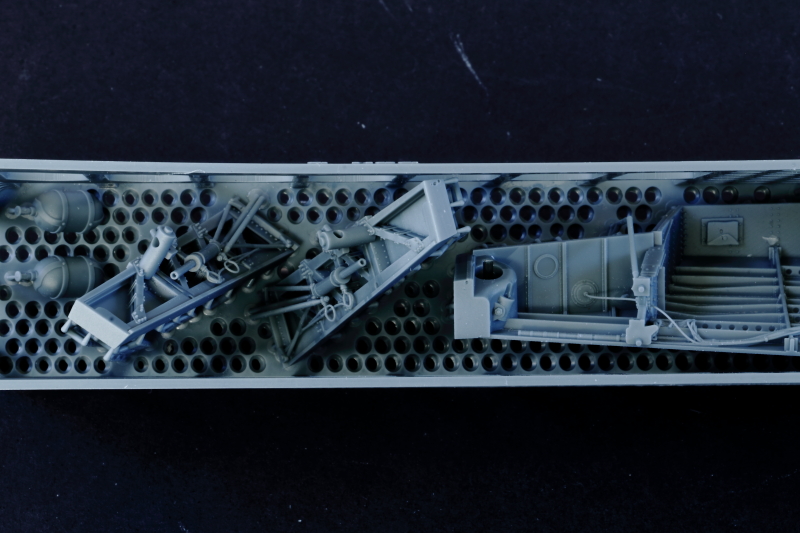
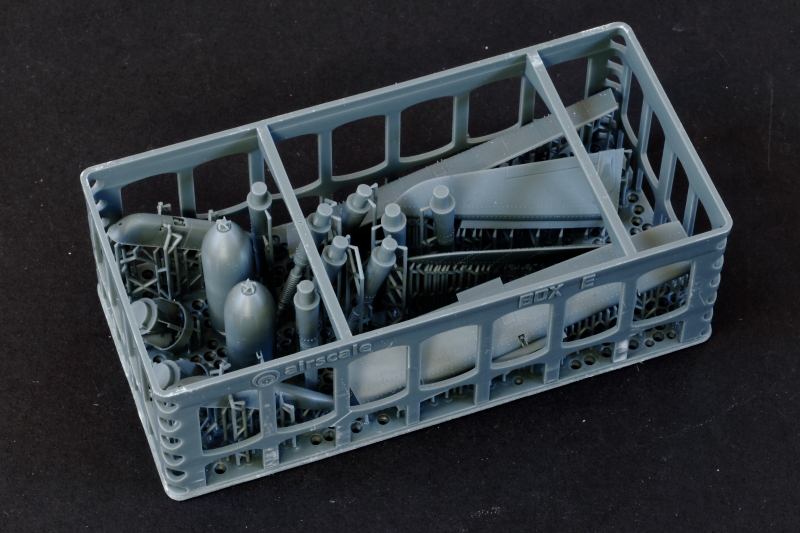
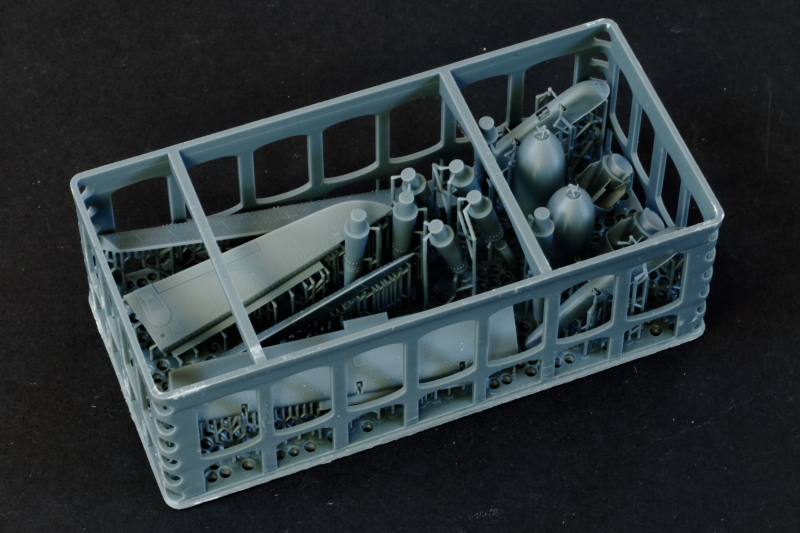
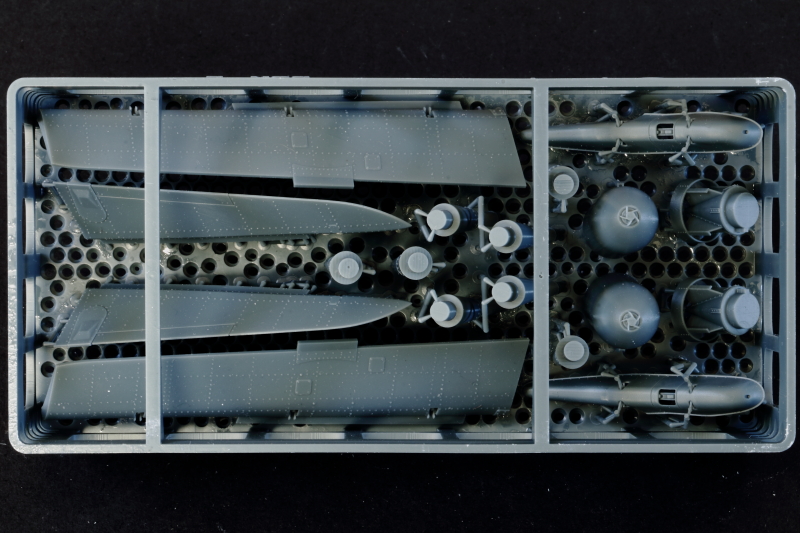
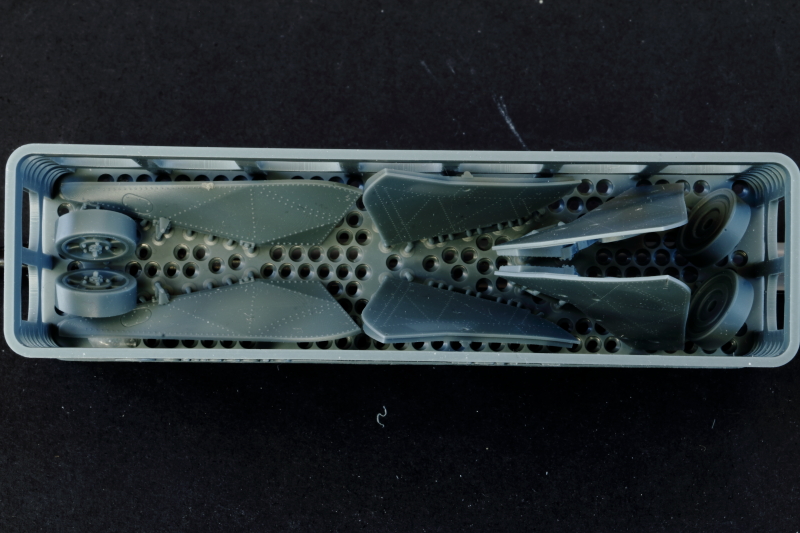
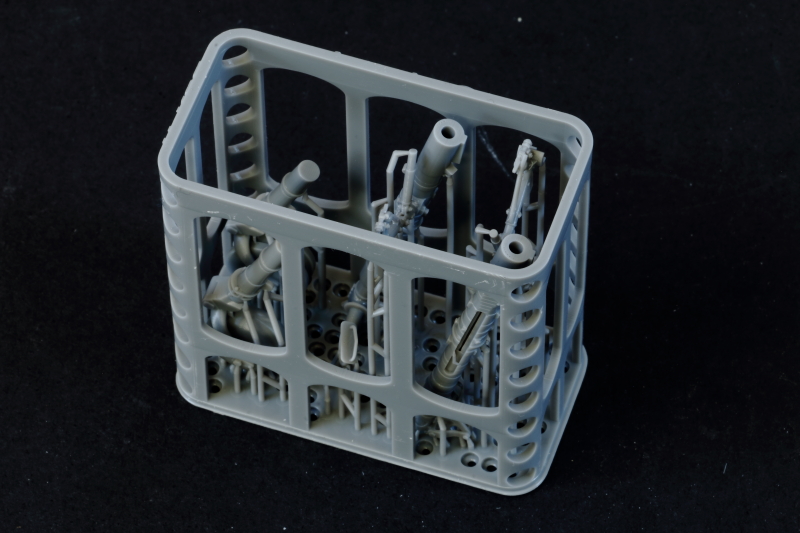
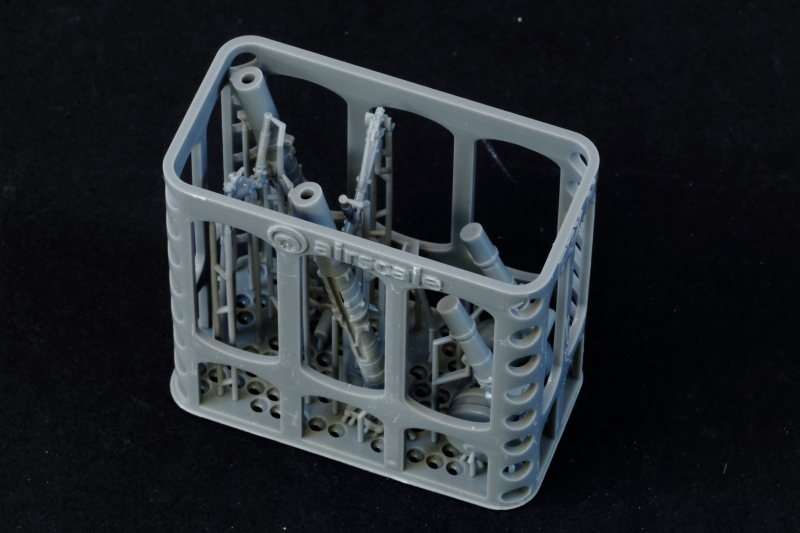
3D Print - Box E Control Surfaces
Elevators, ailerons, cannons, bomb racks and bombs. The sway braces on the racks are super fine!
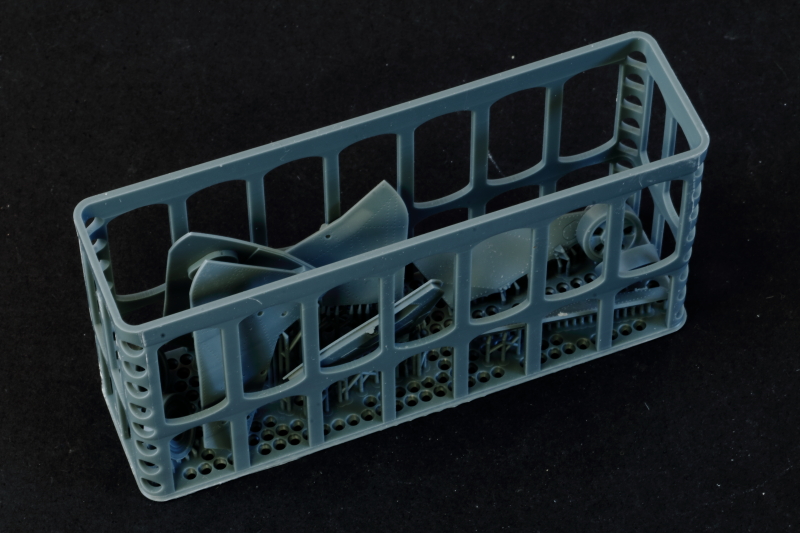
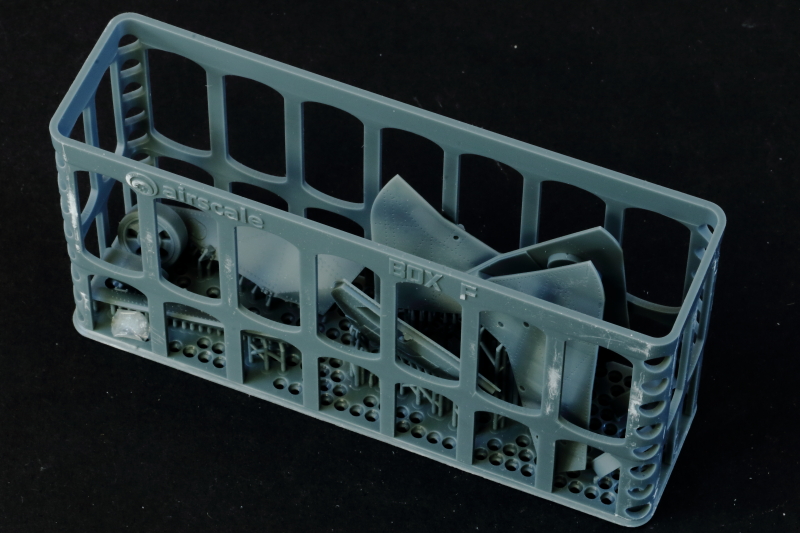
3D Print - Box F Undercarriage Doors
Beautifully detailed undercarriage doors and front and rear wheel hubs.
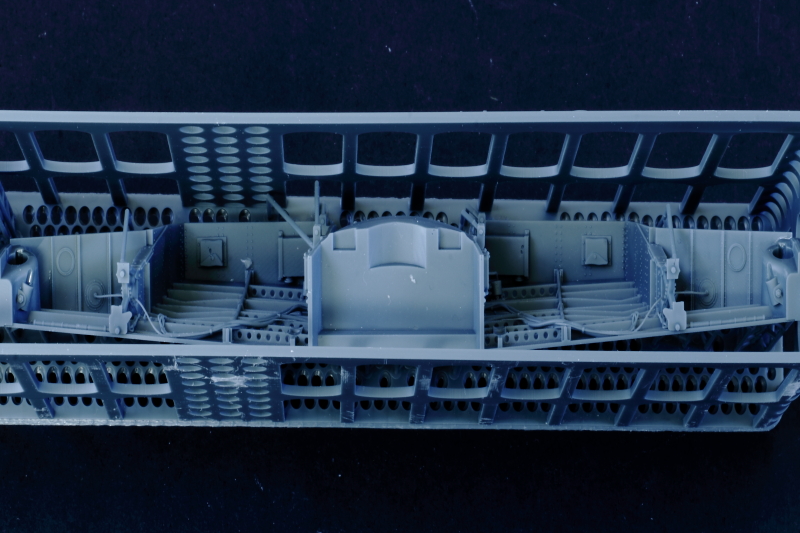
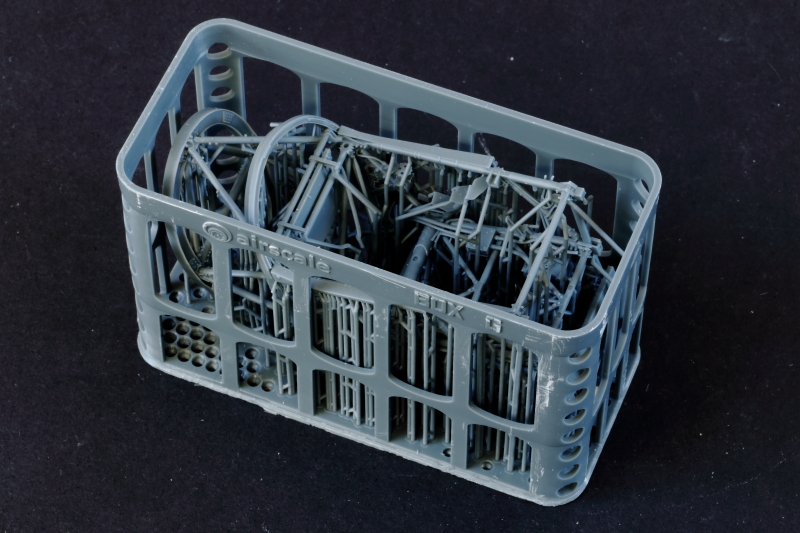
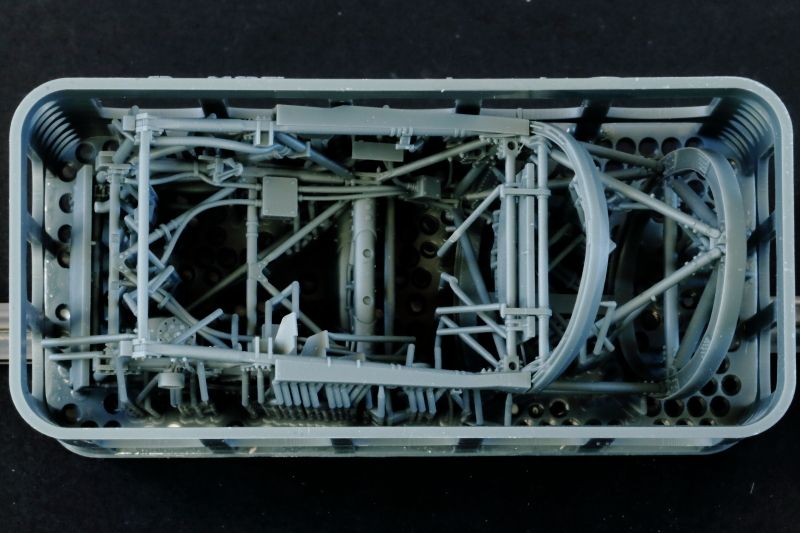
3D Print - Box G Printed Core Structure
The core framework for the cockpit section of the fuselage - such a feature of Hawker designs of the period. This will take some careful removal from supports!

3D Print - Box H Strengthened Parts
Undercarriage legs (hollow to accept brass rod inserts) and optional tail-wheels - standard and anti-shimmy.
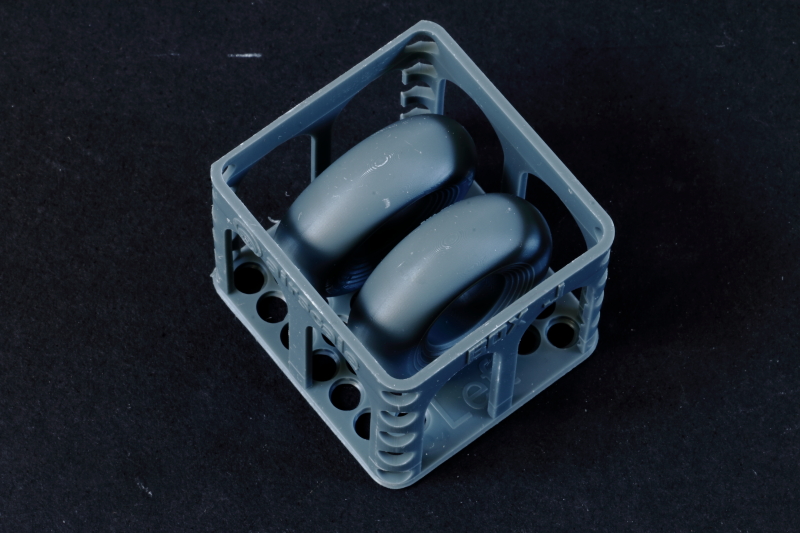
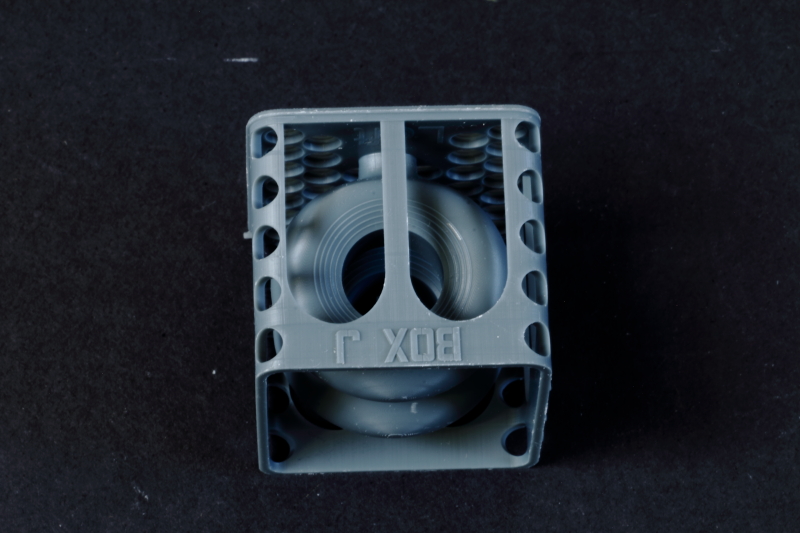
3D Print - Box J Tyres
Tyres - hubs are separate easing painting. Note that Print Boxes J and K are transposed on the instructions.
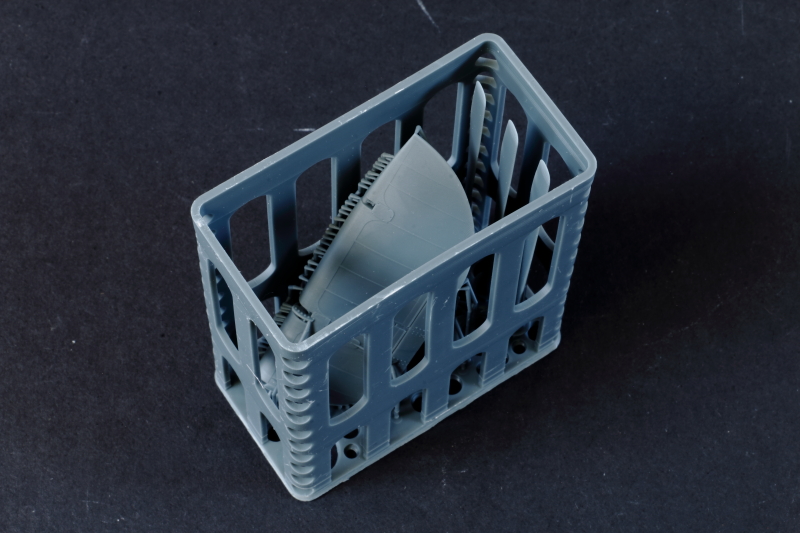
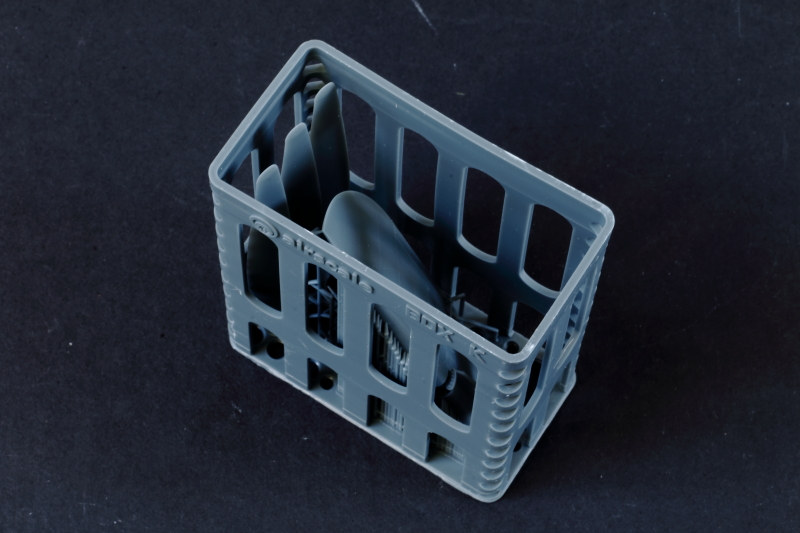
3D Print - Box K Rudder/Blades
Rudder and three prop blades. One of the great advantages of 3D printing is the nice sharp edges of such parts.
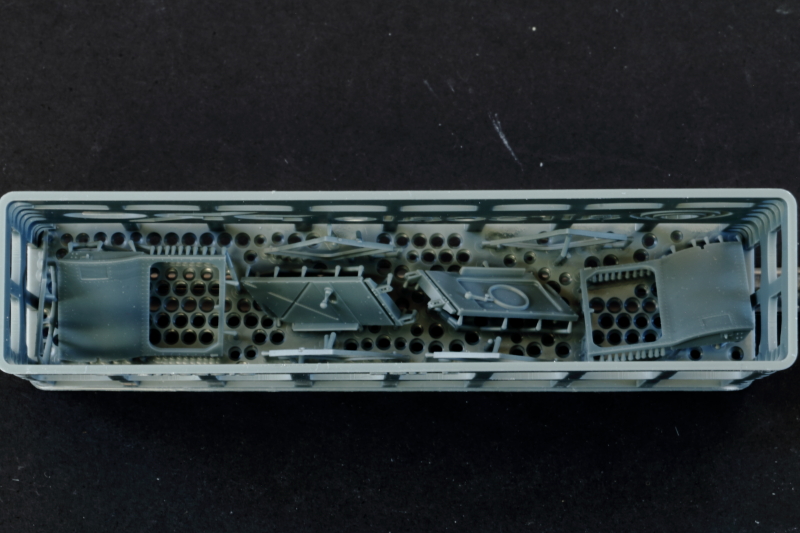
3D Print - Box L Doors
Cockpit doors, frames and inner panels - beautifully detailed.
3D Print - Gunsight
This is a clear resin print.
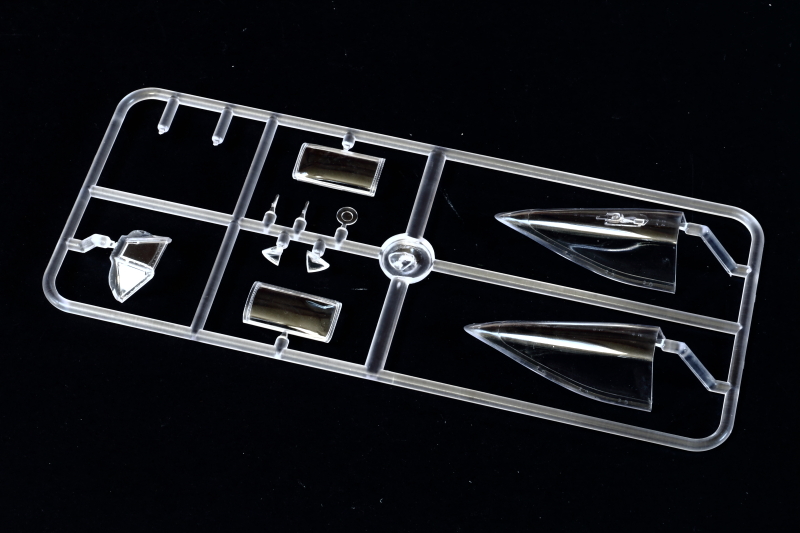
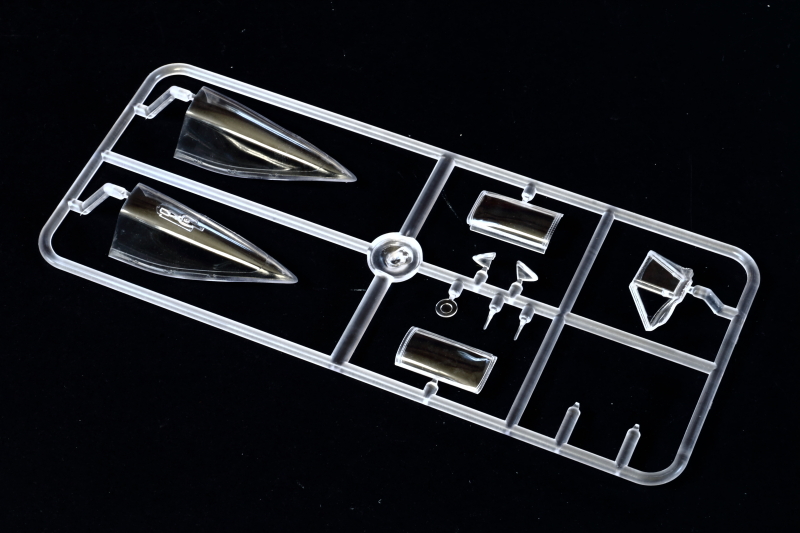
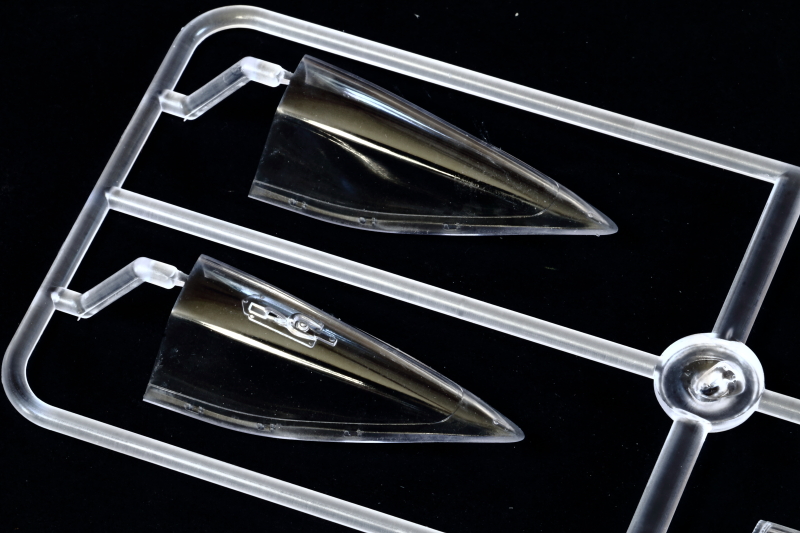
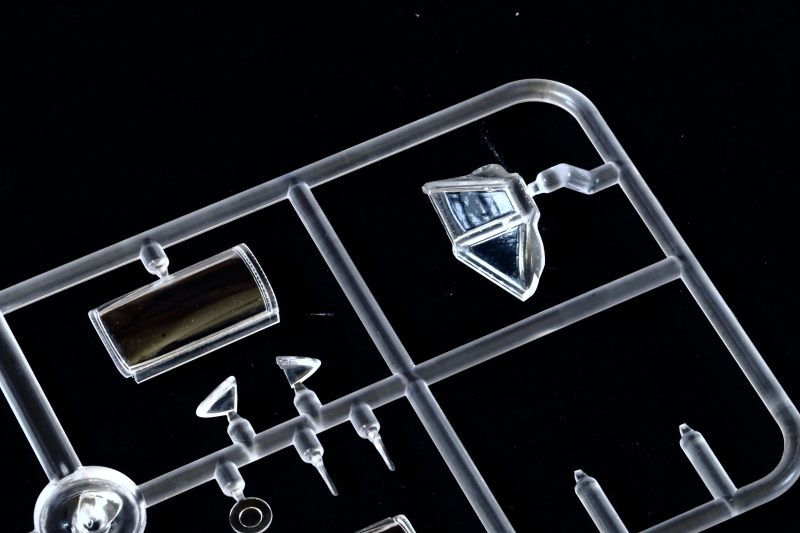
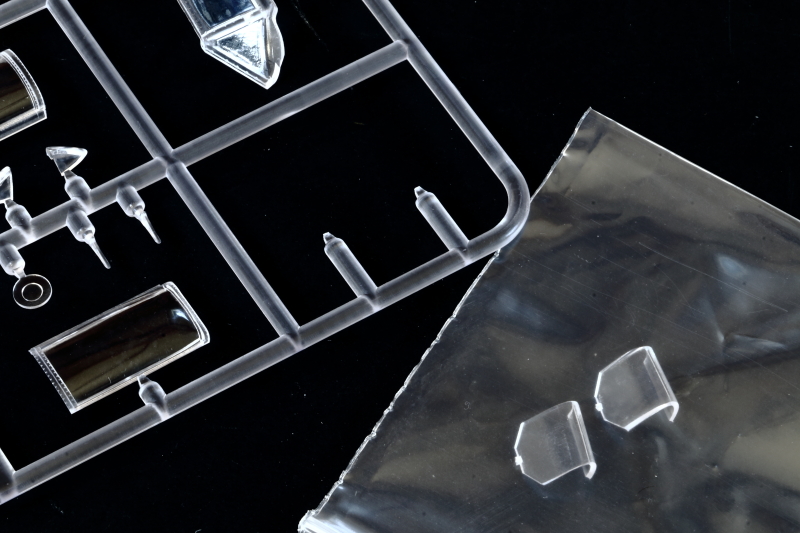
Clear Parts
As with the Defiant, the clear components are provided in injectiion-moulded styrene - to be used in combination with sheet plastic for the side windows. The parts are beautifully thin, clear and distortion free.
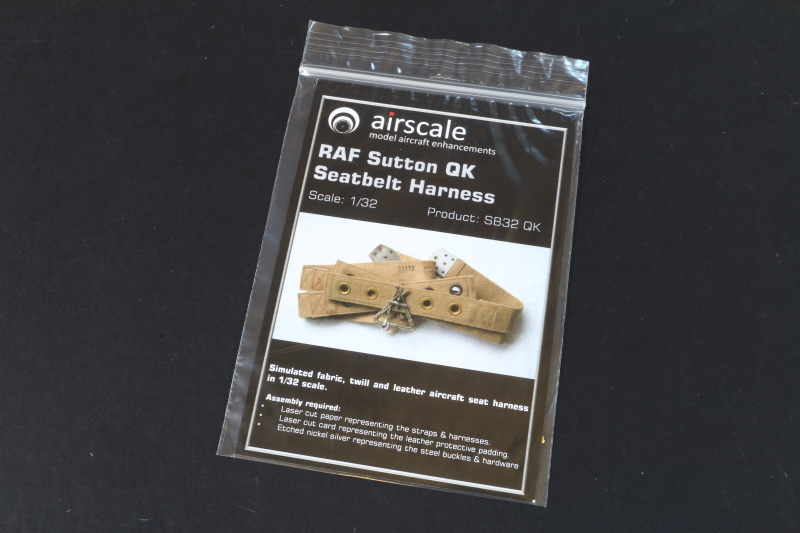
Sutton Harness
This is the standard airscale 'Sutton Harness' set: pre-cut fabric effect material, with two photo-etched frets for the details.

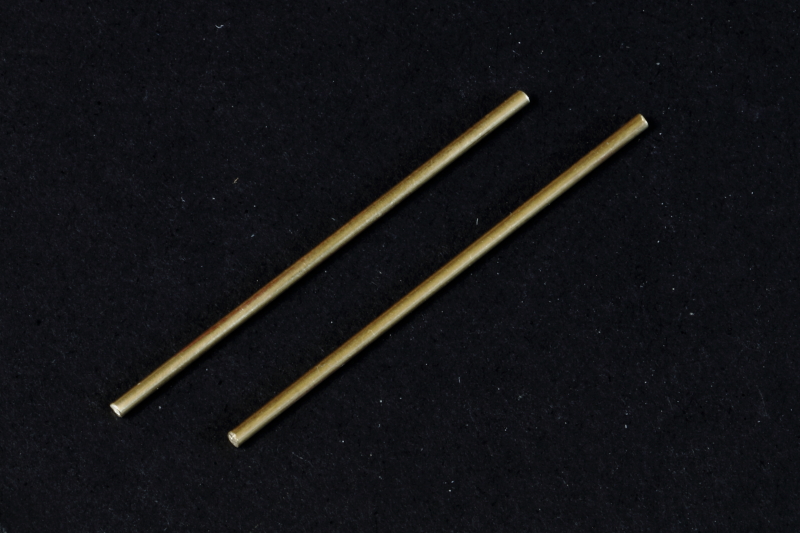
Brass Undercarriage Inserts
Brass inserts to form a strong core inside the 3D Printed undercarriage legs.
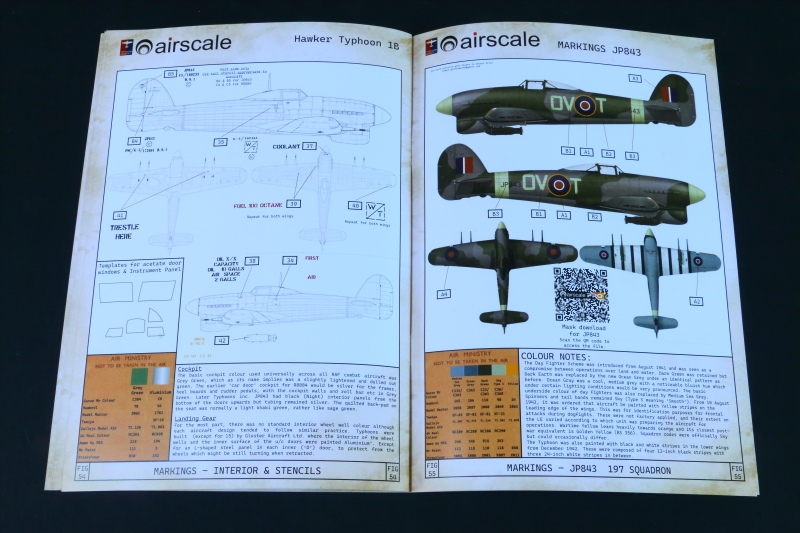
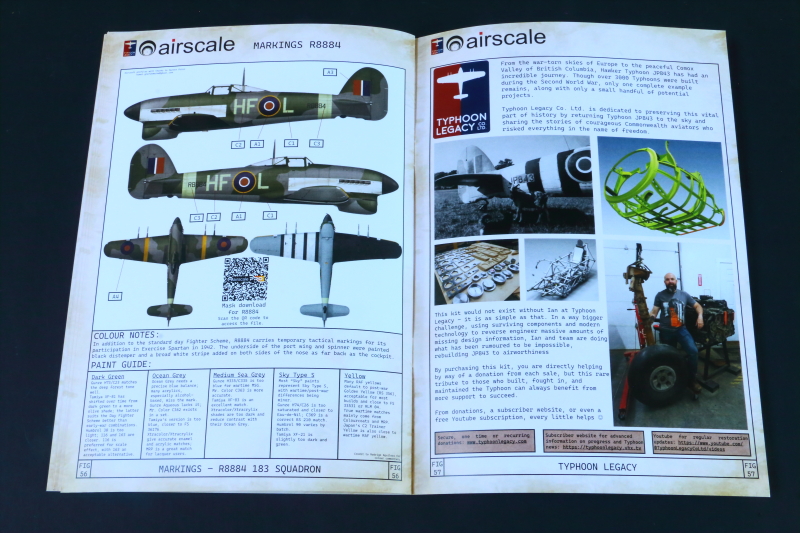
Colour Schemes
Two options are included, both in the then standard Day Fighter scheme of Dark Green/Ocean Grey over Medium Sea Grey:
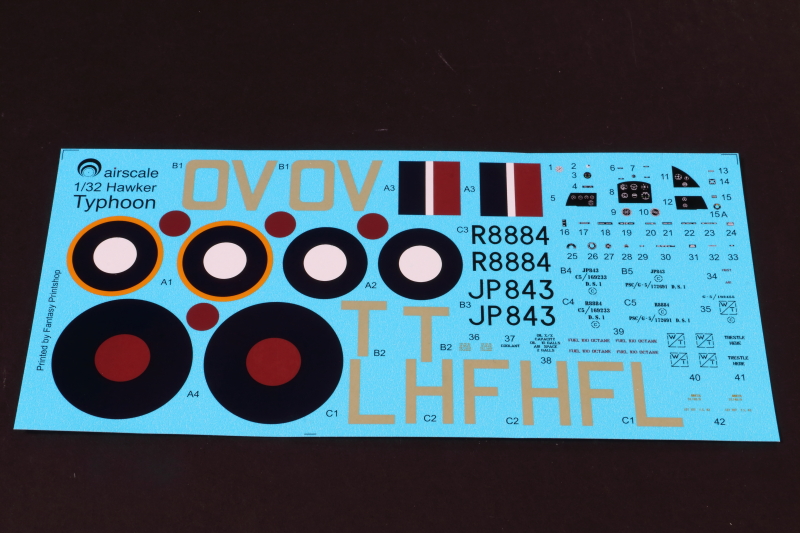
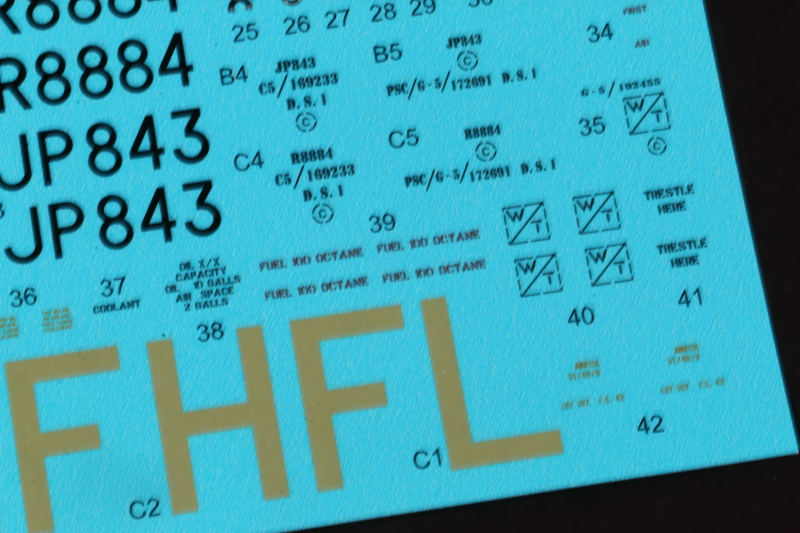
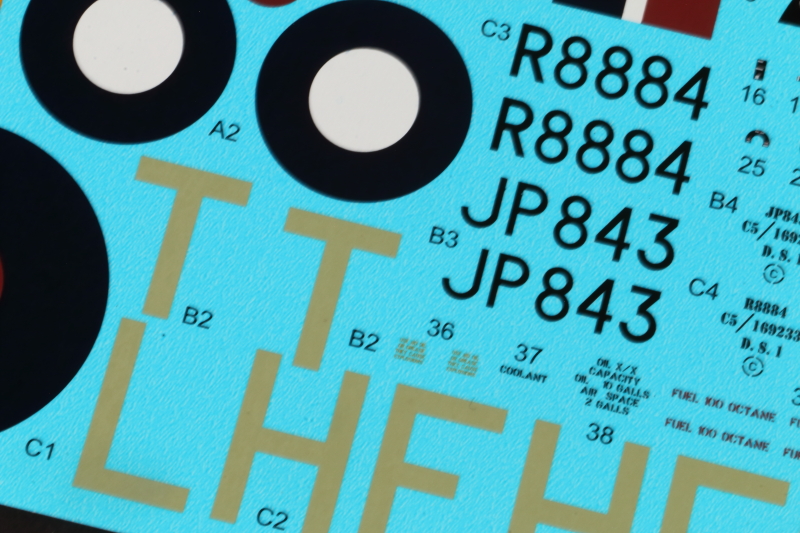
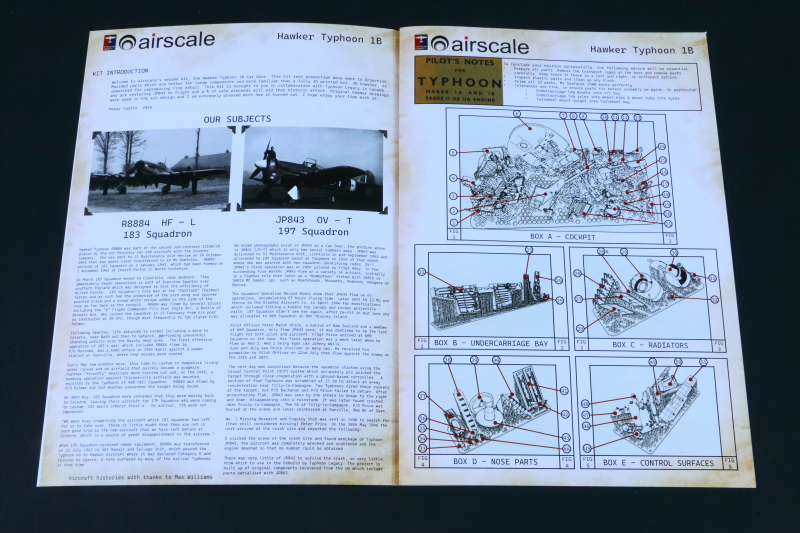
- R8884 'HF-L' of 183 Squadron, Royal Air Force
- JP843 'OV-T' of 197 Squadron, Royal Air Force
A nice history of each airframe is included on the instruction sheet.
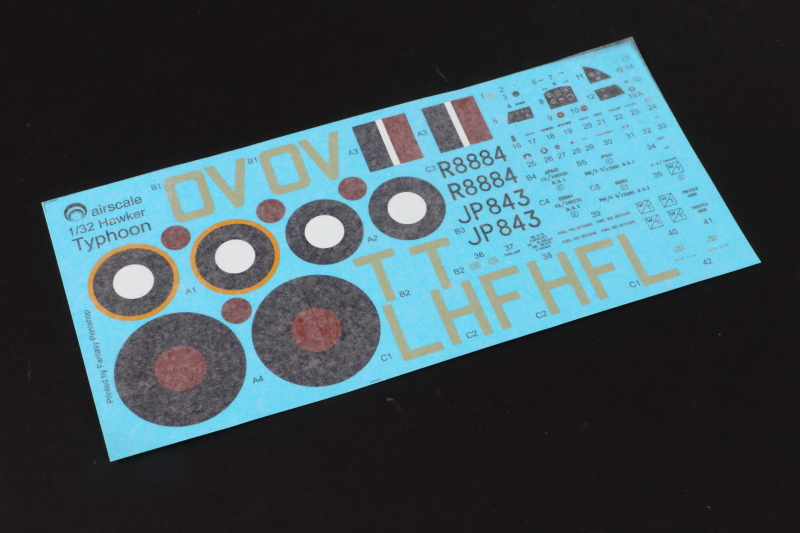
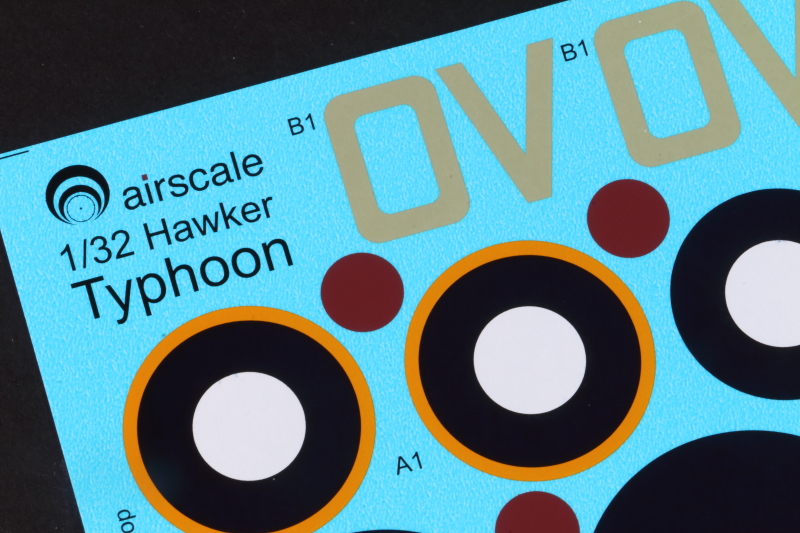
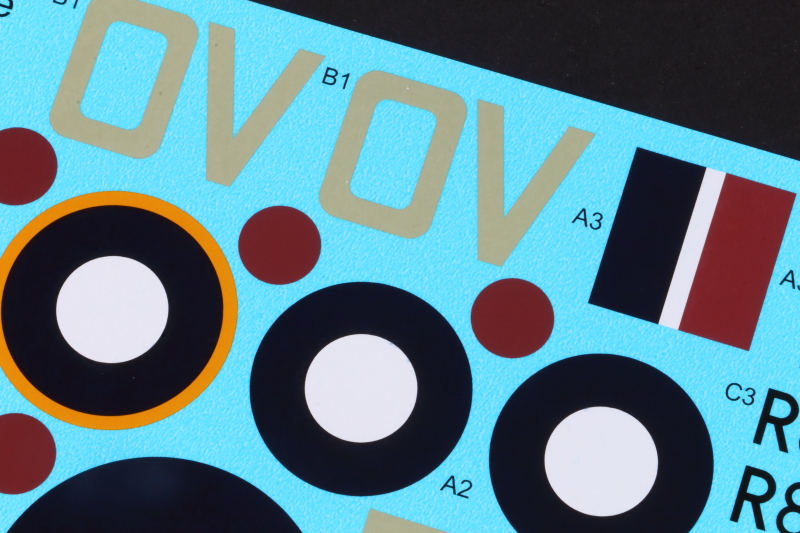
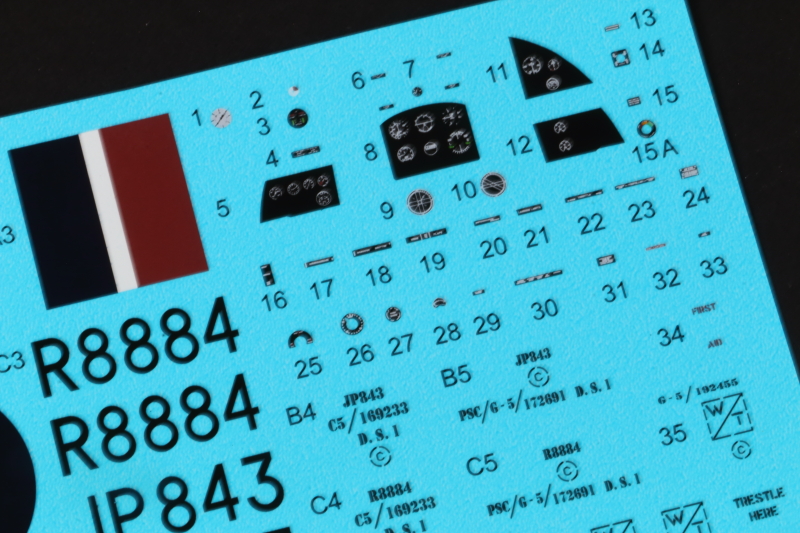
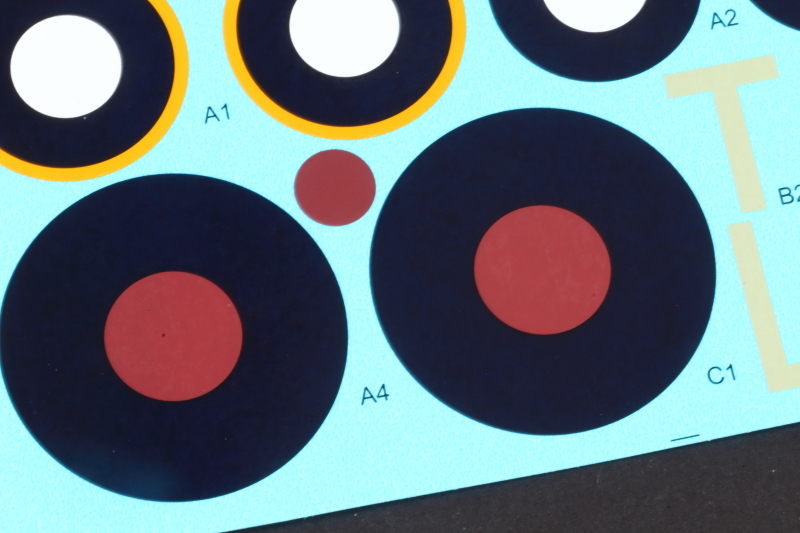
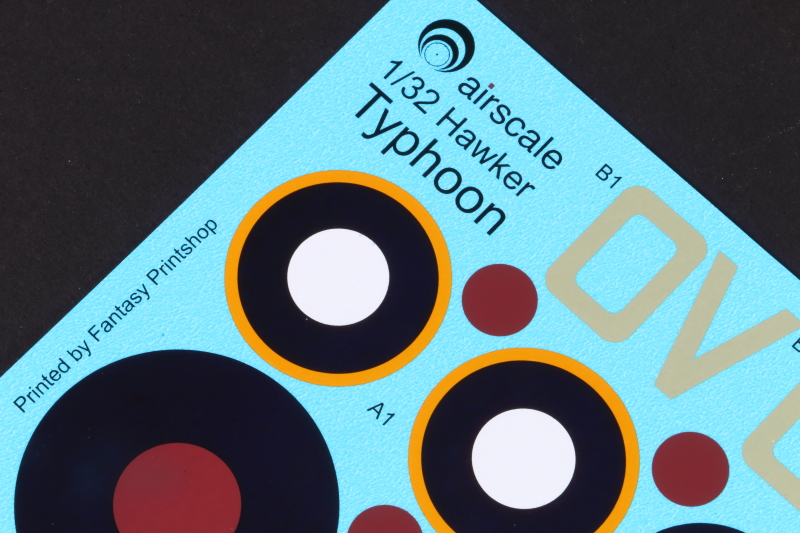
Decals
Printed by Fantasy Printshop these look superb. Colour, opacity and register look perfect and I've always had excellent results using decals printed by Fantasy Printshop.
As you'd expect, the sheet includes relevant instrument panels and placards, as well as full stencilling.
Masks/Film
A very useful set of vinyl masks are included for masking the clear components, along with a sheet of clear material for the 'car door' windows and for use glazing the instruments when sandwiched between the various panels.
As a neat touch for those modellers that posses a digital cutter, a couple of QR Code blocks are included on the Instruction Guide so that you can download the artwork and cut your own masks for the markings on each of the two airframes covered.
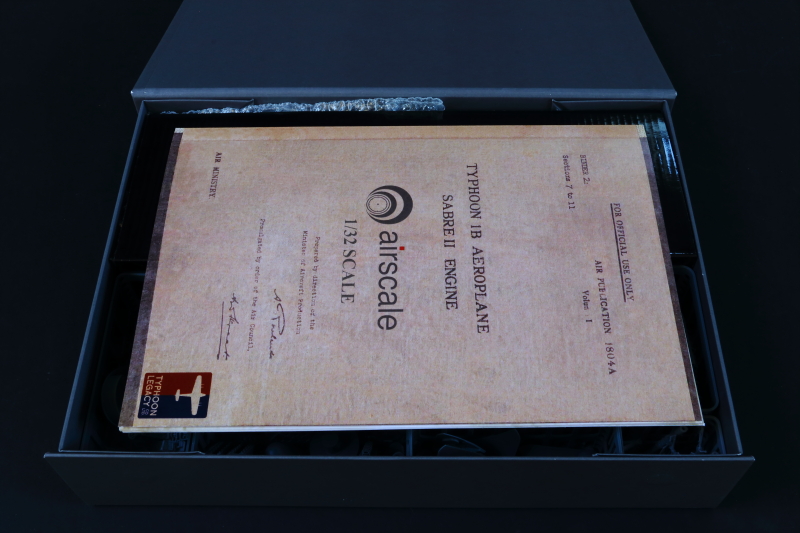
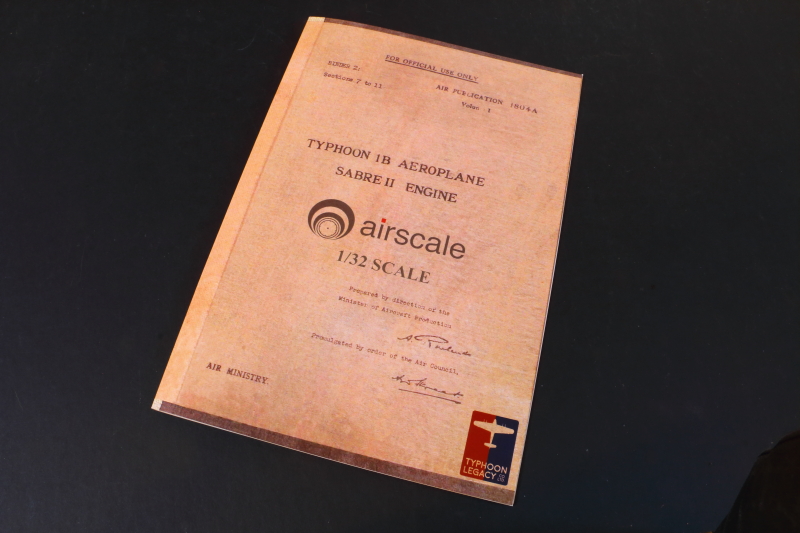
Instructions
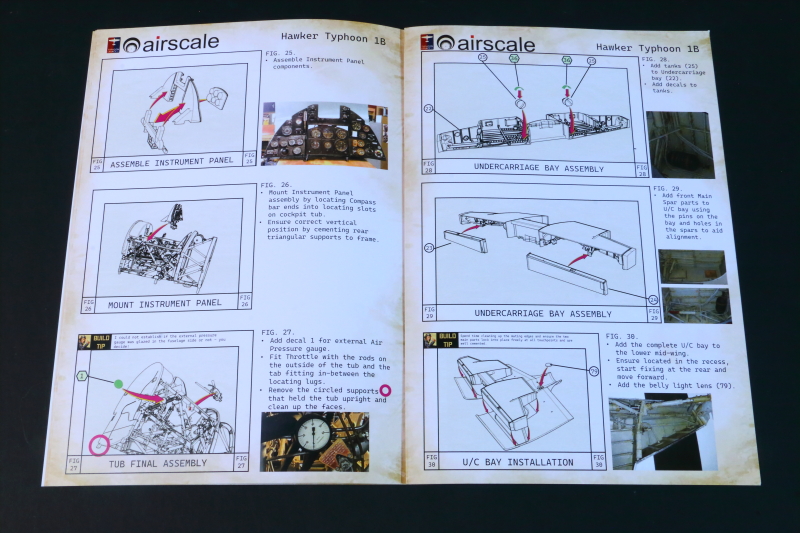
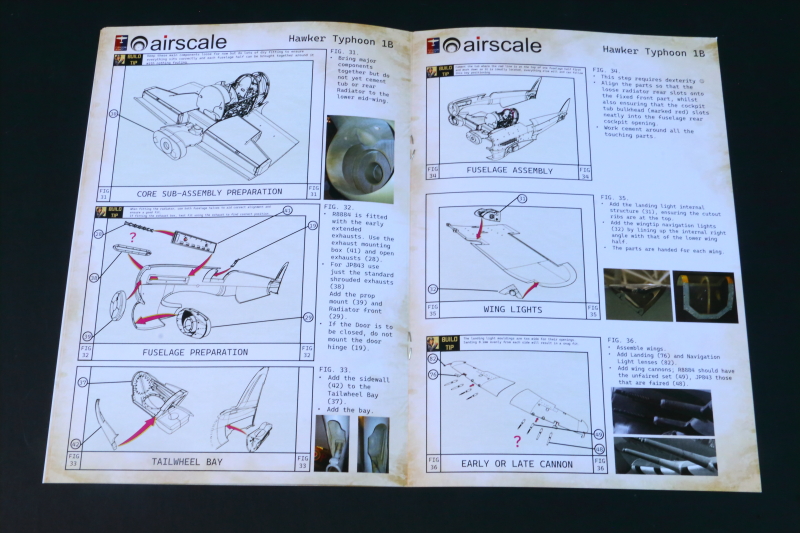
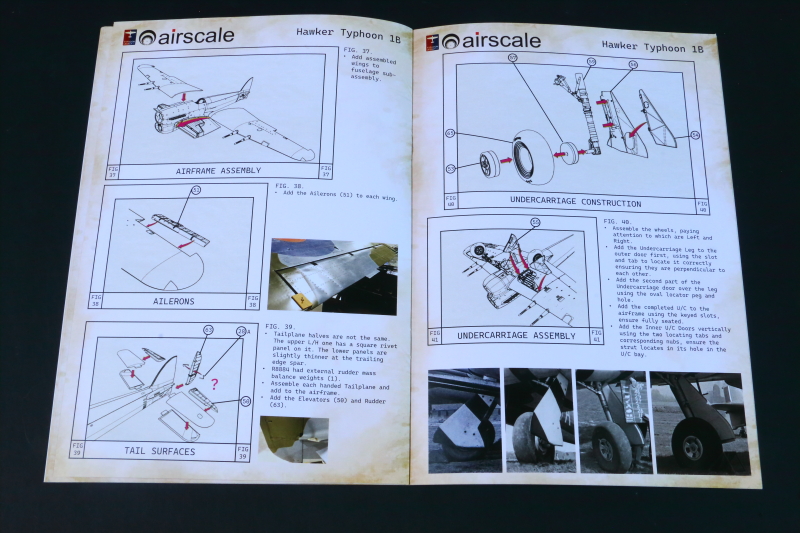
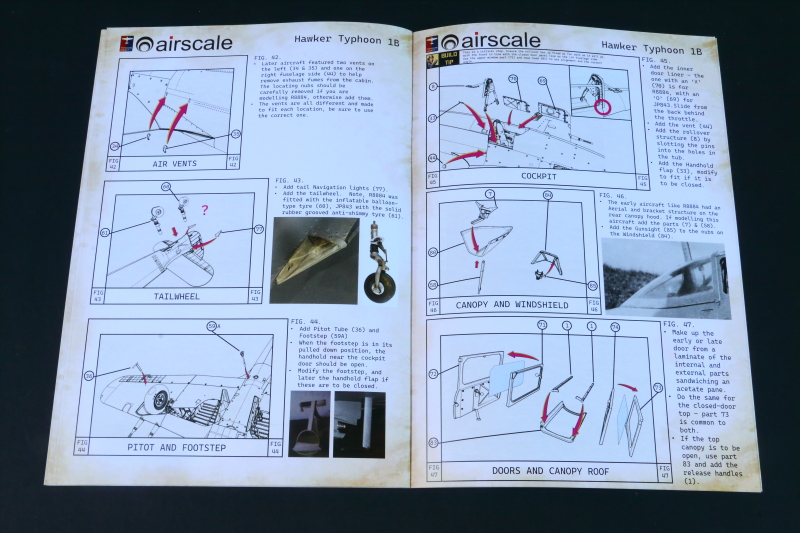
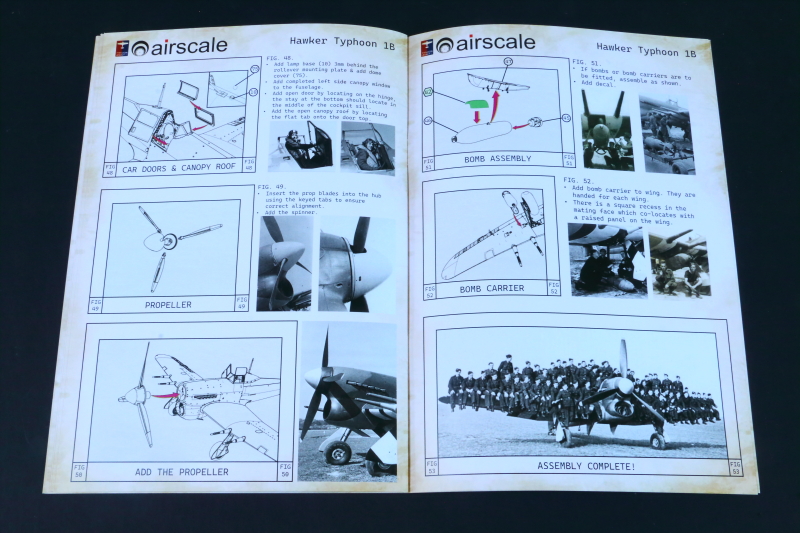
These are more of a 'Manual', rather than just instructions and, in my humble opinion, are clearer and more comprehensive than those in the Defiant. Parts are clearly identified, and the instructions walk you through the build by way of drawings and detailed notes.
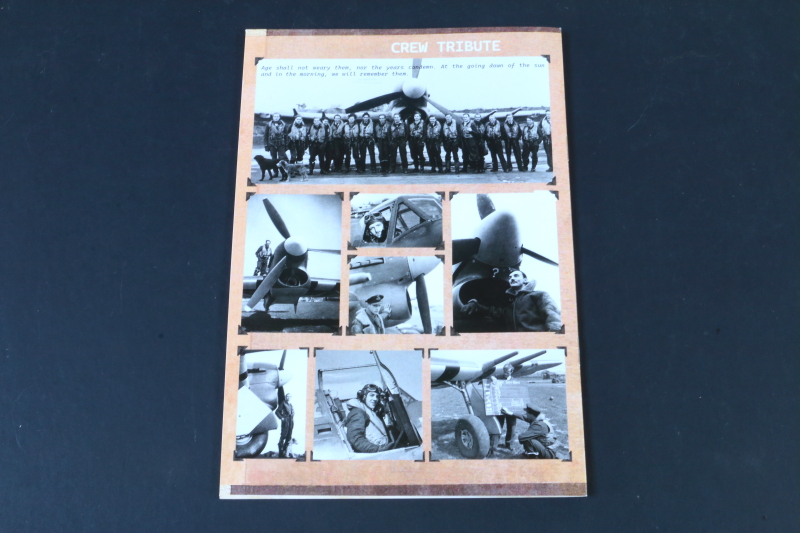
The two markings options are covered in full colour, along with detailed colour notes. The rear cover provides a number of really inspirational period airframe photos.

Warranty Card
I love this: another indication (as if any were needed) of just how solidly Peter stands behind his products!
Conclusion
Yet another magnum opus from Airscale!
With the main airframe parts being injection-moulded styrene this kit marks a step forward over the previously released Defiant, and should be a little less intimidating if you've not experienced full 3D printed kits before.
With regard to value I'm going to repeat what I said about the Defiant: Yes, it's not cheap, and that may put it financially out of reach for many, but given the nature of this kit: low volumes, completeness, the production methods used and design time, I honestly believe it represents great value - both for the contents of the box, and the uniqueness of the subject.
Released in partnership with Typhoon Legacy in Canada, a percentage of revenue from sales of this kit will go towards their noble restoration of JP843 to flying condition.
Quite frankly I'm amazed at the output, and quality, from the one-man-band that is Airscale - just astonishing!
Very highly recommended!
This new kit is available to order here.
Once again, our thanks to Peter Castle/Airscale for allowing us to get an early look at this kit and share it here!
Max Williams is currently building one of these new kits over on our forums.
© Iain Ogilvie 2025
This product is available from the following LSP sponsors

This review was published on Monday, December 29 2025; Last modified on Saturday, January 03 2026