
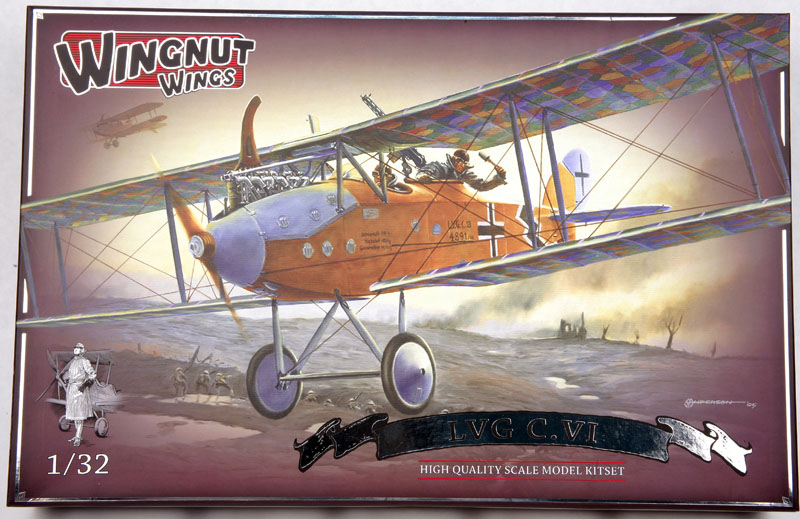
Wingnut Wings | #32002: 1/32 LVG C.VI
Reviewed by Ray Peterson
This is one of the latest releases by a new kit manufacturer, Wingnut Wings out of New Zealand. They have exploded on the scene with the release of 4 new kits, the Junkers J.1 (kit #32001), LVG C.VI (kit #32002), SE.5a "Hisso" (kit #32003), and the Bristol F2.b (kit #32004). Of note is that all but the "Hisso" are two-seaters and have never been released in 1/32nd before.
For a new manufacturer, these are amazing kits, well thought out and engineered, great directions and highly detailed. Definitely a by modelers, for modelers production. It is said the whole venture is backed by Peter Jackson, the film director of "Lord of the Rings" and "King Kong" fame, who is also a huge WWI aviation buff. Whatever, this is obviously a venture that is well funded and very professionally thought out and executed.
So lets get to it! This review concerns the second kit release. From the kit info: "The C type reconnaissance and artillery spotting LVG C.VI (Luft-Verkehrs-Gesellschaft C type number six) was first test flown in February 1918. When production aircraft entered front line service during the middle of the year they were highly regarded for their respectable climb rate, speed and maneuverability. Surviving LVG C.VIs flew on in civil hands and foreign air forces well into the 1930s. Approximately 1003 were built during the war with a number of aircraft assembled in the 1920"s to fulfill the demands of a burgeoning civil market."
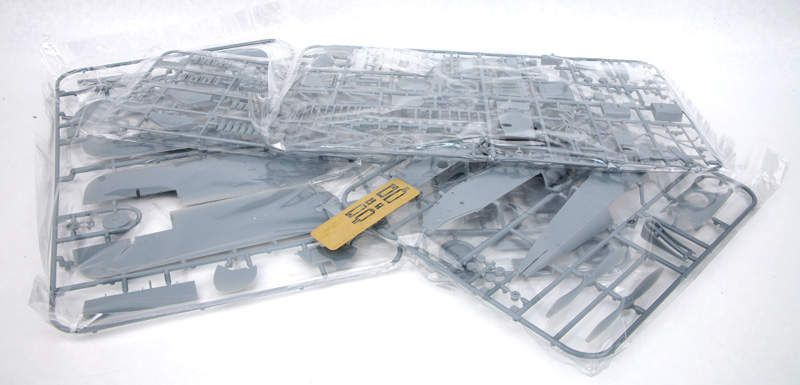
The kit consists of 166 parts on 5 sprues of a light grey plastic and 1 sprue of clear holding the small windshield. All parts are crisply molded with no visible flash or sink marks. There is also a small PE fret containing the seat belts. According to the special preview issue of Windsock, a premium edition of the kit is to be offered later with a more substantial PE fret, and maybe some figures. Decals are included for 7 aircraft.
Rather than the typical pics of the sprues I usually take, this time I am going to take more of a "micro" approach and show some close-ups of the detail of the parts that has everyone so excited about these releases. If you would like to see sprue shots, the Wingnuts website has good pictures of both sprues, plus an entire instruction booklet as a download.
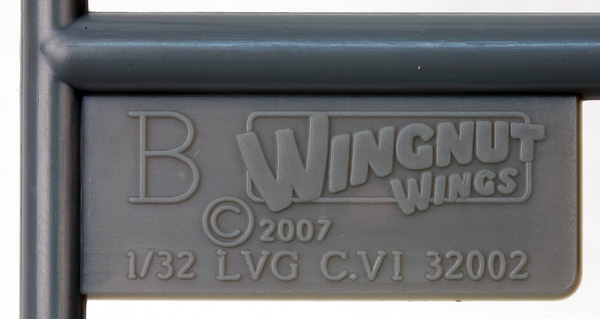
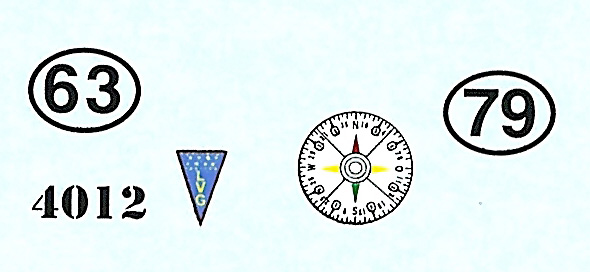
A small pic of the "B" sprue identifier. With a copyright date of 2007, obviously these kits have been in development for some time!!
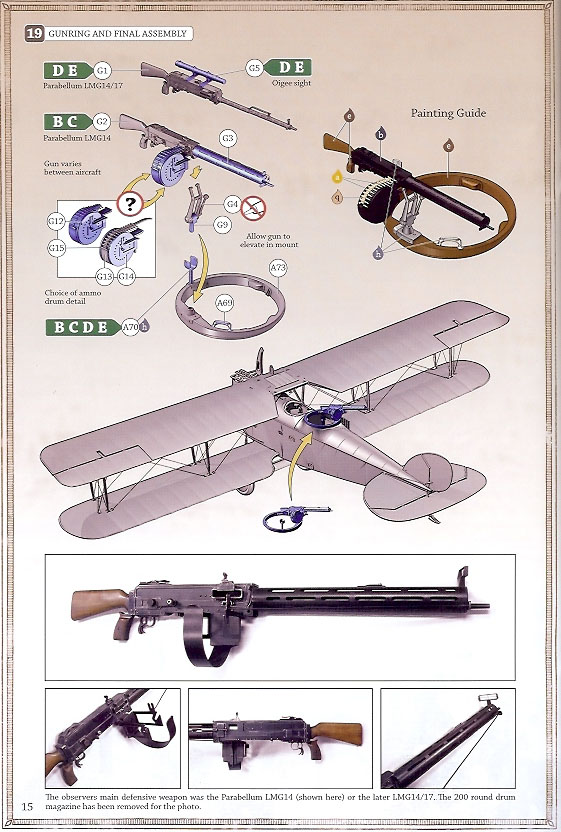
A typical page of the instruction sheet. The sheets are done in full color CAD drawings, with blue shades indicating parts involved in the step. A separate color drawing helps with painting. Then Wingnuts provides color images of the real thing to help with finishing. This is typical throughout the instruction booklet, which totals 26 pages for this kit. Period photos are also provided. Amazing!
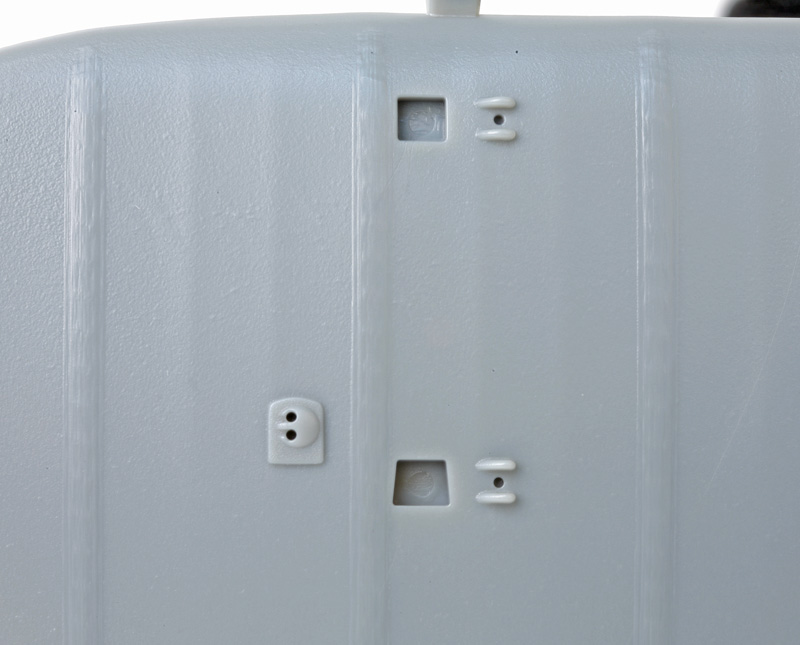
A close-up of the wing molding. The rib tape molding is some of the nicest I have seen yet! No hills and valleys, but flat tapes with a hint of the stitching underneath, and just a slight rise and fall between the intermediate ribs. Note the provided holes for pre-drilling for rigging, and the keyed holes for the struts. The keys are to help hold the struts at the correct angles to help keep the wings in the correct positions.
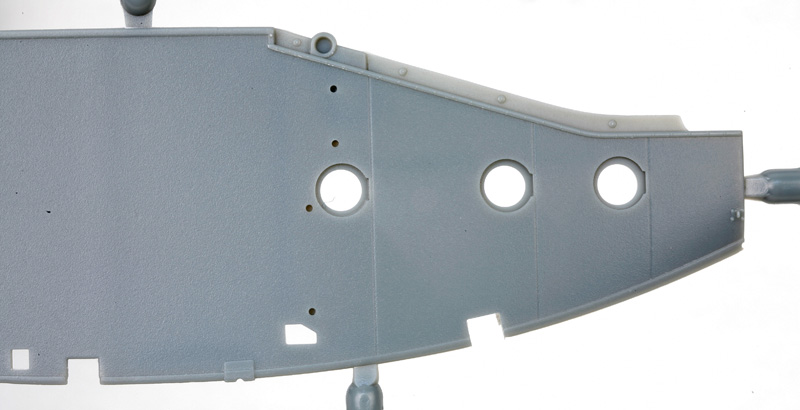
One of the fuselage sides. Most of the vents are provided as separate parts. Hard to see in the photo, but the piano hinge has molded in detail the entire length.
The lower hull plate is also highly detailed.
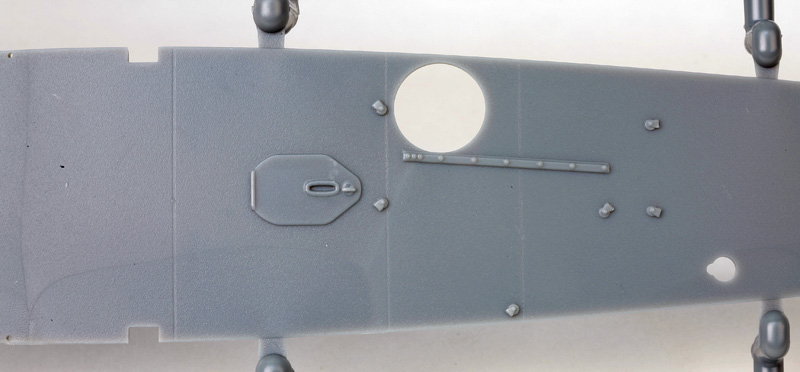
The upper hull has nicely done leather padding and rivet detail.

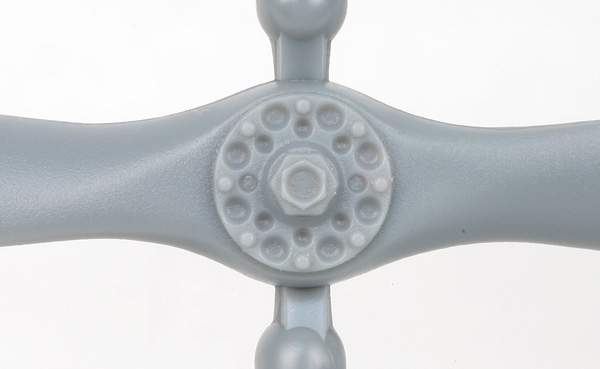
A close-up of the propeller hub detail. Two props are provided, both with very sharp edges.
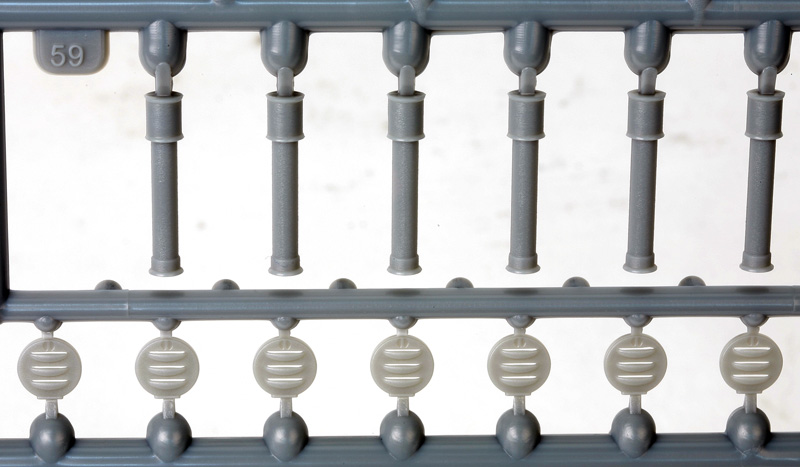
Here are the vents for the fuselage sides. They are open! Also shown is one of the options for the fuselage racks, which include flares or grenades in two styles of racks.
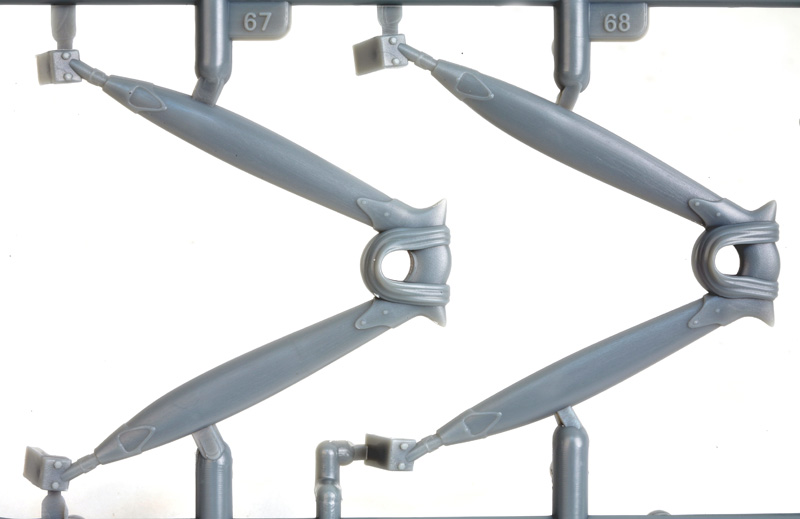
Here are the undercarriage struts with fine plate detail on the ends, as well as molded in bungee cord detail for the axles.
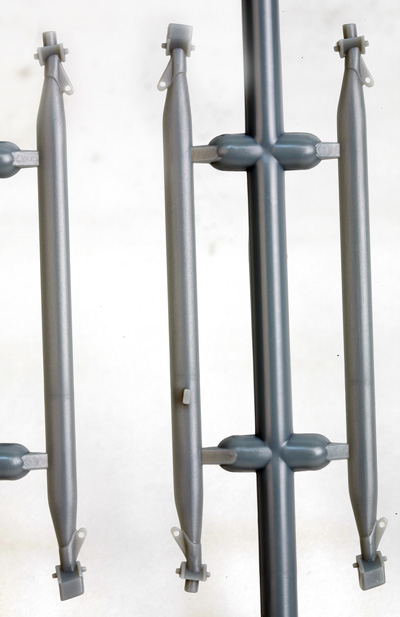
Wing struts. Note connector detail including open eyes for cross-bracing! Very nicely done rigging drawings are provided in the instructions, including drawings and pics of control wires in the cockpit area.
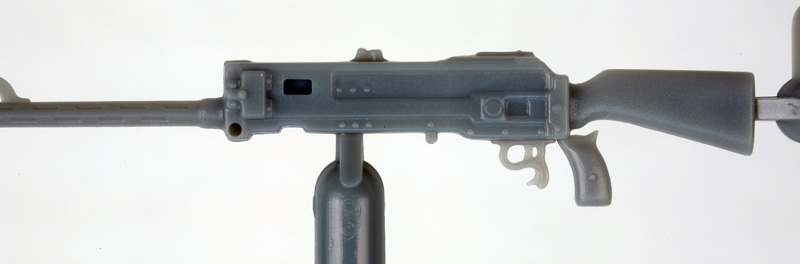
Maxim MG. Both with and without cooling jacket versions are supplied, though you will have to source your own PE for the cooling jackets. This is one item supposedly supplied in the "Deluxe" version to follow.

Parabellum LMG 14/17. Check out the trigger and trigger guard detail!!!
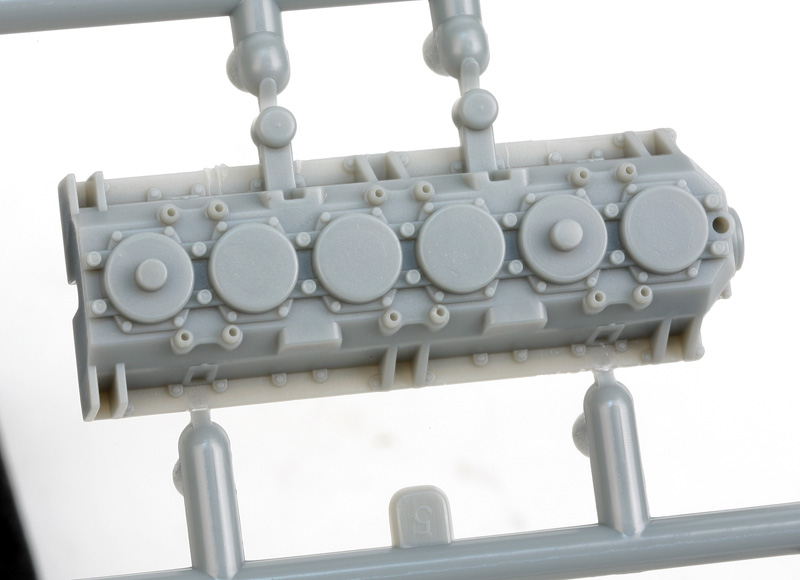
A pic of the detailed crankcase for the Benz Bz.IV engine.
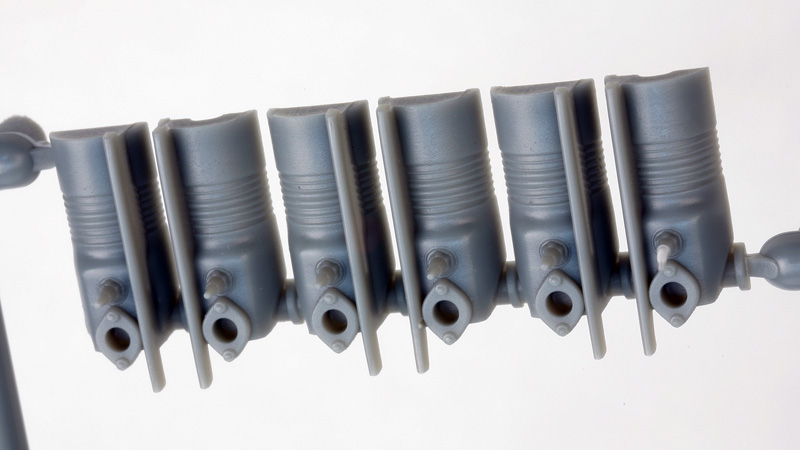
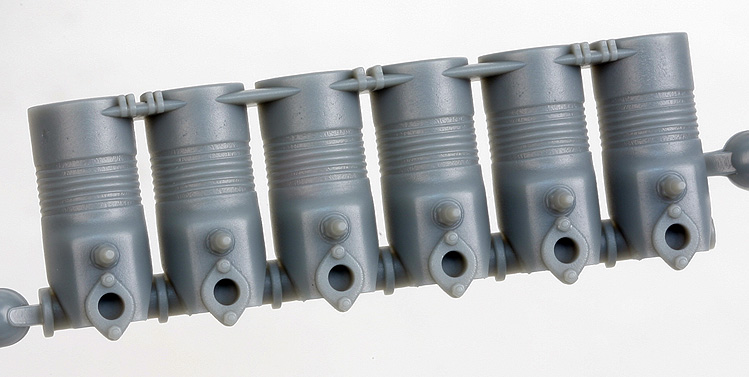
You have the option of two cylinder sets, one with valve rods, one without, so you can add your own if you would like.
The decals, printed by Cartograph, for the seven different aircraft.
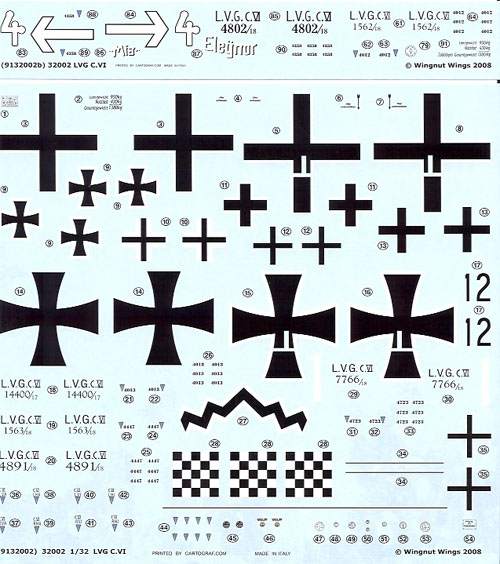
Check out the detail on the decal for the compass face!
Decals are provided for the upper and lower 5-color lozenge fabric for the wings. This, along with 3 different colors for rib tape fabric (also included but not pictured) will be available later for separate purchase, along with 4-color fabric.
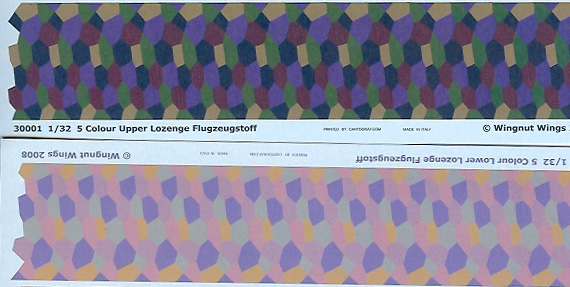
Just for kicks, here is pics of 5 color fabric from the Aerodrome website members who have been doing their own research.

And that is it! An amazing model from out of nowhere! Hard to find any faults. There could be some more to the PE parts, but supposedly that will come in a future Deluxe model as mentioned already. A highly detailed model can be built straight from the box. Windsock Worldwide has a special issue; Vol. 25, No.2, March/April 2009; with builds of all 4 of the new releases. I highly recommend getting this issue to help with your build.
Most highly recommended!
Review kit kindly supplied by Wingnut Wings.
You can order Wingnut Wings kits directly from their website.
© Ray Peterson 2009
This review was published on Saturday, July 02 2011; Last modified on Tuesday, May 02 2017