
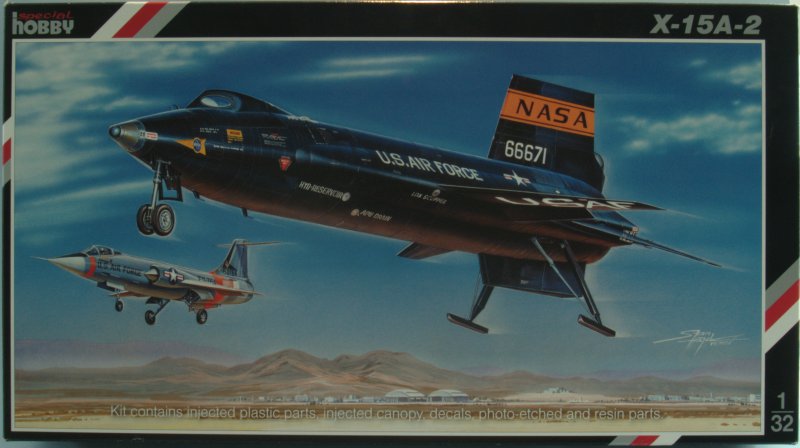
Special Hobby | SH32022: 1/32 X-15A-2
Reviewed by Randy Bumgardner
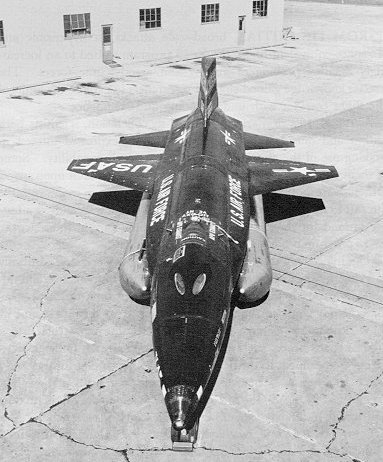
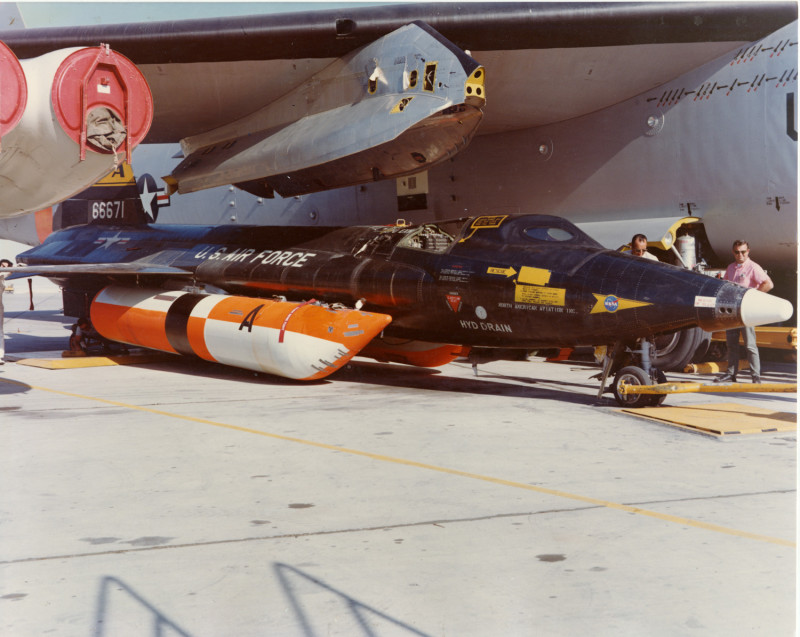
The X-15, NASA's penultimate workhorse for research into the regime of hypersonic flight. Born out of NACA studies initiated in 1952 around problems likely to be encountered in spaceflight, North American Aviation was selected in September of 1955 to produce three research aircraft. The history of this research program contains many milestones and technological advances. Aerodynamics wasn't the only discipline to achieve great advances with the X-15 program, research into Materials Science grew by leaps. Not only the study of the airframe materials in the flight envelope, but the manufacture of these materials benefited as well. Research into control systems also benefited from the X-15 program. How do you control an aircraft heading toward Mach 6? During the early 1960s, this was one of the unanswered questions. What aerodynamic effects will be encountered? How will they manifest themselves? The X-15 grew from a hypersonic research tool into a research testbed carrying various experimental packages. The duration of the program lasted 199 flights. Of these flights, the X-15 achieved a maximum velocity of Mach 6.72 and a maximum altitude of 67 miles. Here is a partial list of some of the research accomplishments*:
- Development of the first large restartable ”man-rated” throttleable rocket engine, the XLR99.
- First application of hypersonic theory and wind-tunnel work to an actual flight vehicle.
- First use of reaction controls for attitude control in space.
- Development of the first practical full-pressure suit for pilot protection in space.
- Discovery of ”hot spots” generated by surface irregularities.
- Demonstration of a pilot's ability to control a rocket-boosted aerospace vehicle through atmospheric exit.
- Demonstration of a pilot's ability to function in a weightless environment.
*John V. Becker, "Principal Technology Contributions of X-15 Program," (Hampton, VA: NASA Langley Research Center, 8 Oct 1968)
Of these three airframes, the number two research craft went on to perform "extended duty". In November of 1962, John McKay had to make an emergency landing in the number two aircraft. During final approach, the X-15's landing flaps failed to deploy. In the resulting high speed touchdown, as the aircraft's nose wheel touched down, the left main landing gear collapsed. This caused the aircraft to swerve and roll, destroying the wings, tail surfaces, and injuring the pilot who suffered three crushed vertebrae. McKay recovered, although 3/4 of an inch shorter, and was flying the X-15 six months later. The second airframe was rebuilt and flew again in June of 1964. This rebuilt airframe was a modified X-15 redesignated the X-15A-2. It was chosen for the HRE (Hypersonic Ramjet Engine) research program, in addition to research into flights approaching Mach 8. The X-15A-2 contained a 29 inch fuselage plug that contained either additional fuel for the ramjet experiment or additional test equipment depending on mission requirements. Additionally, provisions were made for supersonic drop tanks to enable the run to Mach 8. The drop tanks would be jettisoned at Mach 2, and internal fuel supplies would continue the burn towards Mach 8. Mach 8 brought about increased heating of the airframe, exceeding the limits of the Inconel X used throughout much of the X-15's airframe. An ablative layer of a silicon-base elastomer was used to limit the airframe temperature to 500°F in the 1,900°F environment of Mach 7.4. The ablation layer was successful, but was deemed infeasible. Although the ablative material was a spray-on, it required an approximate 20 days turn-around cycle and was very fragile during ground operations. Flight evaluations of the modified airframe and a dummy HRE began immediately. In 1967, on the only maximum speed flight with the dummy HRE, severe heat damage to the lower empannage caused by shock impingement from the HRE almost resulted in the total loss of the aircraft. The X-15A-2 was repaired after this incident, but never flew again.
What's in the Box?
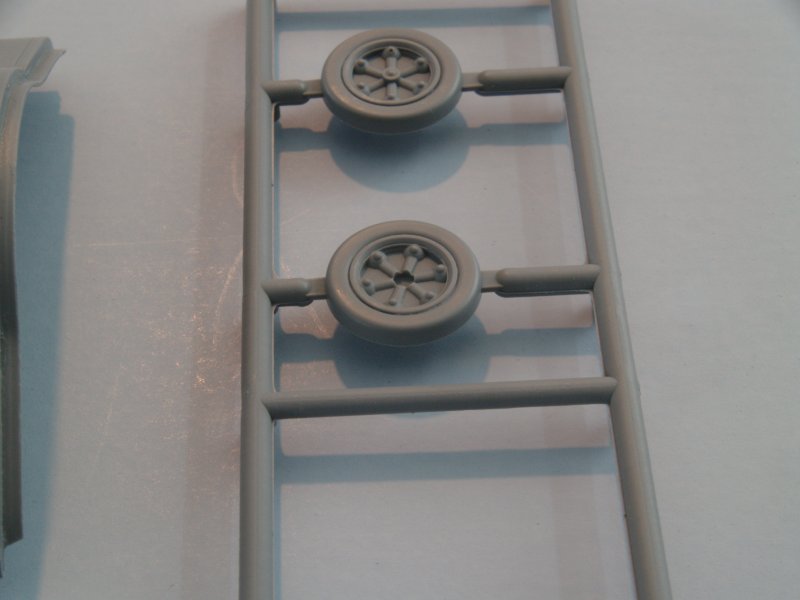
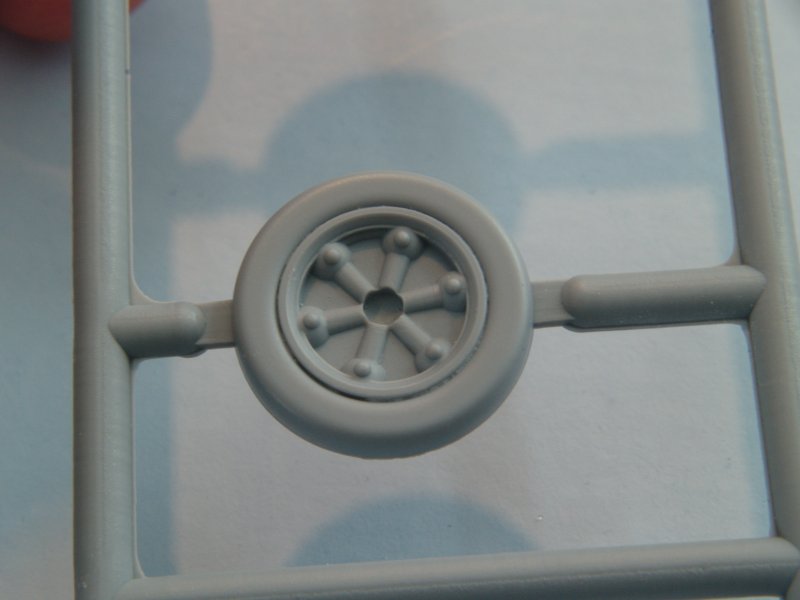
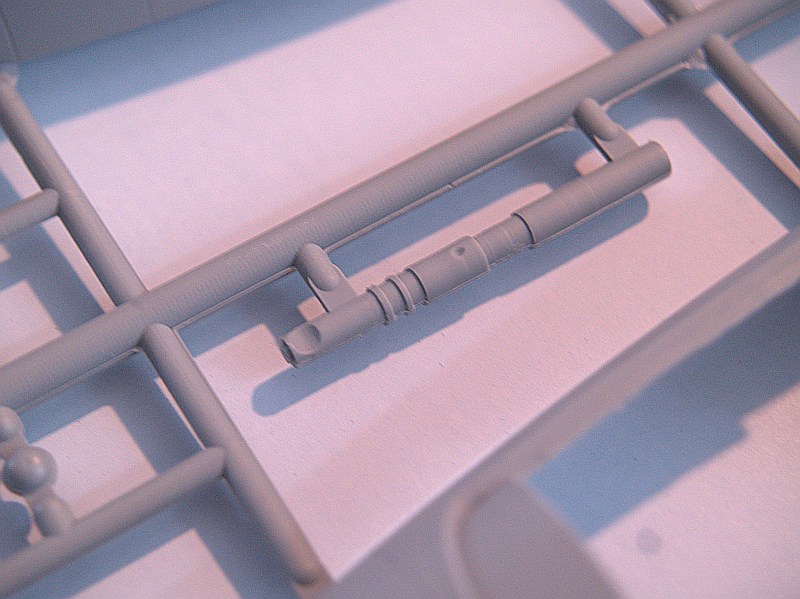
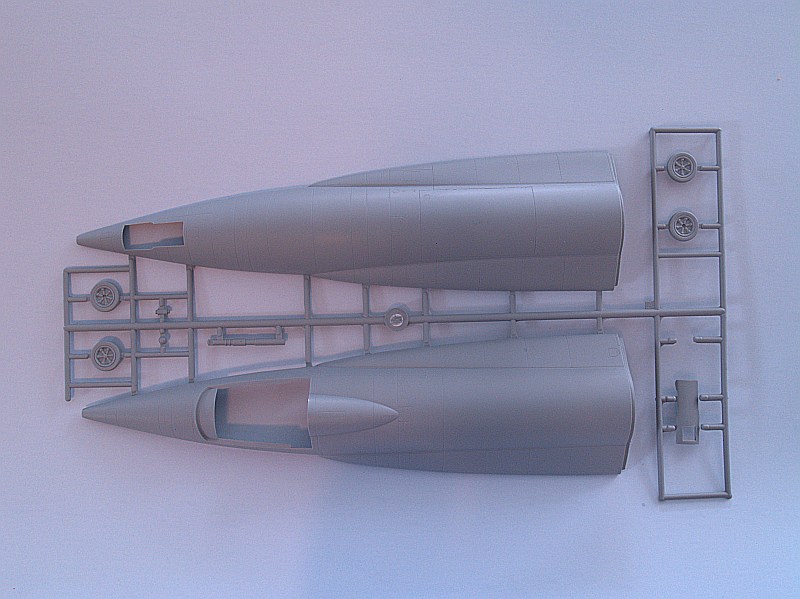
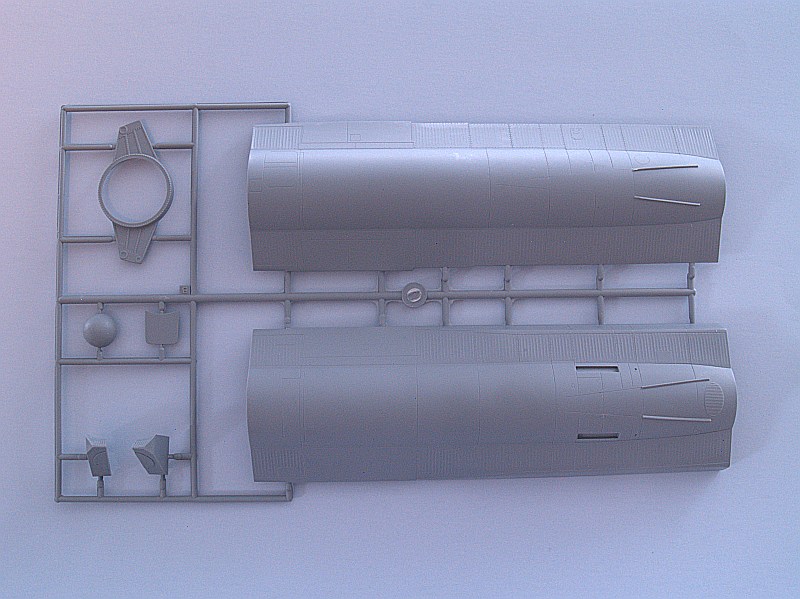
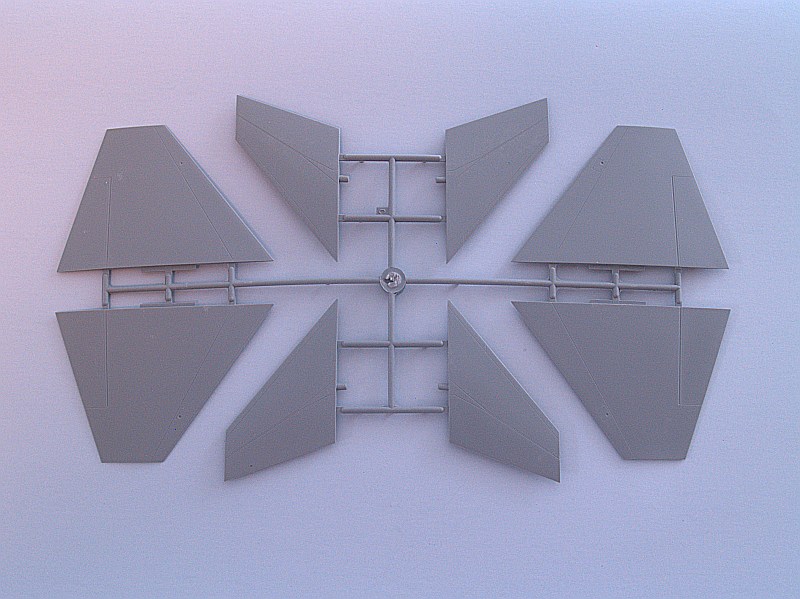
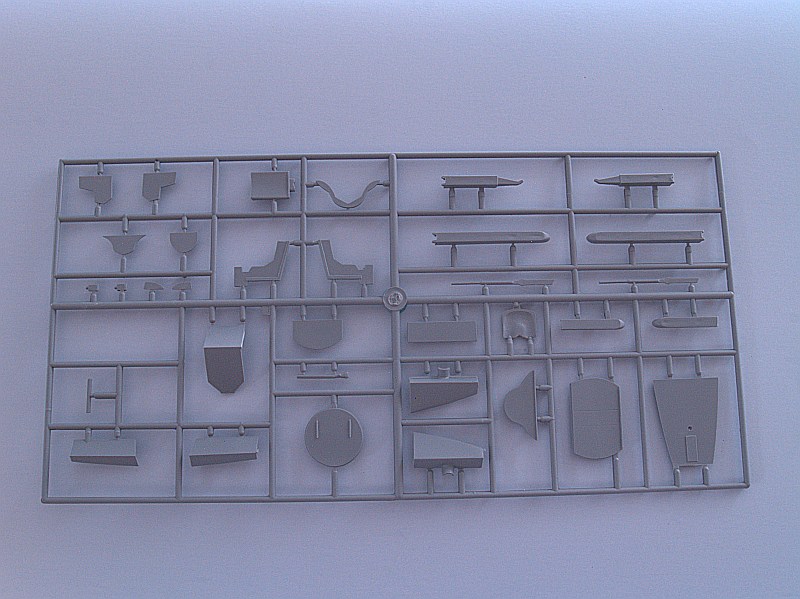
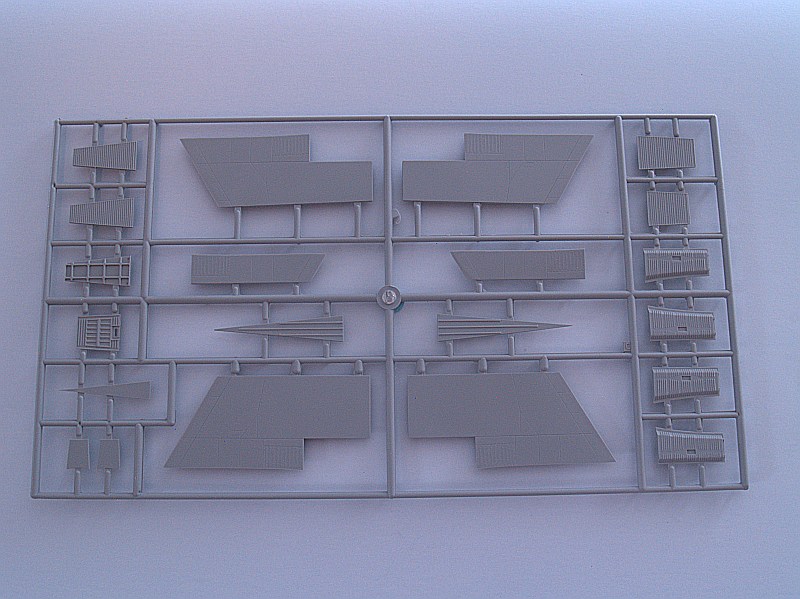
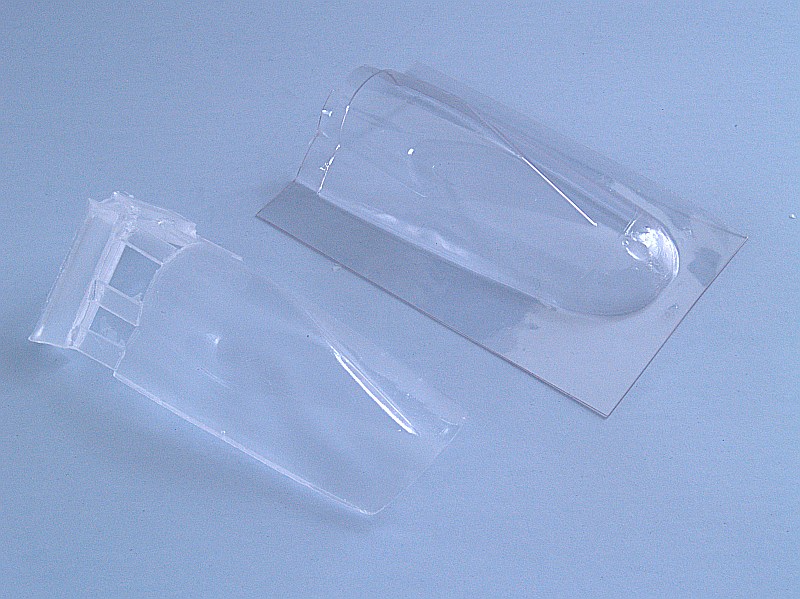
The kit comes packed in a very nice, sturdy box - no fear of damaged part here. The box contains 81 injection molded parts, 70 resin pieces, a fret of photoetch, and a film for the instruments. The injection molded clear parts - the canopy - wasn't available at the Nationals when I purchased my kit. So, I received a vacu-formed canopy and a clear resin canopy with my kit. Both of which are nicely done. Typical for Special Hobby/MPM, the injection molded parts are a soft grey plastic - be careful when working with this, a little sanding goes a long way. The sprue gates are a little on the thick side, fairly standard for a limited run kit. There was a minor amount of flash on some of my sprues, but nothing worrisome. See the additional images at the end of the review for images of all of the sprues.
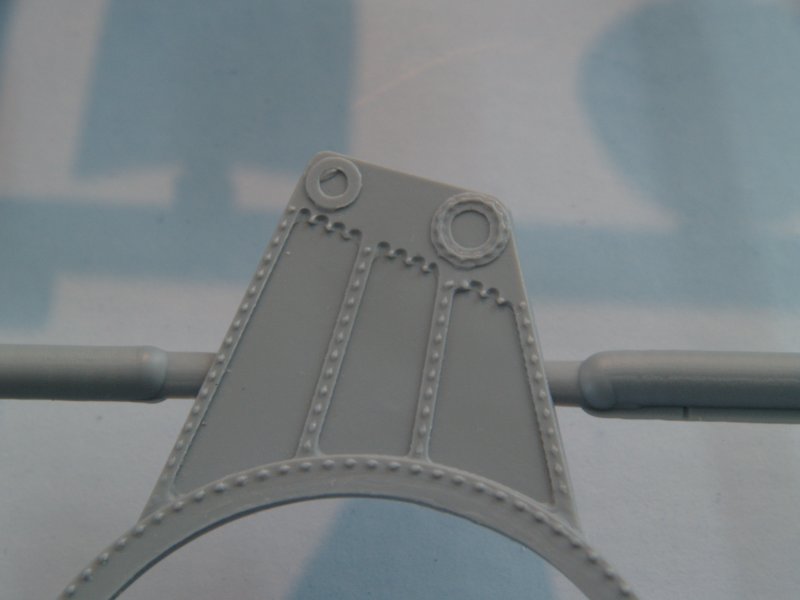
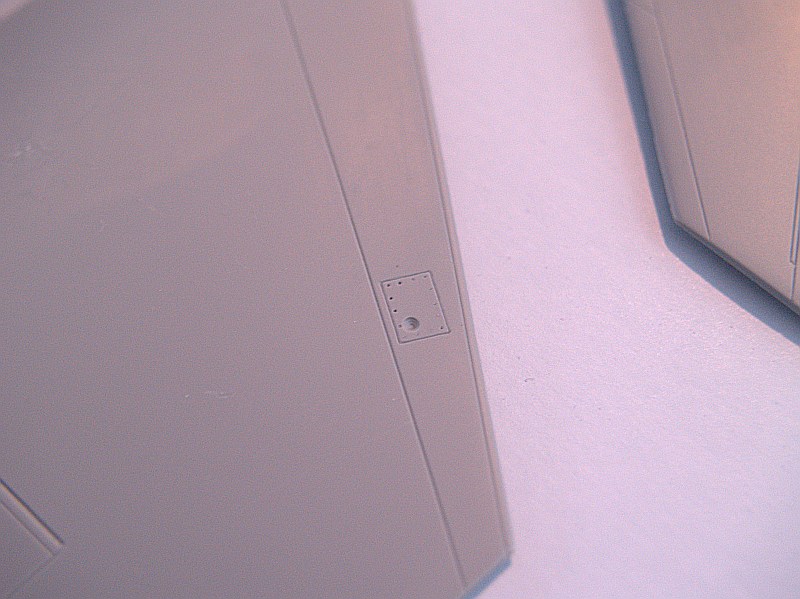
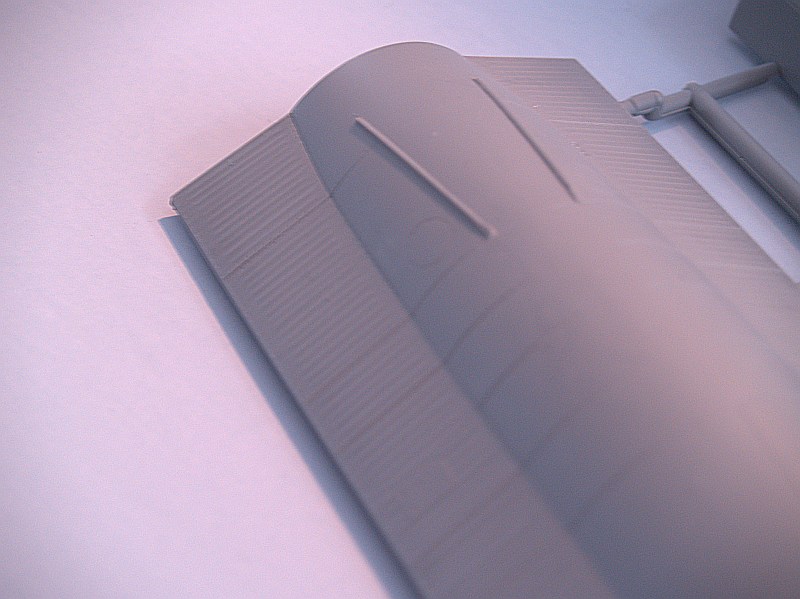
The surface detail is well done and not soft and washed out. Panel lines are nicely recessed and consistent throughout the moldings. The surface texture seems a little rough - almost pebbly - and could possibly use a good buffing after a coat of primer.
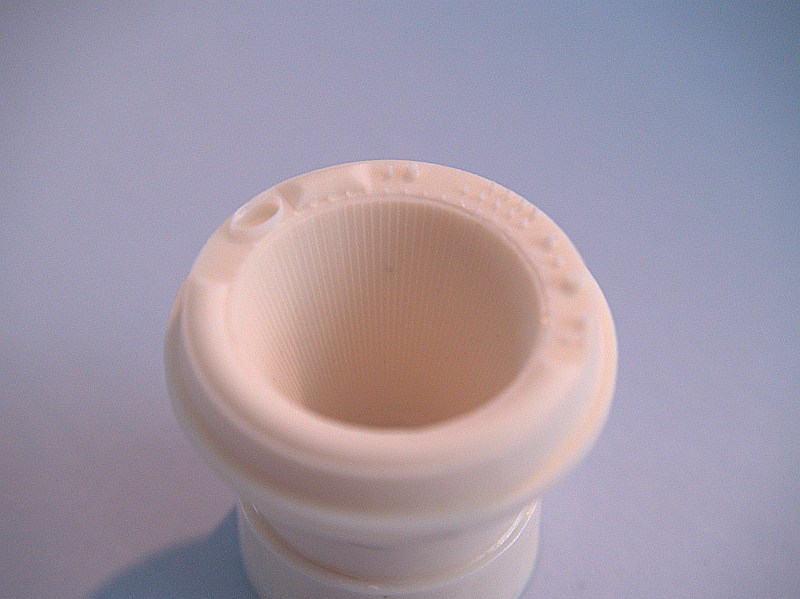
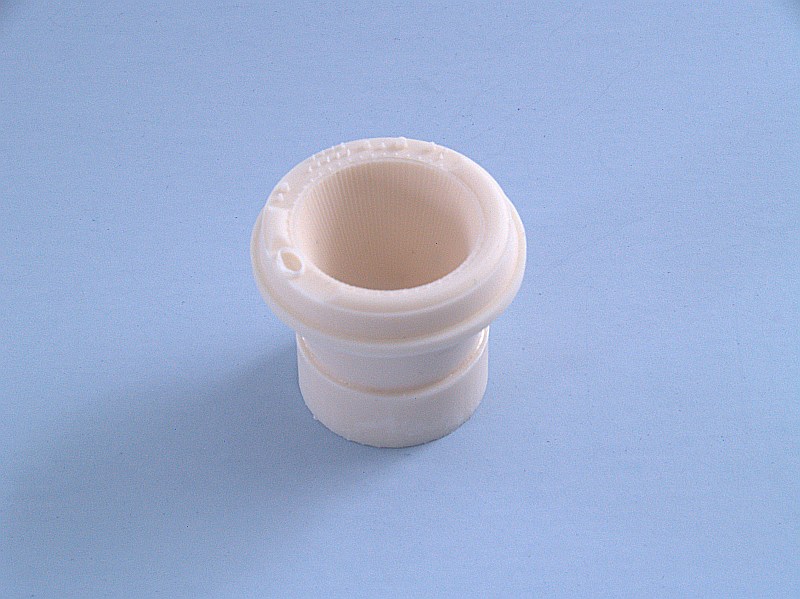
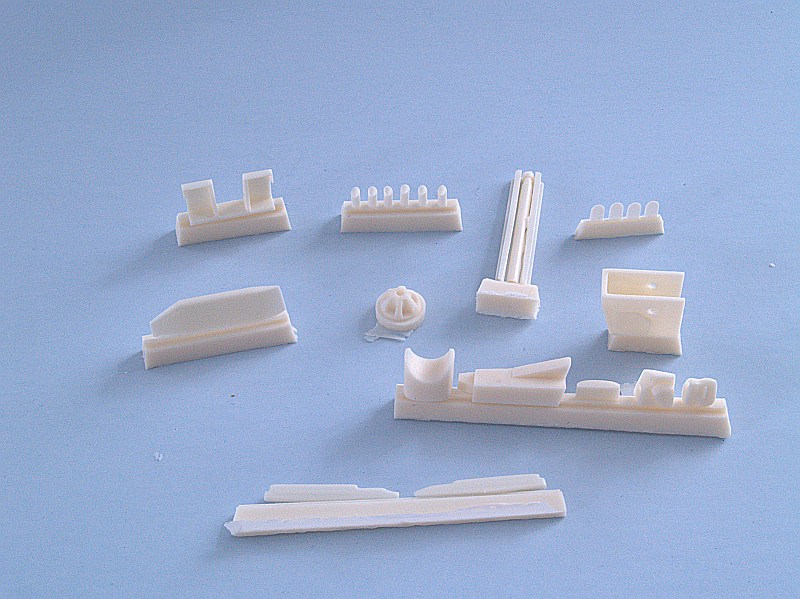
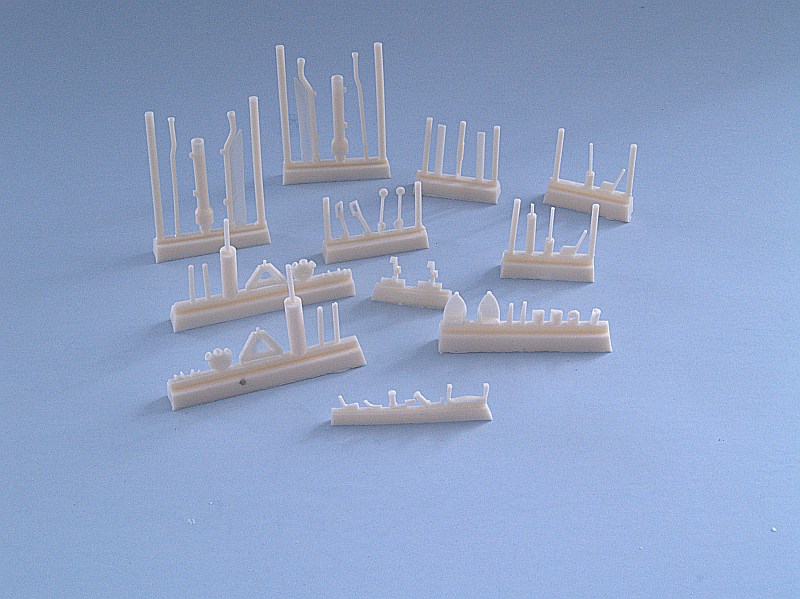
The resin is where it's at in this kit. CMR produced the resin parts for this kit, and they did an outstanding job as usual. The gem is the XLR-99 exhaust cone. The detail is really something to behold. The ribbing on the internal surface is petite and well defined, as is the detail on the cone face.

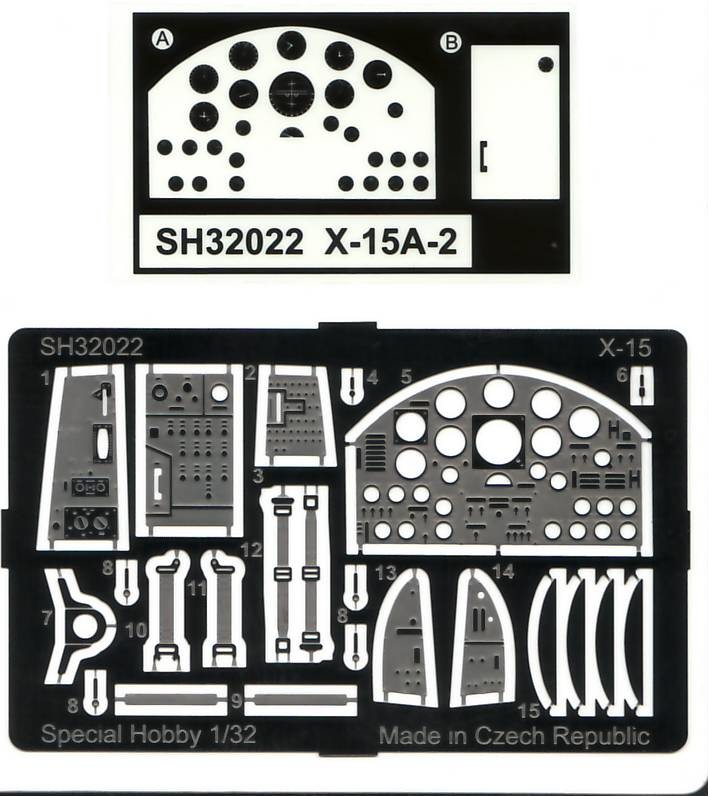
The photo-etch is by Eduard and contains parts for all of the cockpit panels, seat harnesses, and various fuselage bits that will undoubtedly break off of my kit, even as I look at it on the shelf.
The decals are printed by Aviprint and are fairly well done. They are nicely thin and in good registration - not perfect as the insignia red bar in the national insignia seems to have bled a bit as is shifted to the right. I noticed that when I scanned the decals for the review and it's barely noticeable when staring at the actual sheet. My scan seems to have darkened the colors a bit as the yellow on the sheet isn't as "orangey" as it appears below and the insignia red is a good match for the real thing.
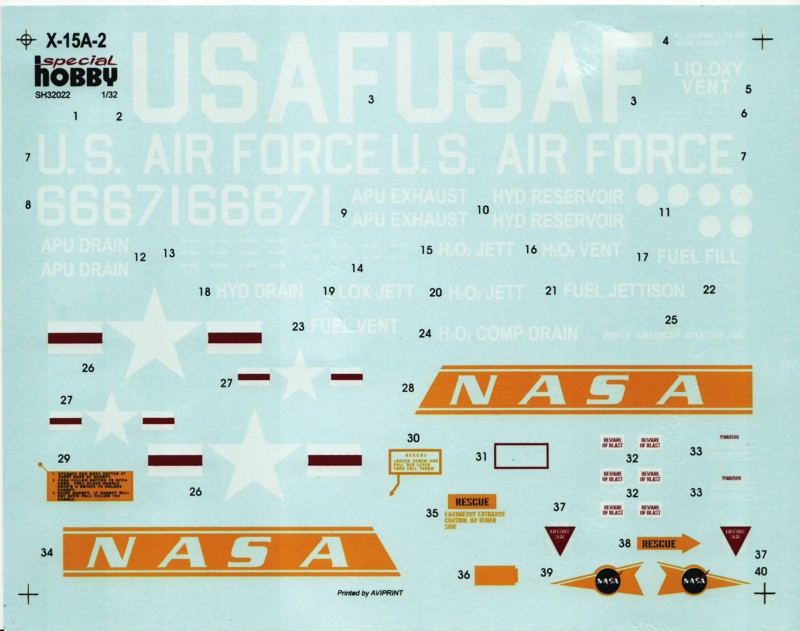

There are two things that disappointed me about this sheet. First, the NASA logo shouldn't be black as shown in the comparison below. I'm not sure how or why this happened, but I'll probably make my own.
Second is the packaging of the kit with respect to the decals. Special Hobby provides a cardboard insert to which the decals and resin bits are stapled. This prevents them from getting damaged by bouncing around with everything else in the box. Unfortunately, this makes them susceptible to damage from stacking the boxes. The resin sitting on top of the decals, and pressed down by the weight on the other boxes on top, rub into the decals. In my case, this causes the plastic bag to rip and the decals to tear. If you examine the image above of the full decal sheet, you will notice the marred "USAF" decal at the top of the sheet.
So...How Does it Fit together?
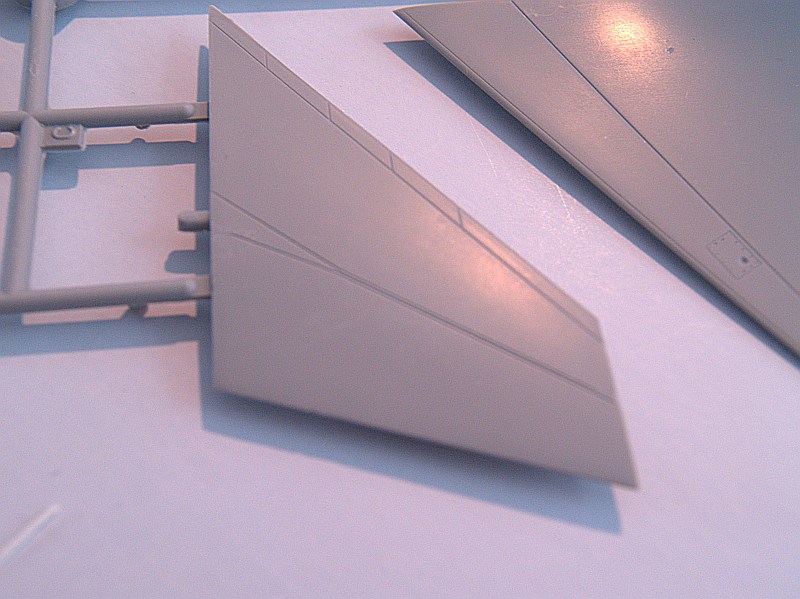
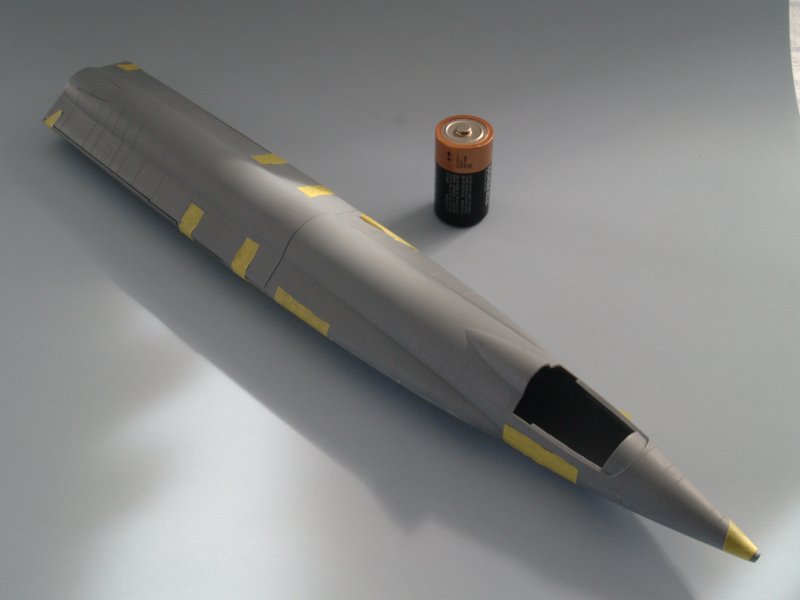
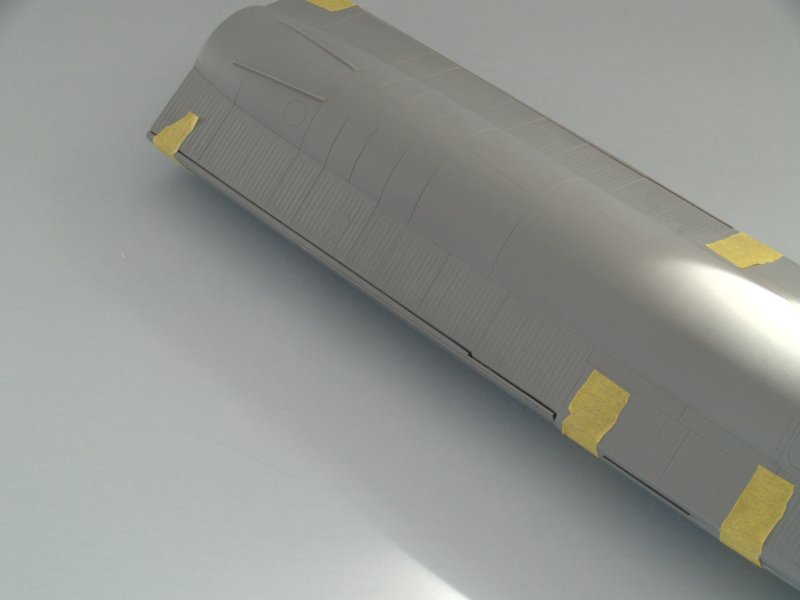
This is a big kit in this scale. In the image below, the dry-fit fuselage is displayed next to a 'D' cell battery to provide some perspective. If you are wondering why I have a spare 'D' battery laying around - I have kids. Typical of most limited run kits there are no locating pins. The fit of the parts is pretty good for the most part. The fuselage is divided into four parts, top and bottom, and front and rear. The fit of the front parts is very good, a little Mr Surfacer should tidy that seam right up. The upper and lower rear pieces have a bit of a seam issue as shown below. The tricky part is the not messing up the surface detail that is perilously close to that seam. And, that seam is on the upper half of the fuselage where it's very noticeable. I can hear you saying, "But, Randy, it's only taped together. The seam may not be so noticeable when I glue it..." Yeah, right. The pieces aren't beveled correctly to give a smooth mating surface with a minimum seam showing. I ended up with a bit of a groove that can be repaired with some stretched sprue. From photos I have examined, the seam does fall along a panel line. So, filling and rescribing are the recipe here.
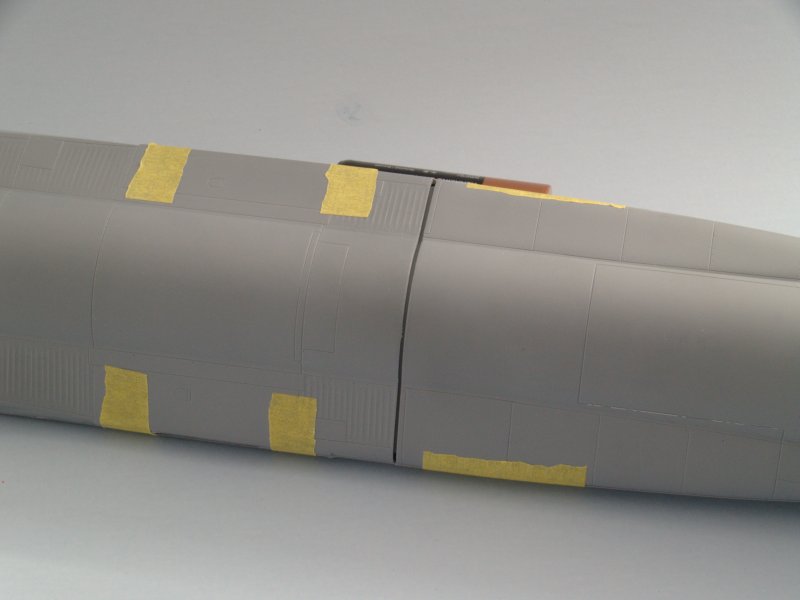
Another issue I've found, the instructions have the modeler fit the two upper fuselage parts together and then the two lower fuselage part. Then the entire fuselage is assembled by mating the two resulting pieces. However, using this method will result in a disruption of the panel lines between the upper and lower halves. In the images below I dry fitted the fuselage the opposite way (I did it before reading the instructions...). I lined up the panel lines between the upper and lower front pieces and the upper and lower rear pieces. I then joined the front and rear halves together and got a nice big gap at the join across the bottom of the fuselage. Looks like some styrene strip may come in handy.
Final Thoughts
I grew up with this aircraft in the late '60s. Although I was only a little pilot-wannabe when the program was dissolved in 1968, I had a scrapbook full of newspaper clippings of the X-15. Finally here in a large scale, this kit gives us a chance to learn about that aircraft. Even a little research on this aircraft will reveal the fantastic story behind it - the technological challenges that had to be overcome to just get it off the ground, let alone fly it at speeds approaching Mach 6. One must give kudos to Special Hobby and MPM for bringing out some great kits in the last year. Their Buffalo series, the recent P-39D, and now the X-15A-2 have more than added to the recent "golden era" of large scale offerings by model makers. Their willingness to take a chance on an esoteric kit that isn't a Mustang or a Messerschmitt should be applauded. Yes, this kit has a couple of minor issue that are entirely fixable with a little work. The positives far outweigh the negatives in this kit. There is good detail, great resin, and some good decals. It will build up as a solid kit right out of the box. Add a little scratchbuilding to the cockpit and nose gear bay and you'll have a stunning large scale model of a research aircraft that contributed volumes toward furthering our understanding of space flight and the problems that encompass it. I recommend this kit to anyone with a passion for the esoteric or even anyone who has only heard of the X-15 in passing. I guess that includes everyone...
References
- Dennis R. Jenkins, Tony R. Landis, "Hypersonic! The Story of the North American X-15", Specialty Press, 2003
- Dennis R. Jenkins, Tony R. Landis, "X-15 Photo Scrapbook", Specialty Press, 2003
- Tony R. Landis, "North American X-15, Photo Reference CD", 2007
- Wendell H. Stillwell, "X-15 Research Results,with a Selected Bibliography", National Aeronautics and Space Administration, 2007
http://history.nasa.gov/SP-60/cover.php - Robert S. Houston, Richard P. Hallion, Ronald G. Boston, Transiting From Air to Space: The North American X-15, taken from "The Hypersonic Revolution: Case Studies in the History of Hypersonic Technology", National Aeronautics and Space Administration, 2004
http://www.hq.nasa.gov/office/pao/History/hyperrev-x15/cover.php
Additional Images
© Randy Bumgardner 2007
This review was published on Saturday, July 02 2011; Last modified on Wednesday, May 18 2016