
Williams Brothers | 1/8 Wright J-5 Engine
Reviewed by Rato Marczak
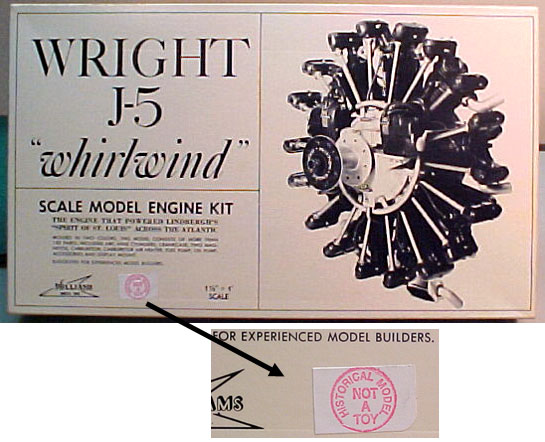
The boxtop. Note the warning.
SOMETHING DIFFERENT
If you feel that it is time to model something different for a change, here is a good option to think about. This kit is one of the injected plastic engines produced by our well known Williams Bros. Inc. It is a big model in the unusual 1/8 scale. I don't know when it came to life, but it has been around for many years. Williams Bros. has a good line of plastic engines intended for scale R/C (aaarrghhh!), but this one is not the case. It is more of a historical or decorative piece which will make a very nice, highly detailed model. Well, we couldn't expect less in 1/8 scale.
In case you don't know, the Wright J-5 was one of the most successful engines of the pre-war era. Among the long list of aircraft equipped with the J-5 we find the early Ford Trimotors, the Lockheed Vega, the Vought UO-3 and 4, the Boeing Model 72 and many others. The most famous of them is the Ryan "Spirit of St. Louis", in which Charles Lindbergh made his epic transatlantic flight. Also, modified versions of this engine (produced under license) were used in AFVs like the M-3 Stuart and the M-4 Sherman.
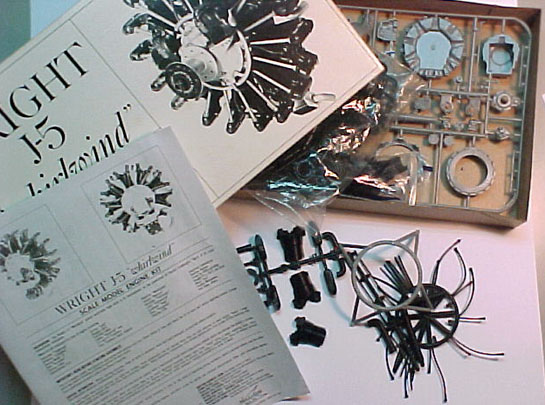
Opening the box.
This kit comes with around 240 parts (more than most 1/32 kits). The engine block and most of the smaller details are molded in gray plastic while the cylinder related parts are molded in black. There are also two sprues of rubber parts for the ignition system and various carburetor hoses. The instructions looks like an overhaul manual of the engine, with very well done exploded views of the major sub-assemblies: crankcase, crankcase drive, magnetos, intake manifold, carburetor, carburetor air heating, air heater piping, cylinders, rocker boxes and push-rods, exhausts, ignition system, oil pipe, propeller hub and engine mount. Each of these is covered with at least a paragraph of descriptive text. Color information is given by generic names, but the manufacturer recommends Floquil and Pactra brands.
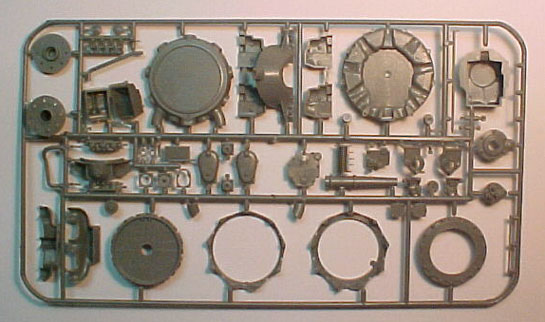
The gray parts sprue.
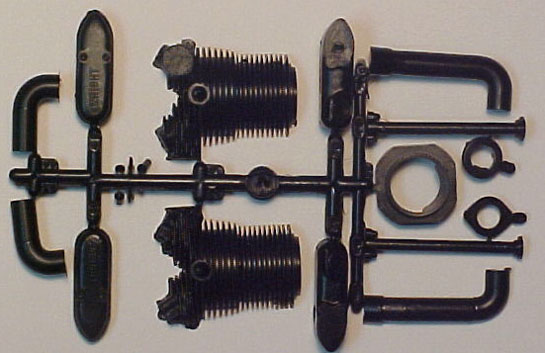
The cylinder parts sprue. You get nine of this.
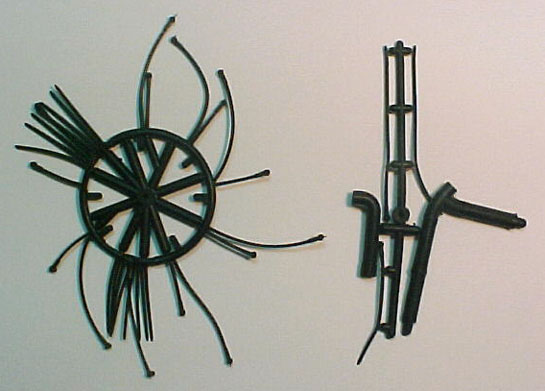
The rubber parts.
GENERAL
This is an easy kit, except for the large number of flanges, nuts, studs and cover plates. You have to be organized to not forget any part behind in the assembly sequence. Seems dummy, but it is not. With this model it is really easy to forget something if you are not paying attention (avoid listening to Iron Maiden while assembling this one...). I recommend to study carefully the instructions before commencing - more than you usually do.
The assembly is divided in nine major steps, each one illustrated by a corresponding exploded view type drawing. The better approach seems to be to remove from the sprue only the parts to be used in each step. Then proceed step by step always test fitting the last subassembly with the others. The crankcase (drawing A in the instructions) is the one which uses the larger number of parts, but fortunately those are the big ones. Since all other subassemblies will be mounted around it, better to start here.
The fit of the parts is not perfect in all areas. However, the break-up of the parts seems to follow pretty close the prototype. Many parts of the real machine were manufactured by casting, and their characteristic surface roughness is subtly captured where is the case. I suspect that a few seam lines or bad spots here and there won't be considered your fault - they are probably imperfections of the real one.
The only real problem is to clean those small nuts, washers,studs and levers free of flash. They are small when compared with the whole kit, but will be quite visible in the finished model. And will take your time...
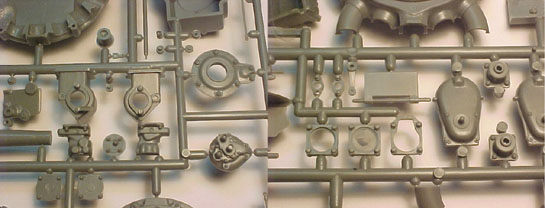
A sample of the smaller parts...
...and another.
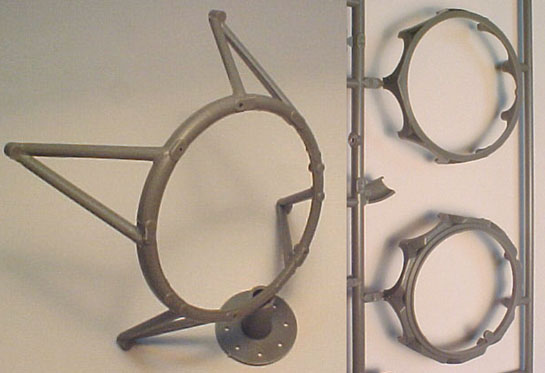
A nice touch: the engine mount. On the right, the crankcase halves.
The rubber parts are very well done and will add a lot of realism to the model. However, they need a painful flash cleaning (remember to use a fresh blade). I didn't like that much the ignition wiring made of rubber, but the plugs are perfect - just like the real thing. Also, the ignition harness loom comes in the same rubber part of the wires, and it goes in front of the crankcase (with the short portion of the loom oriented to the top - in line with the number one cylinder). So, you have to cement the loom push straps onto the projecting studs of the crankcase bolt ring plate (part #3), which is made of styrene. This means that you have to glue two dissimilar materials, one of them is flexible... You choose the glue.
A nice touch is the manufacturer's identification plate. It is not a decal, it is black printed on silver adhesive paper. Very, very realistic. You almost can read it all...
As far as accuracy is concerned, I can't help you... I've never saw a real engine of this type, and I guess it wouldn't be an easy task to find drawings of it. Judging from the photos, however, it seems very accurate.
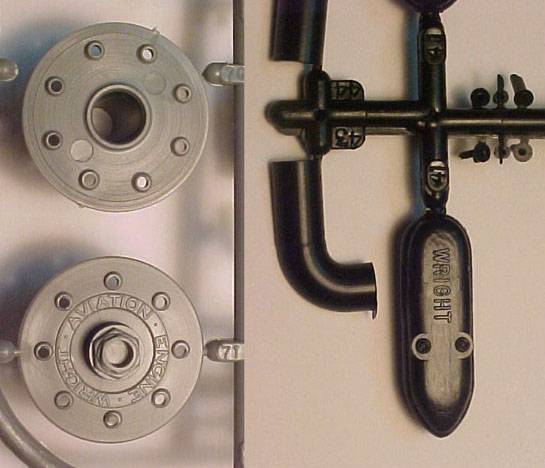
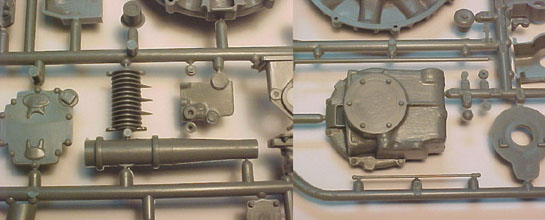
Left: propeller hub (top) and drive flange (bottom). Left: exhaust pipe half, rocker box cover and those difficult-to-clean nuts/studs with washer.
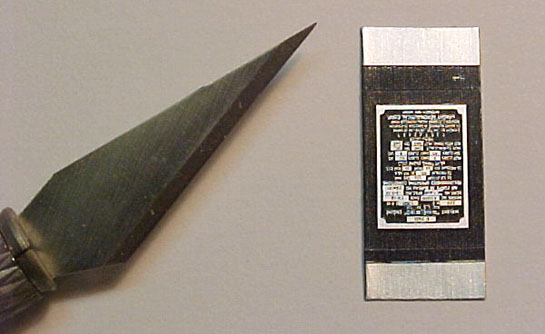
The manufacturer's identification plate.
CYLINDERS
You know, the cylinders are one of the most important - and visible - areas of any radial engine model. Let alone in 1/8 scale. The cylinders assembly (drawing D in the instructions) is not difficult, but must be repeated nine times.
Each cylinder comes in two very well molded halves. The cooling fins match very well along the joint line. The spark is molded on, but quite convincing, deserving only some gloss white paint to simulate the porcelain.
The rocker boxes comes with the Wright logo printed on their tops - typical of cast parts. Besides them, you have to add the push rods and exhaust pipes to the cylinders. Everything here has its own flanges, including the cylinders themselves (to attach them to the crankcase).
I included below some pictures of an assembled and painted cylinder that I found at Williams Bros. web page (I don't know who's the author).
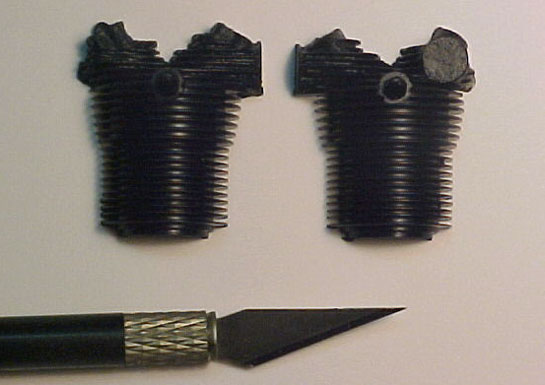
The cylinder halves.
A cylinder fully assembled and painted, prior to be attached to the crankcase (photo/model credits: unknown).
PAINTING
The assembly instructions specify the colors for each subassembly. Read it with attention. You will need basically black, natural metal and grey colors. Some tonal variations from one part to other will add interest. The metallic parts varies: cast steel, stainless steel, aluminum. In spite of this general specs, one can find many variations of engine colors. The picture below is from Williams Bros. gallery, and depicts how this model looks when painted as per instructions.
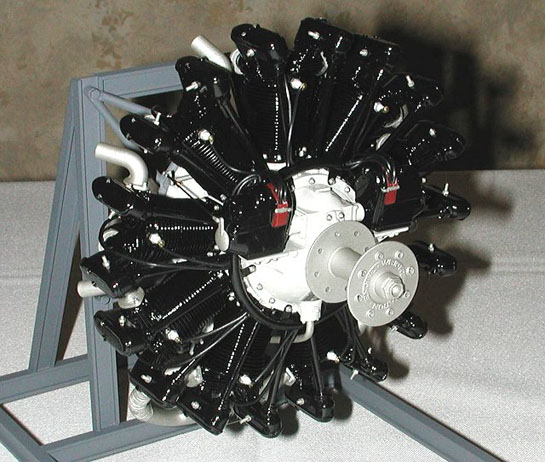
The J-5 engine painted. Except for the white crankcase, it followed the kit's instructions. The modeler scratchbuilt the supporting structure (photo courtesy: Williams Bros.).
FINAL COMMENTS
Oh, this is something really interesting. Not an aircraft, not in 1/32 or 1/24, but definitely interesting. The historical importance of the J-5 is rooted in the airplanes it equipped, what makes this a truly candidate to museum quality model.
You don't have to scratchbuild any part. Just remove the flashes and cement the parts with care. No filler needed, I suspect. However, engines don't look much interesting if clean, particularly the radial ones. You can abuse of oil leaks, rust and soot and it will look even more realistic. Most covers are separated parts, so the corresponding seams will benefit from washes. Some pastel dusting on the rubber parts is another alternative (look to your car's radiator piping).
If you missed the propeller, remember that its hub and drive flange comes in the kit, so it can be added too. In the case of wooden ones, a RC propeller of suitable size can be used to carve your own.
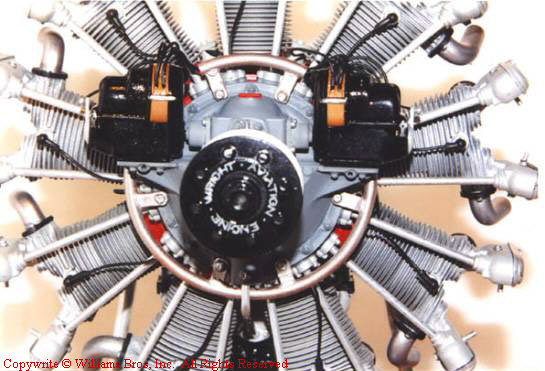
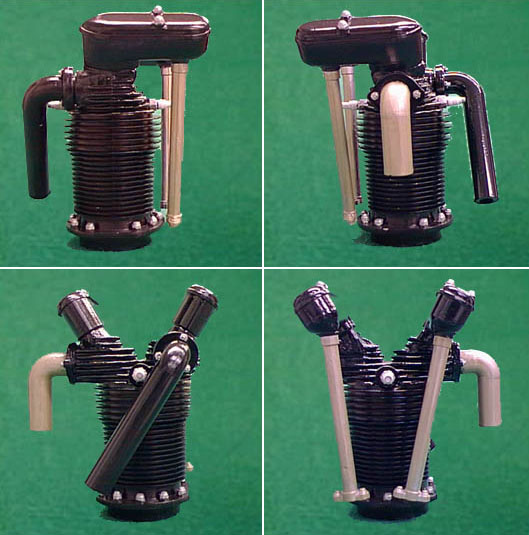
The assembled model - front view (photo courtesy: Williams Bros.).
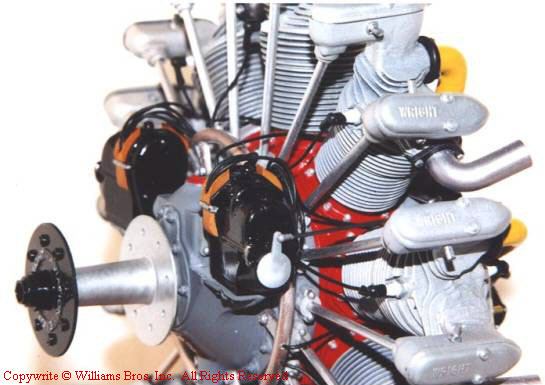
The assembled model - side view (photo courtesy: Williams Bros.).
SUMMARY
Here is a model you can build along a couple of weekends. Like I said in the beginning, if you are looking for something different, this is it. It is large model, and you won't fight with 0.2 diameter holes or vacuum clear parts. Paint the subassemblies separately and you will have for the first time in your life (at least in mine) a beautiful model without decals application, cockpit construction or canopy masking.
The ideas for displaying this model are many. I for one already got the Testors 1/72 Ryan Spirit of St. Louis and printed a couple of photos of Charles Lindbergh with his plane. His transatlantic flight is celebrating 75 years. Guess what...
ACKNOWLEDGMENTS
We would like to thank Williams Bros. Inc., for providing the review sample of this magnificent model. Thanks for you support.
© Rato Marczak 2002
This review was published on Saturday, July 02 2011; Last modified on Wednesday, May 18 2016