
Hasegawa 1/32 Ki-44 Part 2
By John Doerr
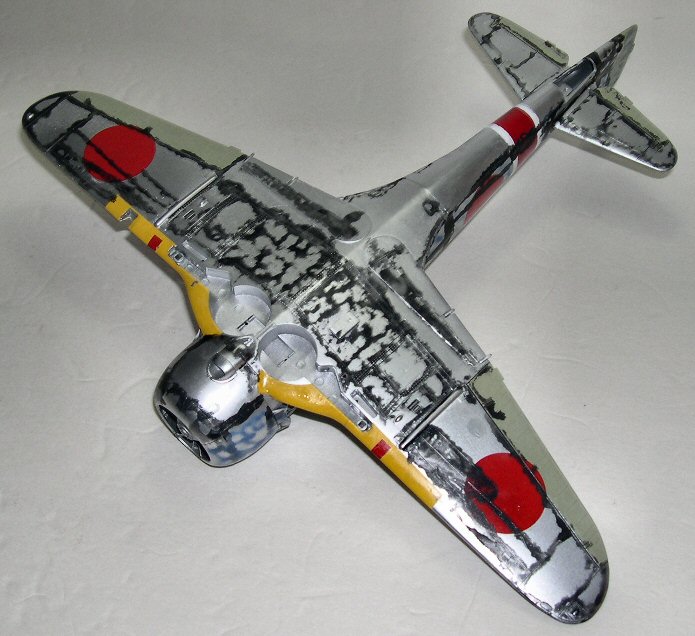
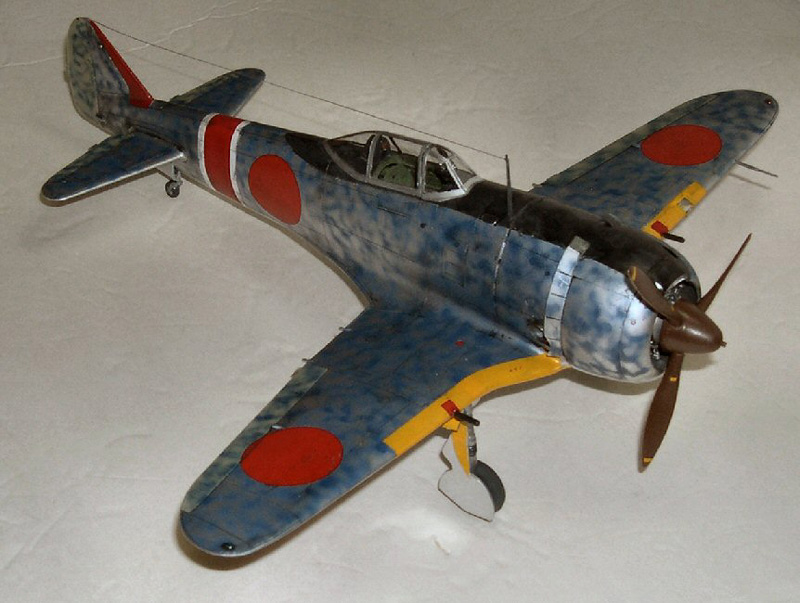
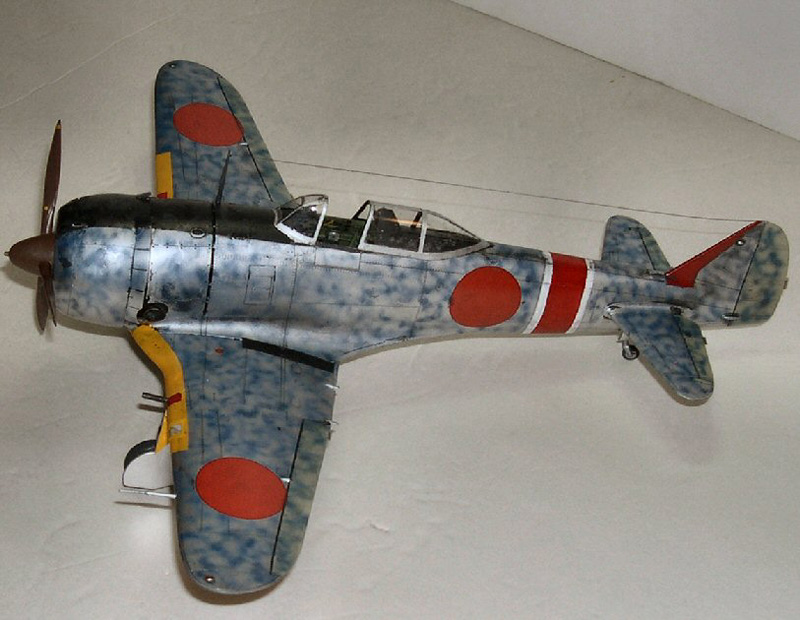
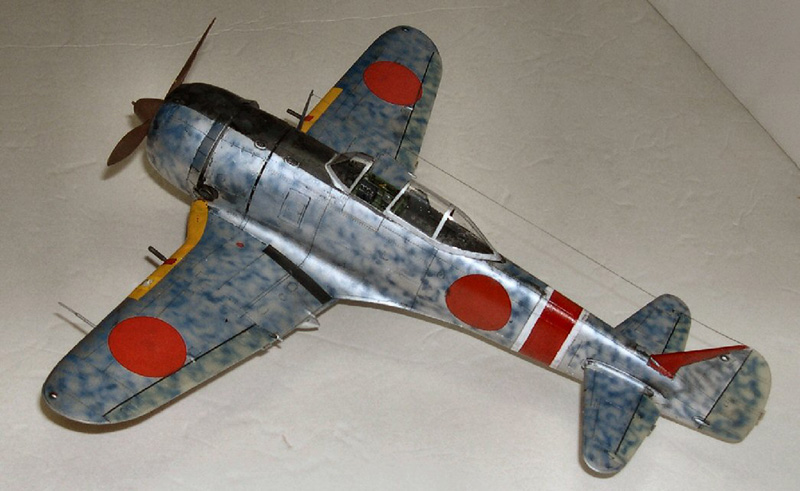
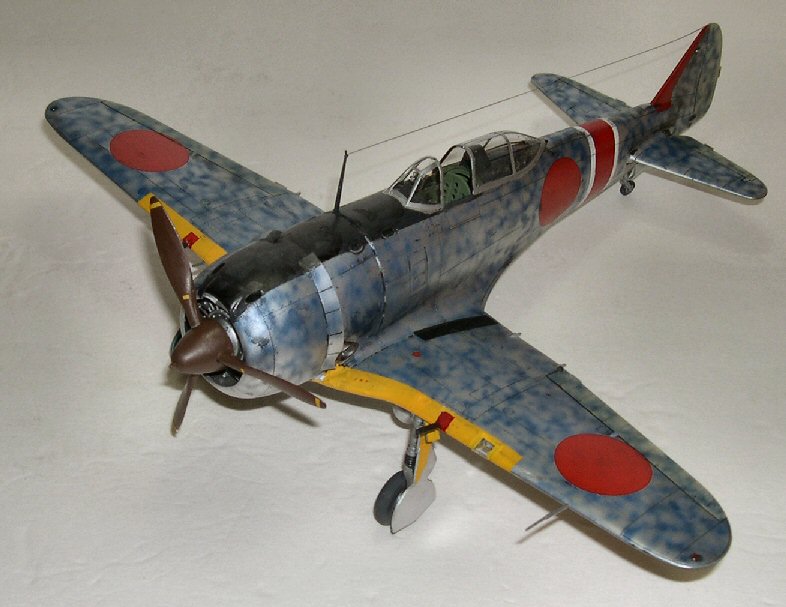
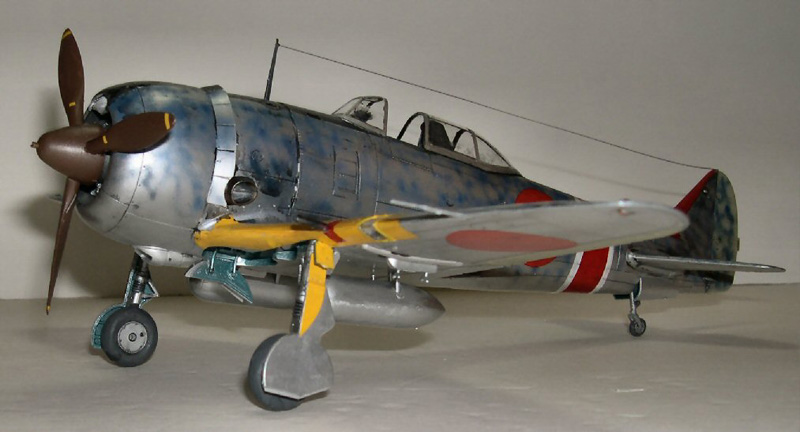
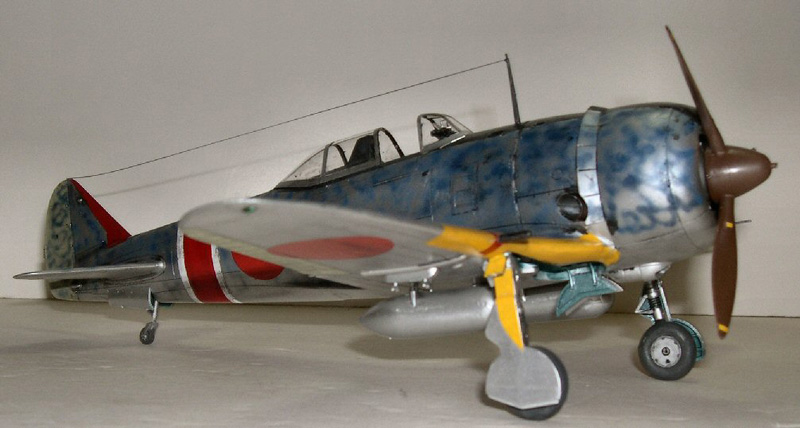
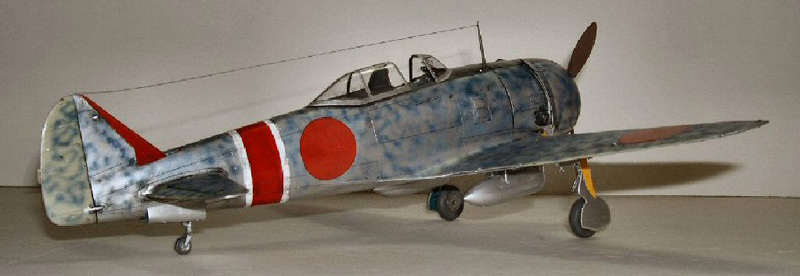
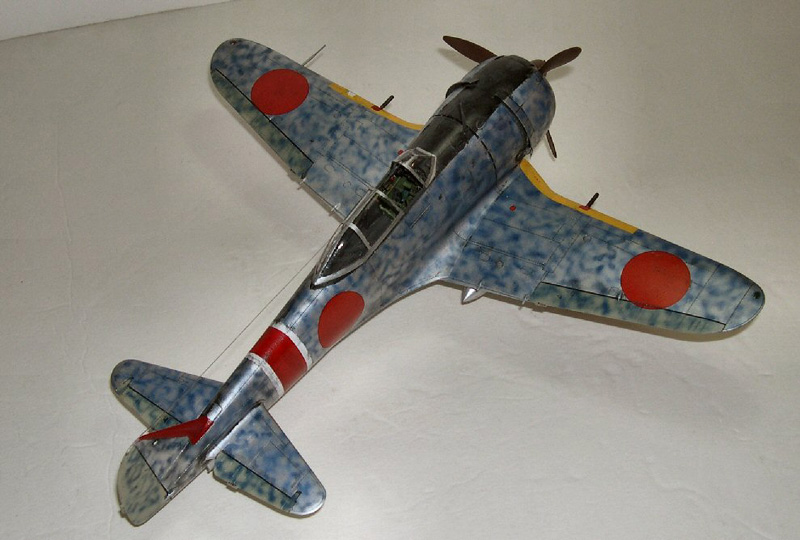
Weathering
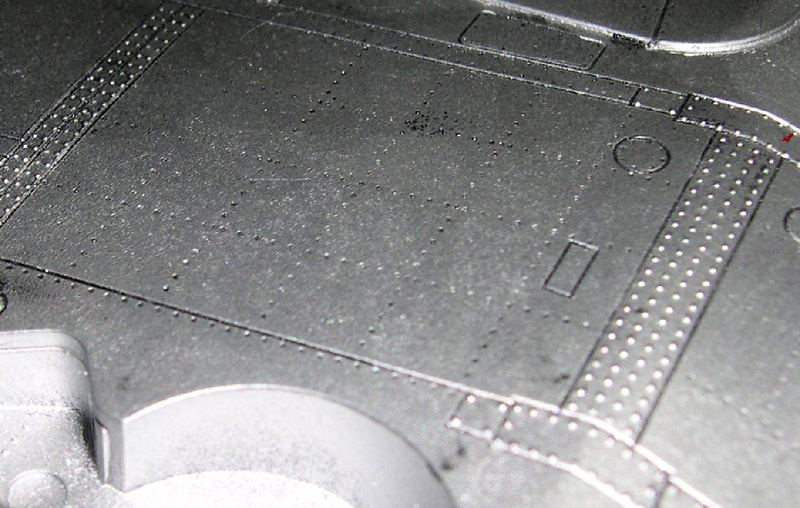
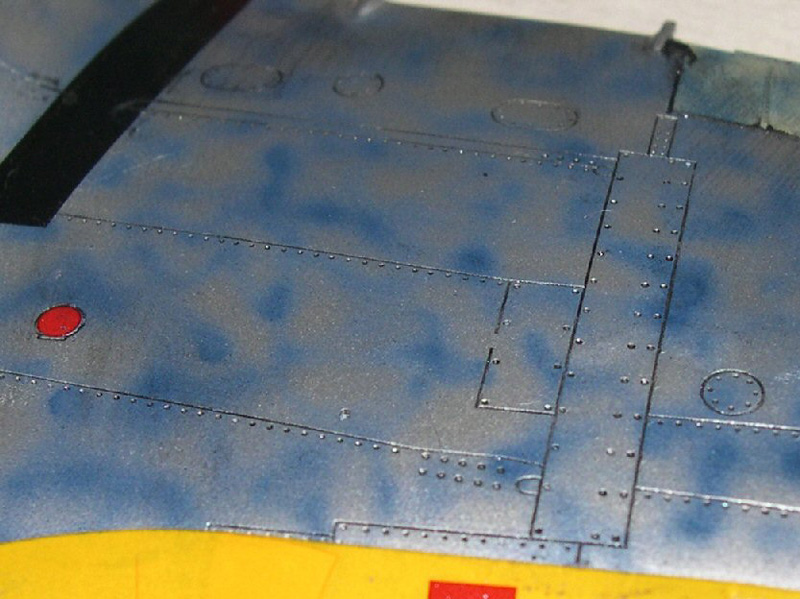
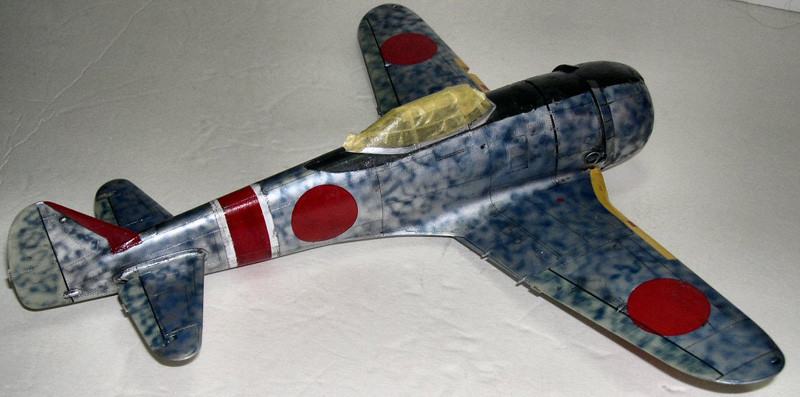
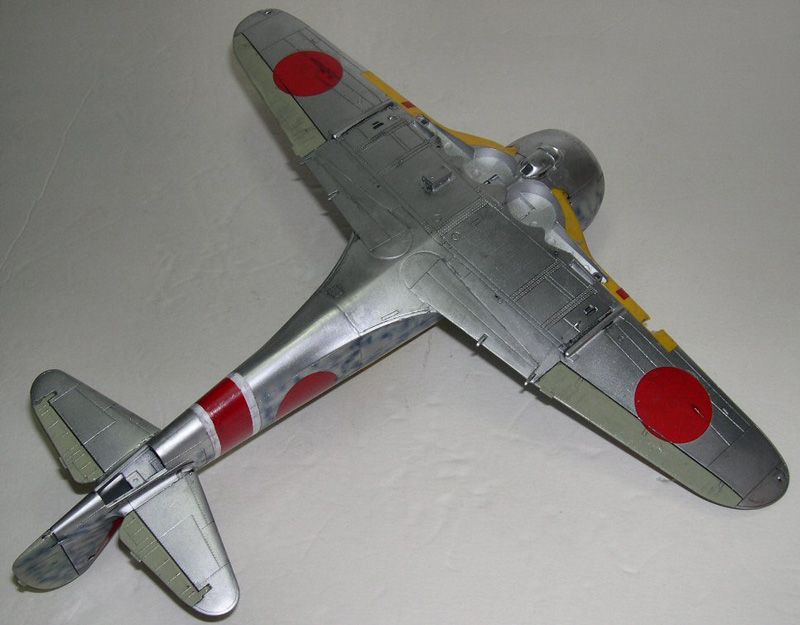
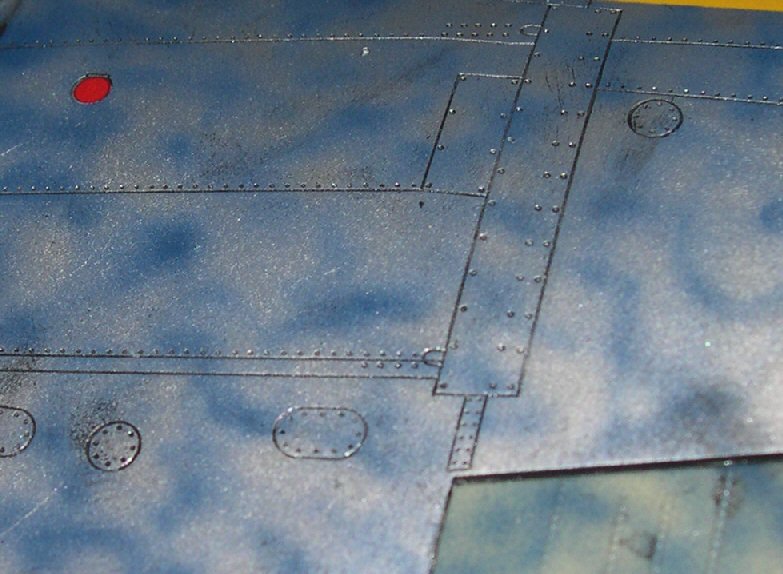
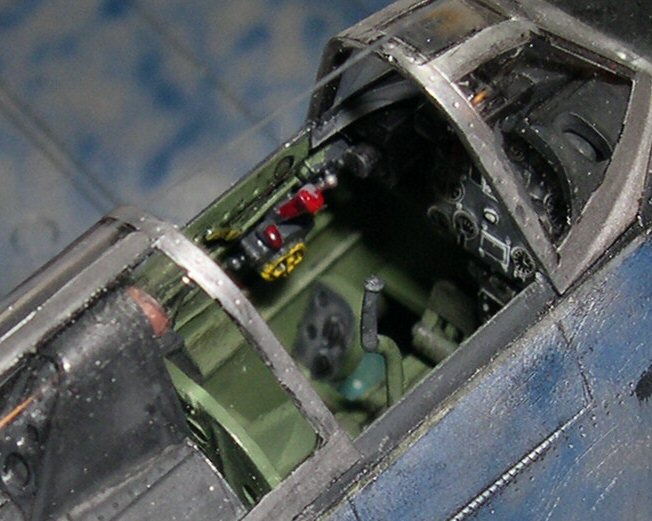
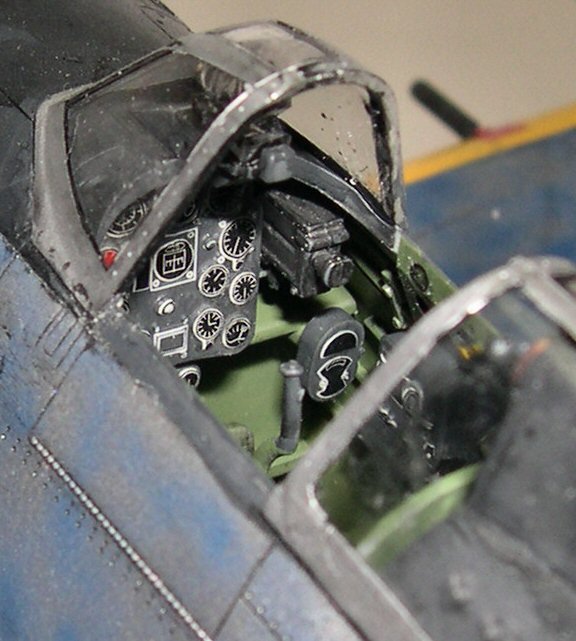
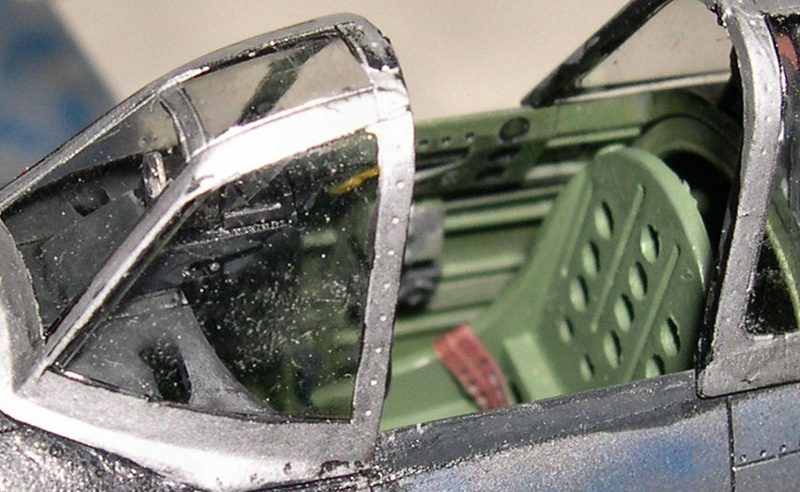
The assembled kit was given a light coat of clear lacquer, especially the decals. A thick wash of Black tempera paint, kids water based paints, was brushed on covering all the recessed panel lines and rivets, as shown in photos. After four hours the tempera paint was dry and the model wiped with a slightly damp soft cloth. The remaining paint had settled into the recessed details highlighting (?) the panel lines and rivets. Care must be taken because it the cloth is too wet it removes all of the paint and you need to start over. The results are shown in photos.
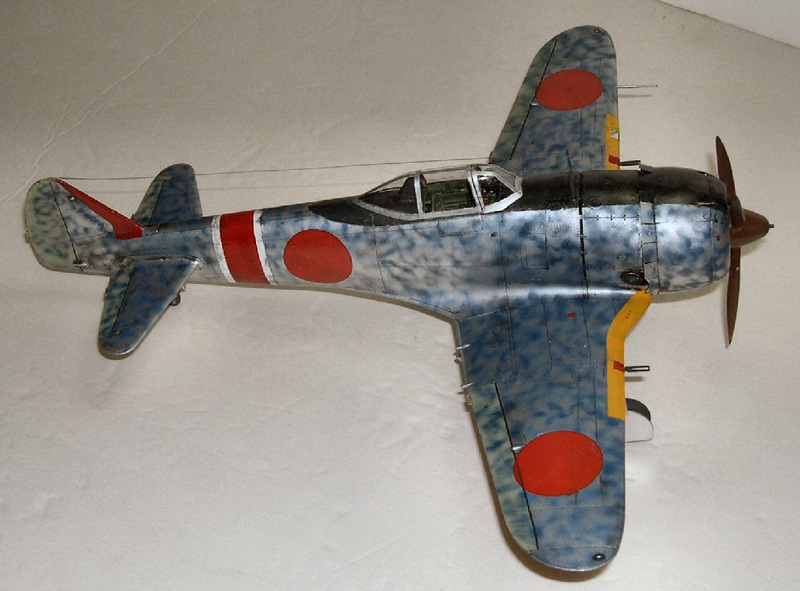
The Macro photography revealed that some touching up was needed on the canopy as well as dusting of the inside of the windshield.
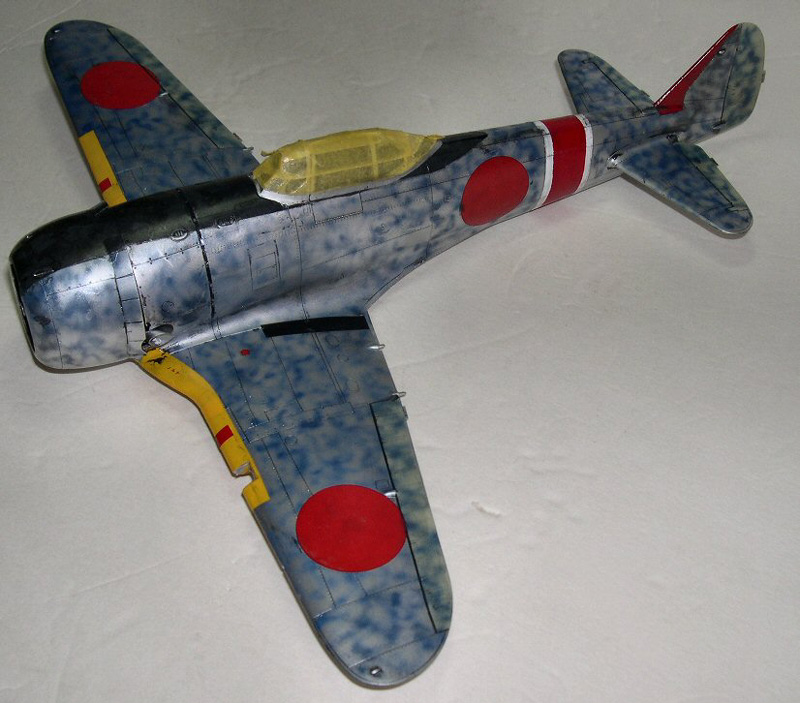
As a sickening post script, as I was carrying the build to the shop to add those last touches, it slipped from grip and hit the linoleum floor with a sickening crunch and pieces flew everywhere. The damage maybe totally irreparable, but even if it can be repaired it won't be to the original state. Needless to say it has been put away to be repaired at some future date.
© John Doerr
This article was published on Friday, September 27 2013; Last modified on Tuesday, January 24 2017