
Jerry Rutman's Resin 1/32 P-51B
By Matt Mortimer
What an adventure. Having never built a full resin kit I was a bit intimidated by the thought of giant piles of resin dust and fingers glued together with super glue. I am glad I did not let those fears stop me.
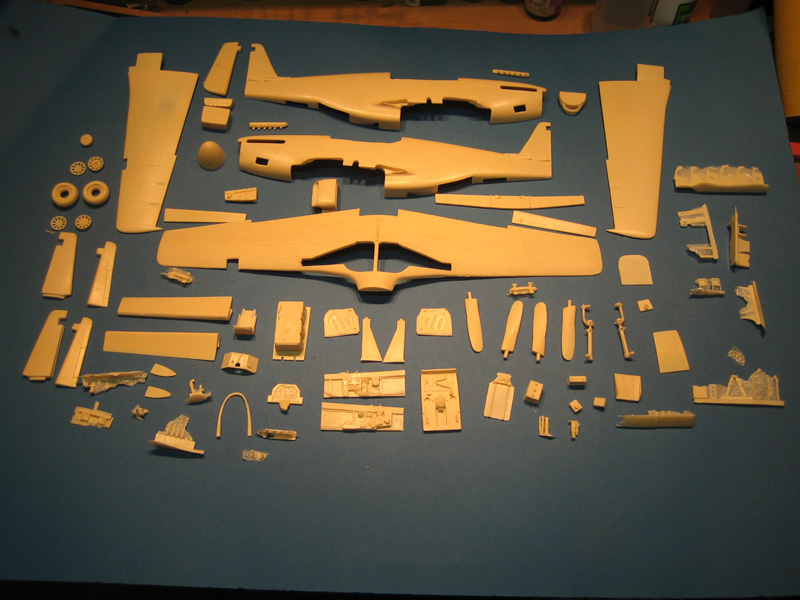
The kit arrived in a cardboard box loaded with pieces of Mustang shaped resin. After cleaning up the parts I had a nice collection of things that looked like they belonged to a P-51. Now, where to begin?
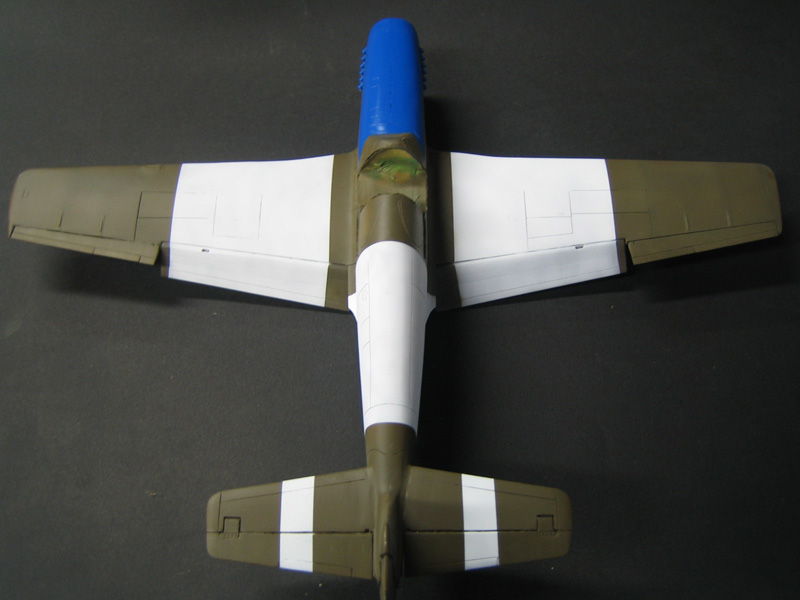
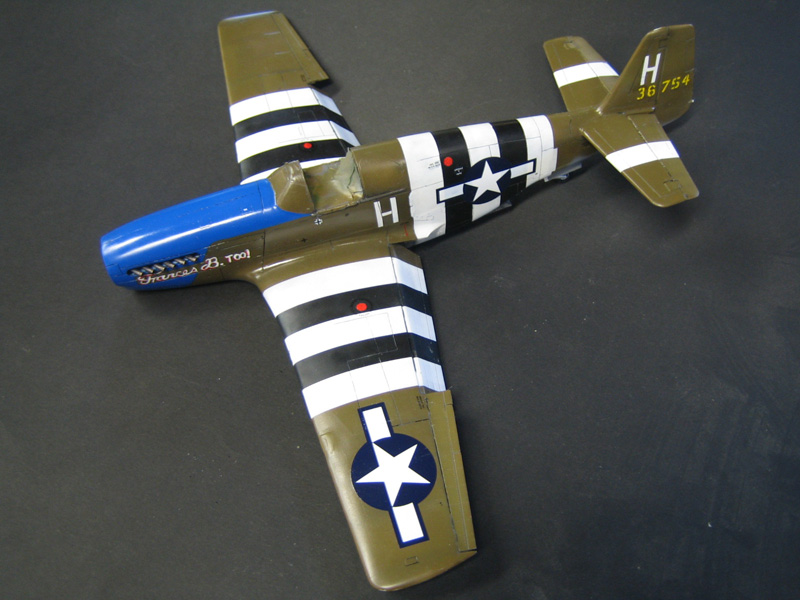
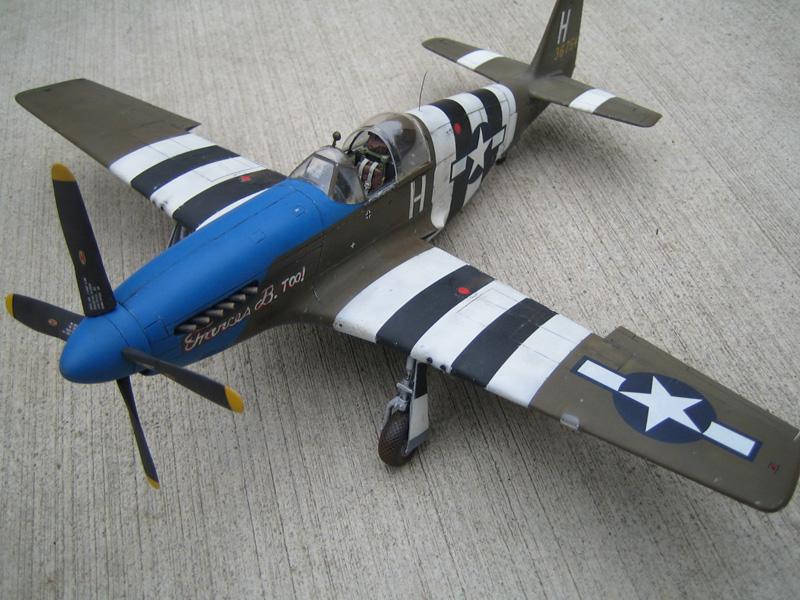
I decided to do a "Blue Noser". The idea of an olive drab and neutral grey plane with invasion stripes and that blue nose appealed to me so "Francis B. Too!" was chosen. It had a neat history as well, apparently George Preddy flew this plane on D-day.
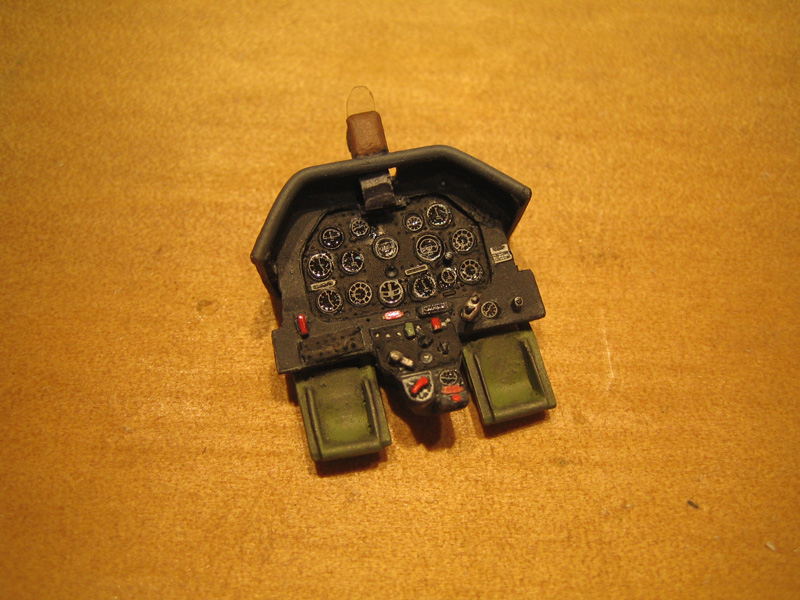
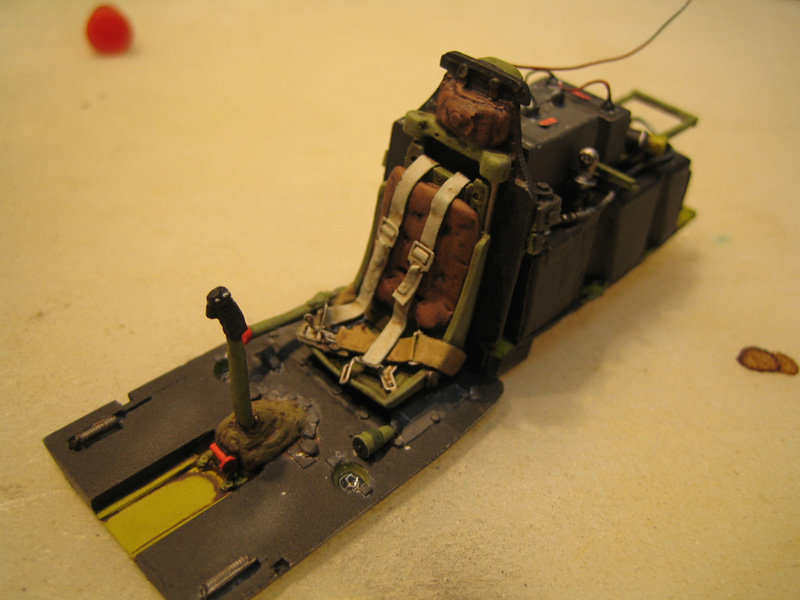
The cockpit seemed like a logical spot to start with so off I went. This is not a standard kit so knowledge of the subject and good references are a must. Jerry does provide drawings for the location of key parts and trial fitting is mandatory.
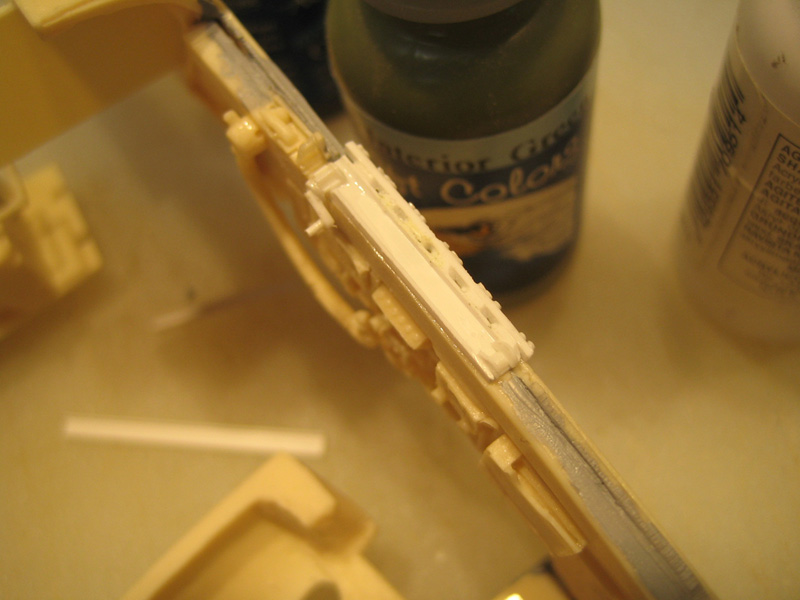
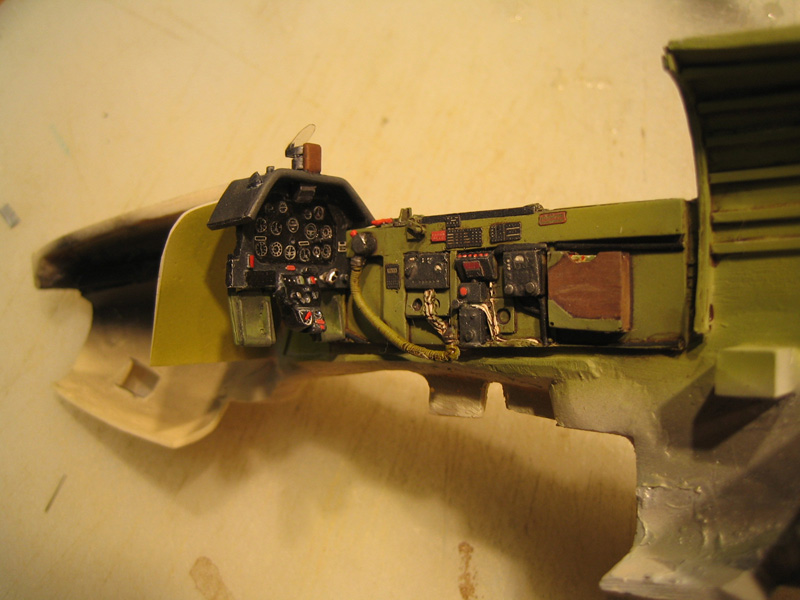
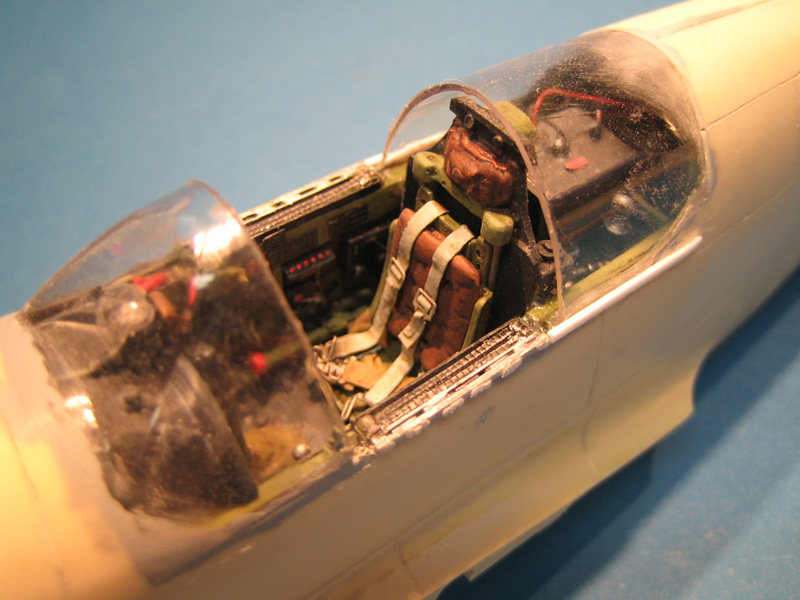
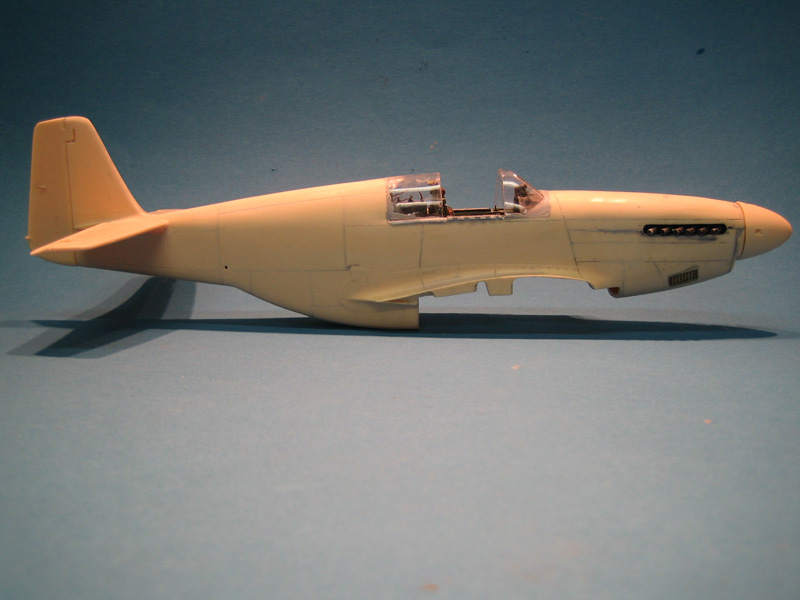
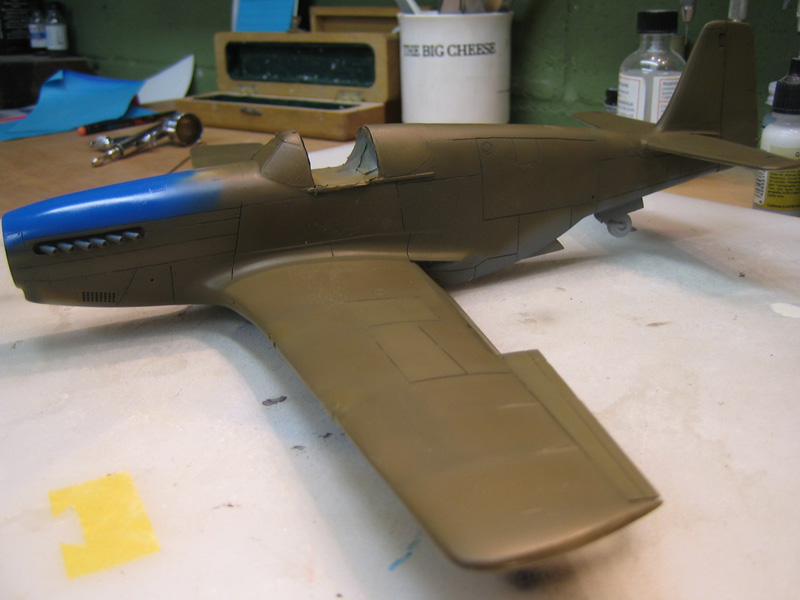
The cockpit went together without too many difficulties so it was on to the fuselage. The reference plane had a Malcolm hood so I needed to work with that requirement and the kit comes with a nice vacuum-formed Hood as well as a standard "B" canopy. The chain drive for the hood needed to be scratchbuilt so I did my best.
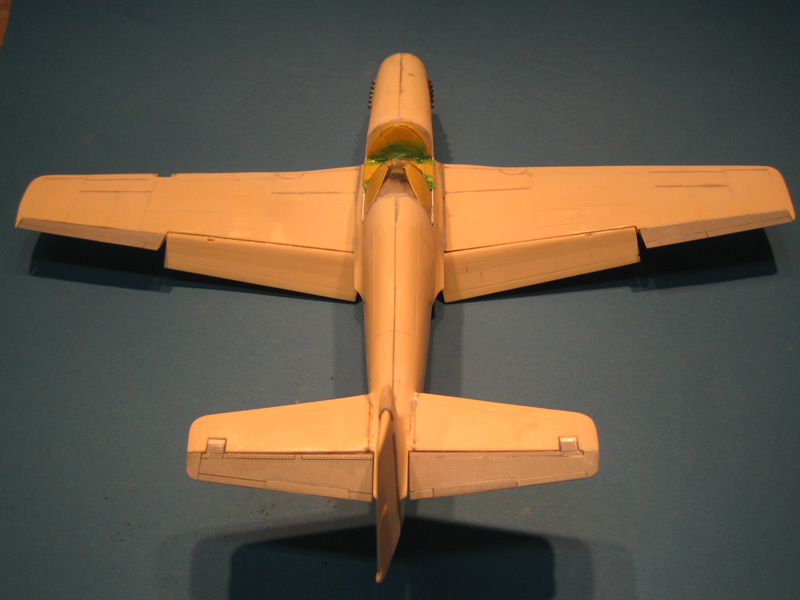
Once the fuselage was together I moved on to the wings. Here was where I ran into some trouble getting the fit to the fuselage to work. The dihedral was a bit tricky as well. It took quite a few dry fittings but it went together fine in the end.
The flaps and flying surfaces needed a little work but they went on nicely as well.
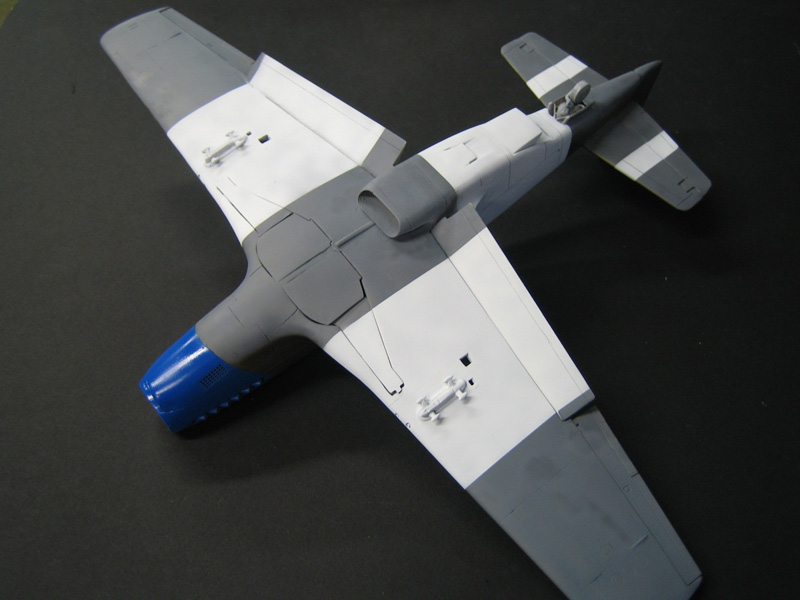
The main gear and tail gear are nicely cast and I was really pleased with the wheels. Setting up the main gear at the proper angle was a treat but it looks nicely compressed when assembled. The gear doors were a bit tough for oversized fingers due to the tiny resin door supports sticking to my hands but I finally got them together.
After sanding and filling some gaps and working to get the wing into shape it was time to start on the paint job. My favorite part of the build.
I primed everything with Model Masters Acrylic grey primer and then applied Aircraft Colors Olive Drab and Neutral Grey. The nose got it's blue and then the stripes and other markings.
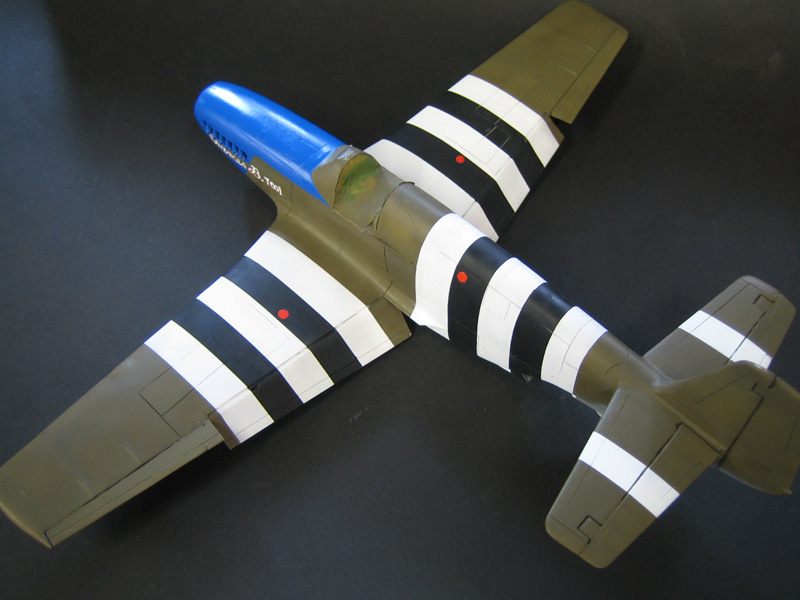
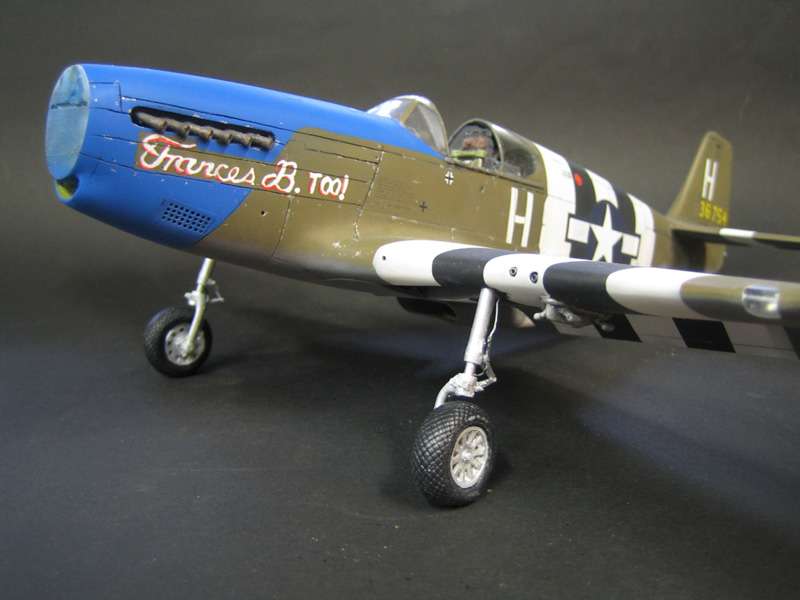
The landing gear and other "fiddly bits" came next and then the weathering. I attempted to be subtle as the pilot of this plane was rather picky about it's condition and my references showed it in pretty good shape.
What a pleasurable build. By no means a "shake and bake" but a nice challenge that rewards you with a nice P-51B on the shelf.
Thanks to everyone here for their help and especially Jerry Rutman for his support throughout this build!
© Matt Mortimer
This article was published on Friday, September 27 2013; Last modified on Saturday, May 14 2016